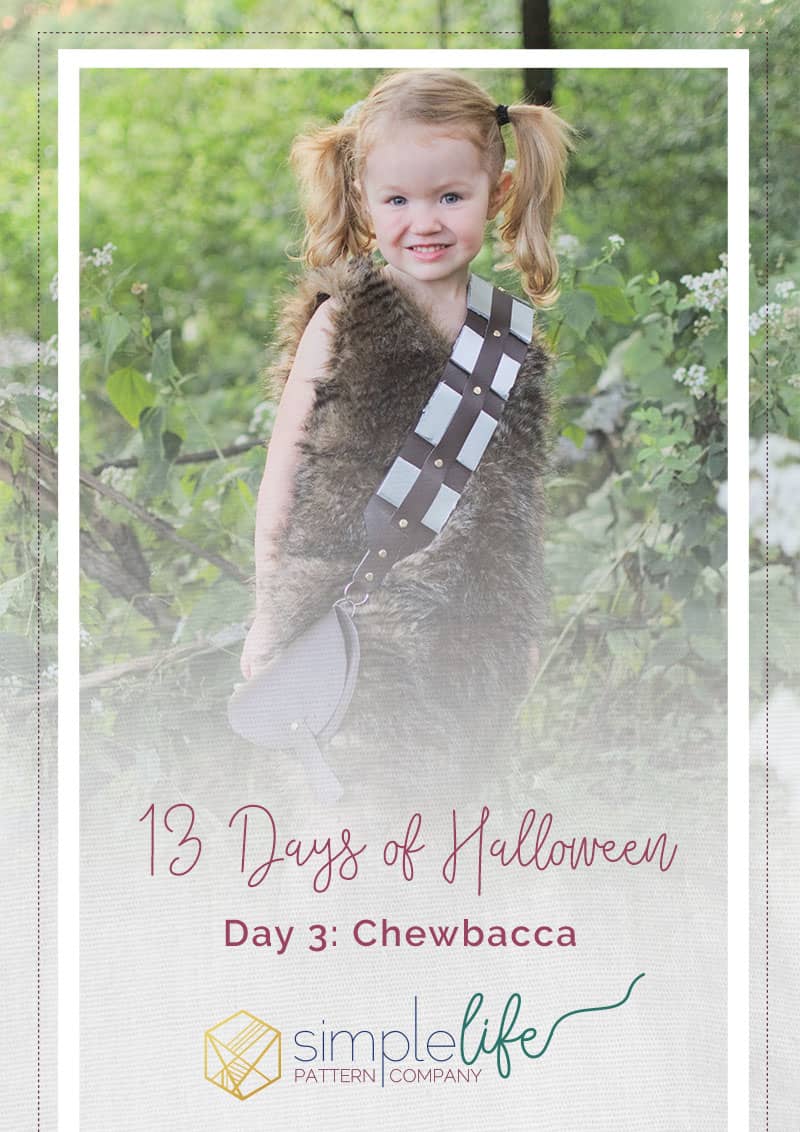
13 Days of Halloween: Chewbacca
Hi! My name is Tamar and I’m so excited to be a part of the 13 days of Halloween! I love making Halloween costumes for my kiddos. They get so excited about dressing up like their favorite characters! And let’s face it, the favorite costumes end up being super multipurpose. Whether we like it or not, they masquerade as playtime, bedtime, and maybe even grocery shopping attire 🤣. So my Halloween makes end up being very well loved!
Today I’m going to show you how I made this Chewbacca dress for my three year old. My kids are all about Star Wars this year. If your kids are too, keep watching the 13 days of Halloween blogs! I’ll have a few Star Wars inspired posts for you!
Materials:
- Autumn Dress Pattern (Simple Version)
- Faux fur
- Single fold bias tape
- 1 Button
- Vinyl
- Foam board
- Paint
- Brass Fasteners
- 2 key chain rings
- 2 D-rings
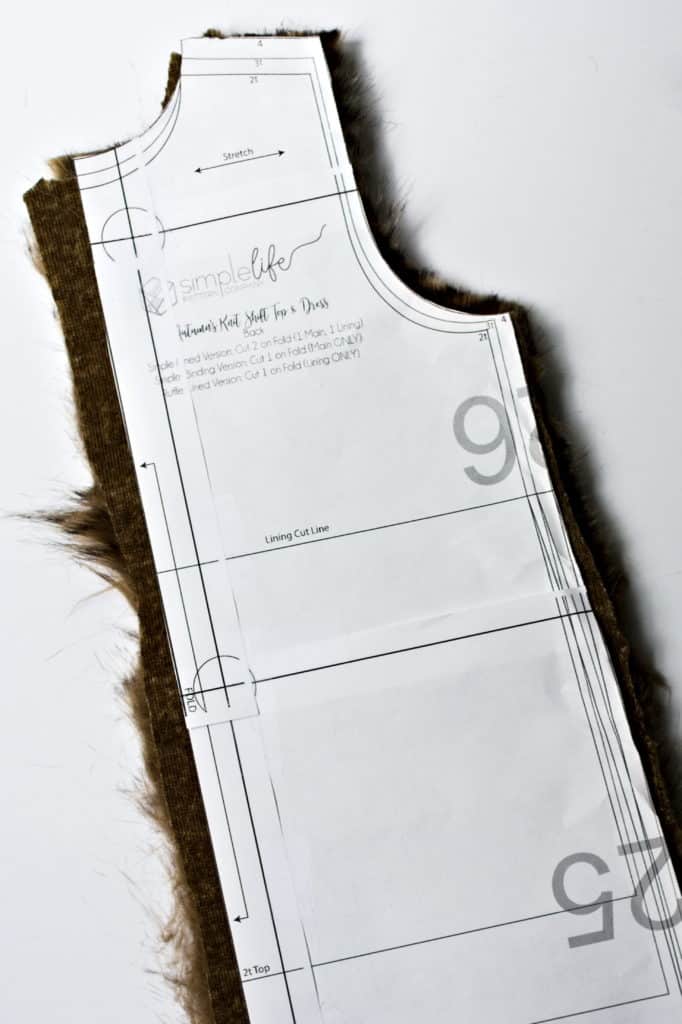
Cutting and Altering Autumn
First, draw a shallow v-neck on your front pattern piece.
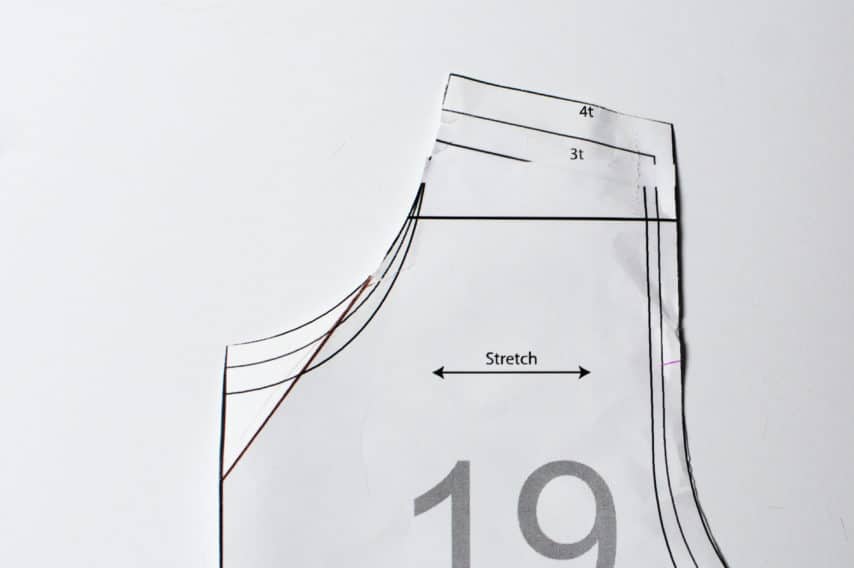
Next cut out one front piece on the fold.
For the back piece, add ⅜ inch to the center line. Cut two mirror image pieces.
Sewing The Garment
Follow Steps 2 and 13 in the Autumn directions.
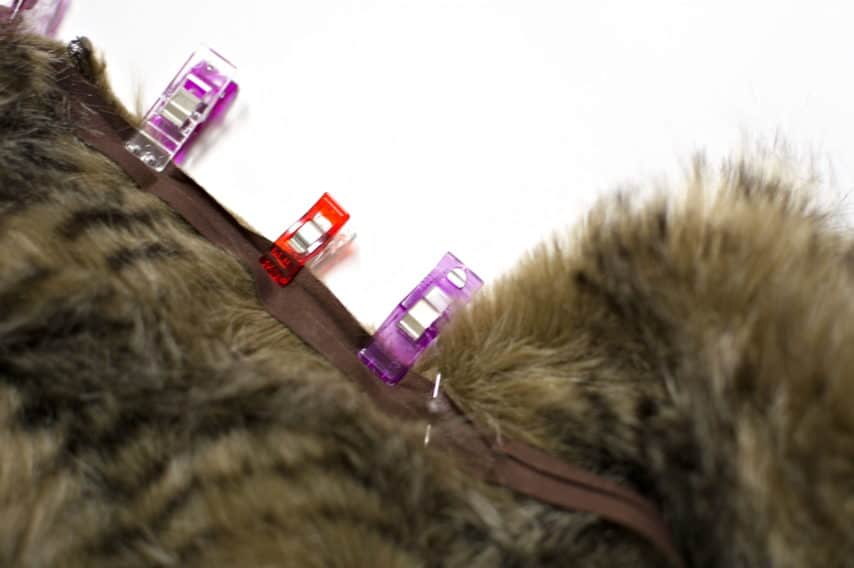
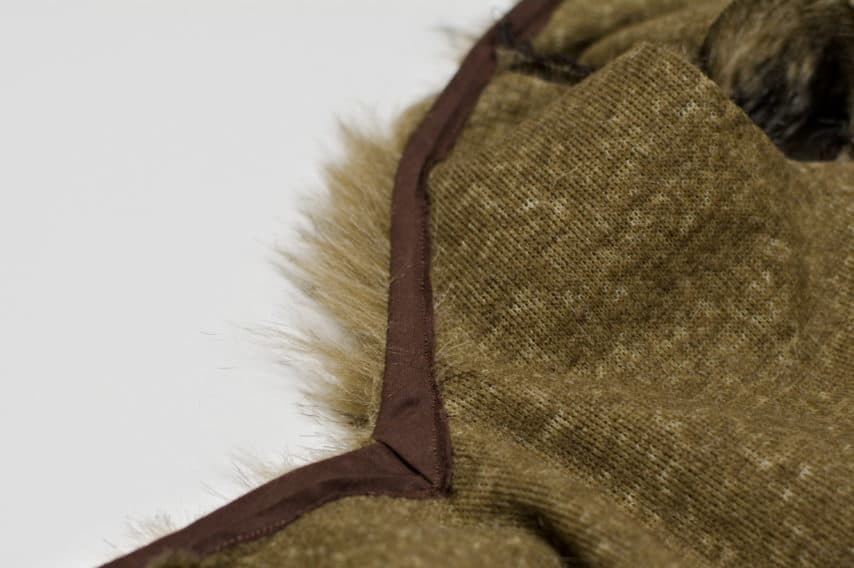
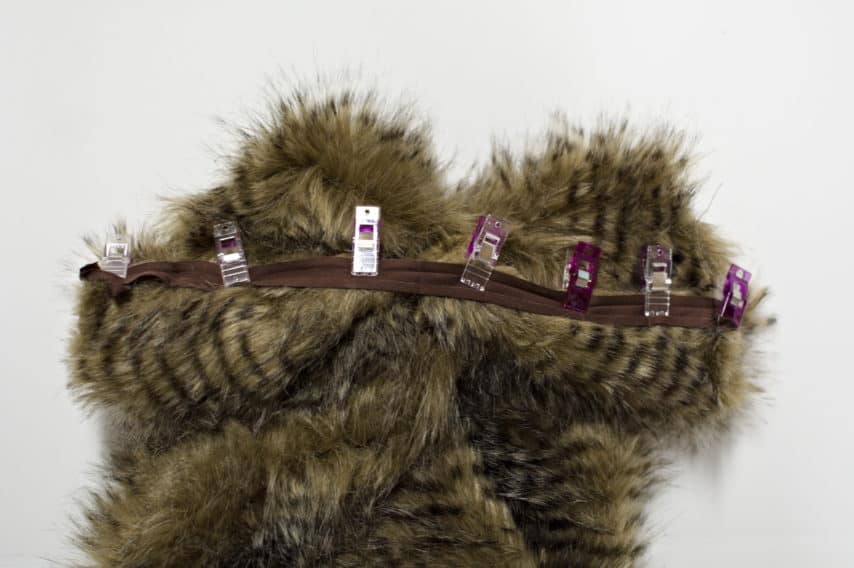
Pin your bias tape to the neckline, right sides together, starting from the middle back (the bias tape should start ½ inch before the fabric) and stopping at the center of the V-neck. Mark a point ⅜ inch straight down from the V.
Stitch bias tape in place. Backstitch when you reach the center of the v-neck.
Fold the bias tape away from your neckline.
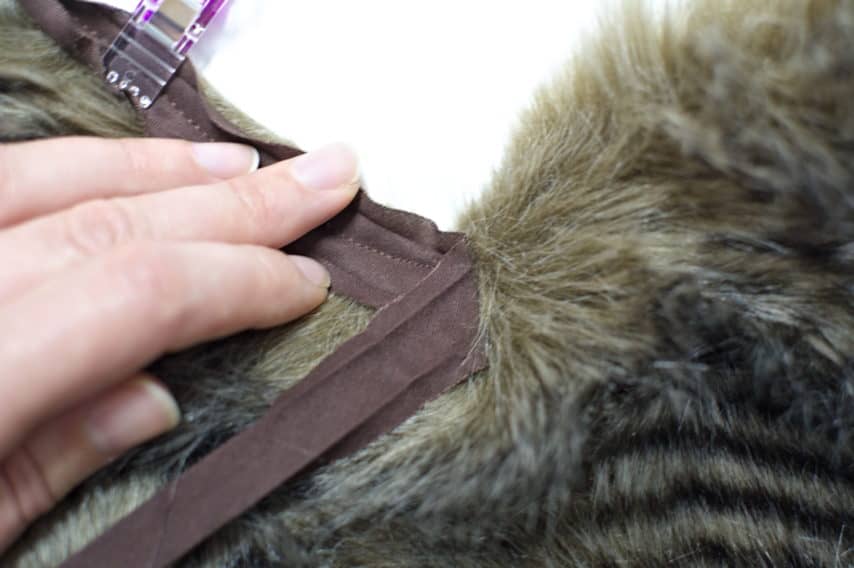
Fold the bias tape back along the neckline and pin. Mark the exact point where your stitching from your first side stops.
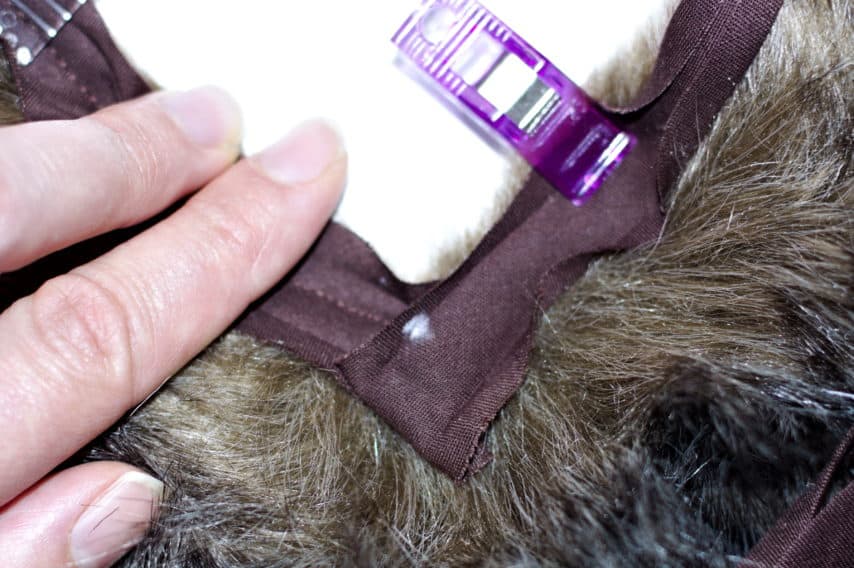
Start at the mark and stitch bias tape in place.
Turn the bias tape to the inside of the garment and topstitch in place.
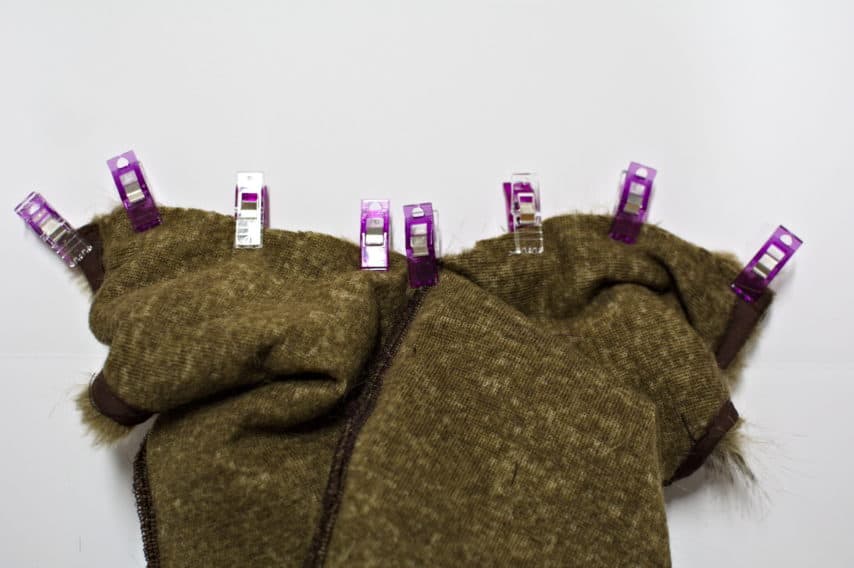
Use the same method (minus the mitered corner) to finish the arm holes. Be sure to fold the ends over before sewing.

On the center back, mark a point 6″ from the top of the neckline.
Sew from your mark to the bottom of the dress.
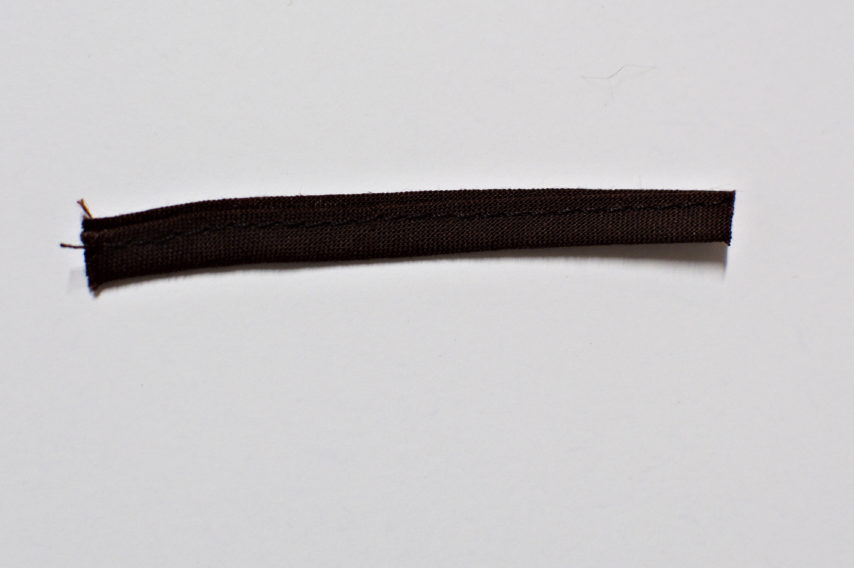
Cut a piece of biased tape 2.5 inches long. Fold it in half and edge stitch. This will be your button loop.
Fold bias tape over to the wrong side of the garment and edge stitch in place.
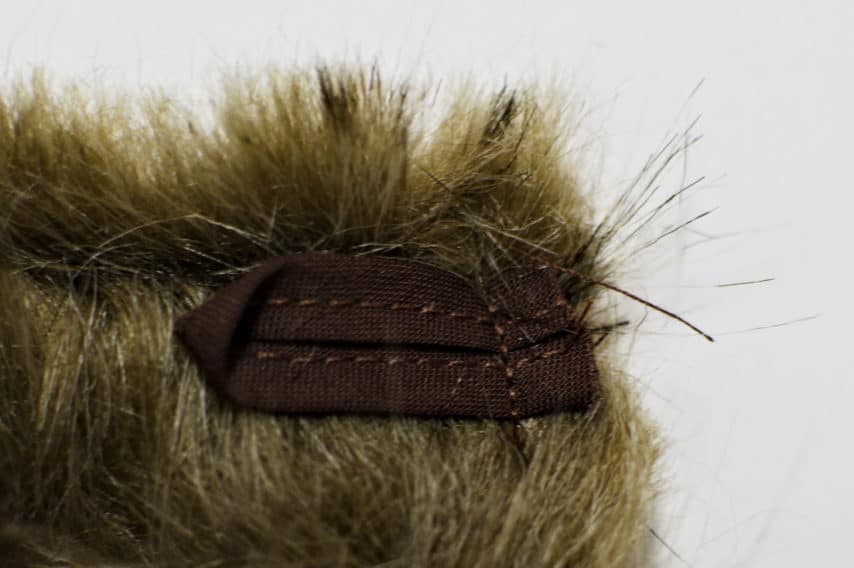
Fold your button loop in half and baste it to the top left side of the back center seam right sides together.
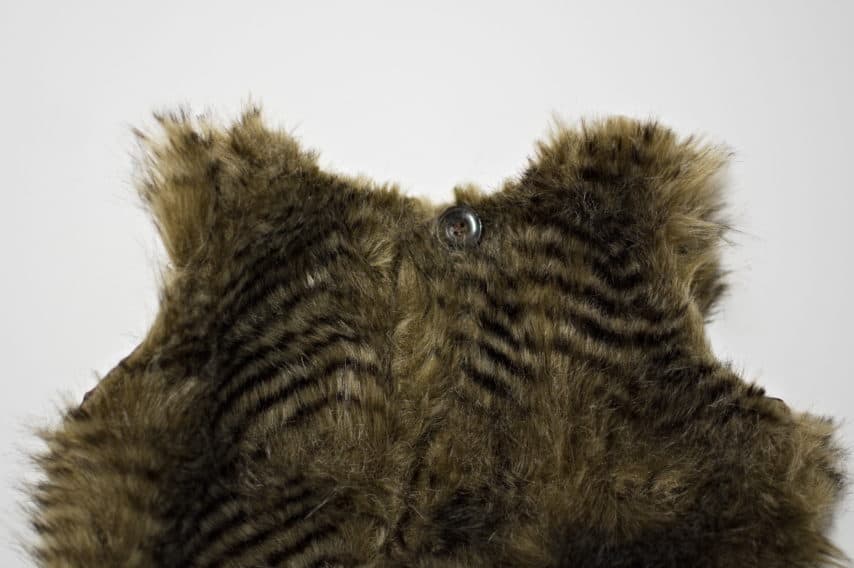
Sew on a button on the right side of the back center seam.
Pin and sew biased tape to the remaining raw edge of the back center seam.
Here is the view from the wrong side of your garment.
Stitch bias tape in place.
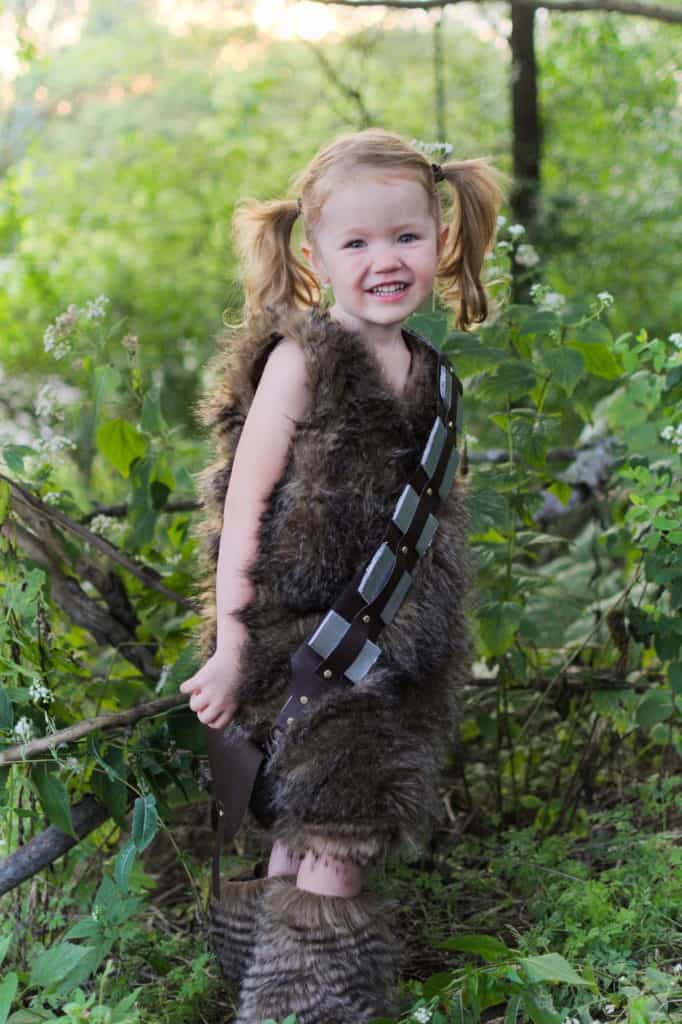
Creating a Bandolier
Of course, a Chewbacca costume isn’t complete without a bandolier.
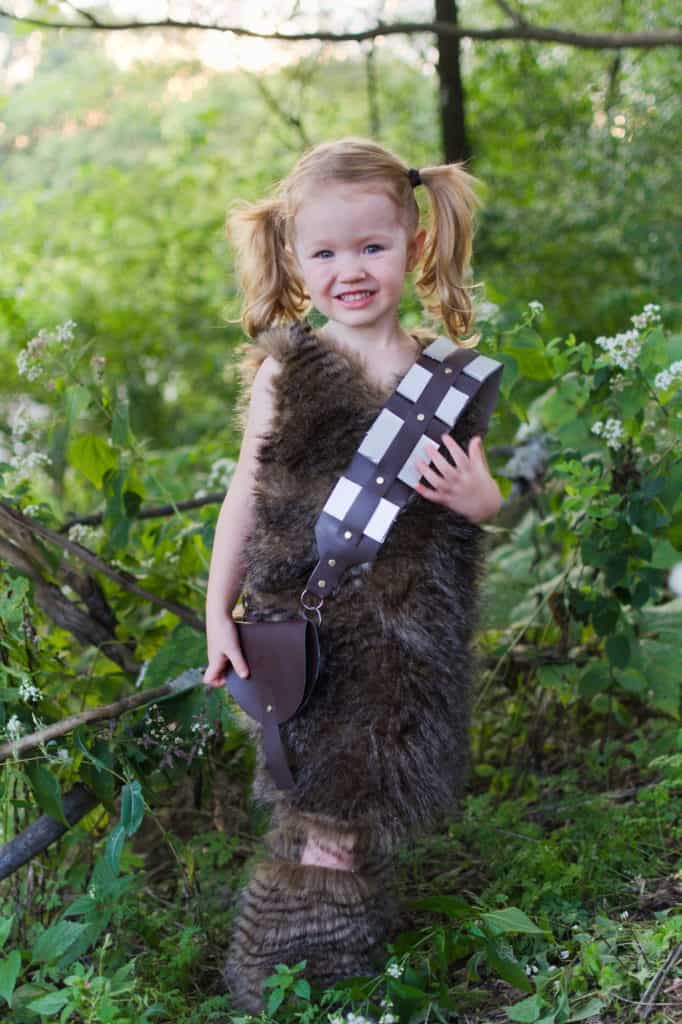
I made mine out of brown vinyl, brass fasteners, painted pieces of foam board, key chain rings, and D-rings.
Finally, cherish your sweet little one’s best Chewbacca face!
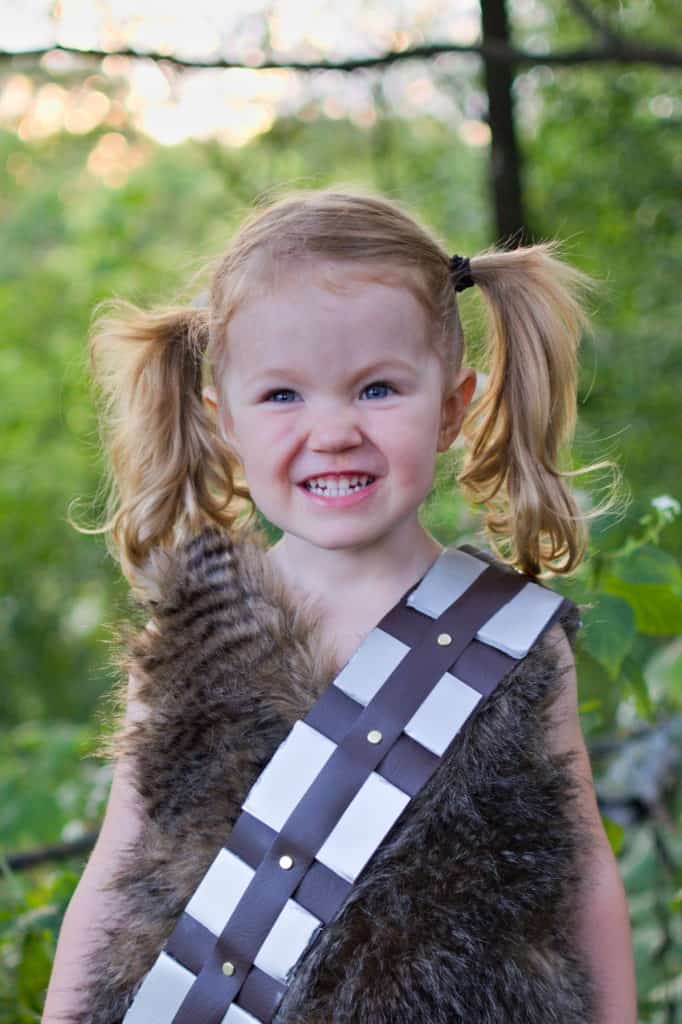
-Tamar
To see our previous “13 Days of Halloween” posts: