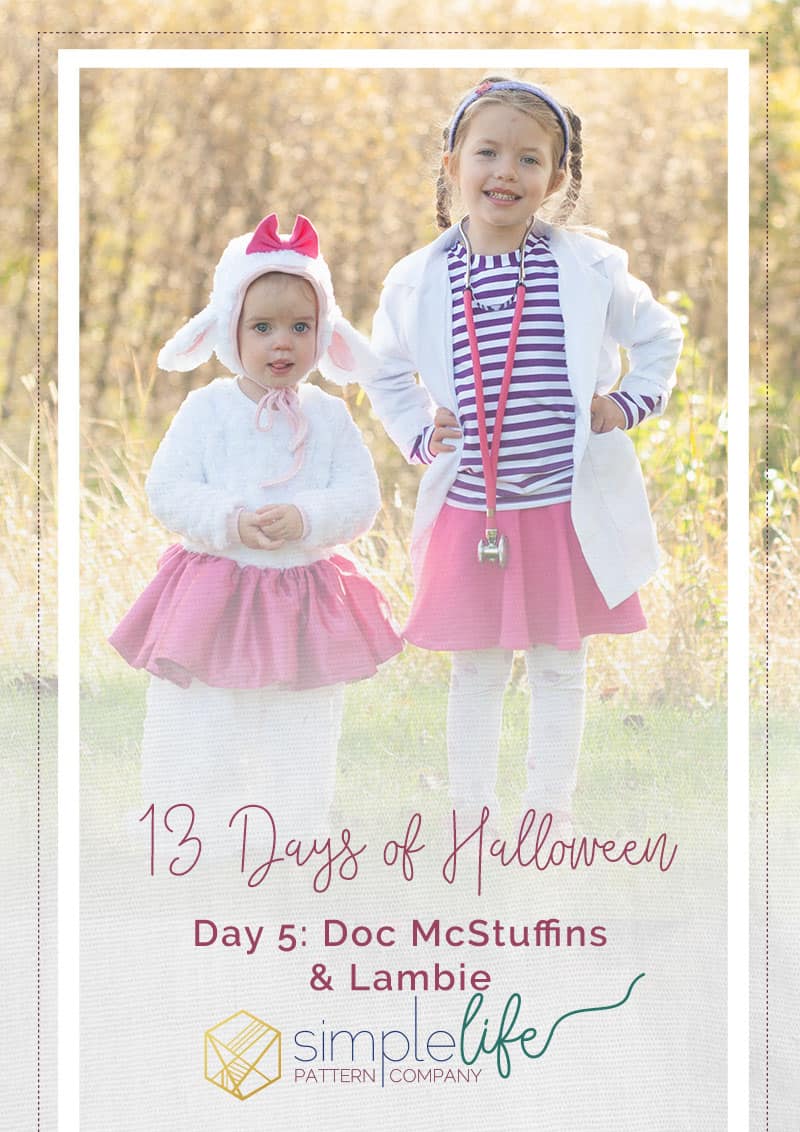
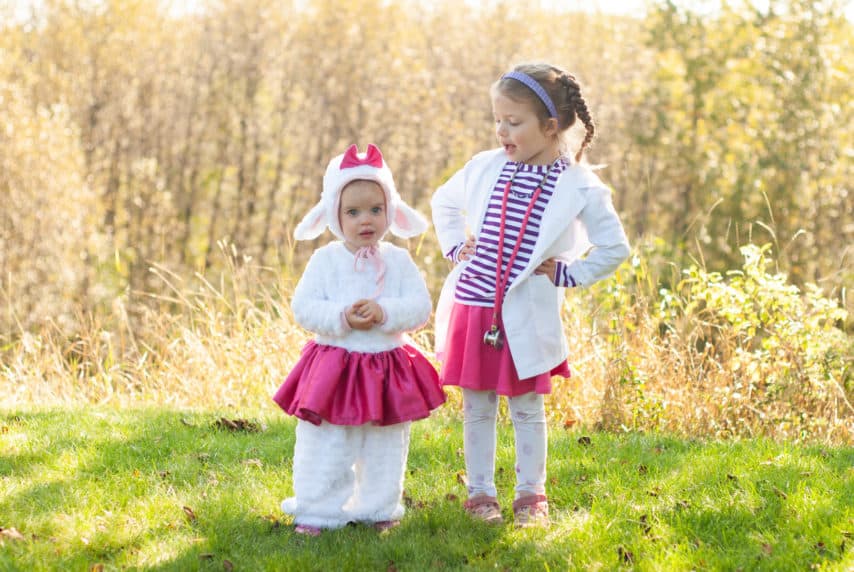
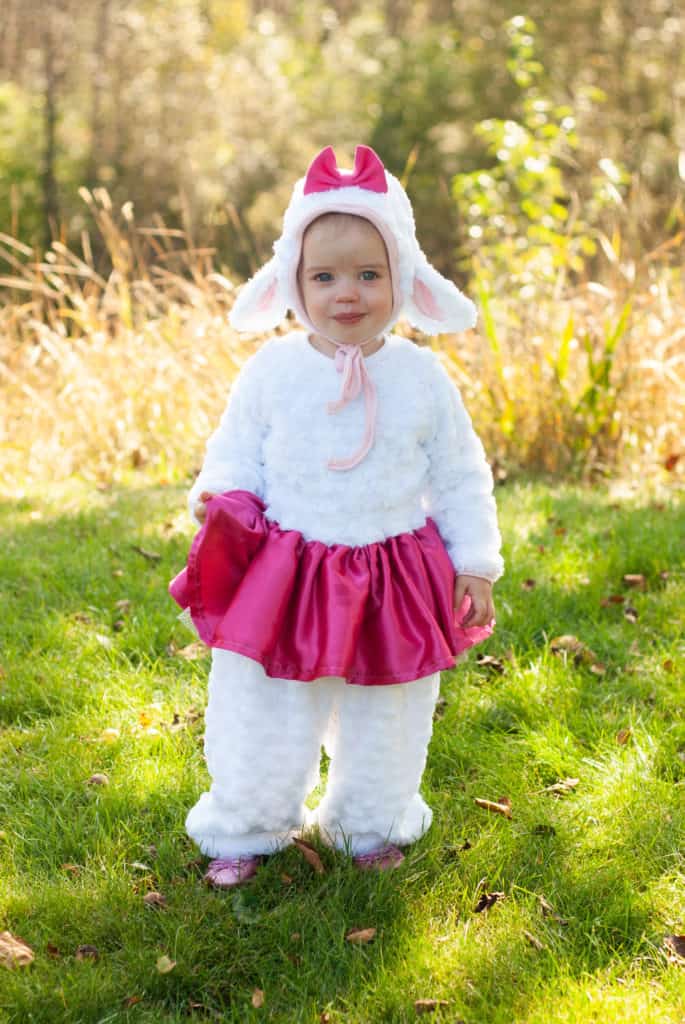
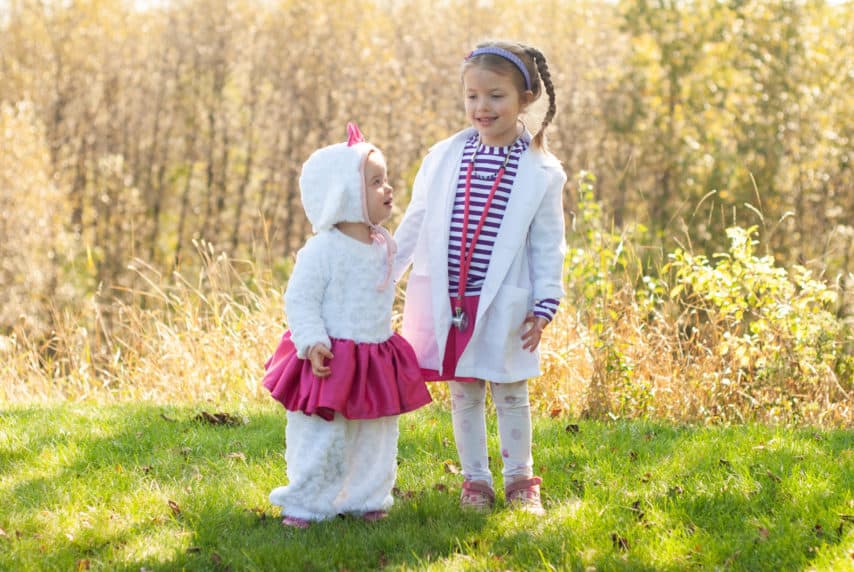
13 Days of Halloween: Doc McStuffins and Lambie
Hey! Thanks for joining us again for our 13 Days of Halloween! Today I’m going to walk you through how to create Doc McStuffins and Lambie costumes entirely from Simple Life Patterns. If you have never heard of the show “Doc McStuffins”, it is a great childrens’ TV show that teaches the importance of many hard-to-teach skills such as managing emotions, consent, embracing differences, staying healthy, and many other practical lessons. I love that my daughter looks up to a female doctor of colour, and that’s not something I will ever discourage. So, without ado, the Doc is IN!
Fabrics:
I am so proud to say that every piece of these costumes were purchased from small Canadian shops except the lab coat that was a Christmas gift a few years back.
For Doc’s costume:
Purple and white stripes – Cotton Spandex from Luna D’Avalon Tissus
Skirt – Bamboo Fleece from Black Rabbit Fabric
Leggings – Cotton Lycra from Harrowlane Textile Company
For Lambie:
Rosebud Minky “Fur” (non-stretch) – Luna D’Avalon
Silk and tulle – A local shop (Croft Enterprises)
Bamboo Ribbing – Black Rabbit Fabric
Doc McStuffins:
This part of the duo was definitely the easiest. With my Cotton Spandex stripes, I made a Cheyenne, sized up, for a looser look. Then, without any adjustments, I made a pair of Roxie’s skirted leggings in he skirt length with the polka dot Cotton Lycra and Bamboo Fleece. It was so simple and so effective. Luckily we had this lab coat in our dress-up box, but if you don’t have something similar, a plain white Tiegan will do the trick!

Lambie:
The Lambie costume is a little more involved, as it entails combining the Jayden and Juniper patterns.
From Jayden, cut:
- 1 simple bodice front
- 1 bodice back
- 2 simple sleeves
- 1 neck band
- 2 wrist cuffs
From Juniper, cut:
- 2 pant pieces
- 2 gathered top pieces (found in the cut chart)
- optional: 2 gathered top pieces in tulle
Choosing a size: Since my fabric had no stretch, I chose to size up, however, if you are using fabric with enough stretch, I recommend using the size suggested in the measurement charts.
Step 1:
Assemble the Jayden pieces as the tutorial suggests. Place the Juniper bodice front pattern piece on top of the assembled Jayden aligning the shoulders and trim the bottom off of the Jayden to make the proper juniper length.
Step 2:
Next, assemble the gathered top pieces from the Juniper pattern, gather, and attach to the bottom of the Jayden, right sides together. Note: the pieces will be less gathered as the Jayden bodice is much wider than the Juniper bodice.
Optional: If you are adding a tulle layer for a bit of volume, attach this next.
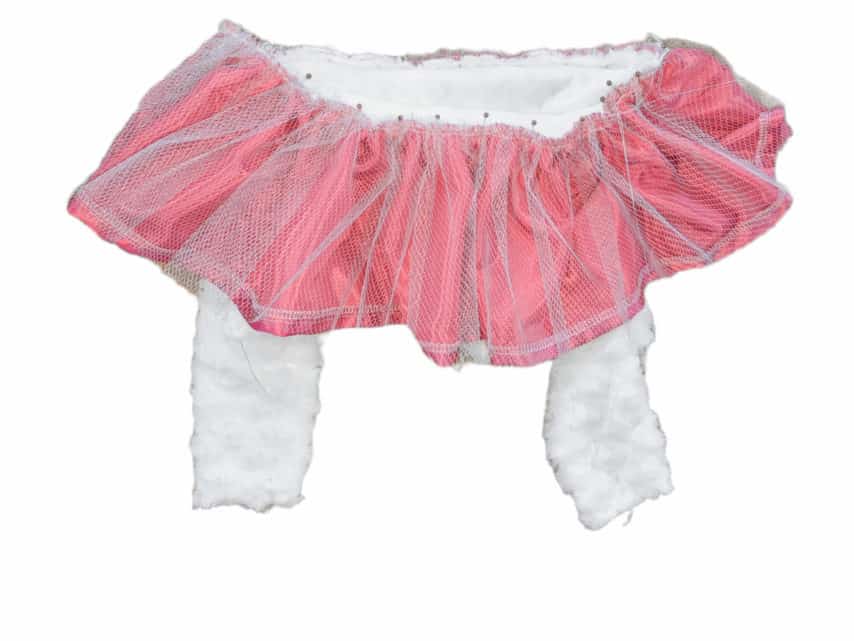
By now, the costume will look like the photo below.
Step 3:
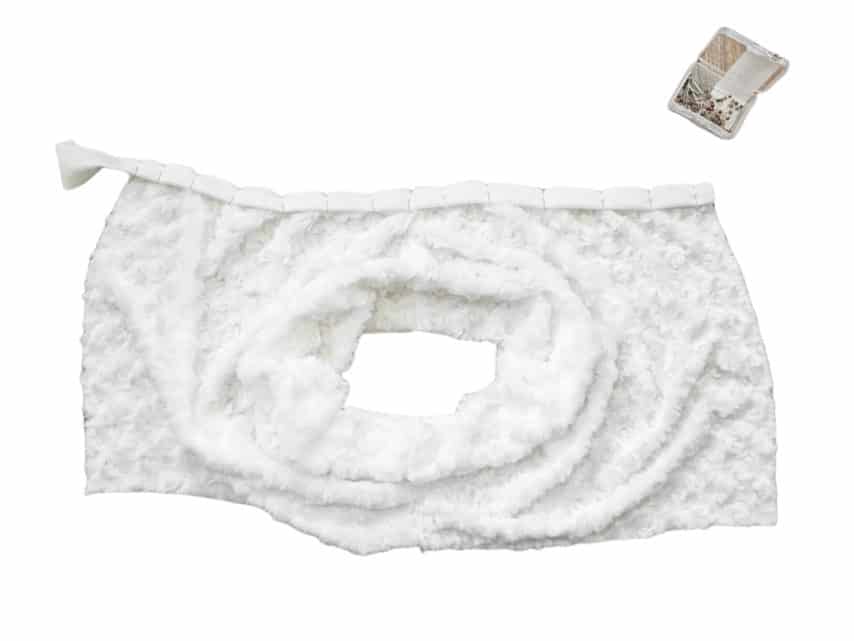
Now to assemble the juniper pant pieces. Since my fabric had no stretch, I added snaps to the inseam. However, if your fabric has enough stretch to get on through the neck hole, you could probably skip this step and sew up the inseam. Take your pant pieces and place them right sides together. Sew up both the front and back rise seams, but do not sew the inseam.
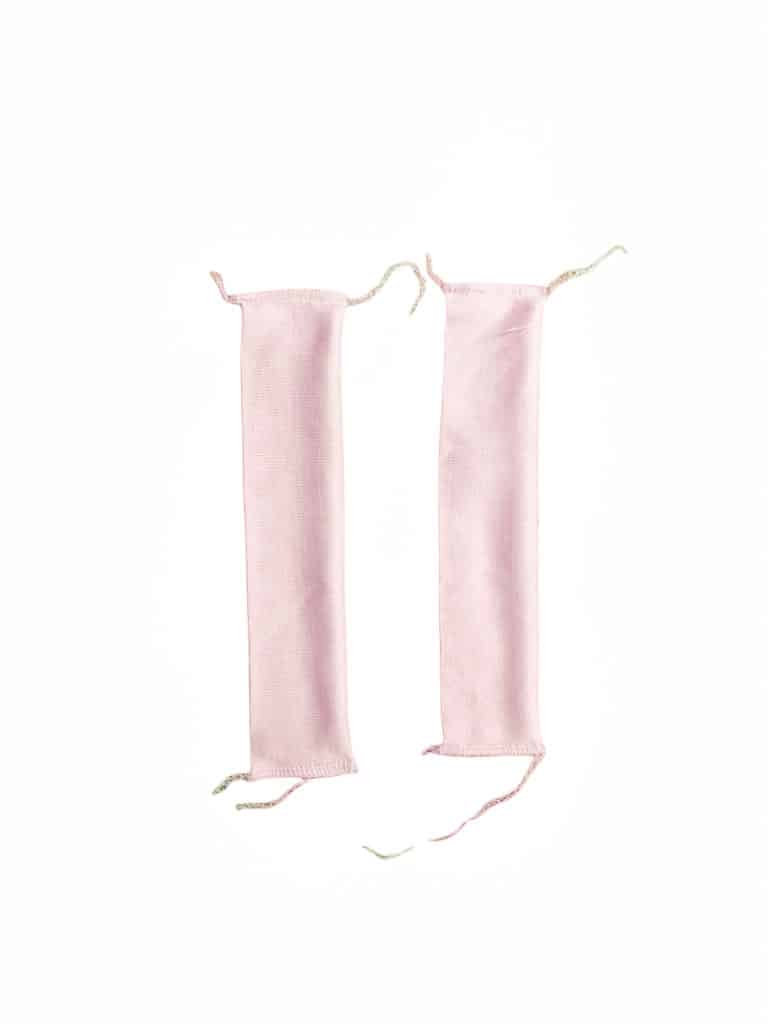
Measure the inseam with a measuring tape and cut 2 pieces of ribbing (or other fabric with slight stretch) that are the width of the inseam measurement by 1.5” in length. These will be the snap placket pieces.
Step 4:
Lay the Juniper pants out so that the inseam lies flat (as shown in the photo below). Fold one of the snap placket pieces in half, wrong sides together, hotdog style. Pin to the front inseam with raw edges together. You may have extra fabric an the end to trim off. Sew or serge in place, and repeat with the back inseam.
Step 5:
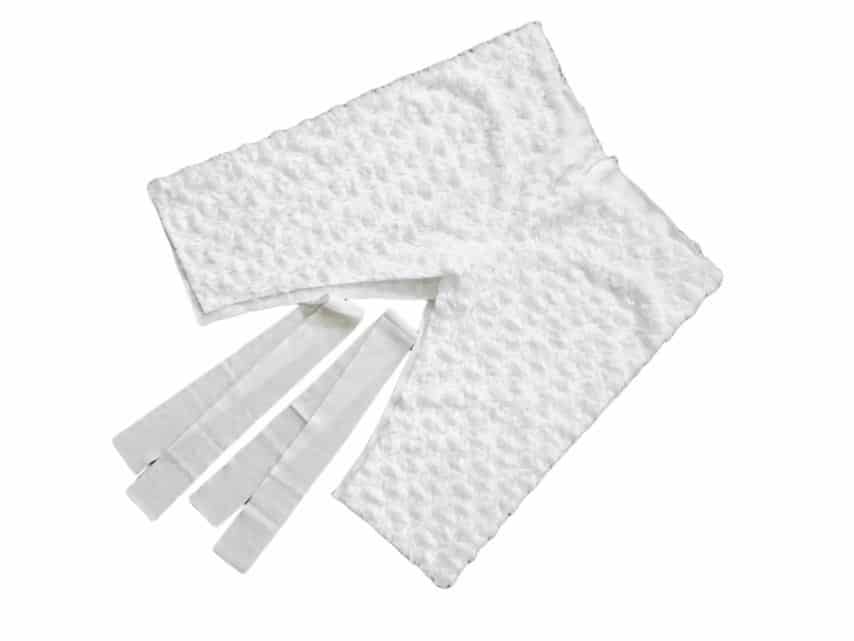
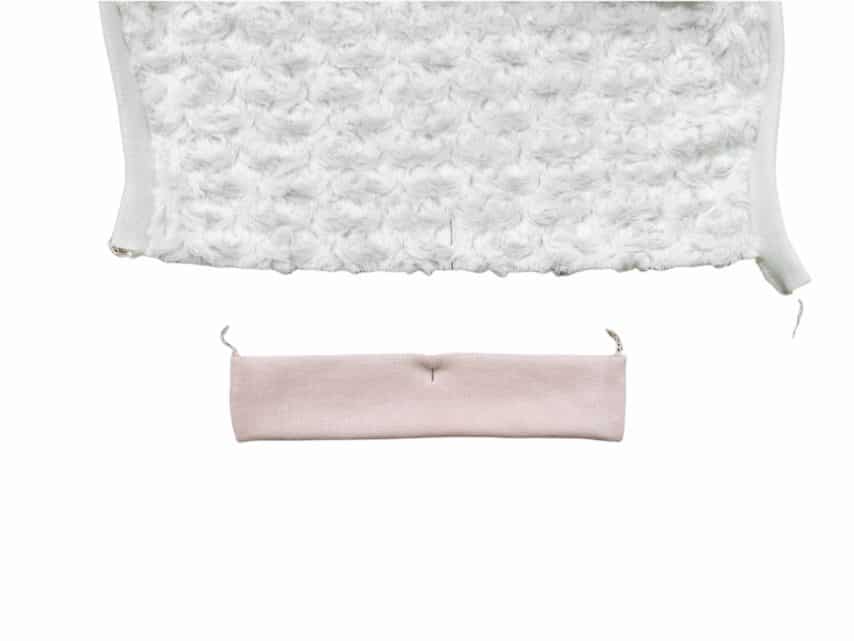
This is another optional step. I added cuffs to my Juniper pants to keep my young one from tripping while treating, but you could opt to just hem. If you want to add cuffs, measure the bottom of the pant leg and multiply by 0.7 . This will give you the width of your band. For the length, I chose a small length so as not to add too much length to the pant. I chose 3” for my width. This will give a 1.25” cuff when serge on.
fold cuffs hotdog style with right sides together and sew/serge the short raw edges as shown in the photo below. Flip them right side out and press.
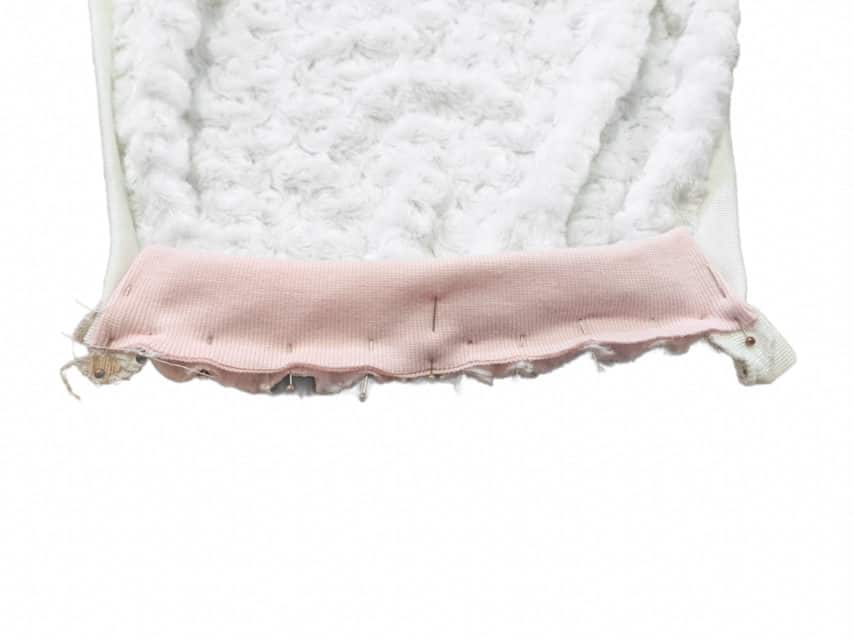
Depending on fabric, you may have to gather the bottom of the pant leg to fit the cuff. Mark the middle of the pant leg as well as the cuff, and stretch (or gather) to fit.
Pin and sew/serge. Be sure that cuffs go right to the ends of the snap placket pieces we sewed on.
Step 6:
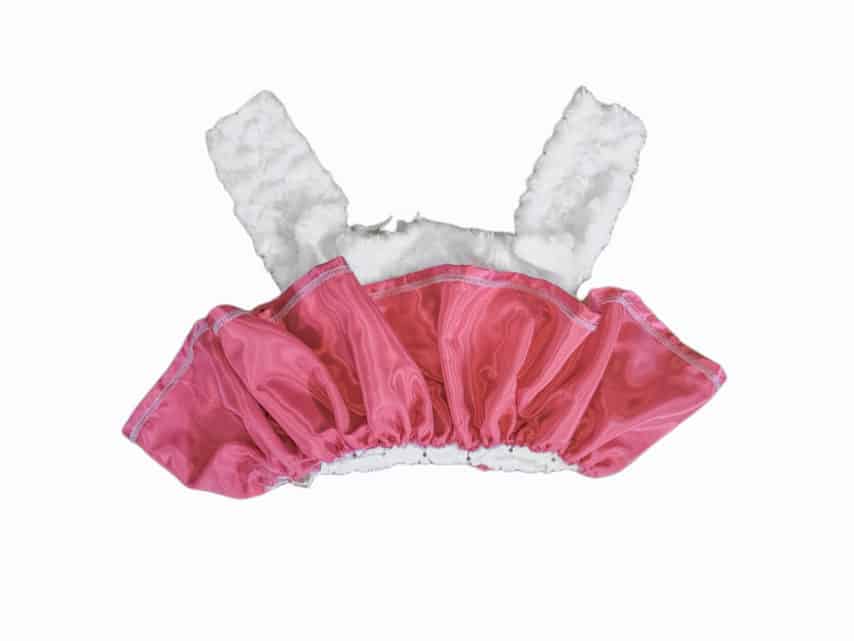
Finally, gather your Juniper pants (very slightly) to fit Jayden’s bodice. Pin and sew/serge in place. Since I sized up and my fabric had no stretch, I sewed it on with a 1” seam allowance first and then finished the raw edges. Then I flipped the finished edges up toward the Jayden bodice and top sitiched the edge (leaving a 1” gap) for a 3/4” elastic casing. If you are not familiar with this method, the tutorial for Piper has an excellent description.

Step 7:
The last step for creating Lambie’s body is to add the snaps to the snap placket. I highly recommend open metal rings for this project.

And there you have it! The Lambie body is complete! Next I’ll show you how I made the hat.
Lambie Bonnet:
For this part of the costume, you will need the FREE Daisy Bonnet found here. I used the rosebud minky for the outer, and Bamboo Lycra for the lining.
Step 1:
Cut out all the pieces needed. I chose to bind the front of the bonnet, but you could skip the binding and make it as the tutorial suggests. For the binding, I measured the face opening, and added 20”. This will give the width of the binding. For the height of the binding, I used 1.5”.
Step 2:
Assemble the bonnet lining and outer as suggested in the tutorial. With right sides together, sew the back neck edges of the lining and outer together. Flip right side out and press. Add your binding.
Step 3:
Cut out 4 outer ears using the template below from your outer bonnet fabric. Cut 2 outer ear pieces from heavy iron-on stabilizer. Cut 2 inner ear pieces using a knit that does not fray. Iron the stabilizer pieces onto two of the outer ear pieces. Center the inner ear onto the stabilized outer ear and top stitch all the way around. Repeat with other inner ear. Take one outer ear piece with inner ear attached and one outer ear piece without, and sew them right sides together, leaving a gap for turning. Repeat with other ear pieces.
Step 4:
Take the small ends of the assembled ears and fold them in half. Baste across the bottom. For positioning the ears, I tried it on my girl and marked where I wanted them to sit. Then, with the wide end up the ear toward the bottom of the bonnet, I sewed the small end onto my marks. Add a bow, and you have a perfect Lambie bonnet!

Thank you so much for reading my tutorial on making your own Doc McStuffins and Lambie costumes. I hope you come back again Wednesday for another day of our 13 Days of Halloween!
“I’m so lucky to have a Lambie like you”
Victoria Strong 💕