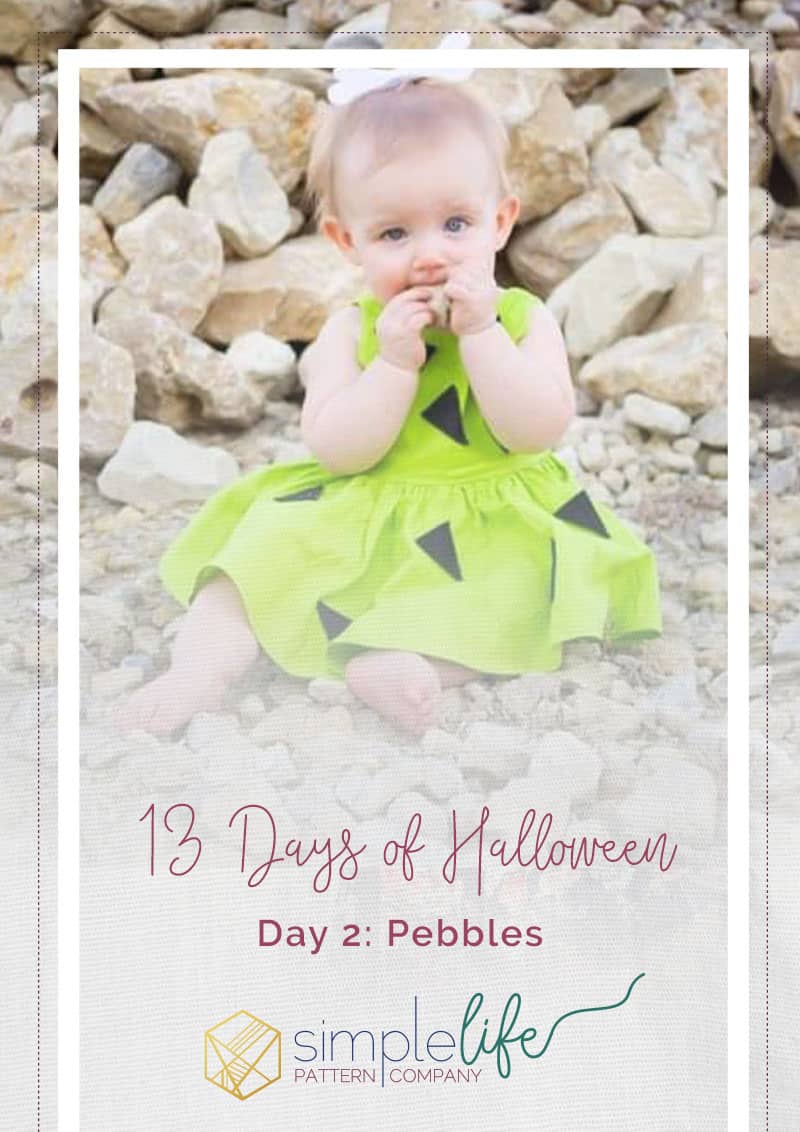
13 Days of Halloween: Pebbles
Day 2 of the 13 Days of Halloween segment is a “Yabba Dabba Doozie!” This quick and easy Pebbles inspired sew comes together faster than you can say “Wilma!”
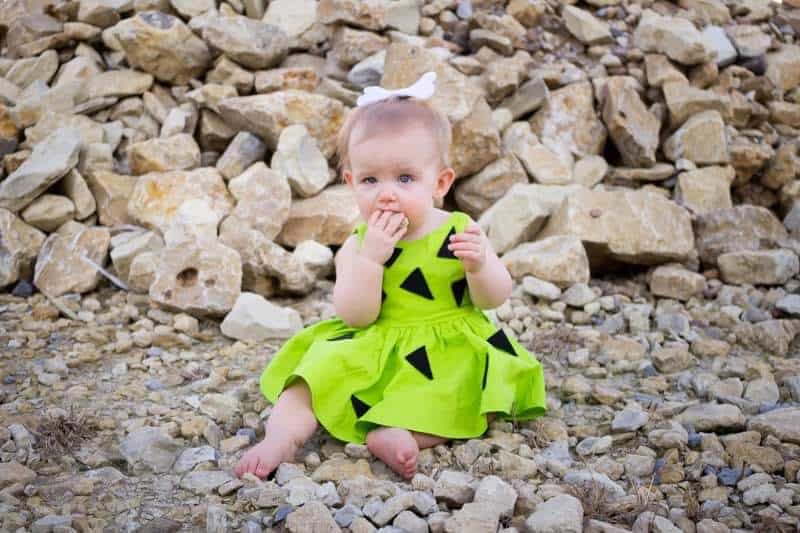
Ever since I had my oldest daughter we’ve always had a theme for our Halloween costumes. What could be easier than the Flinstones? Fred, Wilma, and Pebbles costumes can be created with some simple, solid cotton fabric. To create your Pebbles look let’s get started with pattern selection.
Pattern Selection
I went really basic with this costume and did not do any modifications of the patterns I selected. For the sleeveless top, I chose Molly. With the classic silhouette and scoop back Molly creates a stunning and memorable look. For the bottoms I chose the Rosie diaper cover. If you are a fan of ruffles, Rosie provides a great opportunity to add some girly flair.
Creating the Costume
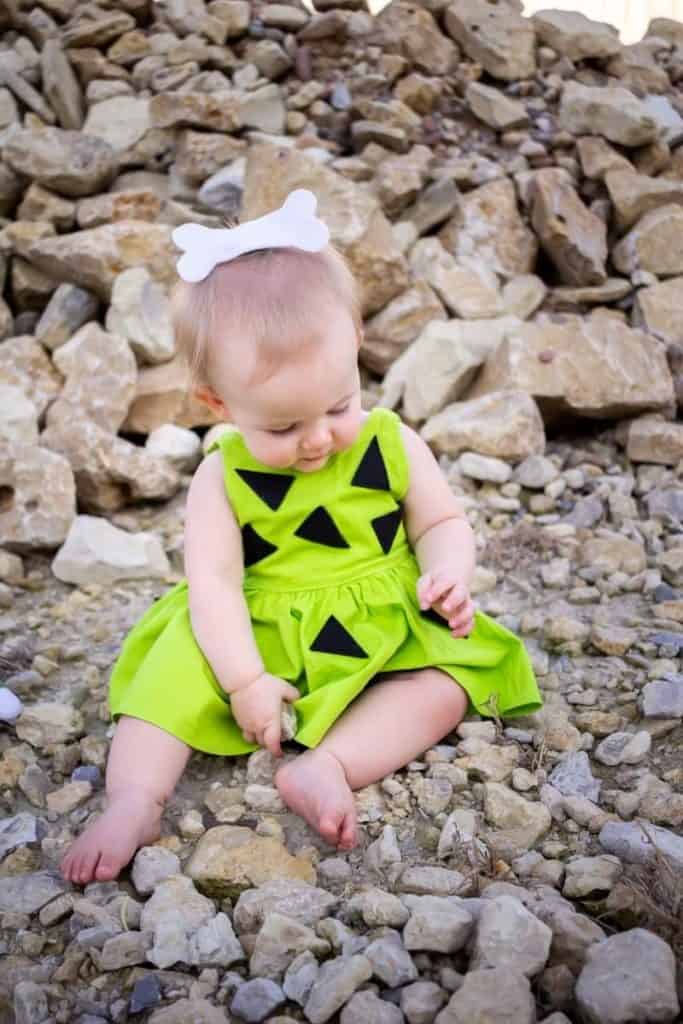
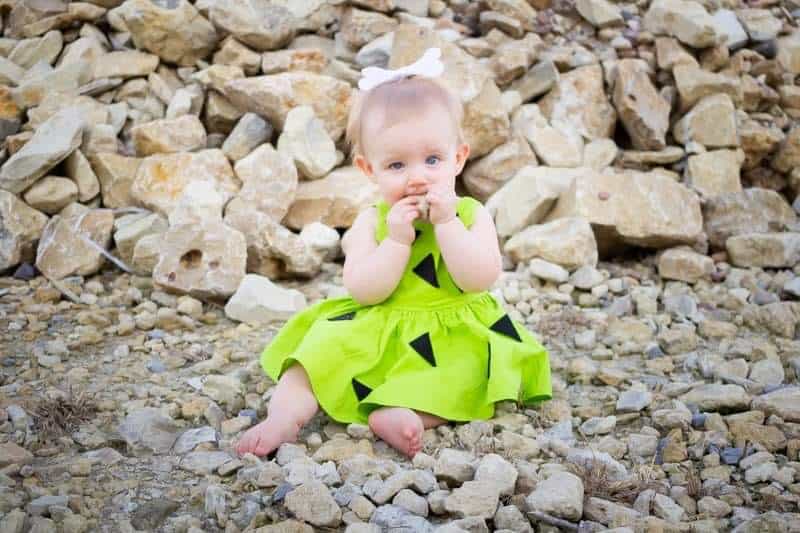
To create this nostalgic cartoon character I chose to use Kona cotton solids. For the top of the costume I chose lime; for the bottoms I chose turquoise.
Use the Molly and Rosie pattern tutorials to sew your top and bottom pieces. Make sure to cut a shorter top length if you want the Rosie bloomers to show.
The iconic triangles can be added to the top in several ways. I chose to cut triangles from solid black felt and sew them to the bodice and skirt. This gave the fabric a fun texture. If you don’t want to use felt you can also use black heat transfer vinyl and iron the triangles onto your fabric. The last option is to use fabric paint and paint the triangles onto your fabric. This technique can be a little messy so make sure you don’t have any little hands trying to help! No matter which technique you chose, all three options are great to have in your crafting arsenal for adding designs to solid fabric.

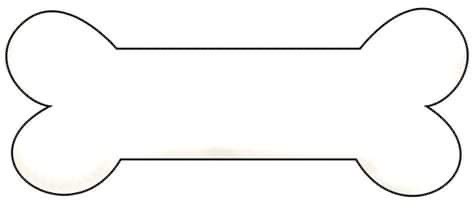
The Bone Bow
The bow is a must have to top off your Pebbles costume. I used this bone template and traced it onto some white felt. I then cut the shape out and glued it to an alligator clip.
For a more realistic look, cut two bone shapes from your felt. Place the pieces right side facing and sew around the perimeter with a 1/4” seam allowance. Leave an inch open to turn the bone right side out. Trim the seam allowance with pinking shears and turn right side out. Stuff with batting or foam and sew the one inch opening closed with a hidden stitch. Glue the bone to a headband or clip of your choosing.
-Chauncey
To see our previous “13 Days of Halloween post: