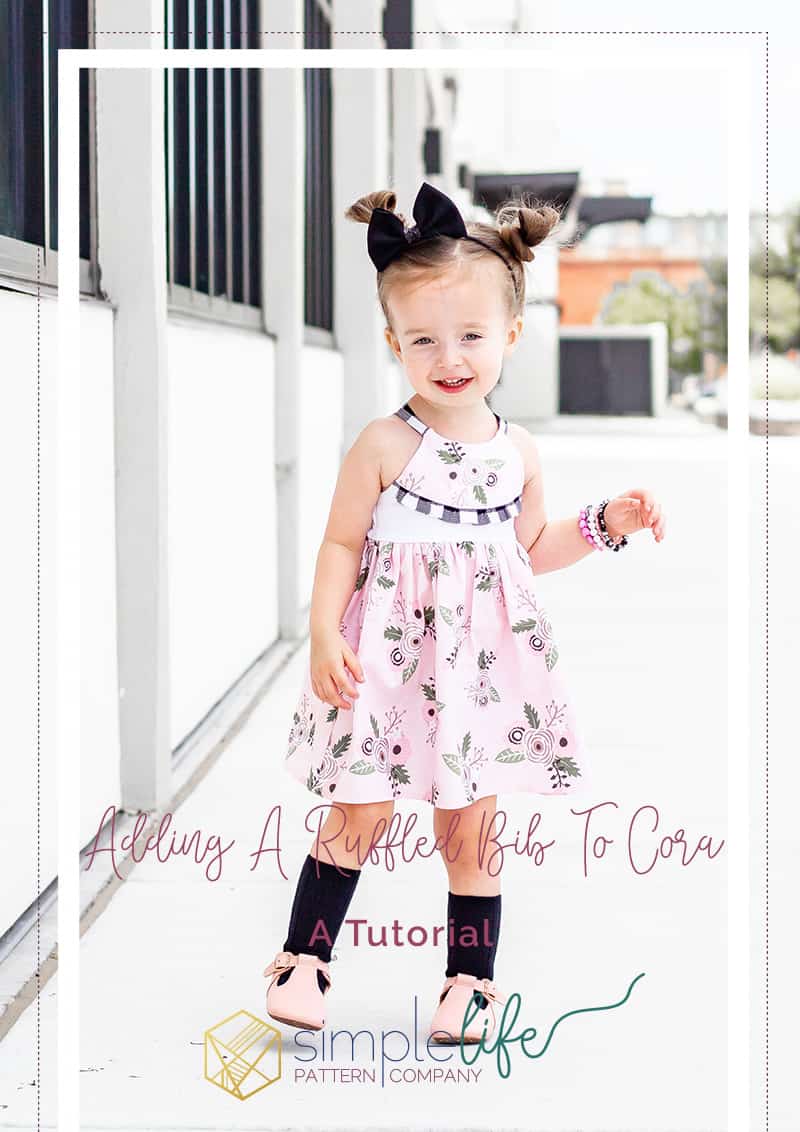
Adding A Ruffled Bib To The Cora Bodice
I am so excited to show you all how to add a ruffled bib to the Cora bodice. I think it adds sweet vintage charm. Plus, you can never have too many ruffles! Get creative with your bib panel by fussy cutting your fabric, adding hand embroidery, an applique, or cute buttons. So let’s get started.
Adjusting Your Pattern Piece
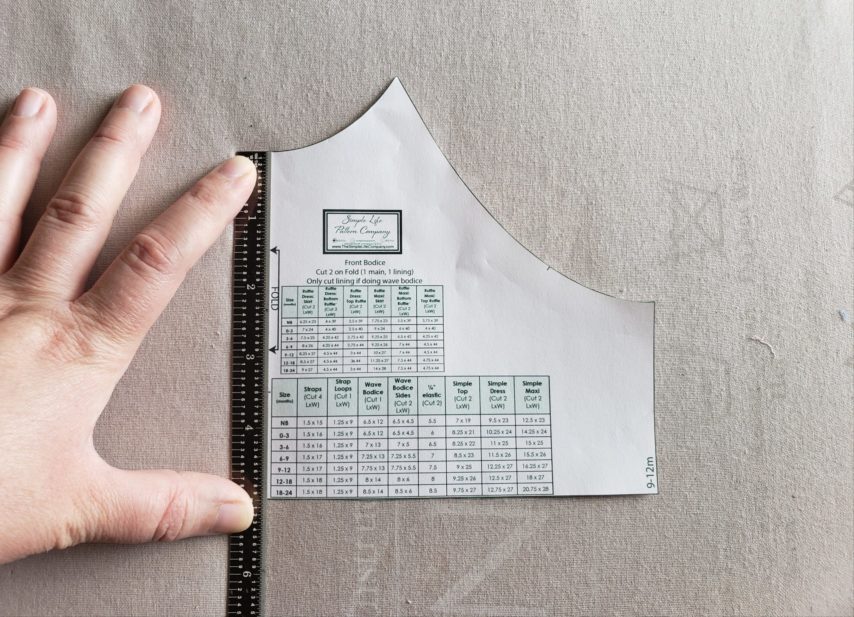
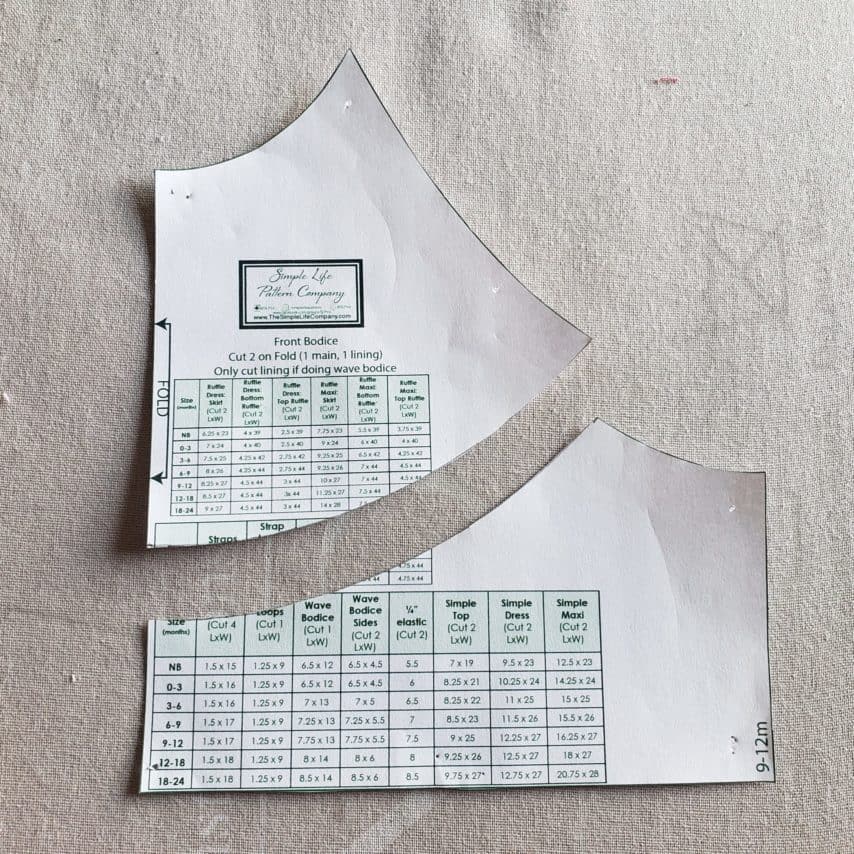
The first thing we need to do is alter our front bodice pattern piece. With your pattern piece lying in front of you measure down the center bodice along the fold line. For example, a size 9/12m is 5″ long. Next we need to figure out where to make our first guide mark. The guide mark will be 70% of the length so 5″ x 0.70 = 3.5″. The first guide mark will be made at 3.5″ down from the top for a size 9/12m.
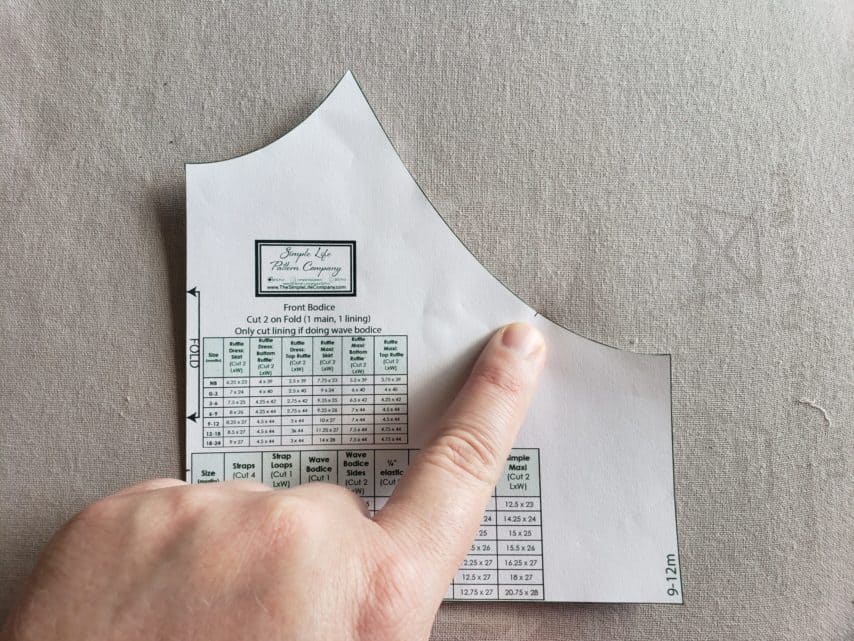
Now we need to measure the length of our arm curve. I find it easiest to mark 1″ increments along a curve for the most accurate measurement. For size 9/12m the length of the arm curve is 5.4″. Again we are going to take 70% of that measurement to place a second guide mark. As an example 5.4″ x 0.70 = 3.78″. To make this easier to measure, I rounded down to 3.75″ and made a mark along the arm curve.
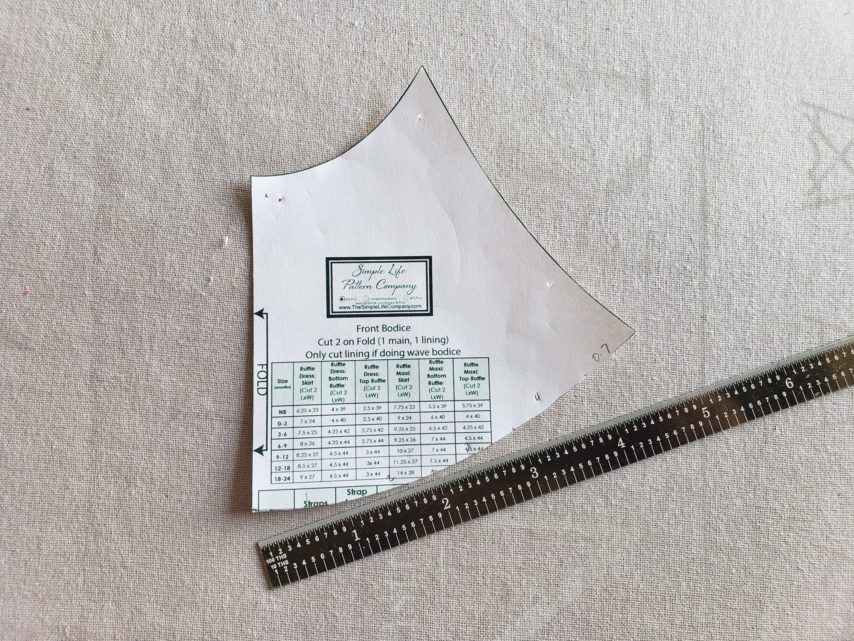
Now we need to connect our two guide marks. You can choose to draw a straight line or a curved line. I grabbed a dinner plate and used it as a guide to mark a curved edge between the two guide marks.
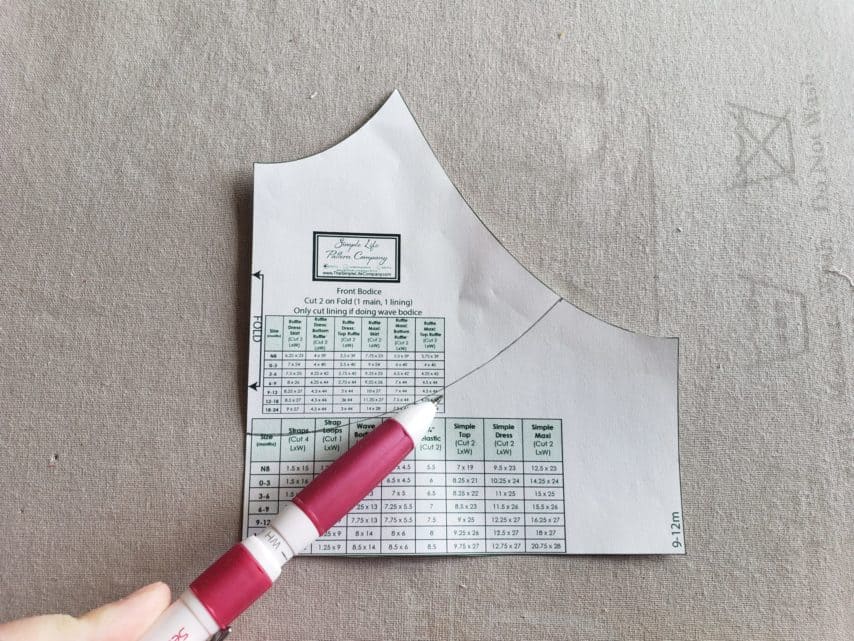
Finally, cut along the curved line. This will give you your bib pattern piece. You can throw the bottom piece away. You will only need the top curved portion for cutting out your bib piece.
Figuring Ruffle Length
Now that we have our bib pattern piece, we need to figure out how long to cut our ruffle piece. With your bib pattern piece in front of you, measure the length of the bottom curved edge. Again, I find it easier to make 1″ mark increments when measure on a curve. As you can see in the photo below for a size 9/12m bodice the bottom curved edge measure 4.7″.
Remember, when we cut out our fabric we will be cutting on the fold. So the first thing we need to do is take our curved edge measurement and multiply by 2. For example, 4.7″ x 2 = 9.4″.
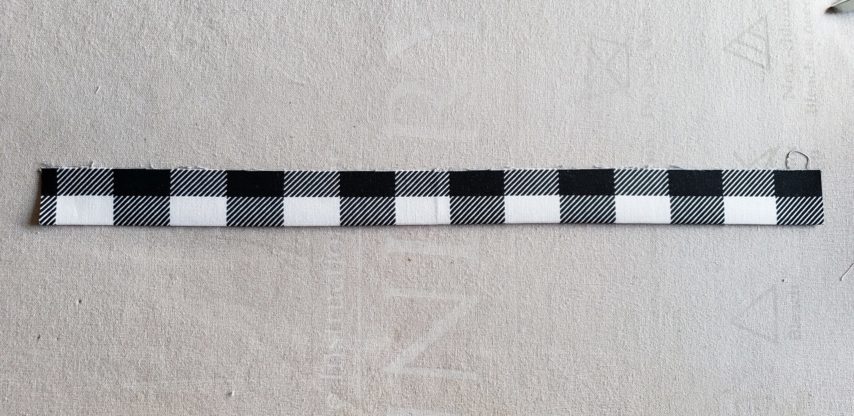
To create a ruffle length we need to take that measurement and multiply it by 1.5. So, 9.4″ x 1.5 = 14.1″. For simplicity I rounded the number up to 14.25″ (it is always better to have a longer ruffle measurement than too short). I then cut a ruffle piece that measures 2″ x 14.25″. No matter what size you are making your bib ruffle should be cut at 2″ wide.
Note: If you have trouble with figuring out the math for any given size, please reach out to me in the Facebook fan group. I know there are a lot of measurements and multiplication involved. I am here to help you create the Cora of your dreams!
Cutting Your Fabric Pieces
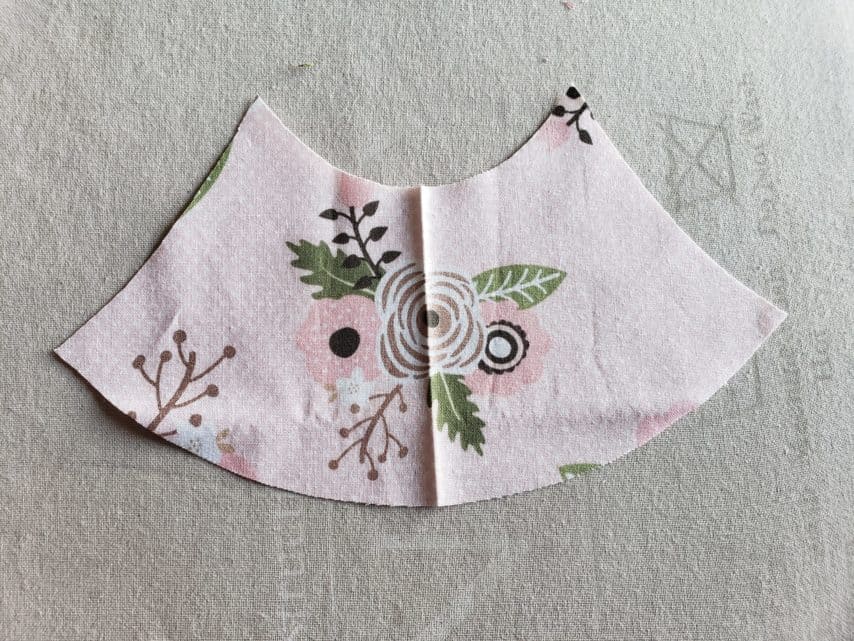
Now we can cut our fabric pieces! Use the bib pattern piece you created to cut your bib fabric piece and the ruffle measurement you figured from the previous step to cut your ruffle piece. Note: you will still be cutting your bib piece on the fold, just as you would for an unaltered pattern piece. You will also need to cut an unaltered front bodice main and lining to attach your finished bib to.
Adding The Ruffle
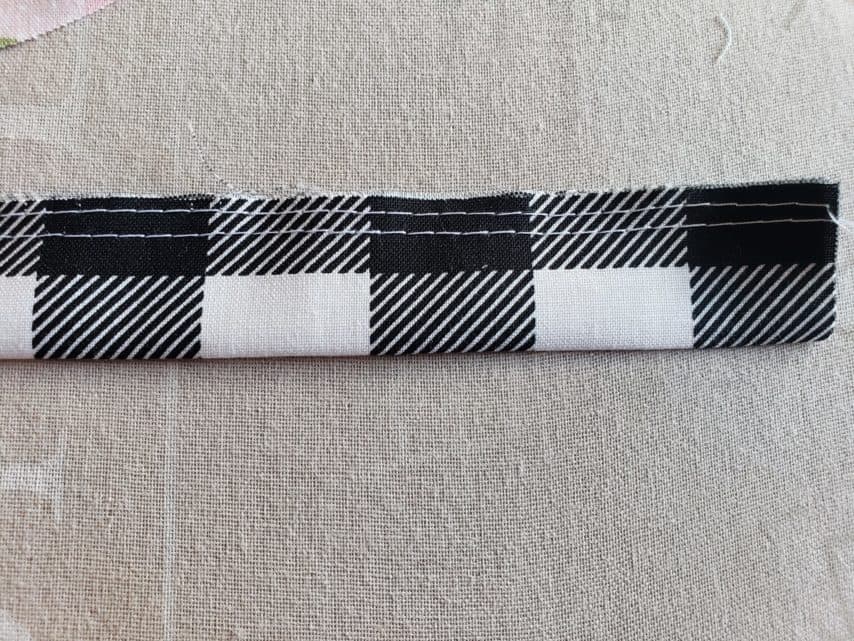
Begin by folding the ruffle piece in half lengthwise so that wrong sides are touching.
Sew two rows of gathering stitches along the top raw edge of your ruffle piece. I sewed one row at 1/8″ and the second row at 1/4″ from the top raw edge.
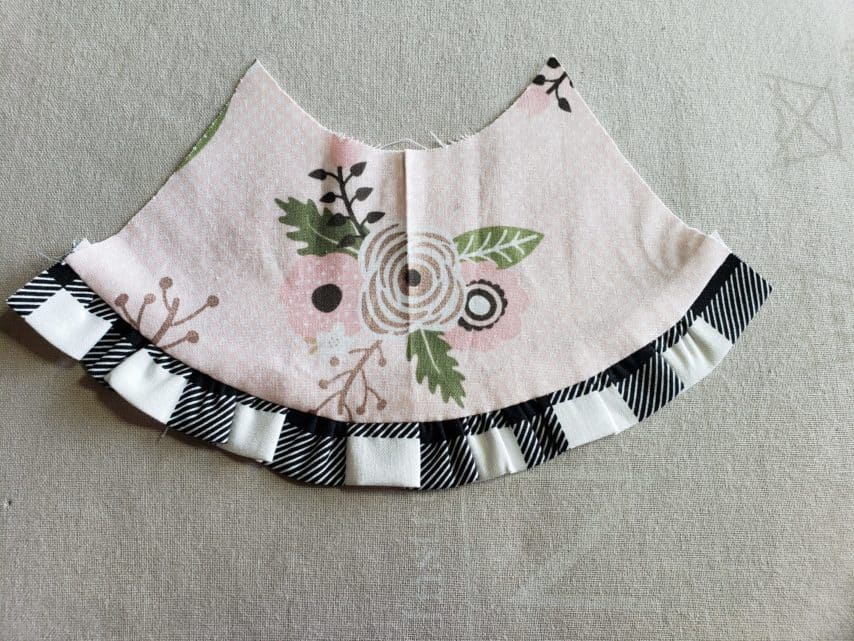
Now, find the center of your ruffle piece and pin it to the center of the bottom bib piece so that raw edges are matching. Pull your gathering threads until the ruffle is the same length as the bottom curved edge of your bib piece. Pin in place. Sew the ruffle to the bib using a 3/8″ seam allowance.

Push the seam up toward the neckline of the bib piece and iron flat.
Adding the Bib to the Front Bodice
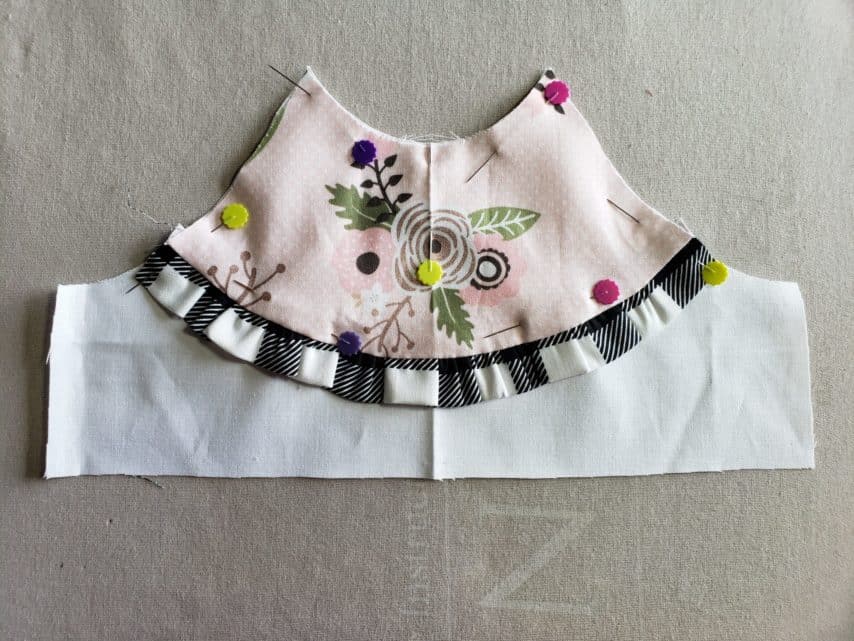
Place the ruffled bib piece on top of your unaltered front bodice main fabric so that right sides of both pieces are facing up. Match up the neckline and arm curves of the two pieces and pin in place.
Sew a basting stitch along the arm curves and neckline to secure your bib to your bodice main fabric. Topstitch the bib to the bodice main 1/8″ above the ruffle seam.
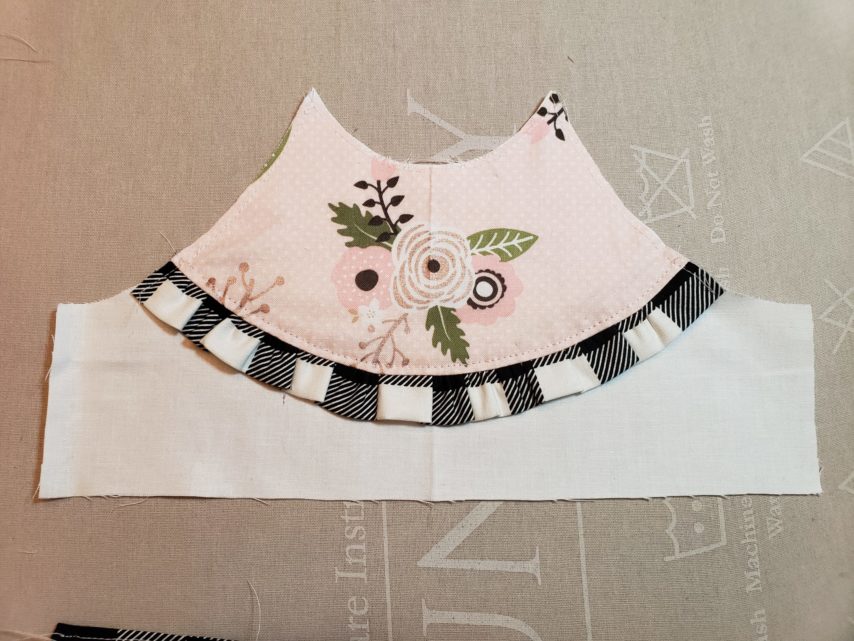
This will give you a solid piece which will become your bodice main. You can now finish your Cora creation using the original instructions starting on step 11 of the tutorial.
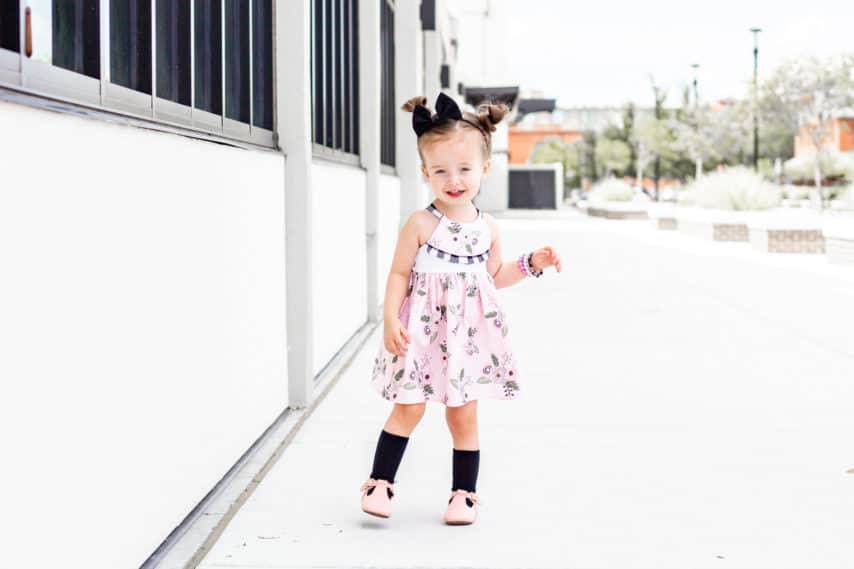
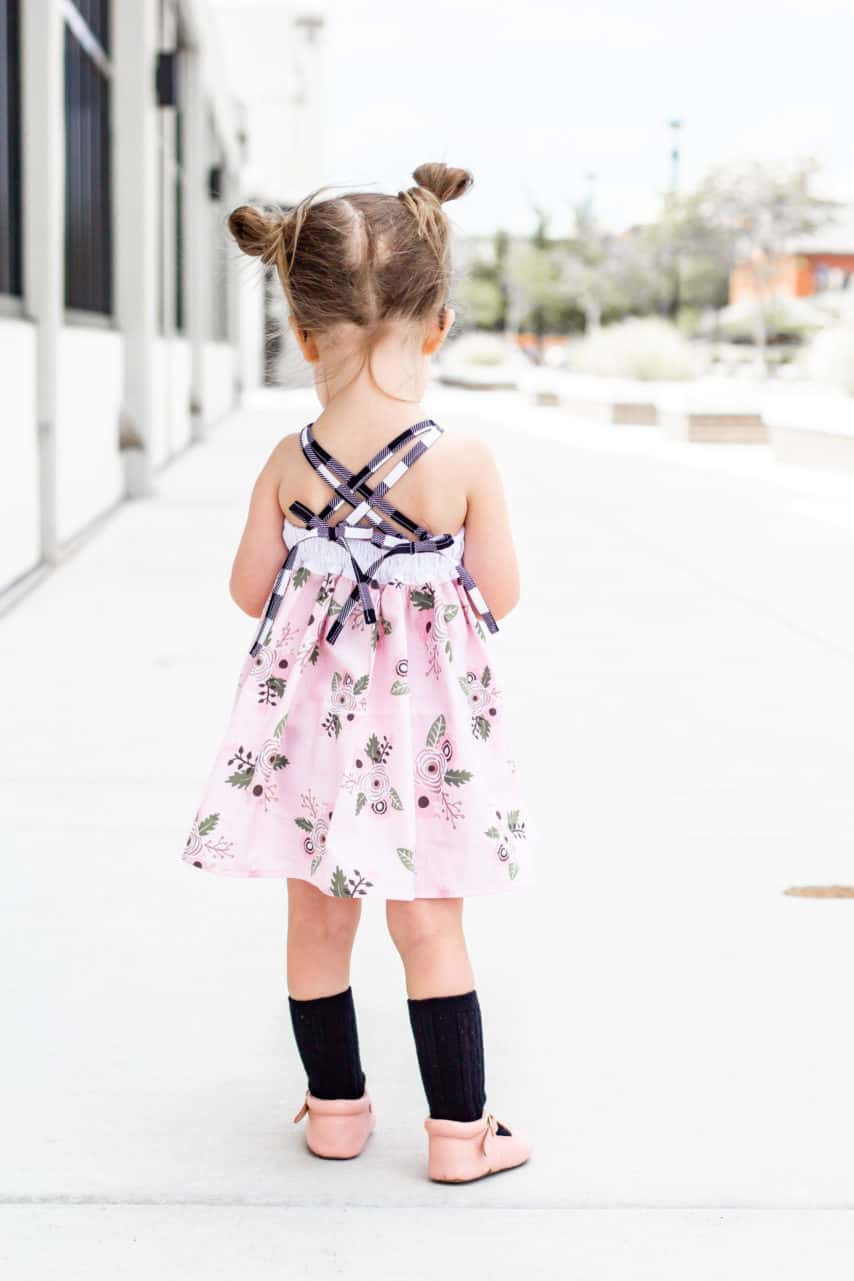
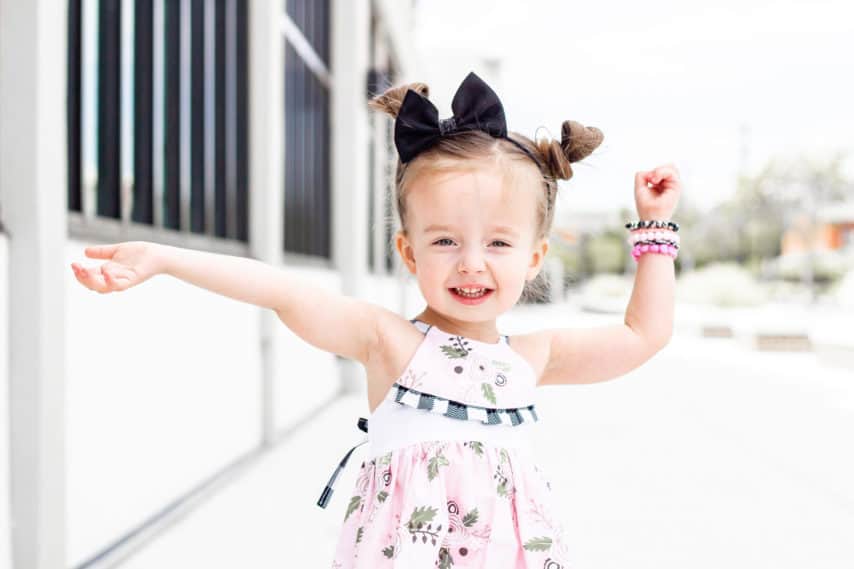
Finished Look
I love the finished look of Cora with a ruffle bib bodice. I can’t wait to make a version with hand embroidery next. Make sure to tag me on any of your makes using this fun tutorial! I am always so excited to see what every makes!
Thank you
I would like to thank Riley Blake Designs for their fabric sponsorship of this tutorial. The fabric used in this tutorial is from the Modern Farmhouse collection. This stunning collection consists of metallic floral prints, buffalo check prints, fern leaves, script, and geometric designs. The color palette is sure to entice you in colors of black, white, coral, sage, and green. Be sure to check out their website for upcoming fabric collections, current collections, and lots of fun free patterns!
Happy sewing,
Chauncey