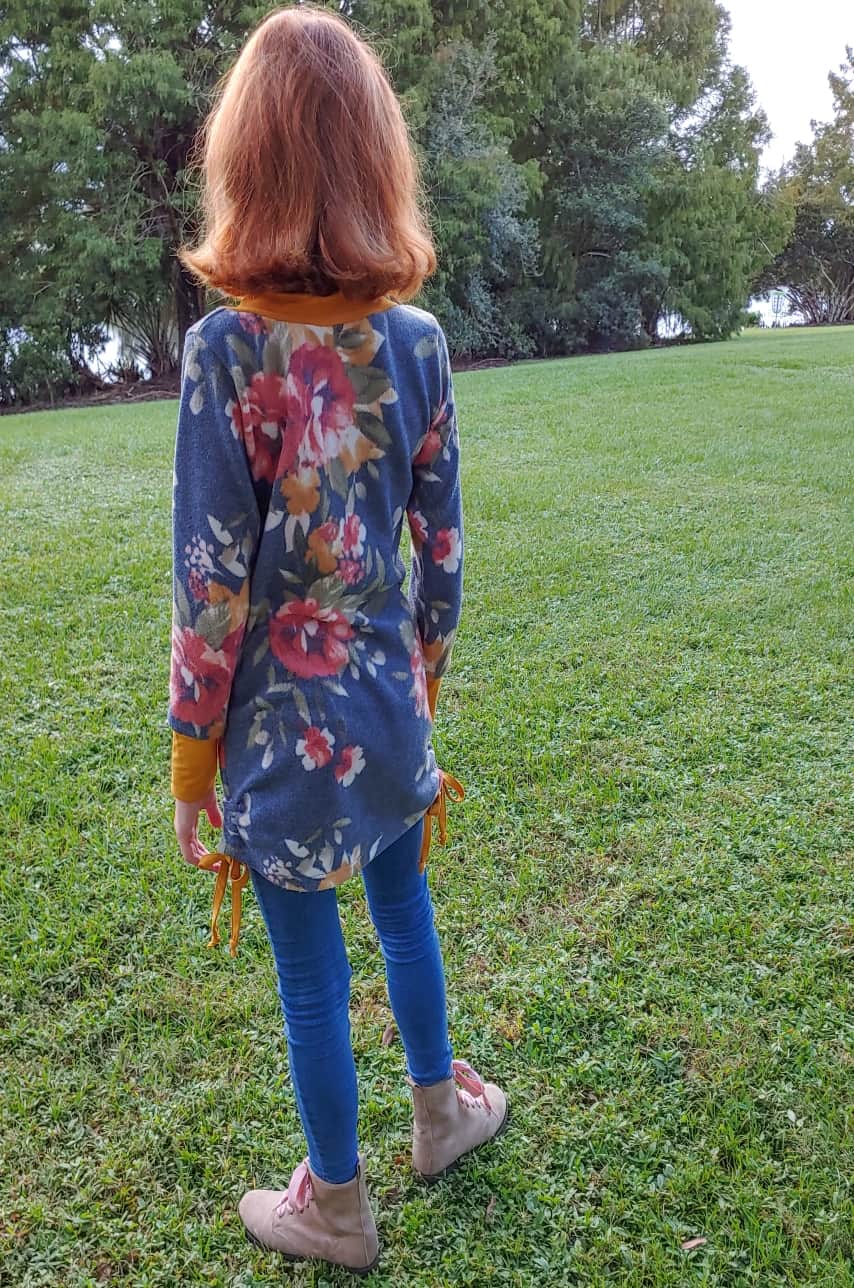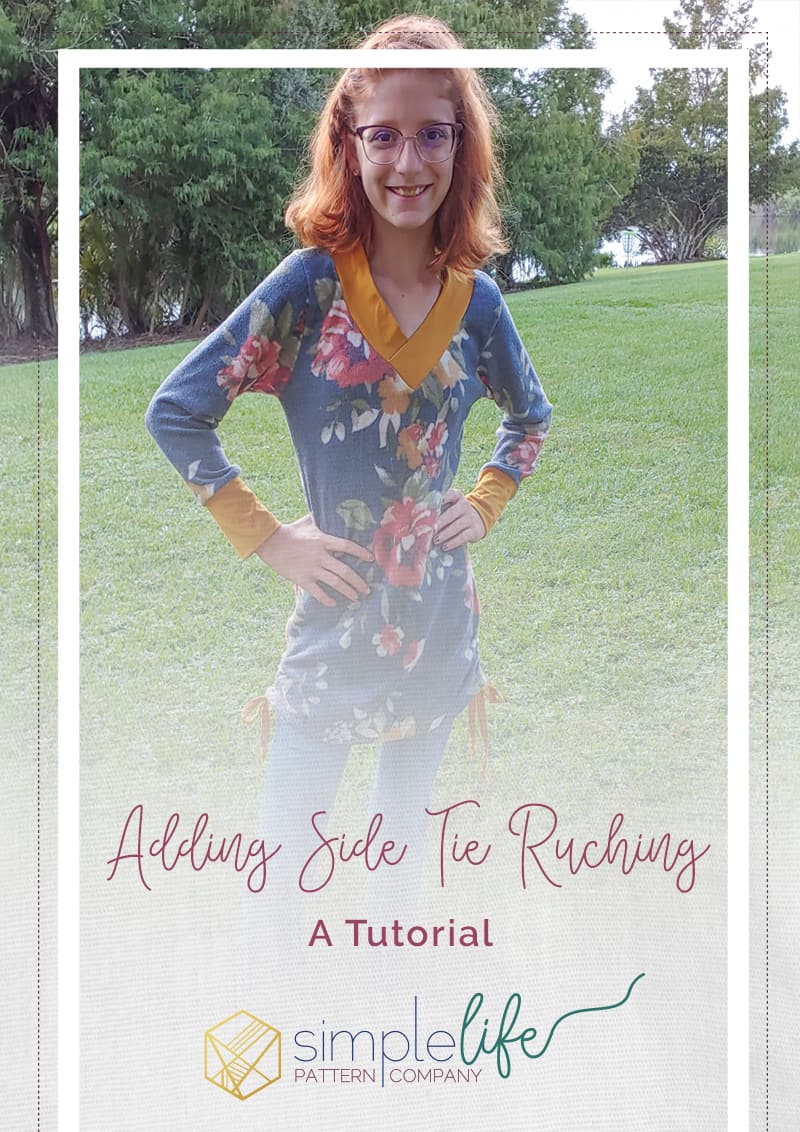
How to Add a Side Tie Ruching to Sapphire {A Tutorial}
Hi, it’s Amanda on the blog today to bring you a super easy hack! We are going to show you how to add side tie rouching to the Sapphire V Neck Sweater (or to your favorite top pattern). October is ‘Keeping it Cozy’ month here at SLPCO and Sapphire is on sale all month long.
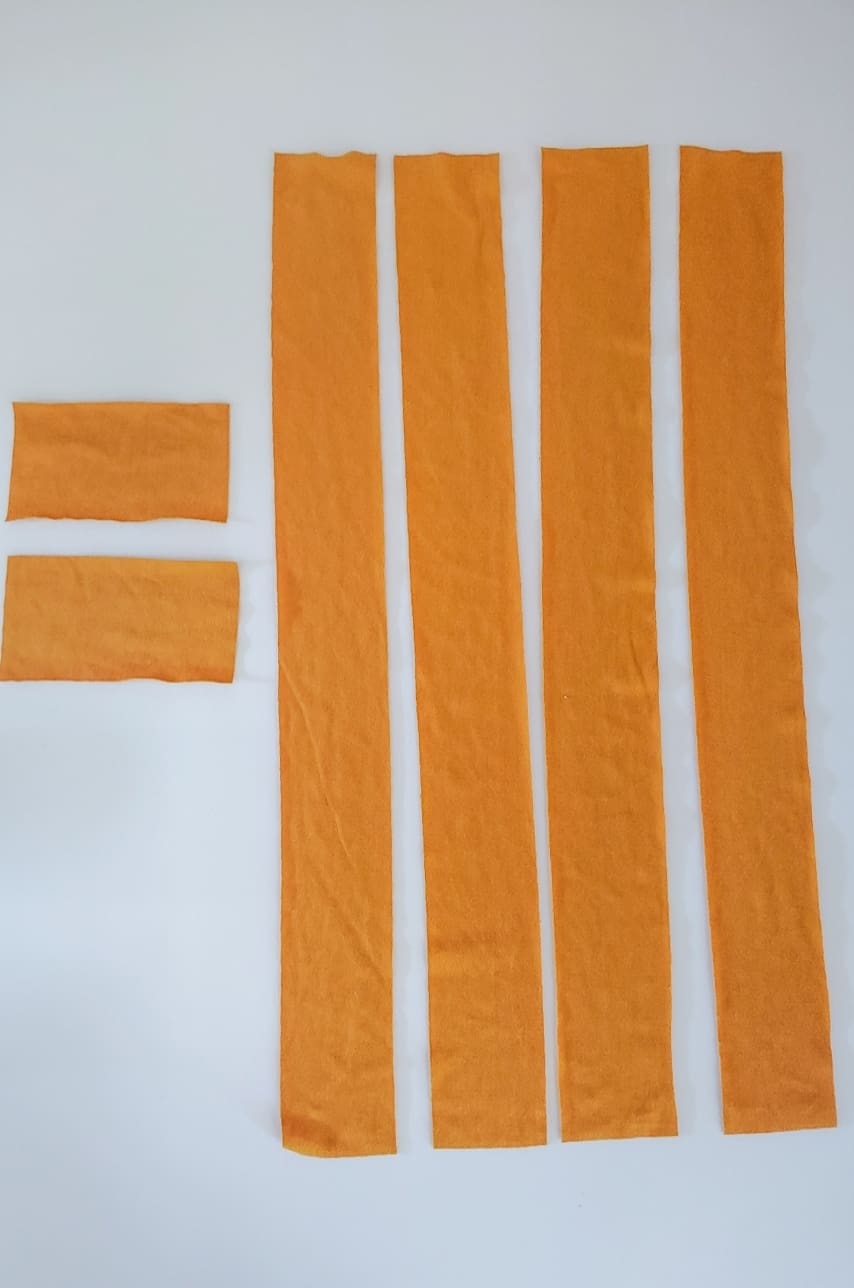
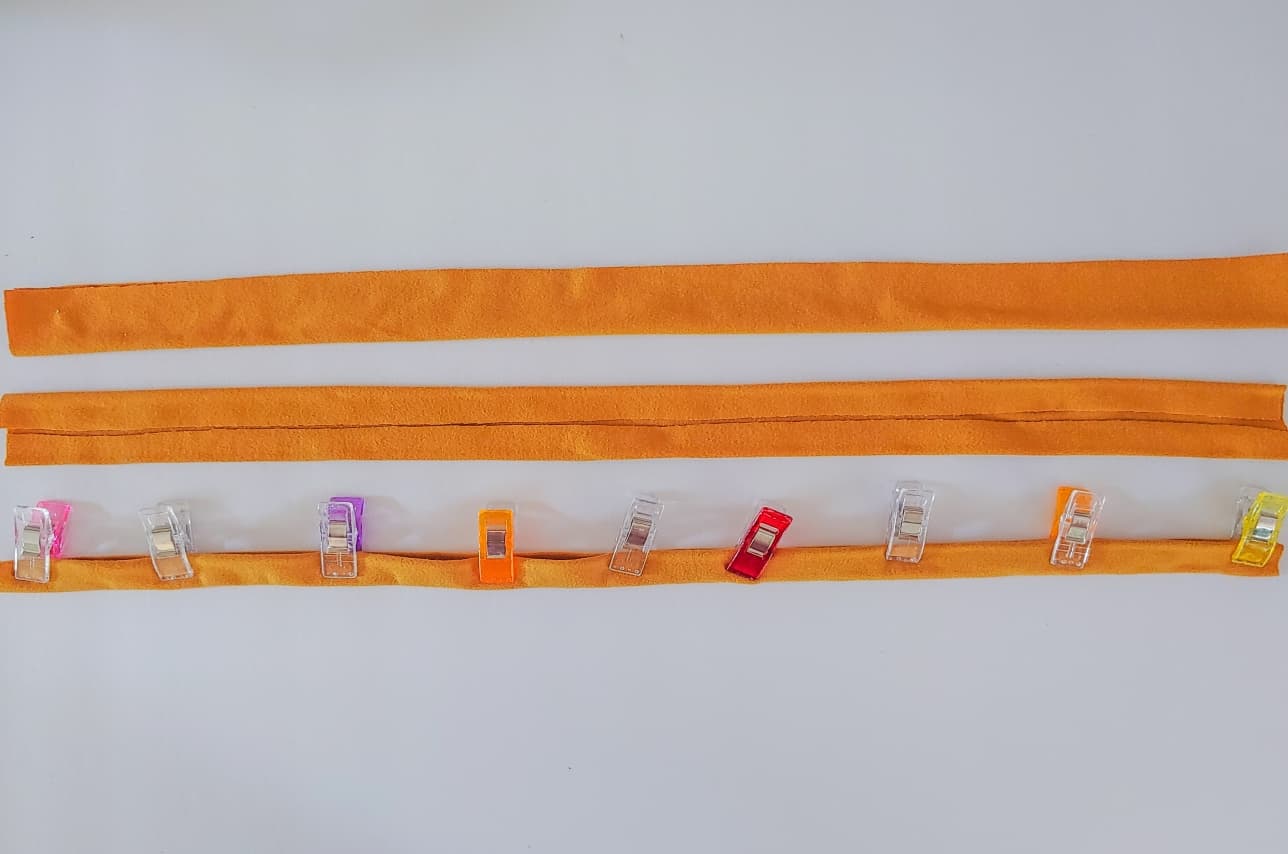
Once you have your pattern ready you will cut your fabric out using the tunic hemmed length and sew it up according to the tutorial. Once your top is finished, try it on your model and determine how much gathering you would like. My daughter wanted minimal gathering on hers, so we opted to go with a 4 inch length on this top. After determining the length of gathering you will cut out your pieces. You will need to cut 2 plackets and 4 side ties. The plackets will measure 2.5 inches wide by the length you have determined (4 inches in our example). The side ties will be 2 inches wide by 4x the length of your placket (16 inches in our example). You can always opt for narrower and longer or shorter ties depending on your preference. To make this even quicker and easier you can opt to use lace, trim or cording as your ties (just be sure to finish your ends so they do not fray)!
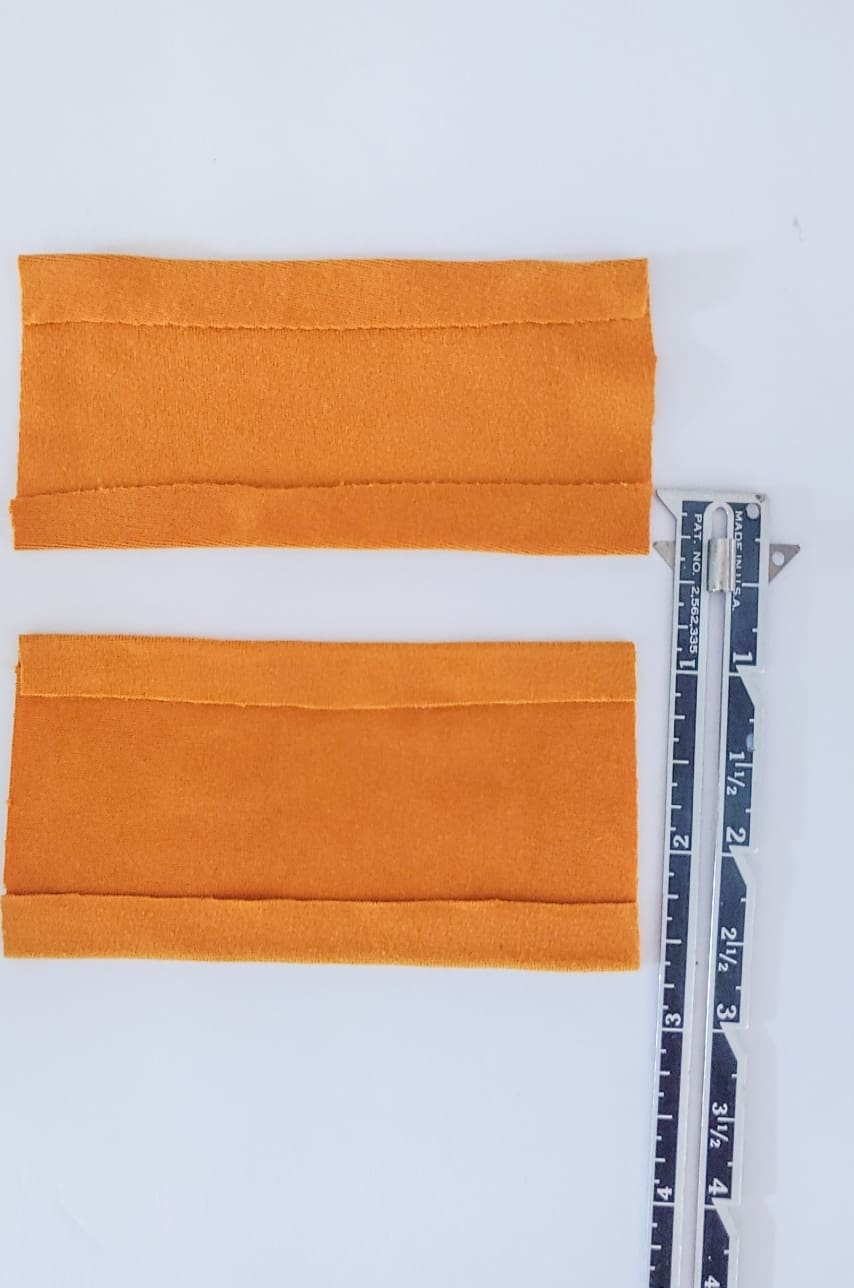
Once your pieces are cut you will prep them for sewing. Grab your 2 placket pieces and press the longer sides in wrong sides together ¼ inch and set them aside for later. Hint: I love to use washaway hem tape here to hold this in place!
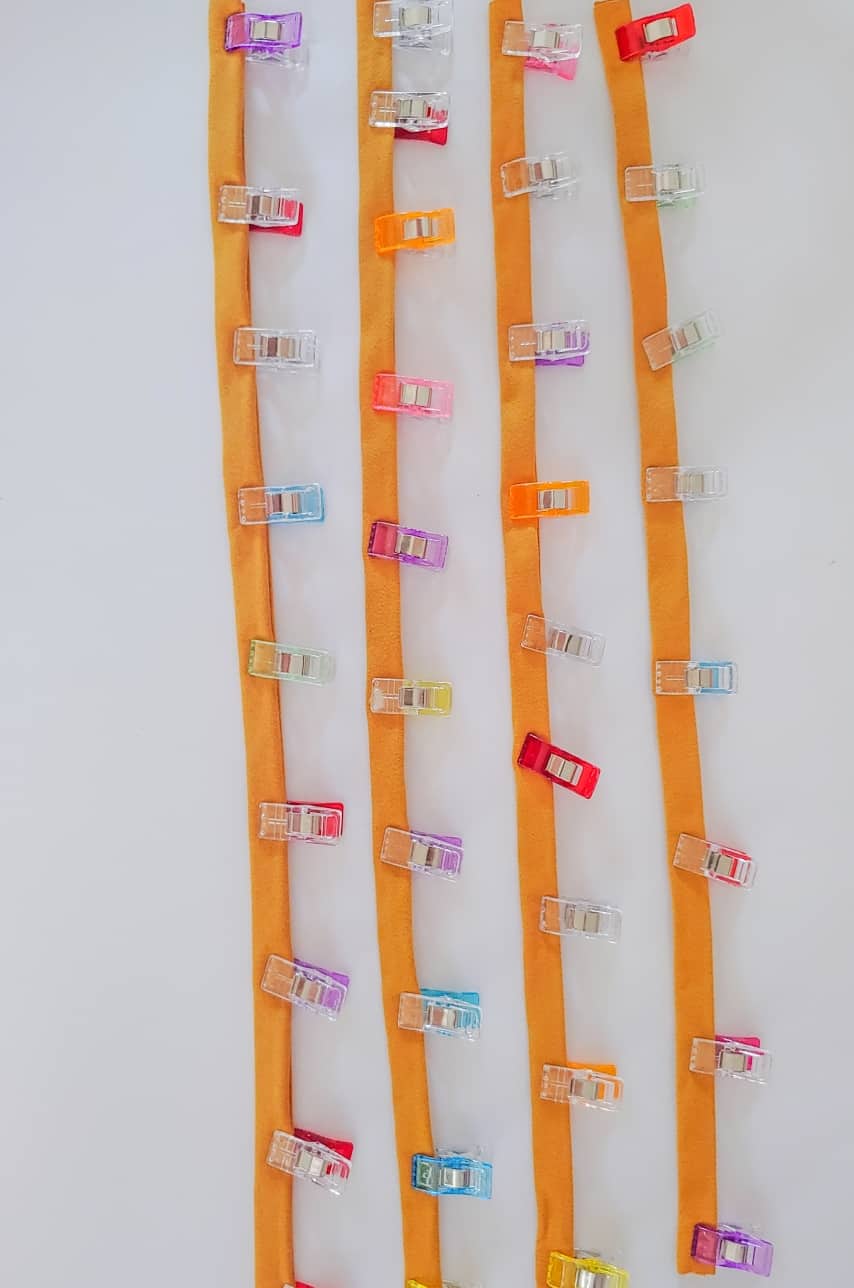
We will now prep and sew the side ties binding style. Press your strips down the center lengthwise with wrong sides together. Then, unfold and press each long side together meeting in the center crease that you just created. Fold in half lengthwise again down the original center crease encasing the raw sides. Top stitch down the length of each tie.
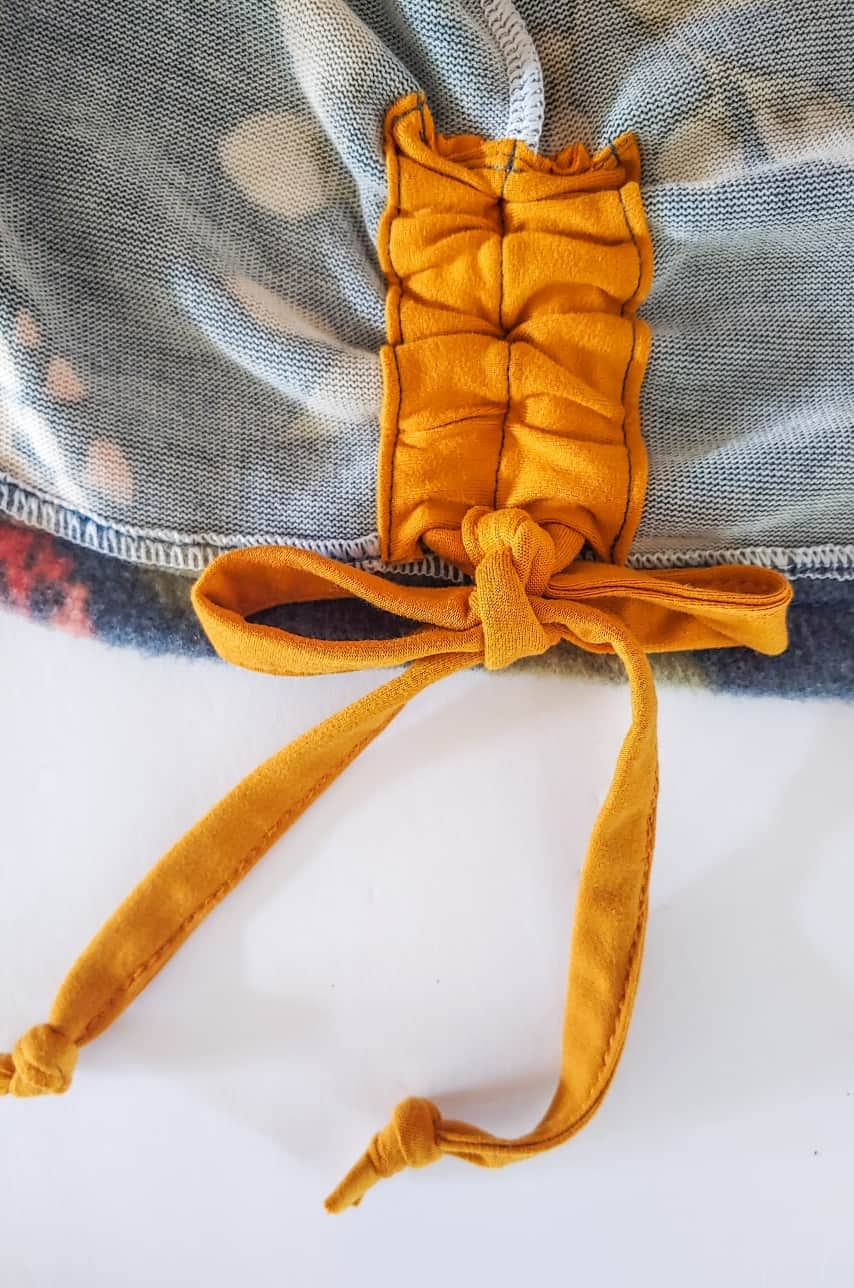
Next, we will pin the casing in place. Turn your top inside out and center the placket over the side seam just above the hem. Pin this in place and sew down each long side and down the center. Repeat for other side seam and placket.

Once you have sewn both plackets you will use a safety pin to thread your ties into the tunnels you have just created with the placket. Pin the ties at the top and sew them in place being sure to backstitch over each tie to ensure they stay attached with the pulling of tying them.

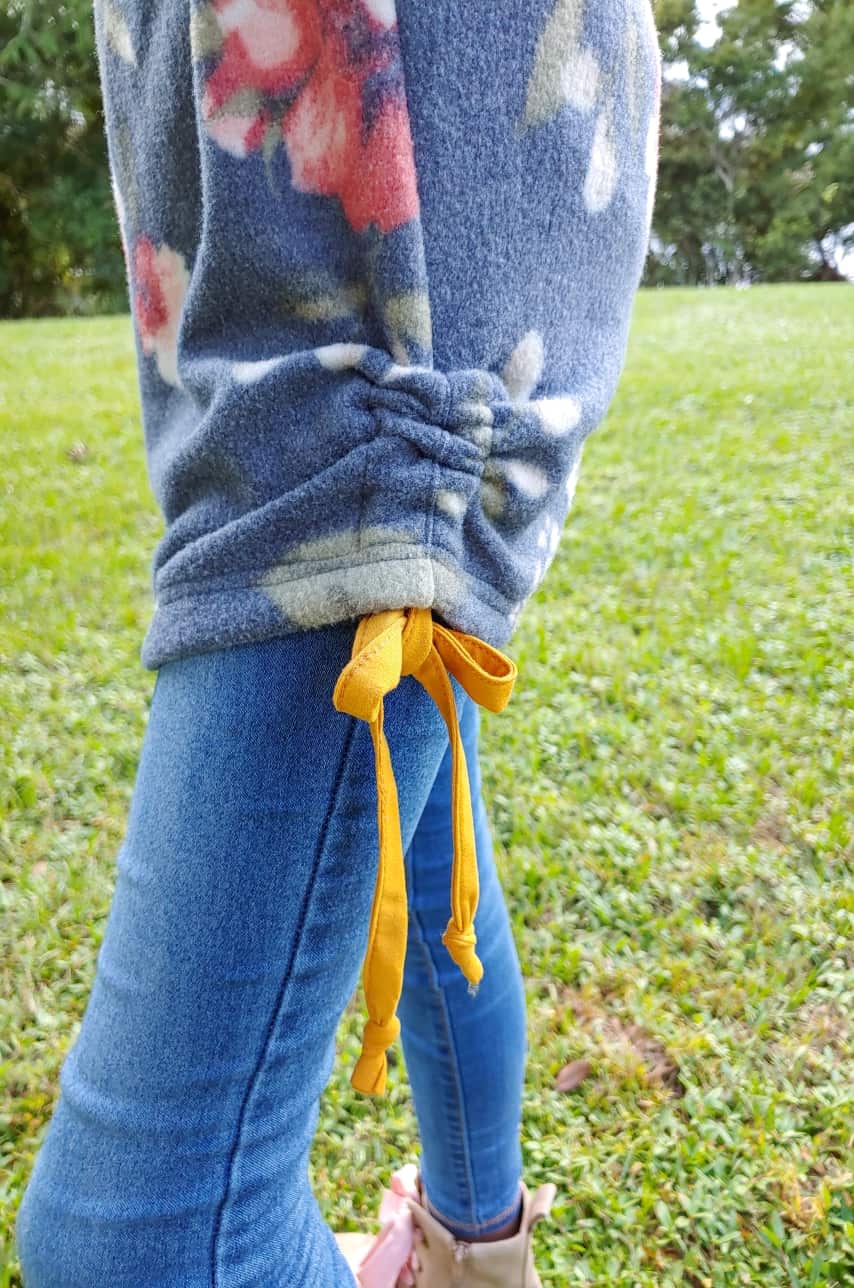
You are now finished adding your side rouching! Pull the ties as tight or loose as you like and tie them together! I like to knot the ends of my ties for a more finished look. You can now hack pretty much any top (or dress!) you want to add side ties to!
 Don’t forget to use the hashtag #SLPcoChallenge for any Sapphire tops you sew up this month as part of the monthly challenge! I can’t wait to see your creations!