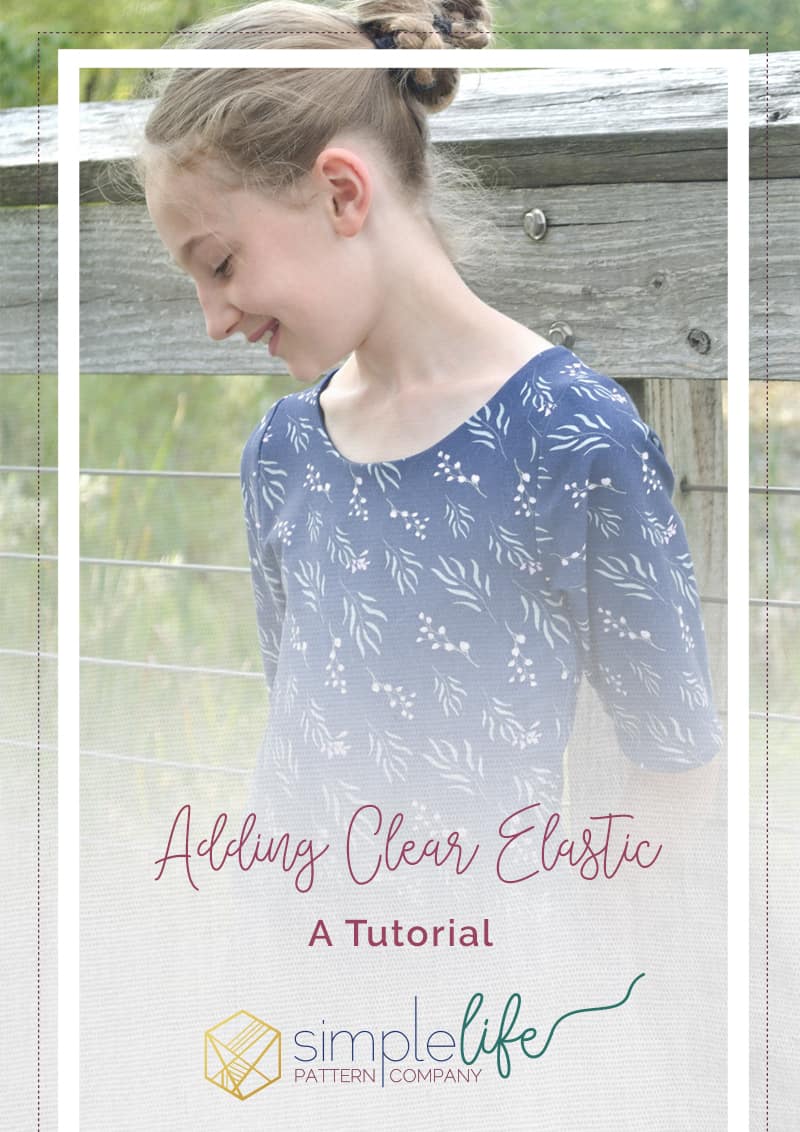
Adding Clear Elastic to your Bodice {A Tutorial}
Hi! My name is Tamar and I’m on the blog today to talk about clear elastic. If you like sewing with knits, you need to know about this little notion! It works to help stabilize seams. You can use it in shoulder seams and bodice seams. However, the application that I find most helpful is adding clear elastic to the seam that joins a knit bodice to a gathered skirt. If you don’t use clear elastic to stabilize this seam, the bodice of the dress will get stretched out every time. The result can be slightly disappointing. Here is an example of an Isla that was sewn without clear elastic.  You can see that the bodice seam has been stretched out. When this garment is worn, the bodice seam sticks out slightly instead of being nice and flat against the model’s sides.
The first time I tried sewing with clear elastic, I was very unsuccessful. The elastic slipped around all over the place and stuck to my presser foot as I was trying to sew it in place. It was so frustrating that for a while I avoided gathered knit skirts like the plague. But in the end, I knew I needed to find a way to make clear elastic work for me. I didn’t really want to buy a Teflon foot, so I started experimenting with sandwiching the elastic between the bodice outer and lining. Since all the Simple Life patterns have a beautiful lined bodice, this was a great option! I also discovered the beauties of using my kid’s glue sticks for slippery or hard to pin areas in my sewing. I know, my Grandma would probably roll her eyes at me, but using glue sticks for sewing is one of my favorite sewing hacks of all time!!!! 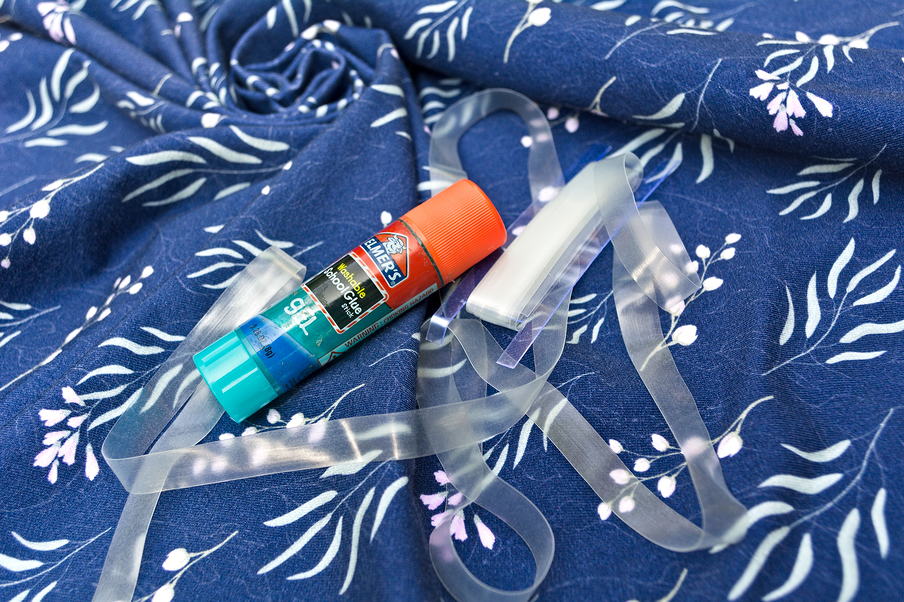 Note: look for the gel glue sticks that aren’t purple. The purple doesn’t always completely disappear.
The following method might be slightly unorthodox, but it has given me hassle free, beautiful results every time.
Construct your bodice and skirt according to your pattern instructions. 
Use a glue stick to glue the clear elastic to the wrong side of the bottom edge of the bodice. 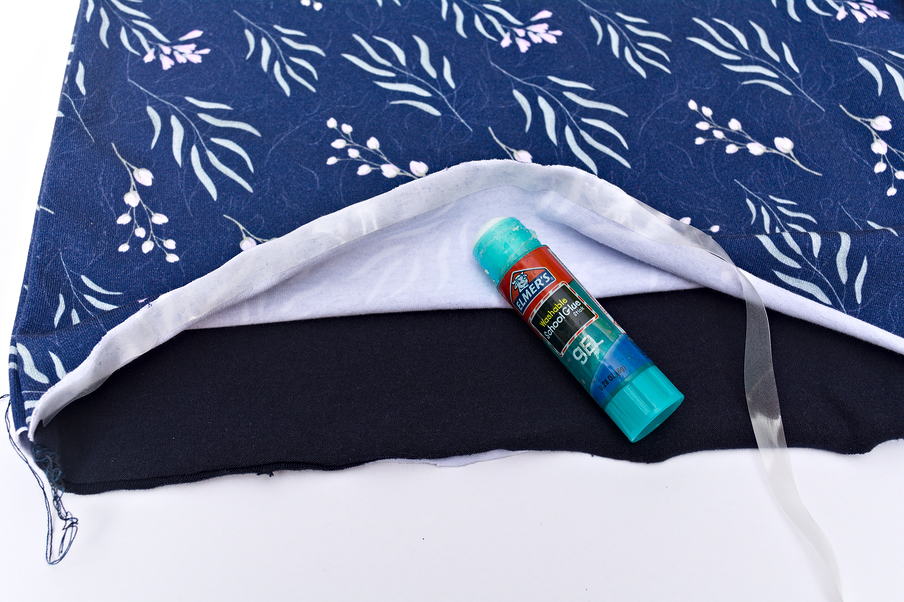
If your bodice is sleeveless, the lining and bodice will not be connected at the side seams. Therefore, you can simply glue the elastic all the way around the bottom edge of your bodice. If however, your bodice has sleeves, the lining and bodice will be attached at the side seams. In this case, you will need to cut the elastic as close to the side seam as possible and start gluing again on the other side of the side seam. 
After your elastic is glued to your bodice, simply baste your bodice to your lining. 
Finally, follow your pattern instructions for attaching your bodice to your skirt, and stand back to admire your beautiful bodice seam! 
A Final note on sewing the bodice seam. I like to baste first to make sure I have a nice straight seam and even gathers. Then you can finish with a serger or your favorite stretch stitch.
If you don’t want to line your bodice, you can and should still add clear elastic when attaching a gathered skirt. You can glue the elastic along the bottom edge of the right side of the bodice before sewing the skirt to the bodice right sides together. This will give you the same sandwiched affect. You just need to watch carefully to make sure the elastic stays within your seam allowance. Try using ¼ inch elastic if your elastic tends to show above the bodice seam. Alternately, you can glue your clear elastic to the inside of your bodice. However, you may find that you need a Teflon presser foot to make this application work for you. Sew with the clear elastic on the top, not against the feed dogs.
The fabric used in this project is from Radiant Fabric Designs. They are a new company run by a lovely work at home mom and her husband. Their prints are gorgeously classy and timeless. This print comes from the Elegant Florals Collection.