Adding a Modesty Panel to Isla – A Tutorial
Have you ever wondered how you could add a modesty panel to Isla? Maybe it’s just a little bit too cold where you live to wear the open back. Or, maybe you love the cutout option, but not necessarily having bare skin on the back. Whatever your reasons, SLPco is here to help!
Materials Needed:
Isla’s Infinity Tunic & Dress Downloadable PDF Sewing Pattern
2 scrap pieces of fabric large enough to cover your cutout
Sewing Glue (optional)
This tutorial
Extra cutout options available for FREE in our Facebook Group (check the files section of the group! Add-On features a Butterfly, Bunny, Reindeer, Star, Lightening Bolt, Mouse Ears, and Christmas Tree)
Adding a Modesty Panel to Isla – The Tutorial
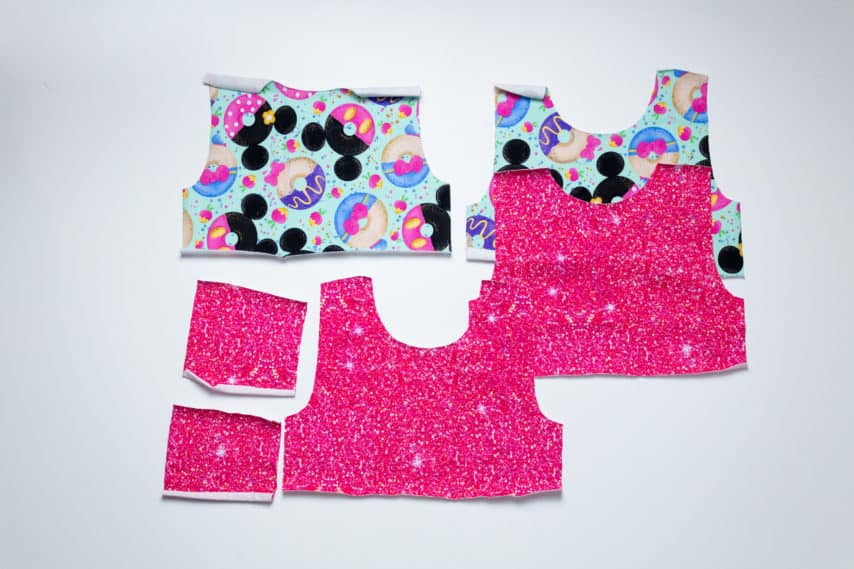
Step 1 –
Cut your bodice pieces out exactly as instructed in the pattern, with one exception. Do NOT cut out the shape you are using for your cutout yet. You will also need two pieces of scrap fabric that are large enough to cover the cutout you will be doing. At this point, you should trace the cutout shape onto the wrong side of your bodice main.
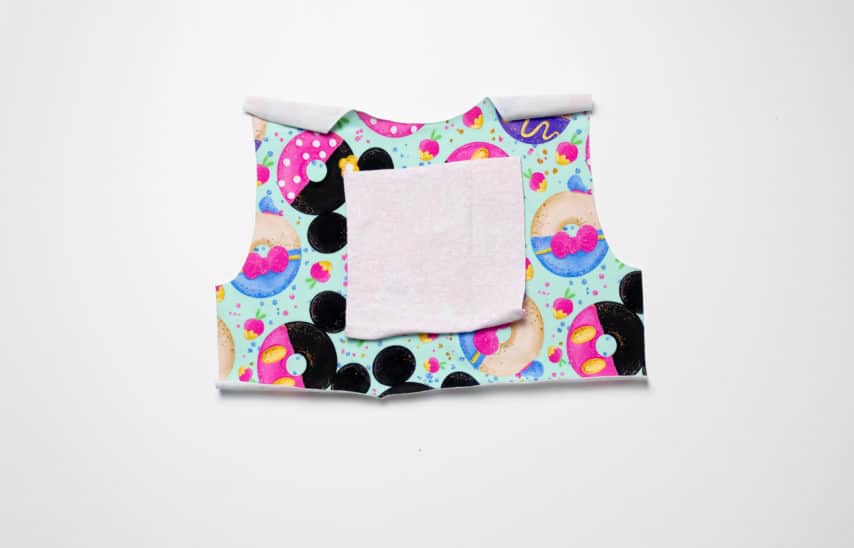
Step 2 –
Place your scrap piece of fabric directly over where your cutout will be, right sides together. Because you traced your cutout onto the wrong side of the bodice, mark it with pins so you know where you place your scrap piece of fabric.
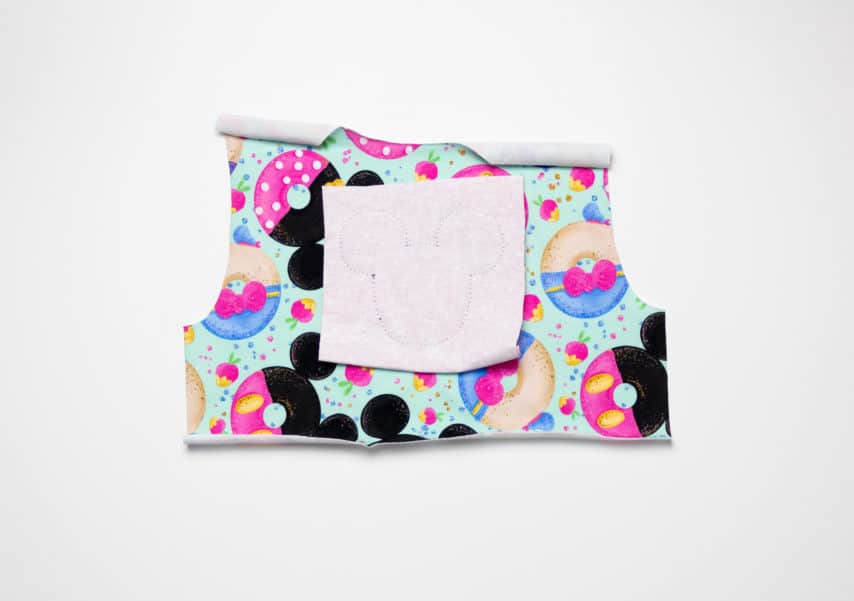 Step 3 –
Sew around the tracing that you made on the wrong side of your fabric.
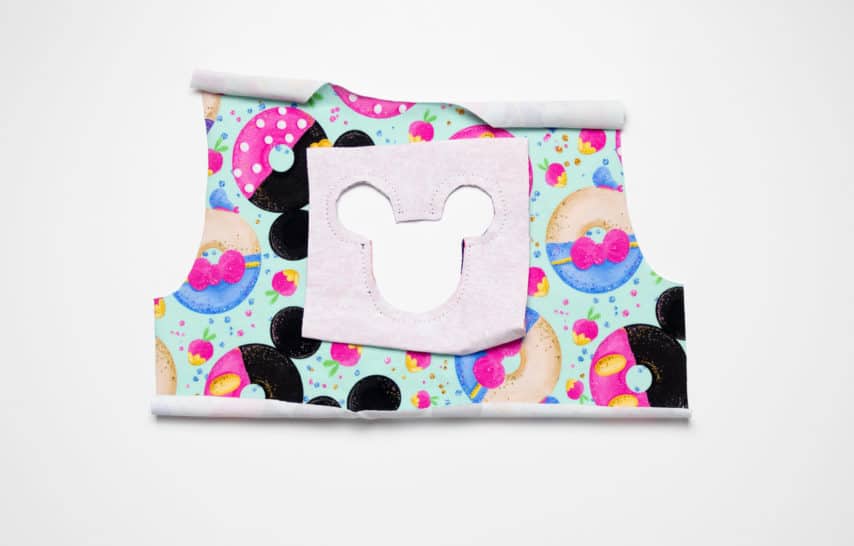
Step 4 –
Trim inside of the cutout as shown in the image above. You will want to clip your curves to ensure that your cutout turns nicely.
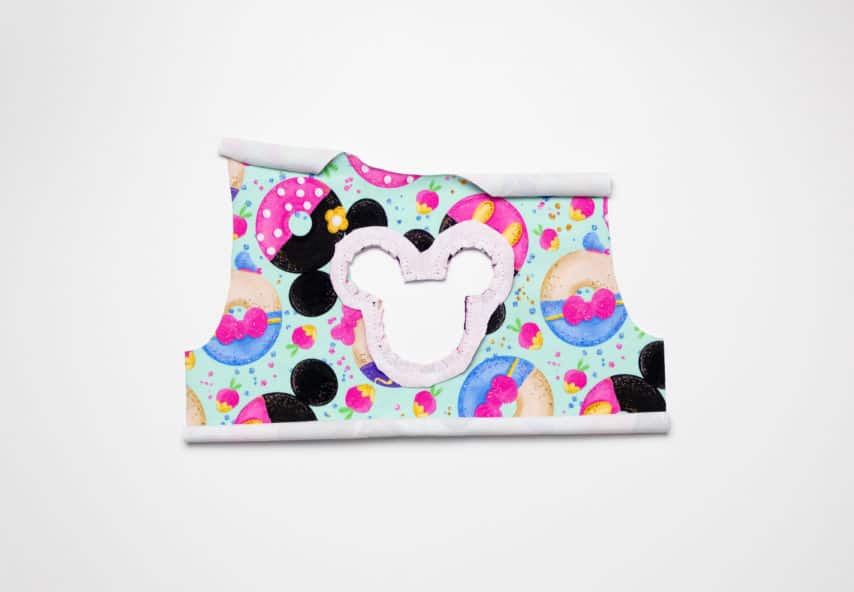
Step 5 –
Trim around the outside seam allowance, leaving approximately 1/4″ to 1/2″. We are creating a facing to finish the inside edges.


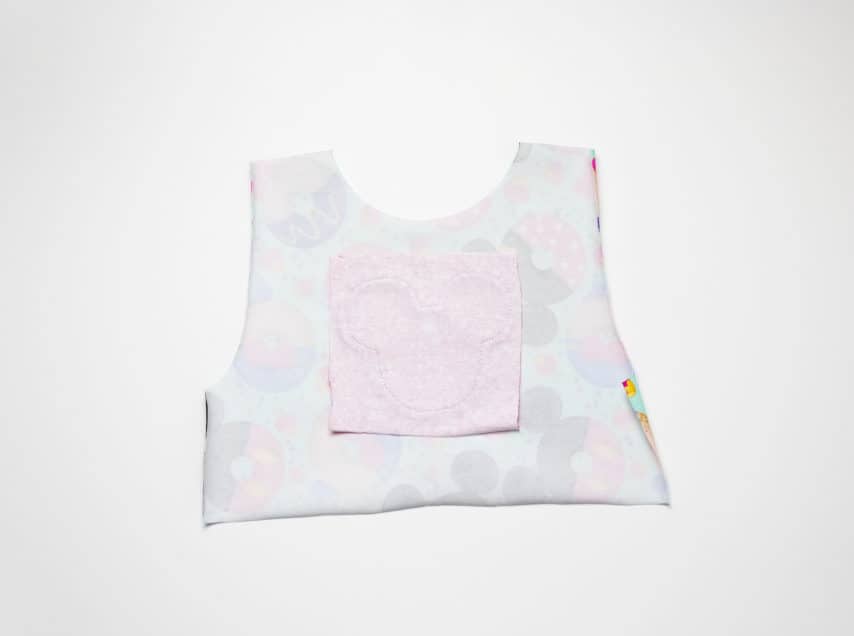
Step 6 –
Turn your facing through the opening so that the wrong side of your facing is touching the wrong side of the bodice. See above photos for the right side and wrong side views. For this step, I used sewing glue to baste my facing to the bodice. This made it easier to keep everything in place.
Step 7 –
If your lining fabric is double sided, you may skip this step. As you can see from the photos, my fabric is single sided. So, in order to have a “pretty” side showing both through my cutout and on the inside of the garment I needed to add a decorative panel. The decorative panel can be a small scrap piece of fabric. You will place the right side of the scrap piece of fabric to the wrong side of your cutout.
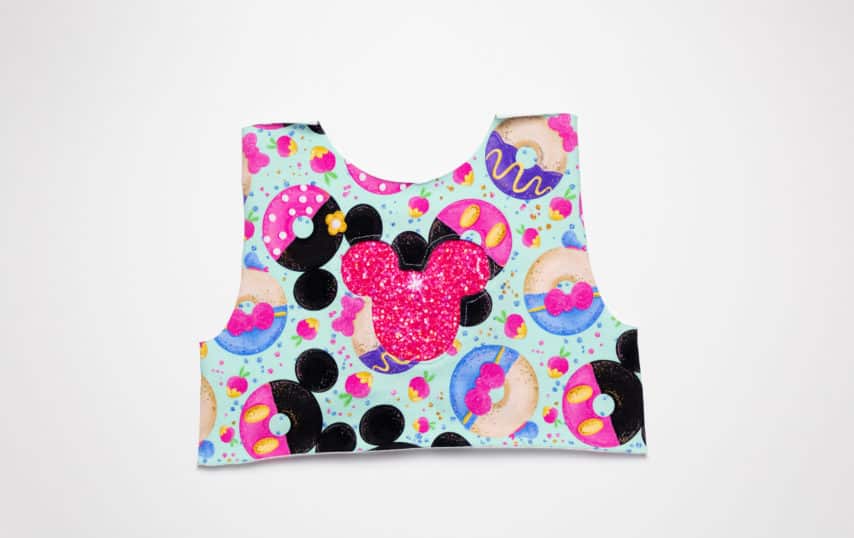
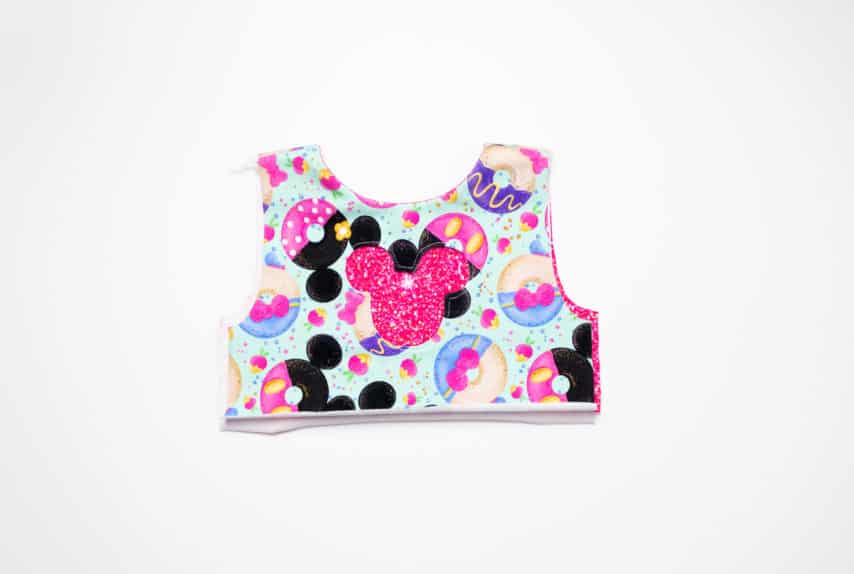
Step 8 –
Top stitch around the right side of the cutout using a 1/8″ seam allowance.
Step 9 –
Place your front bodice right sides together with the back bodice, aligning the shoulder seams. Sew/serge the shoulder seams.
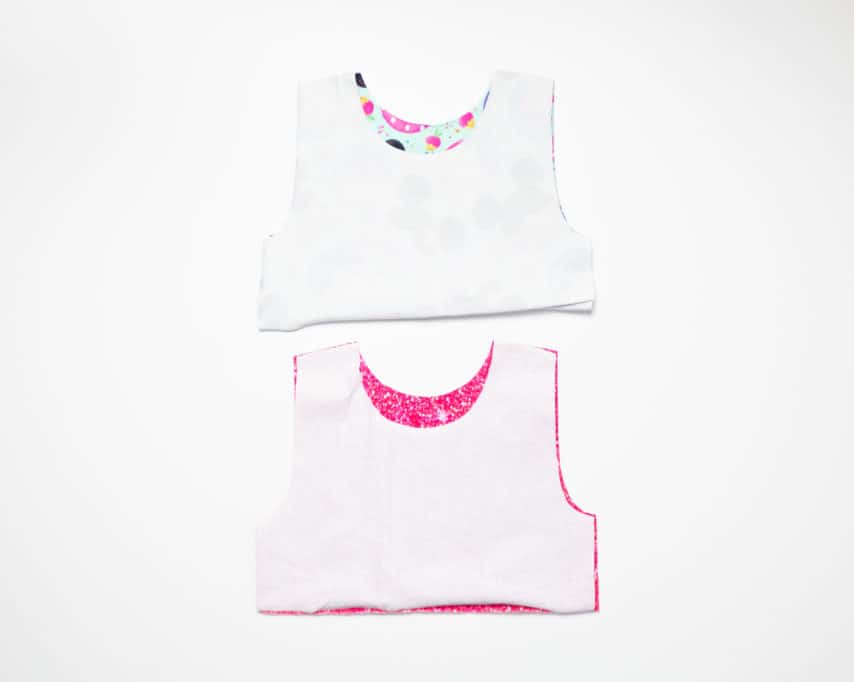
Step 10 –
Repeat step 9 with your lining pieces so that you have both your bodice main and bodice lining attached at the shoulder seams as shown above.
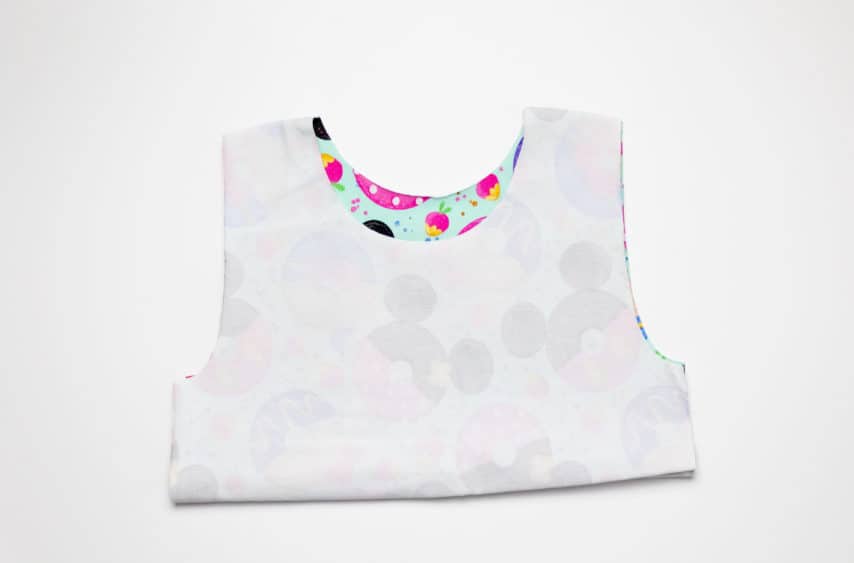
 Step 11 –
Place your bodice lining on top of your bodice main, right sides together. Sew/serge the neckline. IF YOUR FABRIC IS DOUBLE SIDED: if you chose not to add a decorative panel because your lining fabric is double sided, this is the point where you would top stitch your cutout to your lining fabric.
This is what your bodice will look like now. At this point you can head back over to the Isla’s Infinity Tunic and Dress pattern and finish up your dress using the instructions in your pattern!
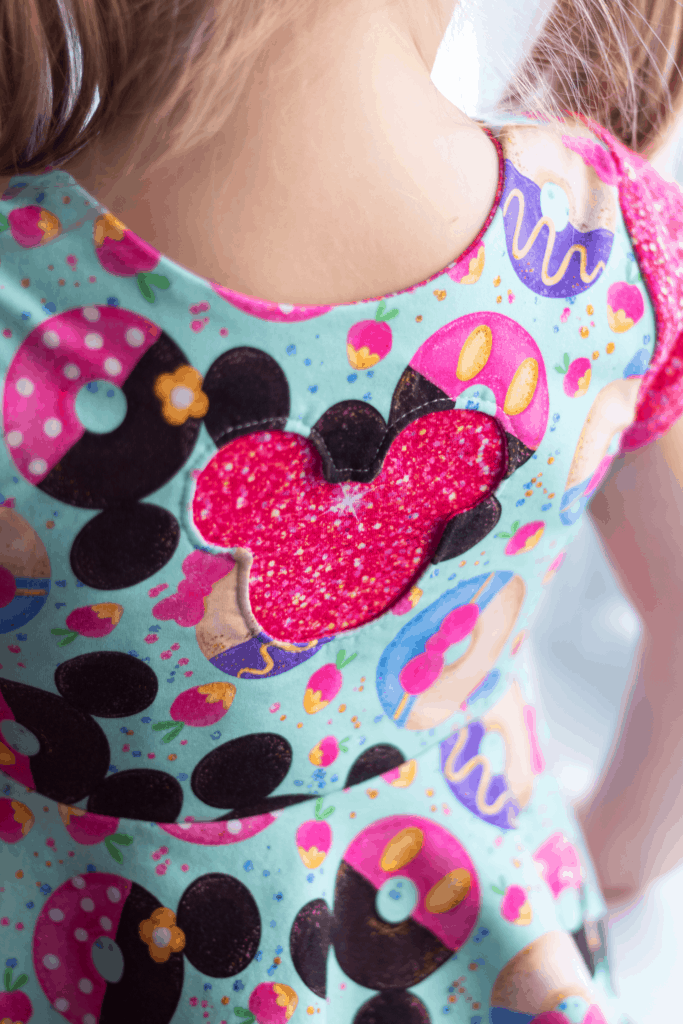
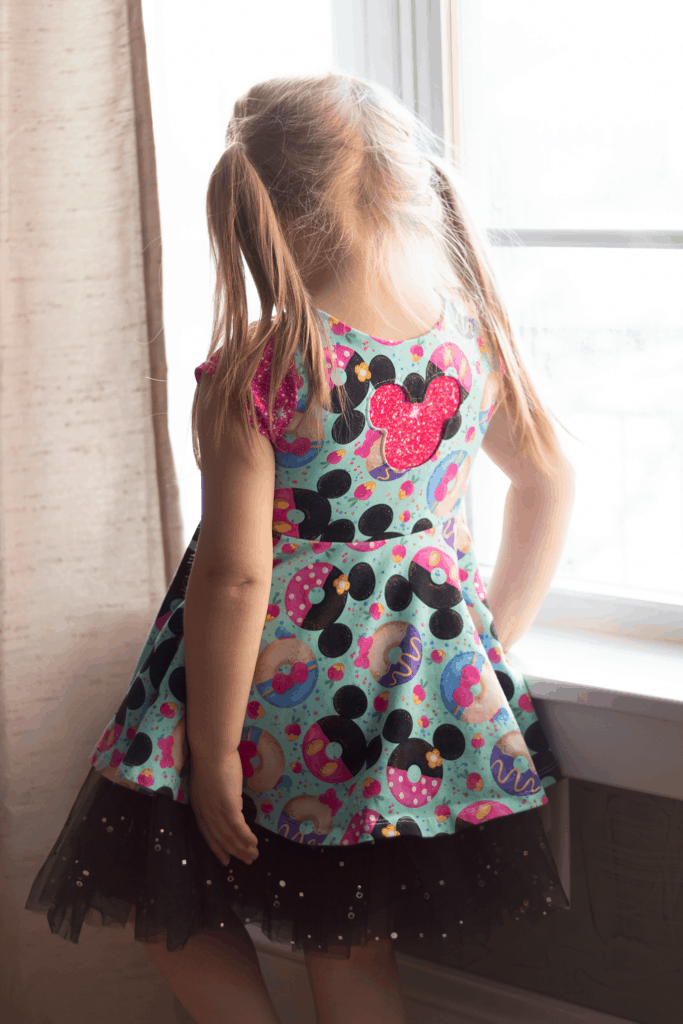
My daughter just adores her new dress and this mama is happy because now it is dress code compliant and she can wear it to school! Head on over to our Facebook group and tell us what you think. And don’t forget to share photos of your Isla’s with the new modesty panel mod!
Until next time,