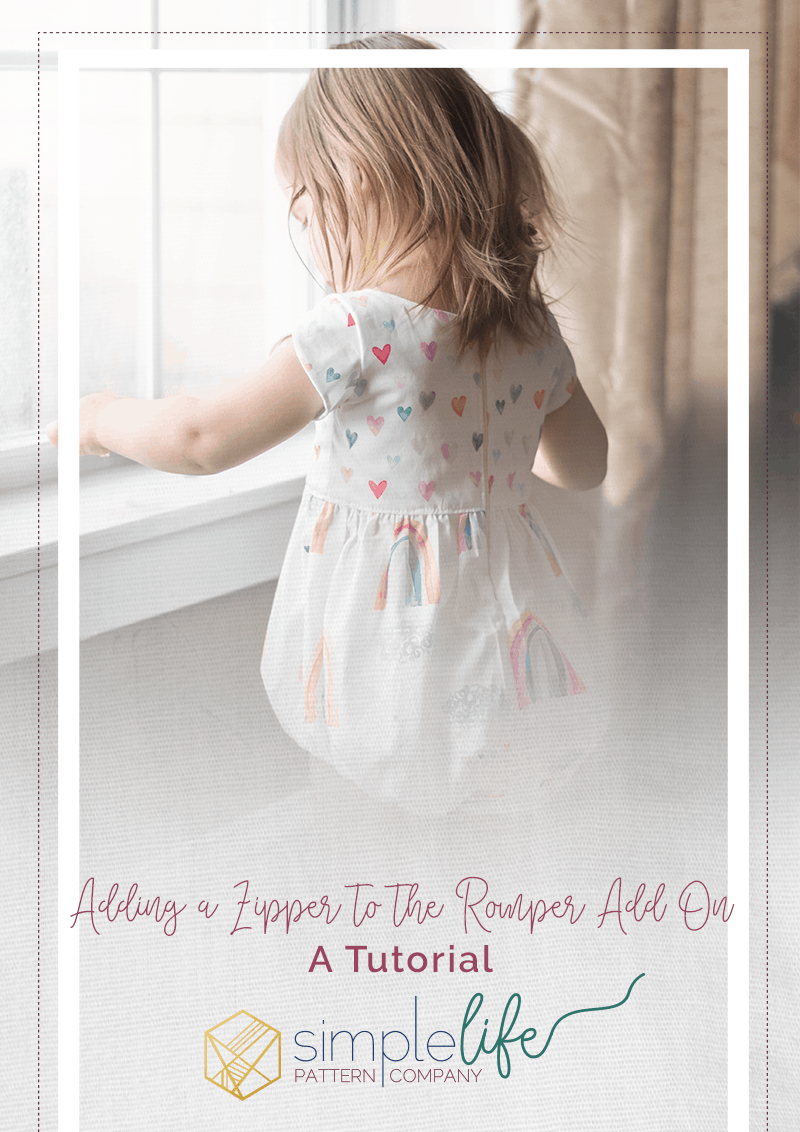
Adding a Zipper to the Romper Add On: A Tutorial
The romper add on can be used with a variety of SLPco patterns. But you may be wondering how you can use the romper add on with a pattern that includes a zipper. This tutorial is going to show you just how easy it is to add a zipper to the romper add on! Before we get started I want to give a huge shout out to Hawthorne Supply Co. for sponsoring this blog post and generously donating their in house fabric. We received their poplin in Indy Bloom’s ‘I heart you’ collection. The fabrics we received were Rainbow Bliss in Valentine and Heart Attack in Romance. They turned out so vibrant and beautiful!

Adding a zipper to the romper add on:
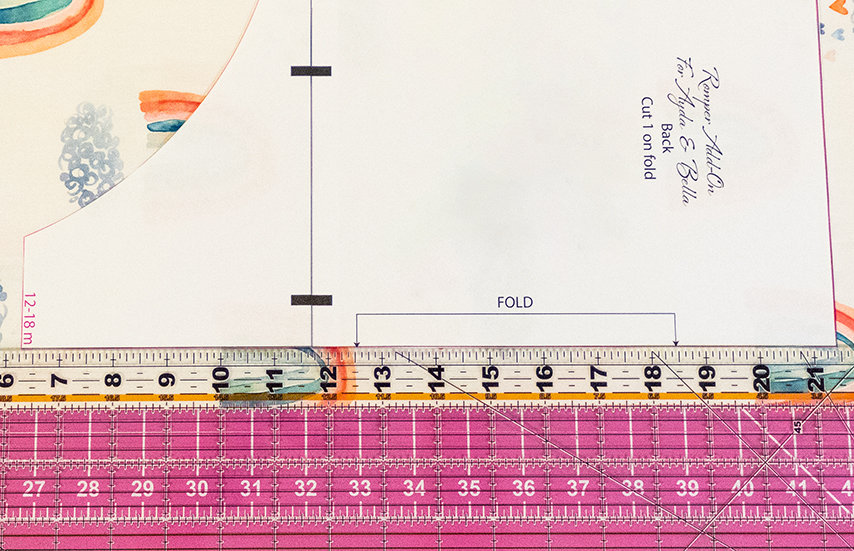
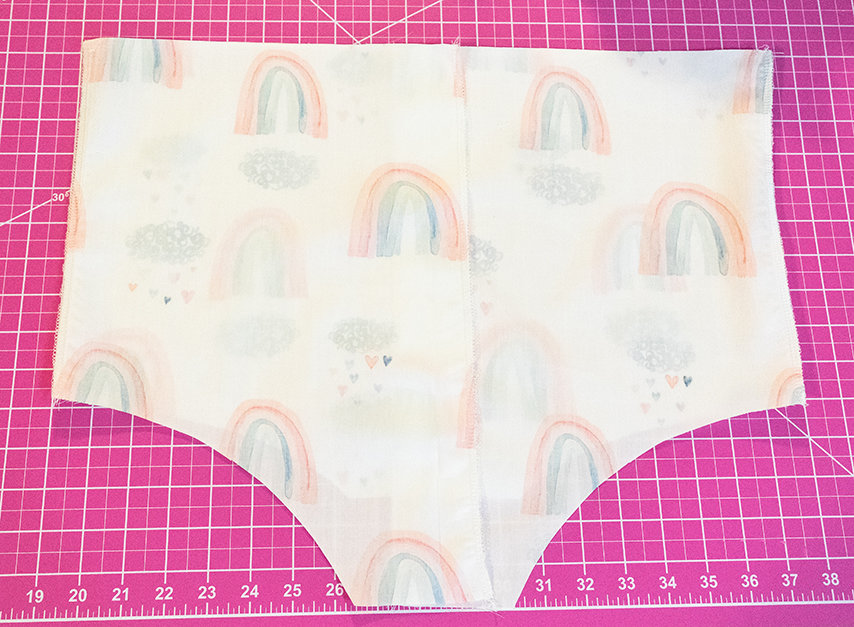
In order to install a zipper, we will need a center back seam on our romper. You can achieve this by adding some width to your back romper piece. You can’t just cut 2 pieces mirrored as is because then the crotch wouldn’t be wide enough when the back seam is sewn closed. Here you can see that I have placed my ruler on the folded edge of the fabric to measure how much extra space I want to add. I recommend adding 3/8″, as this is the seam allowance used for the rest of the pattern. It just makes things easier in the end. Be sure that when you add your 3/8″, you add it to the folded side as this is where your seam will be.
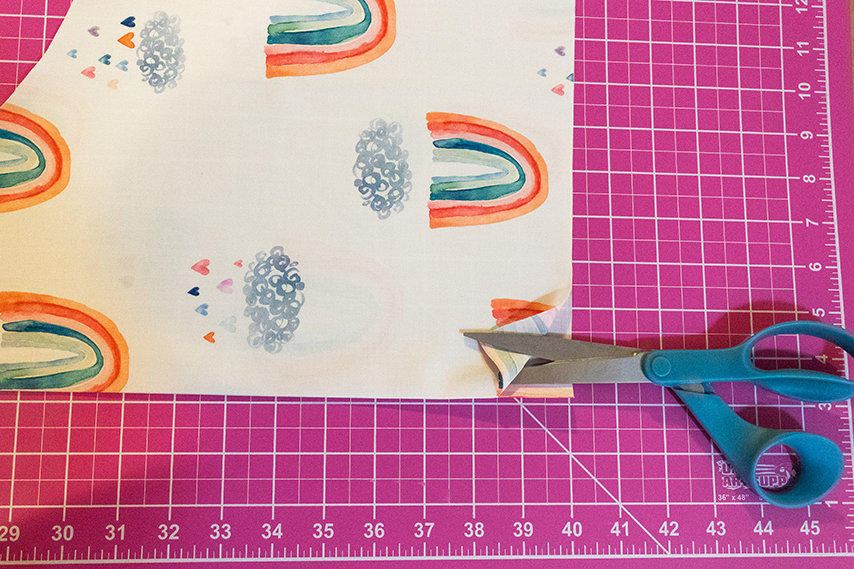
Now you will want to cut along the fold so that you have two separate pieces.
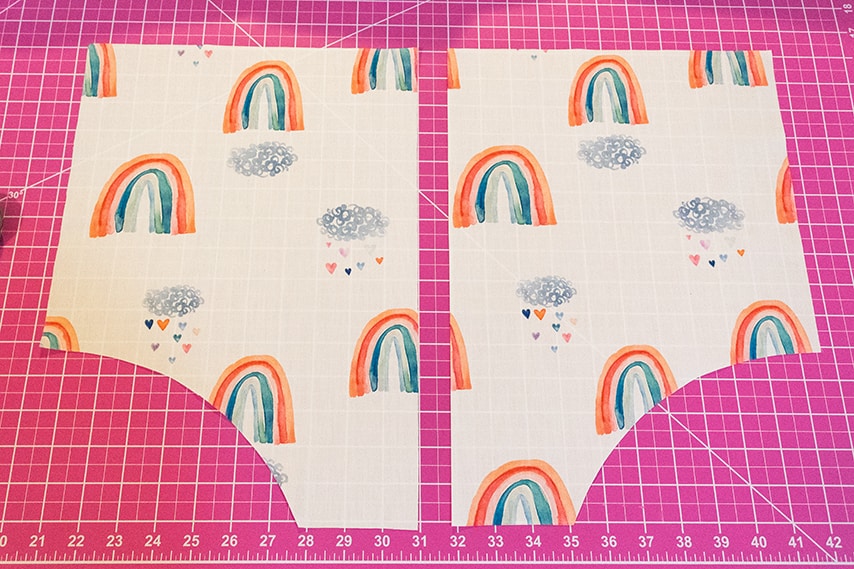
I recommend ironing your long straight edge (the center back seams) wrong sides together 3/8″. This is to create a memory hem. This step is optional. I like doing this because it makes it easier to line things up and sew the back seam closed after installing the zipper.
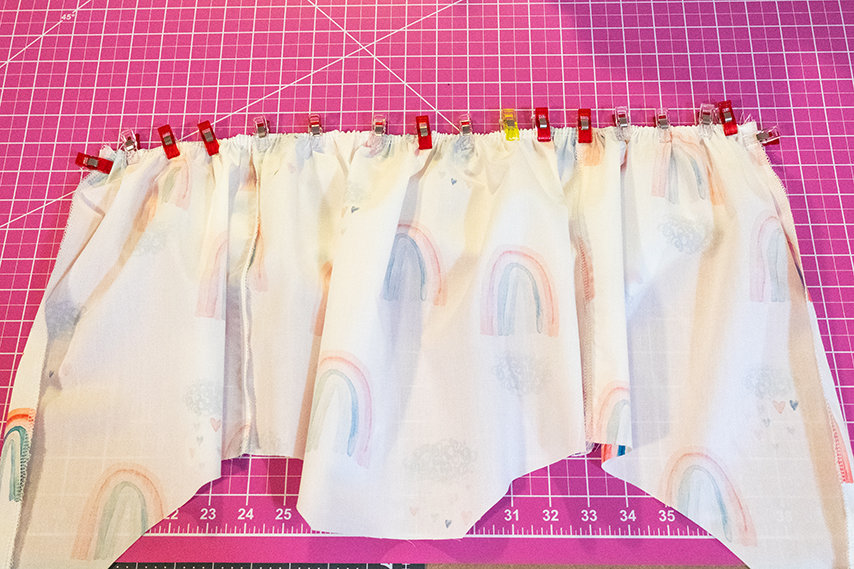
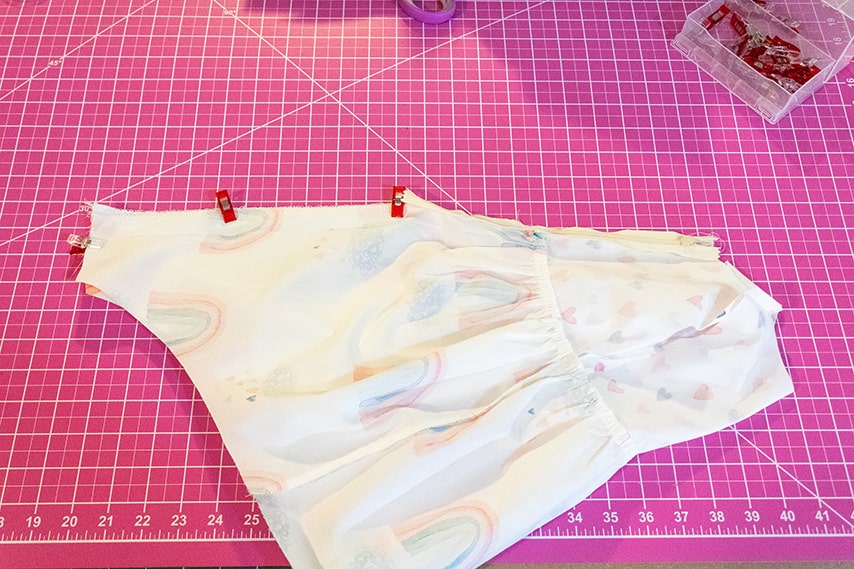
The next step is to lay your two back pieces on top of the front romper piece, right sides together, and aligning the side seams. You will sew or serge the two short side seams together. I also recommend finishing the long raw edges along the center back seams at this point. If you don’t have a serger you can zig-zag or use an overcast stitch along the raw edge.
Head back to your bodice tutorial (I’ve used Baby Mila for this tutorial) and finish your bodice, then come back here.
Once done with your bodice you will gather your romper along the top straight edge to fit your main bodice. A little tip I like to use is to sew 2 rows of gathering stitches. I find that my gathers end up looking much nicer when I use 2 rows of stitches.
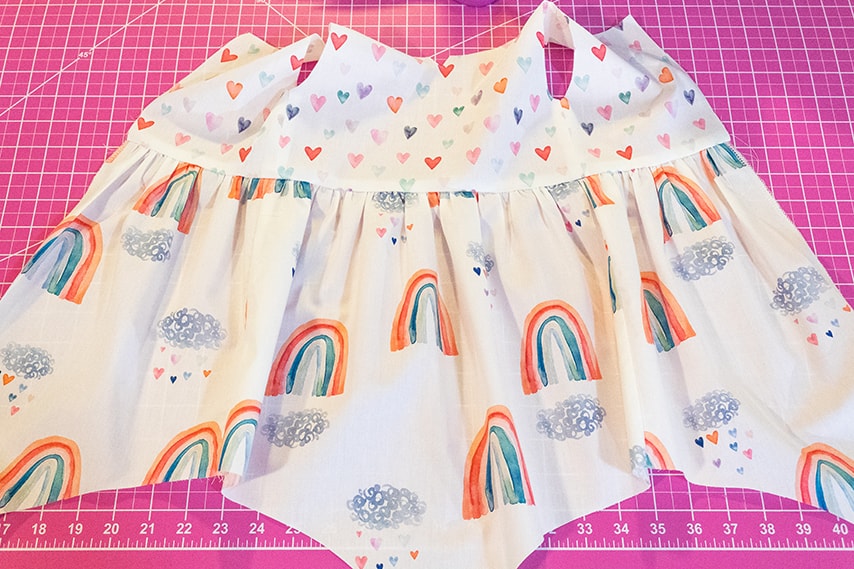
Sew or serge your romper to the main bodice. Iron your seam up towards the bodice.
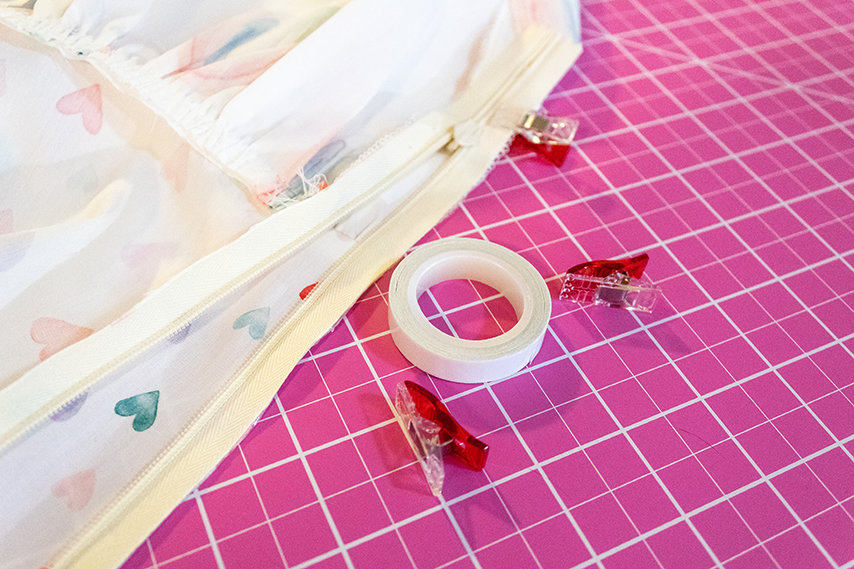
Now head back to your bodice pattern and follow the instructions for installing the zipper. I personally like to use wash away hem tape when I attach my zipper. It helps it to stay perfectly in line when I’m sewing. This helps to ensure that my seams will line up properly once zipped up.
Following the instructions in the bodice pattern you will finish off the bottom of the romper just as you would if it were a skirt attached. Make sure that the seam allowance that you use is the same amount of seam allowance that you had added in the beginning. This is where that memory hem comes in handy. I like to use the folds that I ironed into the romper as a guide while I’m sewing to make sure I sew perfectly straight.
 Now that we’ve finished closing up the back seam of the romper you can now finish attaching the bodice lining as per the bodice instructions. To finish the romper you will head back to step 2 of the romper add on and finish up by attaching the leg bias, adding the elastic, and adding the crotch bias for your snap placket.
Voila!

Until next time,