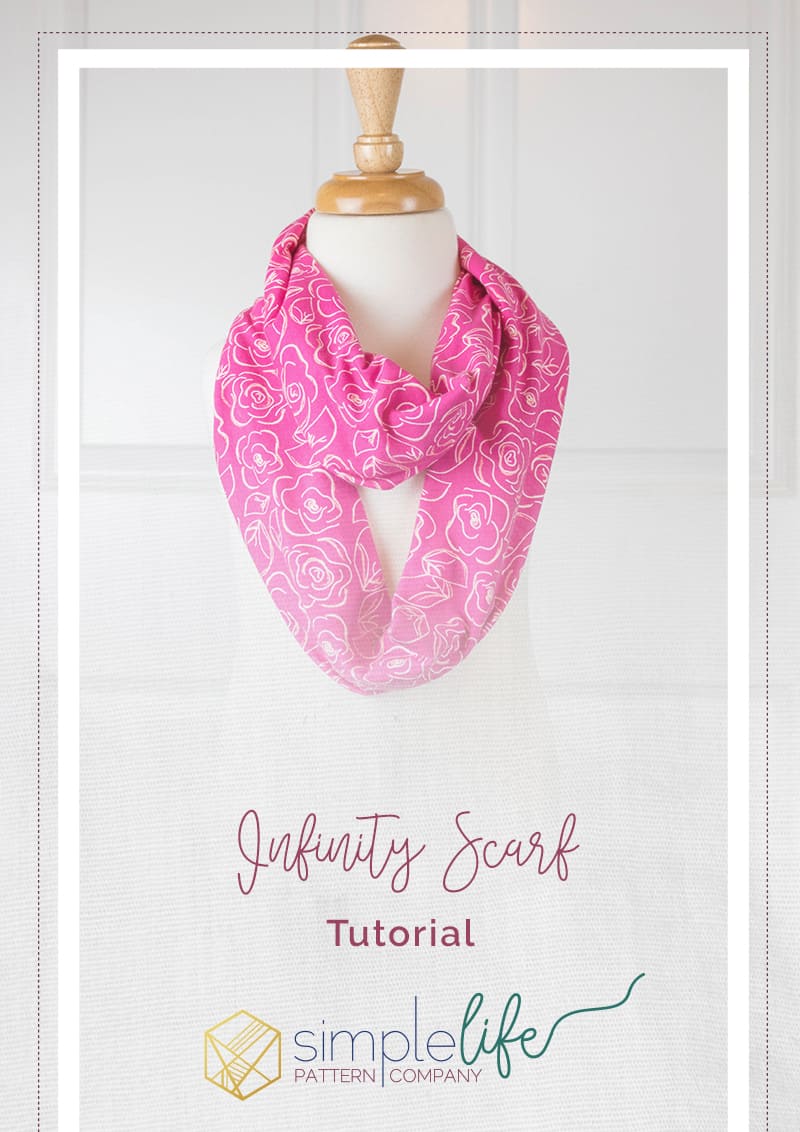
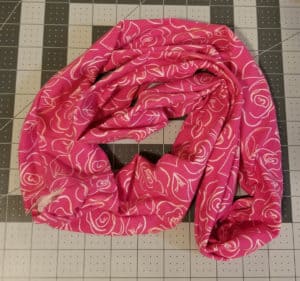
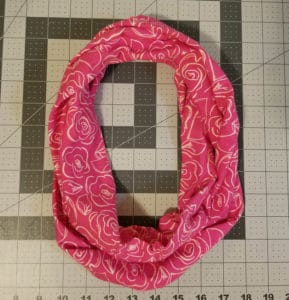
An Infinity Scarf Tutorial
Infinity Scarves; Trendy, Cute, and Functional.
Hey all, Gail here from Little Pink Pumpkin and Boo and Lu.
I have a confession. I love infinity scarves. Like, really love them. My closet has an entire section blocked off just to house my scarves. You can never have too many. They’re fashionable AND functional.
What I love most about infinity scarves in particular is the fact that there is not just one way to wear them. They’re easy to make and I can style them any way I’d like.
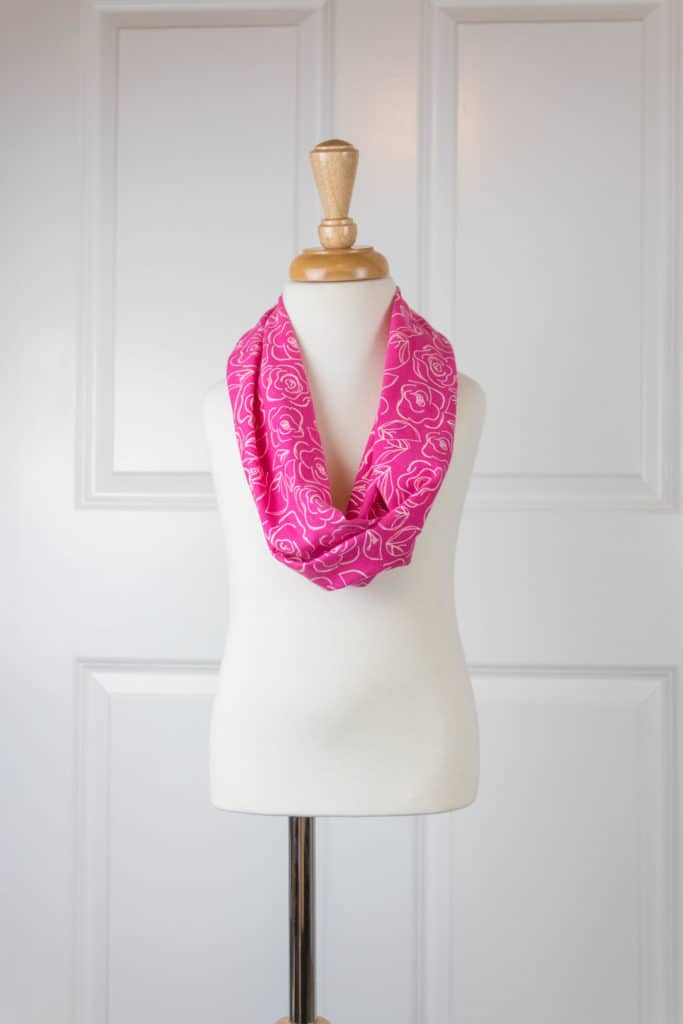
Classic double fold
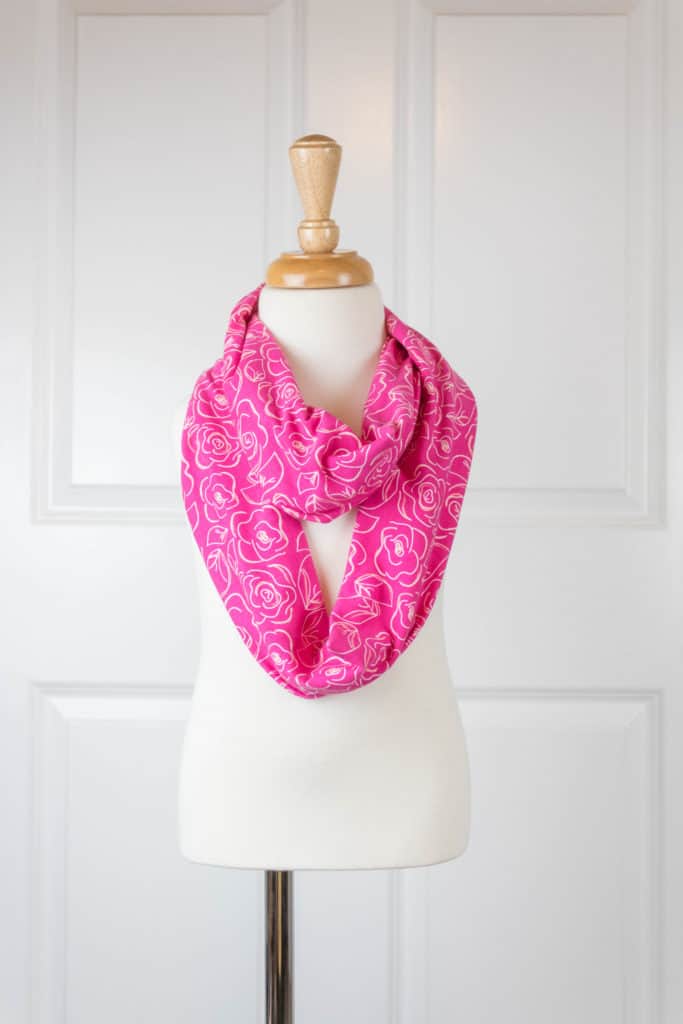
Asymmetrical Double Fold
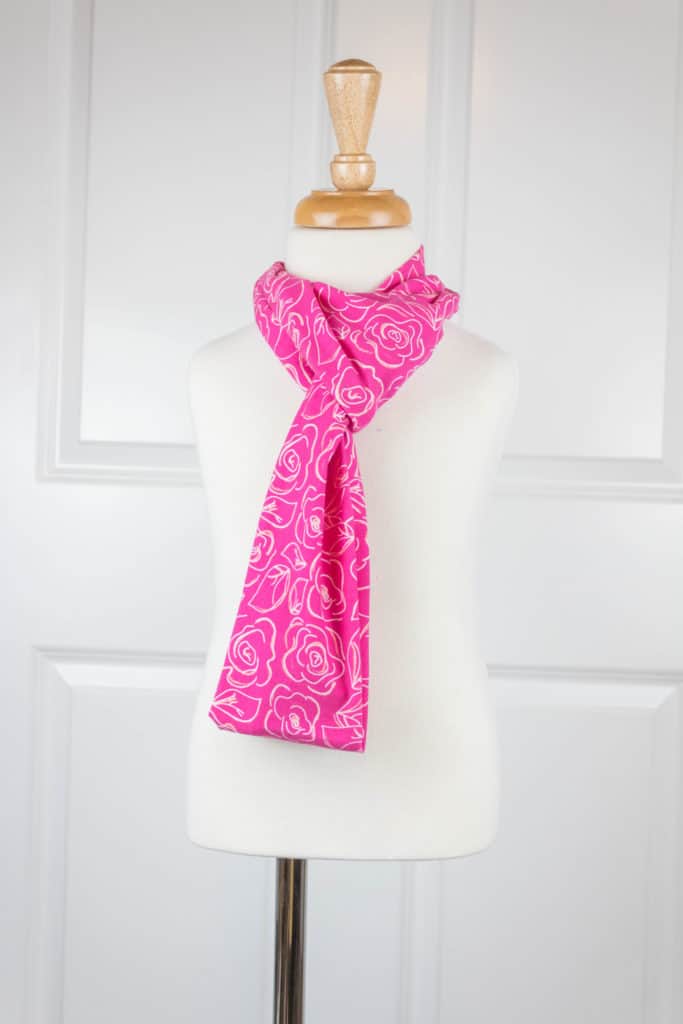
Through the Loop
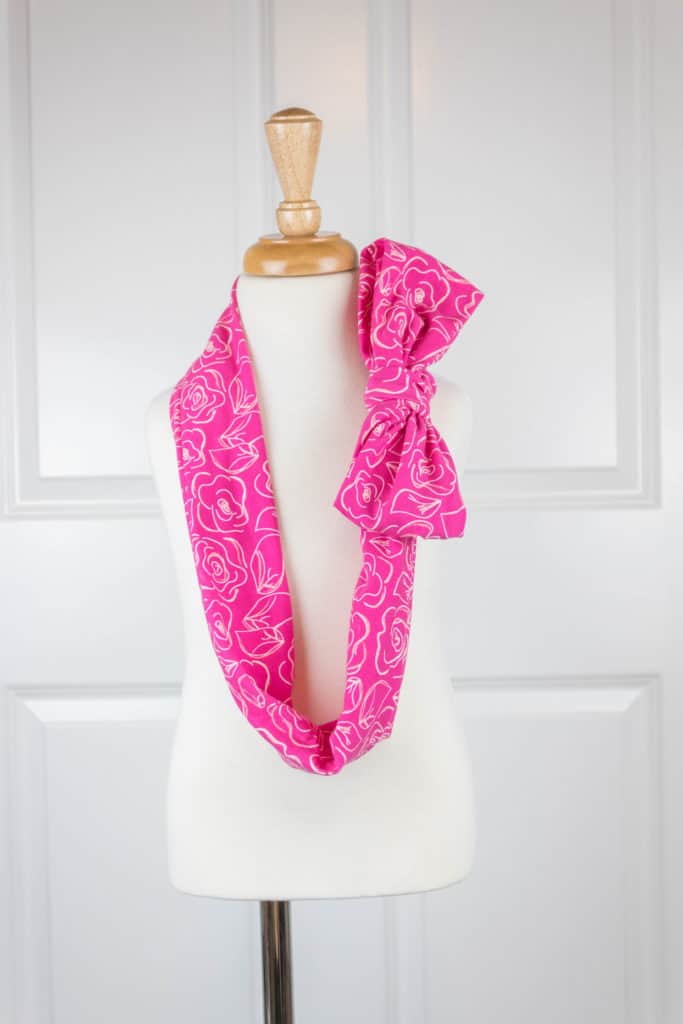
My Personal Favorite: The Bow
Okay, can you see now why I love them so much? They literally have an “infinity” of options. Get it??
I’ve talked about the “fashion” side of why I love infinity scarves, but another reason is because they are PERFECT for gift giving. And if you are anything like me you tend to be a “last minute” gifter. If not, well this is still perfect for you planners too! Why? Because it is EASY and FAST to make them. And I’m going to show you right now, step by step, exactly how to make one of your own. No pattern needed!
The Tutorial:
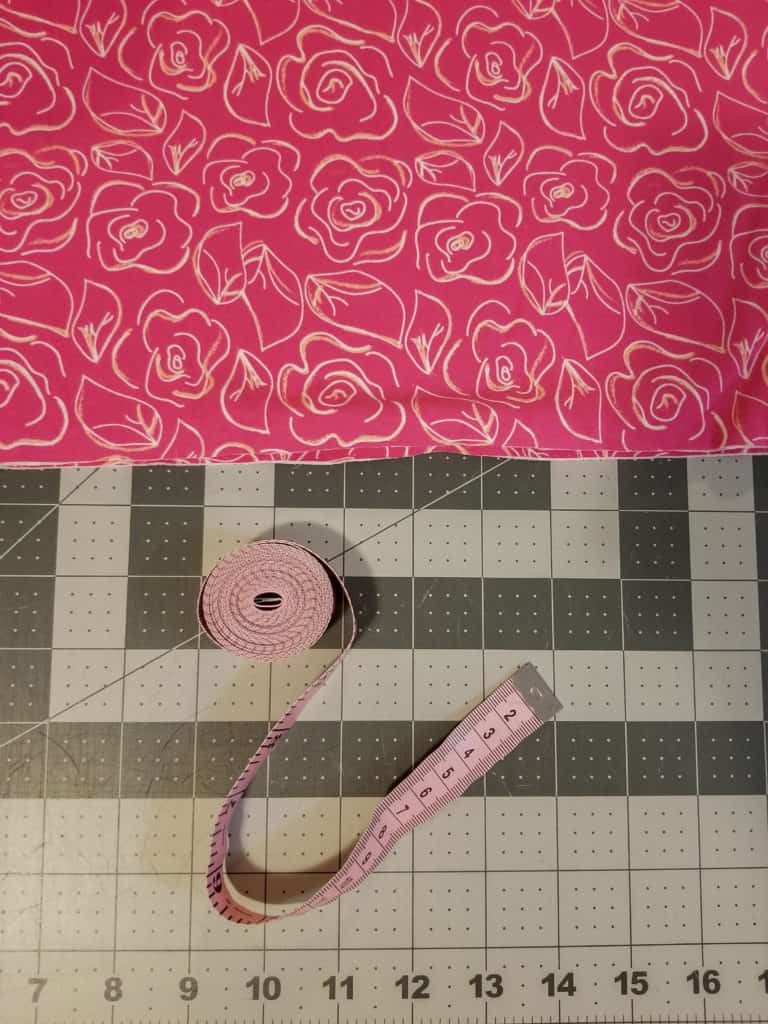
Step 1 Photo: Measure
Step 1
We need to figure out how long you want your scarf. Some people will recommend taking your fabric and wrapping it around your neck twice to measure. I personally use my tape measure. For this version I measured my daughter with my tape measure around her neck where I wanted the scarf to hang. I determined that I wanted the scarf to be a total of 60″ long because one loop around her neck at 30″ gave the look I was going for. Make sense? Write this number down, this will be your width. (Note: your width may be longer than the width of your fabric, if so this just means you will need to cut 2 pieces. We will get to that later.)
Step 2
Now we need to figure out how wide we want our scarves. I made this version a total of 8″ in length, because our scarves will be folded in half that would leave me with 4″ in length before seam allowances (3.5″ once my quarter inch seam allowances are sewn, please note: you can use whatever seam allowance you feel comfortable with. Math is not my strength, so for me 1/4″ is just easiest) Do not cut yet, write down this number, this will be your length.
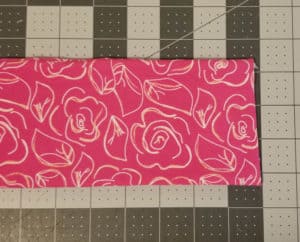
Step 3
For my toddler I decided that a 8″ x 60″ (L x W) rectangle was the perfect size. But before you cut you will need to add seam allowances. For the purposes of this tutorial I will be using a 1/4″ seam allowance because mathematically it is just easier for me. Use whatever you feel comfortable with. So I will be cutting a piece of fabric that is 60.5″ wide by 8.5″ long (the 1/4″ seam allowance must be added to all sides that will be sewn which is why the numbers had a total of a 1/2″ added and not just a 1/4″. IF YOUR WIDTH IS WIDER THAN YOUR FABRIC: You will need to break that number in half and cut two pieces. So with this example of 60″ wide, I can cut two rectangles at 30.5″ wide instead (remember, we need to add the seam allowances to BOTH rectangles , hence the 30.5″ measurement)
Step 4
Cut your rectangle(s) out in the size you determined in the above steps. (If you needed to cut two rectangles, attach them right sides together on one short edge. You will have one long rectangle)
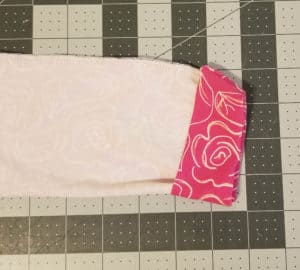
Step 5 Photo: Fold in half
Step 5
Fold your rectangle in half, right sides together, “like a hot dog”. You want your long raw edges to align. Sew or serge along the long raw edge. This will leave you with a long tube.
Step 6
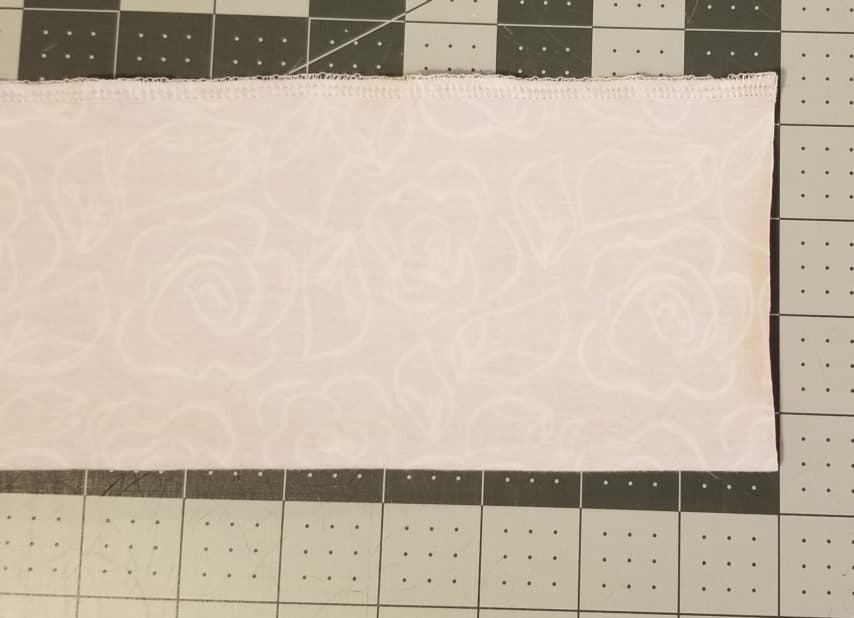
Turn your tube right side out by folding it into itself, as shown in the photo above.
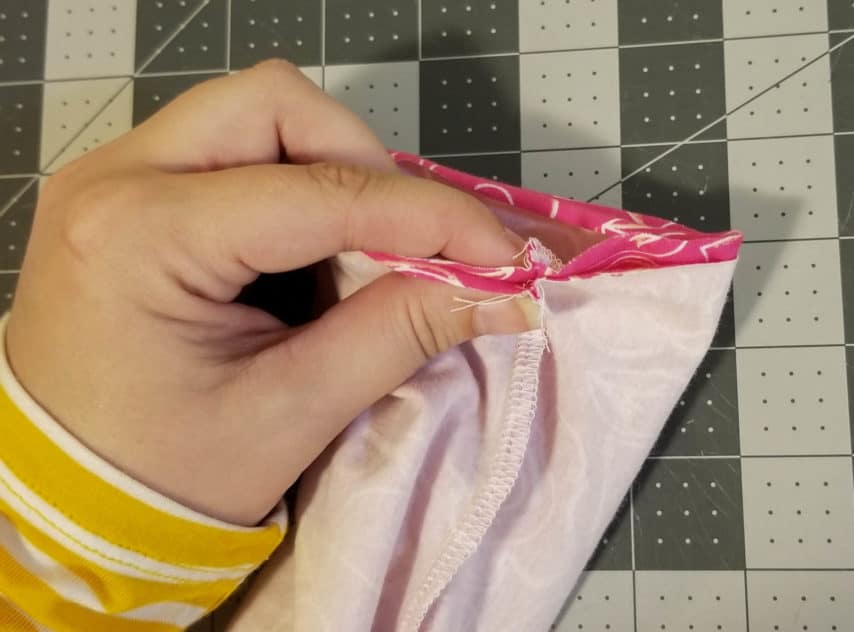
Step 7
Using the same method you used to turn it right side out, fold the fabric back onto itself like you are folding it inside out again. Except this time, only go half way You want your two ends right sides together so that the seams are aligned (as shown in the above photo).

Step 8
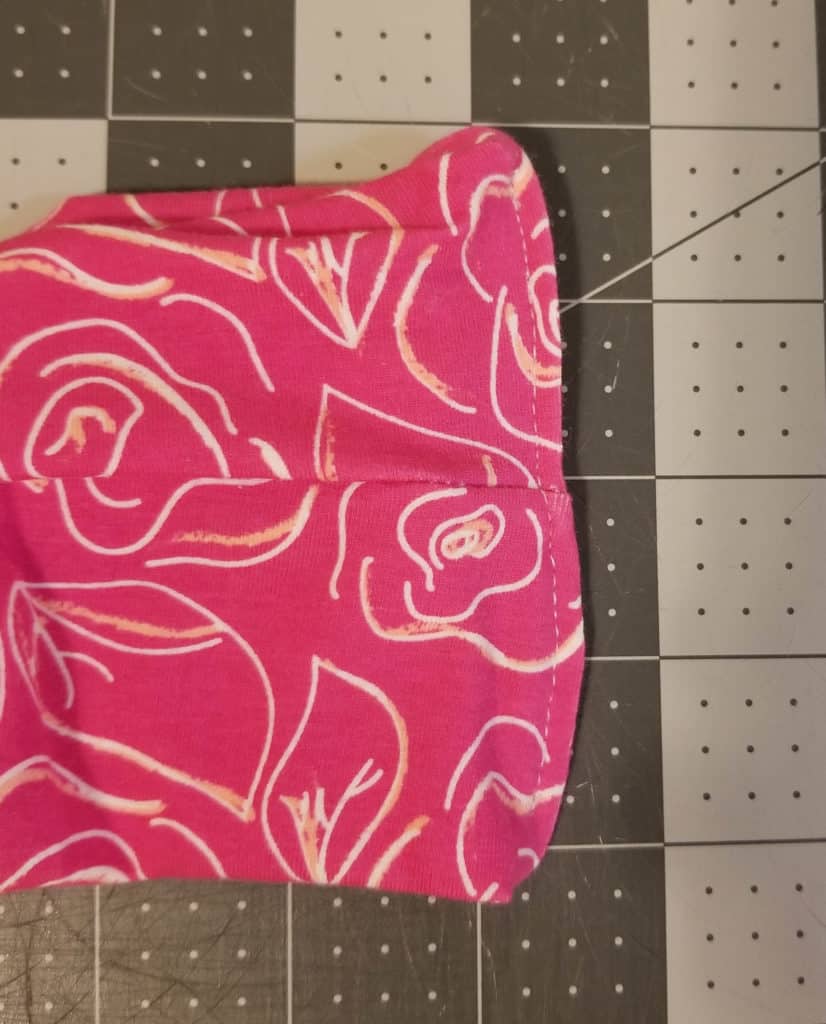
Sew or serge along the raw edges leaving a gap large enough to turn your scarf right side out (see above photo for reference). I recommend leaving the opening where the seams are because then your opening will be on the inside of the scarf.
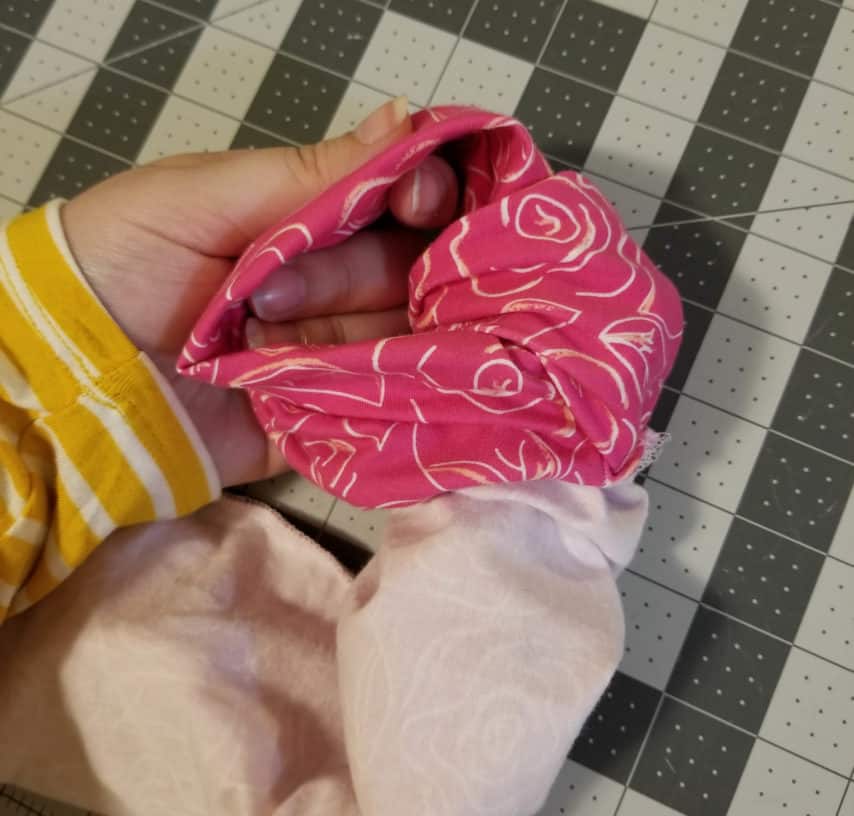
Step 9
Reaching into the opening you left, start pulling the fabric right side out. Once you pull enough out to see a loop just grab onto the loop and pull until it is completely right side out.

Step 10
As you can see above in the photo on the left our scarf is now completely right side out but we are still left with an opening. You can either hand stitch your opening closed so that you cannot see the stitches or you can use your machine to sew it closed. Pin/clip your opening closed.
Step 11
As you can see above, I used a straight stitch on my machine to close my opening. When closing yours I would recommend using a thread that matches your fabric so it doesn’t show like the contrasting thread that I used. However, this seam will not show on the outside of the scarf so I wouldn’t worry too much about what it looks like!

As you can see, the seam above is located next to the seams on the inside of the scarf so when worn, you won’t be able to see it at all!
I hope you found this tutorial helpful and that you will make many scarves for yourself, children, friends, family, and anyone else you can think of that needs a cute scarf in their lives!
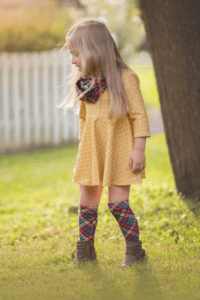
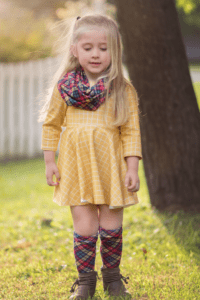
And two bonus photos to show you how a scarf really elevates an entire outfit!
We would love to see all the new scarves that you make! Head on over to the SLPco Facebook group and share some photos with us!
Until next time,