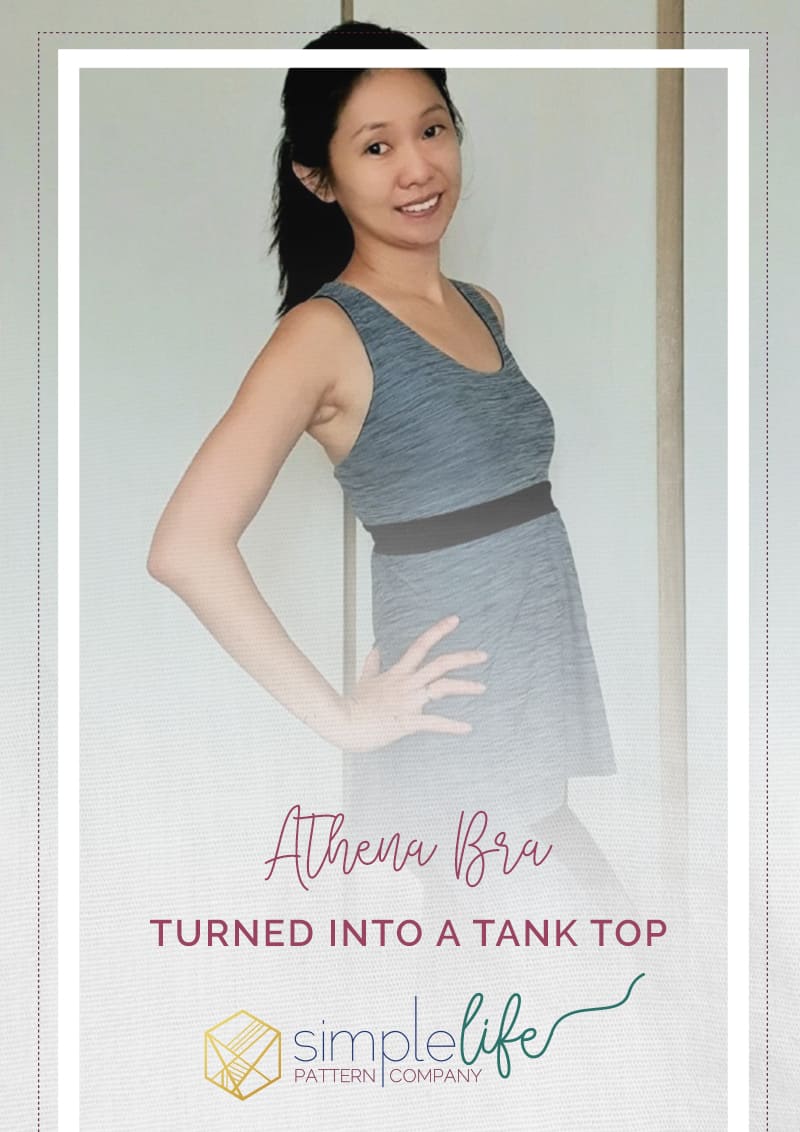
Athena Bra to a tank top hack
Hello world! I’m Hwee Ke from Singapore and thank you for being here! My blog post today is about a hack for the Athena Sports bra into a yoga tank with bra cups that I would love to share with everyone!
My inspiration for this post came about from my 2021 new year resolution to keep fit and stay healthy. What better way to make a resolution like that work than with cute workout outfits that make you happy when wearing them!
Enter the Athena Sports Bra! Designed for knit fabrics, the Athena pattern has projector files and is SUPER QUICK to sew up. It has instructions for adding bra cups and even has pockets. I love the flattering scoop neckline – looks good even for people with small boobs (aka me) AND it is still supportive for better endowed people.
Now, I loved the fit of the Athena but I prefer working out in tanks with my mum-tum covered. Which got me thinking – why not hack this sports bra into a tank? That way, I get a supportive bra top tank that covers the tummy and looks fabulous. Perfect!
And that, my friends, was how this Athena tank was born.
Here’s the short version of what I did:
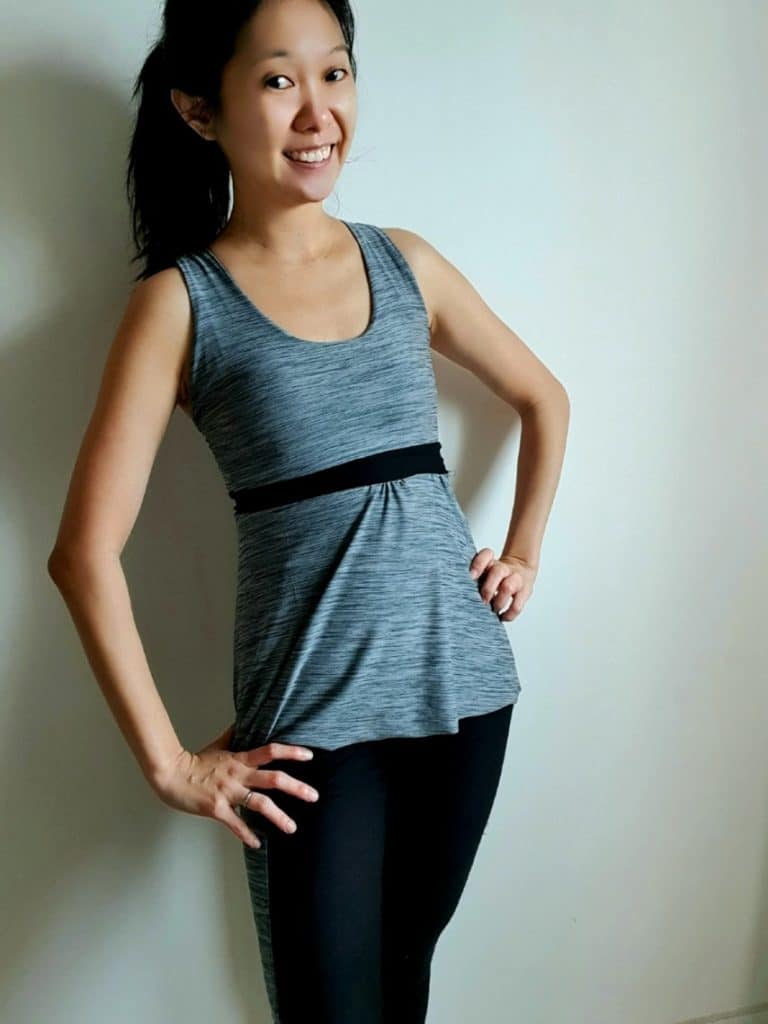
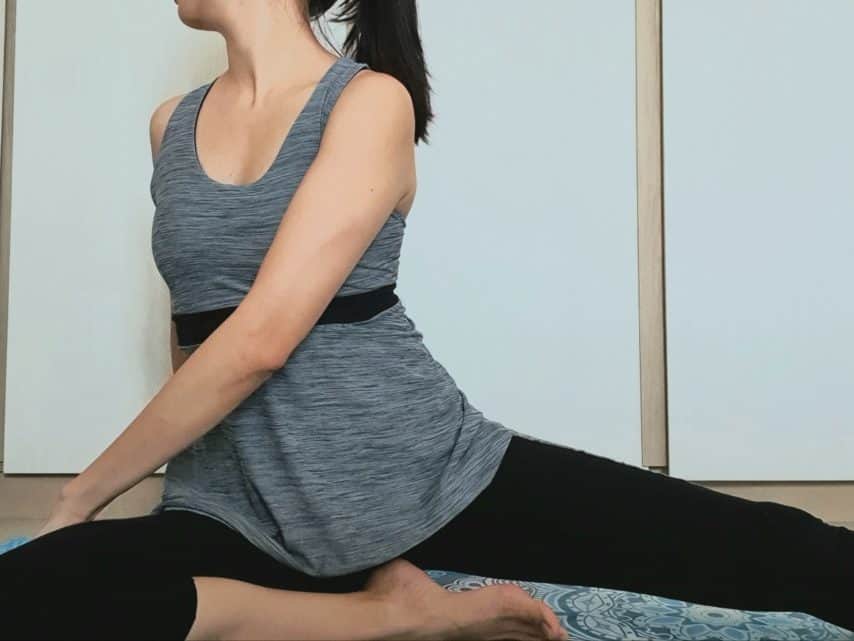
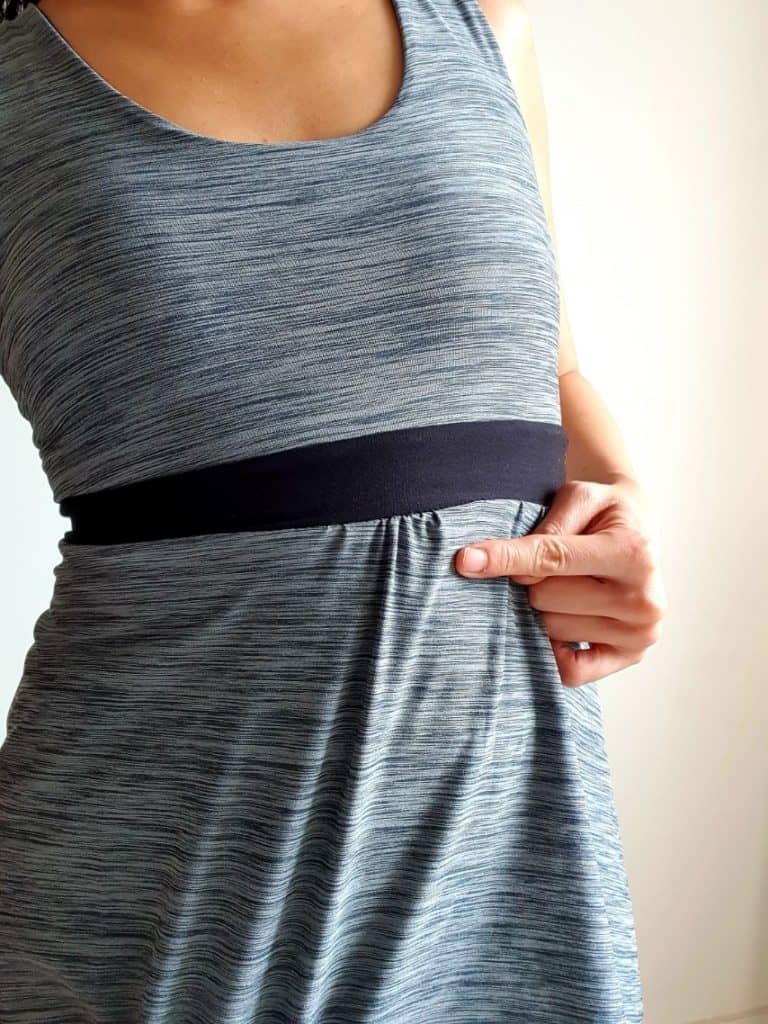
I kept the bra band with elastic for support but instead of making it like a cuff, it was separated into main and lining pieces. For the bottom of the tank, I cut a quarter circle skirt that is slightly bigger than the band and gathered it ever so slightly right at the front centre to give my mum-tum some space therefore giving me the illusion of having a flat belly. The back of the skirt was also slightly gathered cos I liked just a bit of added flare there. Note: If you don’t wish to gather, a simple quarter circle skirt will still give you that lovely flare without emphasizing the tummy!
Interested to give my hack a go? Here’s the step by step longer version of how to hack the Athena Sports Bra into a tank:
- First you will need the Athena Sports Bra.
- You will cut out everything as per instructions for the normal sports bra with band except the band piece. For that, you will use the length of the bra band you need but cut 2 pieces out with the height of 2 inches each. These will be the BRA BAND MAIN and BRA BAND LINING pieces. Wait until your bra is sewn before cutting the skirt piece.
- Next, follow the instructions to sew the bra top as per instructions up to just before you attach the band piece.
- Attach the bra band pieces to the bra. You can include the elastic in this step if you would like more support, if not, you can also leave it – leaving it would mean less support so I wouldn’t recommend it for my more well-endowed friends! The bottom of the band should be basted together after adding the elastic.
- For the bottom skirt piece, we will need to draw the quarter circle pattern piece before cutting into our fabric. First, you will need to measure the circumference of the bra band before it is worn. If you wish to gather your skirt like me, you will add more length to that number. E.g. if your measurement is 23 inches, you can add 1 more inch to it – total 24 inch. (the more you add, the more gathers you will make). You will also need to wear the bra and measure how long you wish to have your skirt be from the bottom of the band to your preferred length of top.
- I used a free circle skirt generator online to calculate the required radius of circle I needed and if you google, there are many other options out there you can use. You will need to measure the circumference of the bra band before it is worn. Then wear the bra and measure how long you wish to have your skirt be from the bottom of the band to your preferred length of top.
Here’s my measurements:
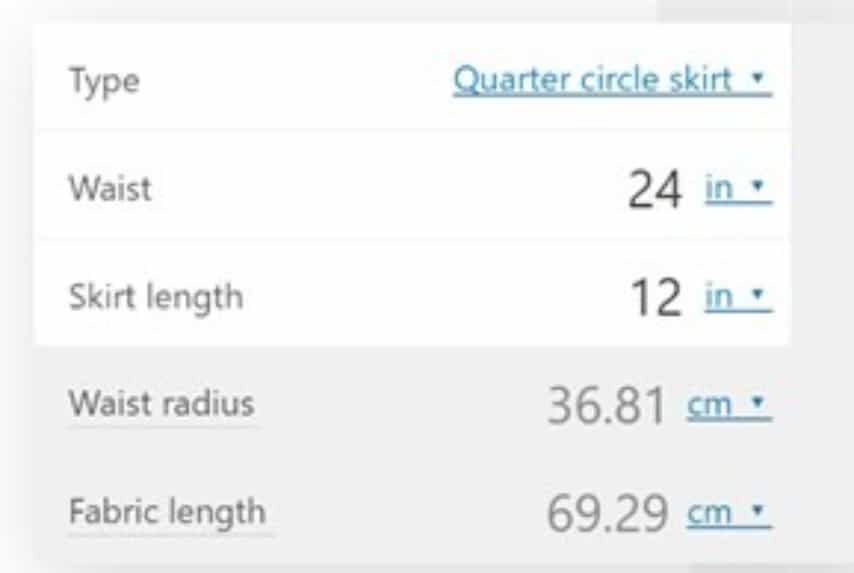
- If you are feeling like doing some Maths, here’s the calculations:

- Now that you have the radius, you can mark a point on paper and then draw a quarter of a circle with that radius and that would be your inner circle where the band meets the skirt.
- Then, draw a second, bigger circle radius for the bottom of your skirt piece.
- The shaded area is your final skirt pattern with just 1 seam (I chose to put this seam at the back)
- I did not want hem my circle skirt because knits don’t fray. If you wish to hem, please don’t forget to add the hem length into the measurement of the radius of the bigger circle. Also don’t forget to add your seam allowance to the top and sides of the skirt! I like to use 1cm for this.
- Once done, it’s a simple matter of serging the skirt together, and attaching the skirt with the seam at the center back.

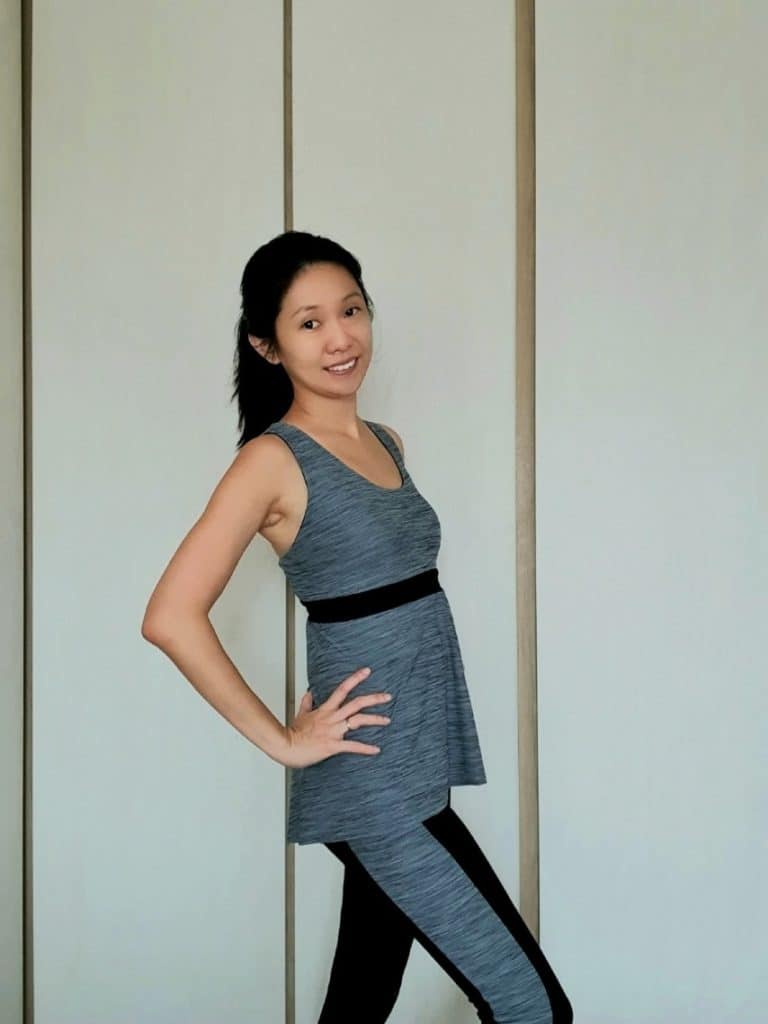
And there you have it! Your very own Athena bra tank! I’m wearing my Athena tank with SLPco’s Energize leggings in capri length. A perfect combo for a lovely yoga workout!
Hope you enjoyed this post and happy sewing!