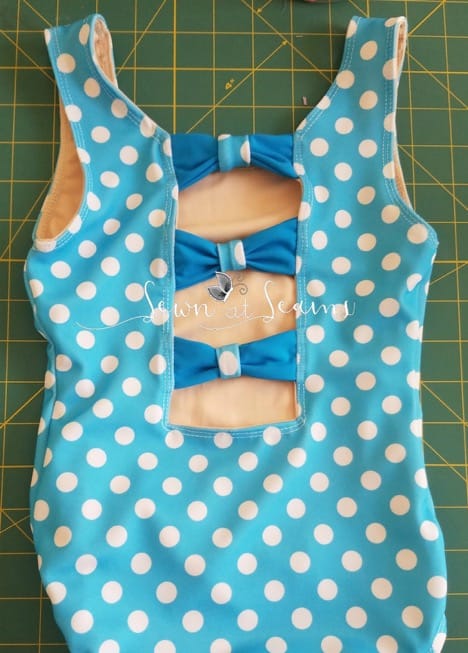
How to create a Bow Back Lorelei Swimsuit
Hey everyone! A few weeks back Tasha over at Sewn At Seams posted Lorelei and Aria mash-up in our Facebook Fan Group and it was so cute. Today she is sharing her tutorial on how to create the adorable Bow Back Lorelei Swimsuit.
Don’t forget the Lorelei Flutter Cutout Swimsuit is the Pattern of the month for March and is currently 20% off, no code needed.
Materials:
Lorelei Flutter swimsuit pattern
Aria Bow Back Top and Dress pattern

To make the Aria Bow back work with the Lorelei pattern we need to make a few modifications to the back pattern pieces. This is where the tracing paper comes in handy.
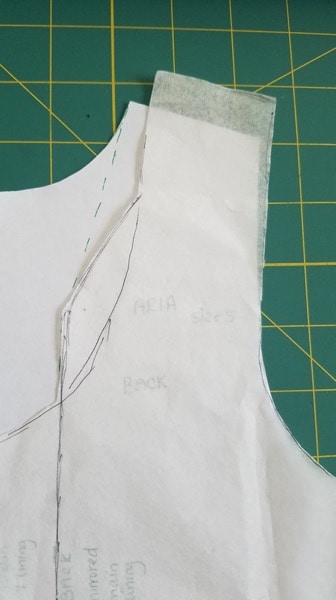
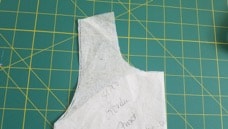
Using a piece of tracing paper, take your original Lorelei back piece and trace from the shoulder of Lorelei down through the armscye curve.
Now take your traced Lorelei piece and place it over the original Aria back piece making sure to line up the armscyes. Because the strap from Lorelei is narrower than the back of Aria, you will need to bring the angle in a bit more to compensate for the difference.
Here you can see my traced pattern piece placed over the original Aria back and how I changed the angle.
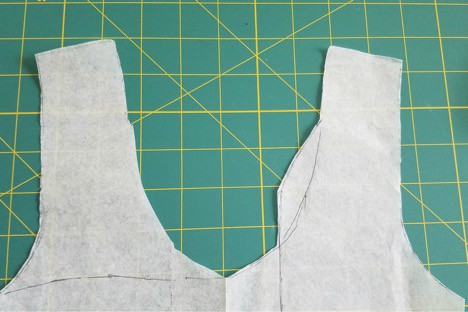
In the photo below, the left side shows the original Lorelei shoulder strap and the right side shows the strap with the angles from Aria.
I didn’t draft a new piece for the front, but instead folded my pattern piece in half and cut my fabric on the fold.
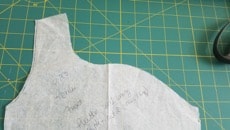
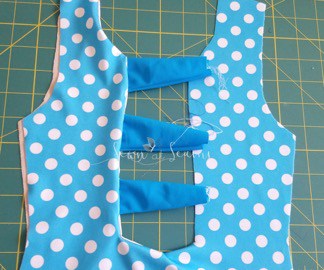
Cut your pattern pieces from both the main and lining fabrics. They should look like this:
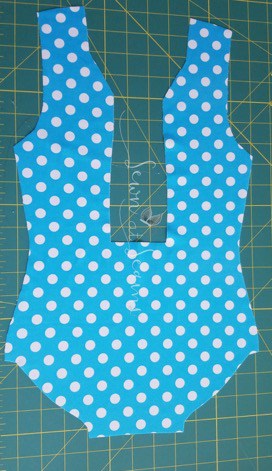
Don’t forget to cut the pieces for your bow, bow center, and elastic for the legs and neckline.
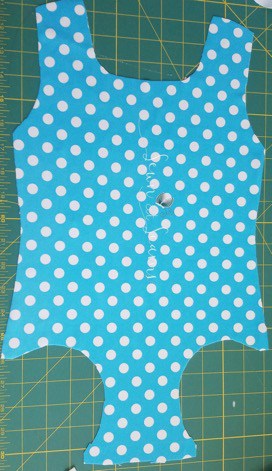
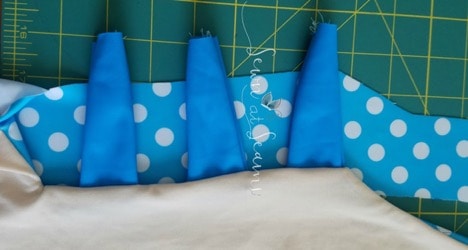
Construct your bow pieces and baste them to one side of the back piece.

Place your lining piece over the top and with right sides together, stitch from the shoulder all the way down, stopping about midway the bottom back.

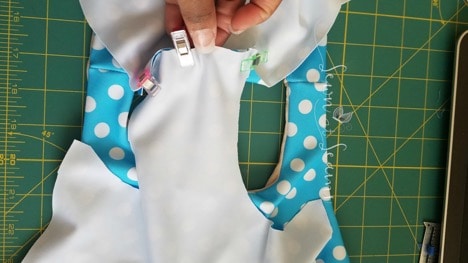
Don’t forget to clip your angles before turning your fabric right side out. I do not recommend ironing swim fabric so it is important to clip your angles and trim as necessary to still get those nice sharp angles.
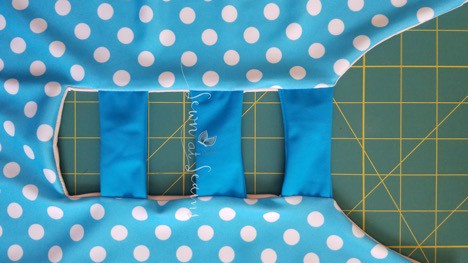
Take the one side that you just stitched and bring it across to the other side. The right sides of your main fabric should be facing. Line up the bow pieces and baste, taking care to ensure they are straight.
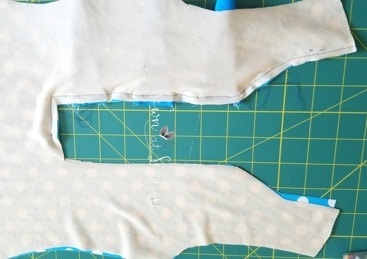
You will have to flip your lining piece through to the other side (using the space between the bottom bow piece and bottom of the bodice). Your fabric should now be right sides together so you can stitch down the opposite side.
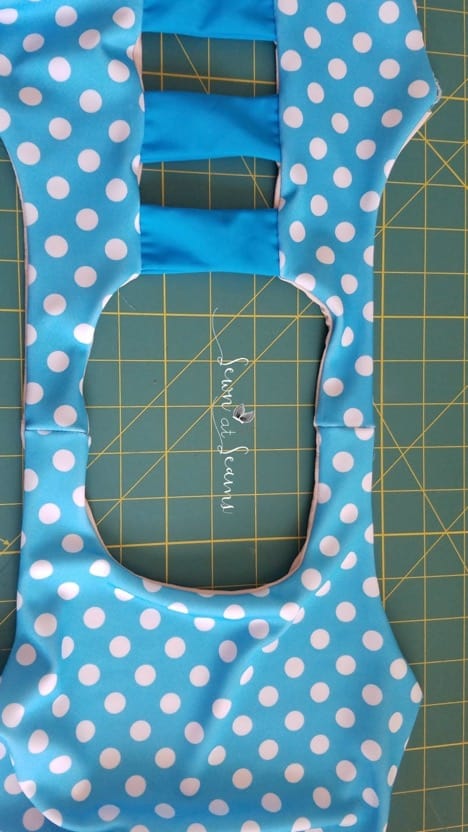
Your back piece is complete.
Stitch your front main and lining fabric pieces together. If you are adding elastic to the front neckline, do so now.

At this point, you can refer back to the tutorial of the original patterns to complete construction. Steps 10-11, and 15-21 of Aria 7, 11, 16-20 will help you complete the body of the suit.
Step 7, 11, 17-18 of Lorelei will help you finish the crotch seam and add your leg elastic.
I did not add arm elastic to this suit so that step is not included in this tutorial. I finished the suit by using my coverstitch machine and topstitching.