The new Cricut EasyPress 2 review with free cut file
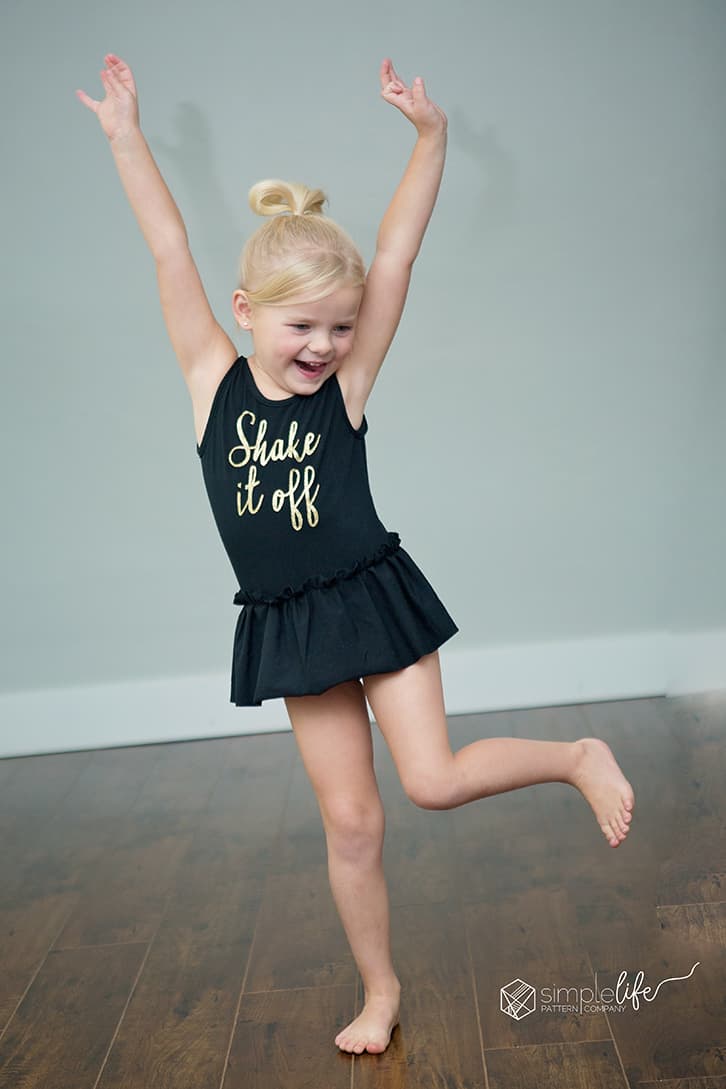
Okay, where are my Taylor Swift fans at? My daughters are completely obsessed with T-Swift’s “Shake it off” song and they are always running around singing it and it is just so adorable. I received a new Cricut EasyPress 2 not too long ago and while I have been using it for so many other projects, I hadn’t used it for iron on until this project. I knew I had to make something with “Shake it off” for daughter #3 and when Becca designed this beautiful Lydia’s Leotard pattern, I knew it was destined for the “shake it off” quote.

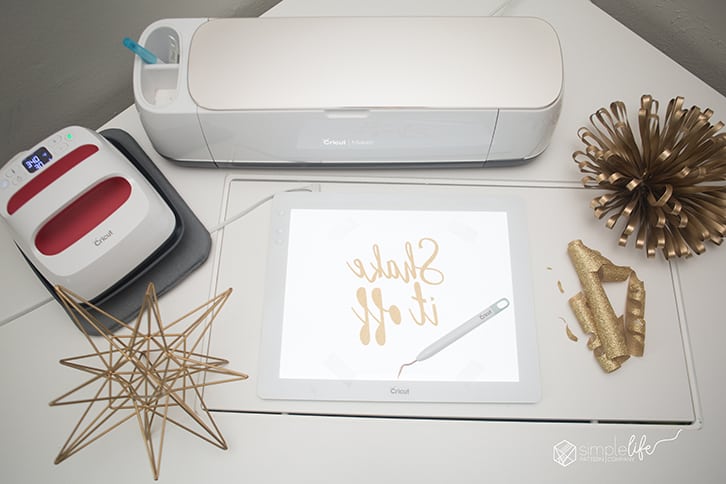
I went to my iron-on stash, trying to figure out what color or design to use for this and we finally agreed on gold glitter iron on. I use gold glitter on A LOT of things, it is probably my favorite iron on, it’s just so pretty and sparkly. Also, Cricut now has a Strong Bond Guarantee, if you use it as directed, your iron-on will last over 50 washed and not peel up like other brands. If you are unhappy, they will replace it for free too so you can’t go wrong. You can use this handy guide to help you determine the perfect temperature for your EasyPress (1 and 2) and choice of iron on. I like to add my iron-on’s before I sew the garment together, that way I have a nice flat surface, no seams in the way, but you can do it at the end if you want. I made this SHAKE IT OFF design in Cricut’s Design Space and you can make now get it in the Cricut Community. If you have access, this project will be free.

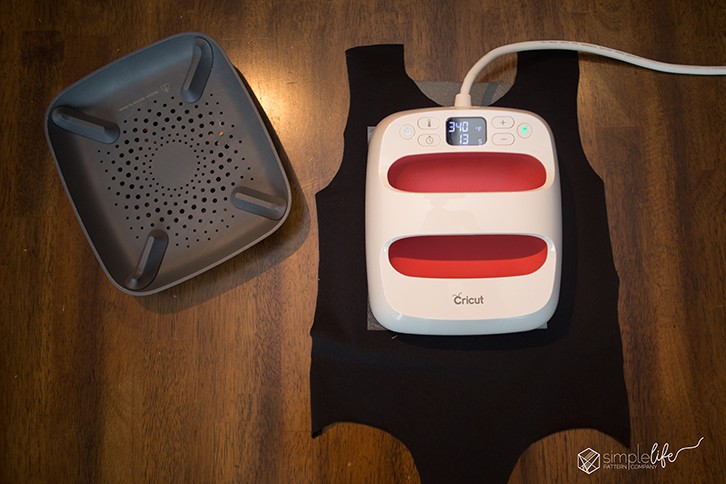
I am using the new EasyPress 2 in the 6″x7″ size. I already have the EP 1 in the 9″x9″ and I thought I would use the smaller one a little more than the large 12″x10″ EP 2 that they came out with. I figured I could use it a little more like a household iron. I use it for pressing all my quilt blocks and quilt tops, pressing my fabric before putting it on the Fabric Grip mats. You can see how I use it for quilting in this post here. I LOVE the even heating and the high temperatures for pressing fabrics/ blocks. My high end household irons don’t even compare to this. It heats up really fast, perfect for those last minute projects (you know, the one where your kid needs a certain shirt and doesn’t tell you until that morning…. hehe). One thing I love about the EasyPress 2 compared to the EP1, they included a usb port for firmware updates, so your EasyPress will always be up to date. If you are doing a lot of shirts, the bigger 12″ x 10″ would be so fabulous! I might still get one of those just to have on hand. I love cutting everything on my Maker, but you can also use your explore air 2 or older machines.
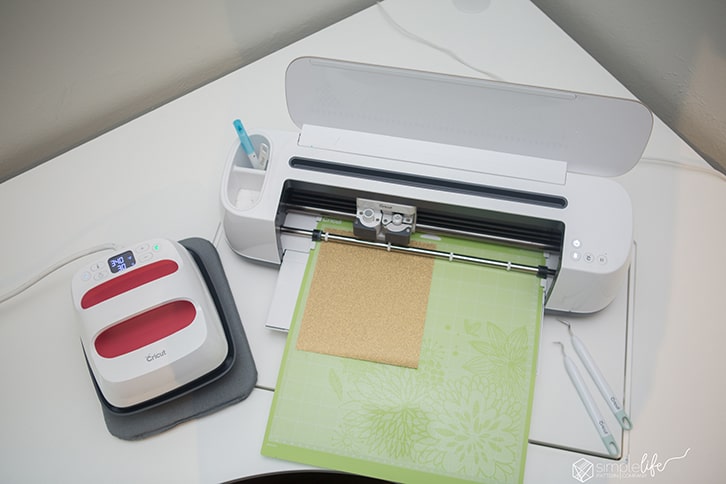
When you are cutting out your design for iron on, always be sure you have “Mirror” turned on. Place your iron on, shiny, plastic side down. You have to cut it backwards because after you weed it, you flip it over and press it onto your garment, plastic side up.

I love using my Cricut BrightPad for weeding. It helps see all those little areas that you need to pull off. Weeding is one of my favorite parts of the whole process.
Once you weed your design, press your garment for about 15 seconds to heat up the fabric. Place your design on your garment and place your EasyPress 2 on it. For glitter iron on, you will turn the temperature to 340 degrees for 30 seconds. I like to press from the back side for 15 seconds as well. This works so much better when you are using the pressing mat. I am using the smaller pressing mat but honestly, if you are only going to buy 1, I love my large one meant for the large EP2. I use that one for so many projects or pressing something in a time crunch. The mat is an accessory I wouldn’t go without. They are not crazy expensive and you will be so much happier having it.
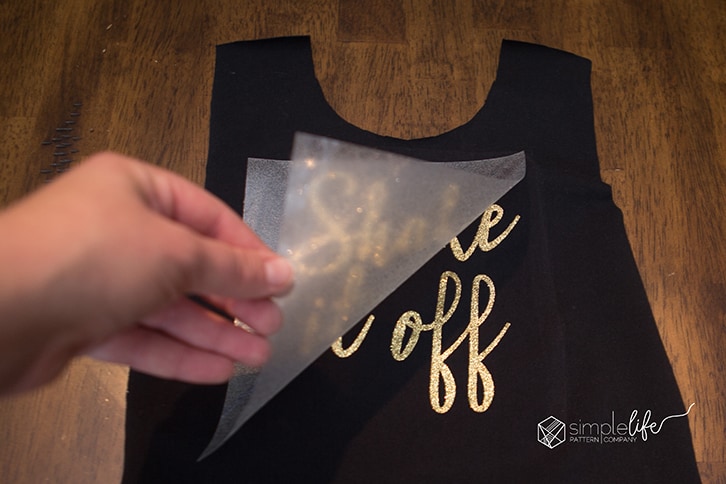
The best part, peeling the carrier sheet off. Glitter iron on is warm peel so you can peel it right off after you are done pressing.
Now you can enjoy the beautiful and personalized garment you made. I hope you enjoyed this fun project.

xoxo
![]()
This is a sponsored conversation written by me on behalf of Cricut. The opinions and text are all mine.