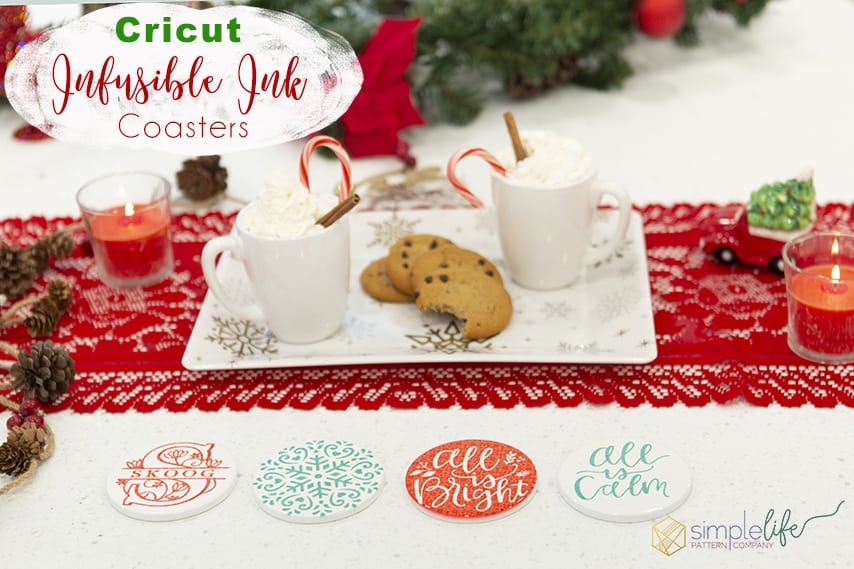
Cricut Infusible Ink Coasters. Personalized Christmas Gifts fast and easy.
I got some of the Cricut’s new Infusible Ink transfer sheets awhile ago and I am finally getting around to playing with them. I have never used them before this project so I looked up a lot of tips and tricks for using them and I will share all of that with you as well. I am using my Maker, but you can use any of the Explore Air machines.
This is a sponsored conversation written by me on behalf of Cricut. The opinions and text are all mine.
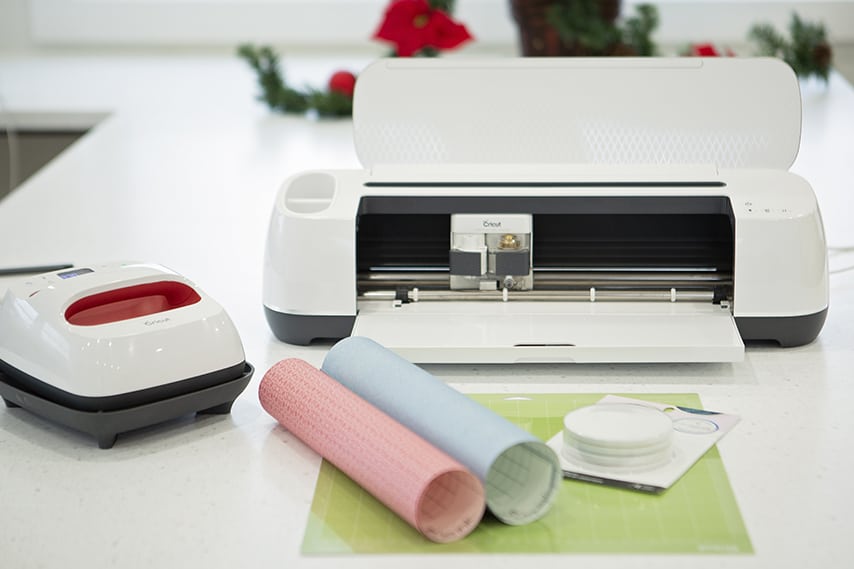
I decided to make a set of Christmas themed coasters using the Cricut round coaster blanks. I don’t intend on using them for coffee or drinks though. I really needed coasters to put under my candles. I light candles all the time and once they get low, the glass gets pretty hot and I get scared it will ruin my laminate counters. I usually move low ones to the stove area to avoid that but then I don’t have them evenly distributed throughout the house (yes, I am weird about that). These coasters are a great last minute gift for anyone. Maybe add a cute mug and candle into a little gift basket. These would make great hostess gifts as well. I love these so much, I can not wait to get more blanks now!
When selecting your design, you don’t want a lot of small cuts. I found that it kind of ruined the design. I did NOT change my blade (its fairly new though) so that could have been why 2 of my designs didn’t cut well. I ended up scrapping those and choosing bigger designs.
When making your design fit the coaster, size down just a tad more than the diameter of the coaster. It says it is 3.6″ but I realized after I cut everything, it is more like 3.4-3.5″. My designs were slightly bigger than the actual coaster so I had to have part of it over the edge.
Heat resistant tape isn’t necessary (I didn’t have any) BUT I will be getting some, it would have been super helpful on these.

Here are the infusible ink transfer sheets that I wanted to use. When I opened the mermaid rainbow package to get the green sheet out, this is what it looked like. It looks blue! The sheets don’t reflect the actual vibrant color that they are supposed to be. Don’t worry, it will be super vibrant and amazing once you press it. They give you a little swatch of fabric in each package so you can test the colors and see for yourself. Just look at the difference from the sheets to the little sample pieces I did here. I grabbed this vibrant red color from the wildflower set.
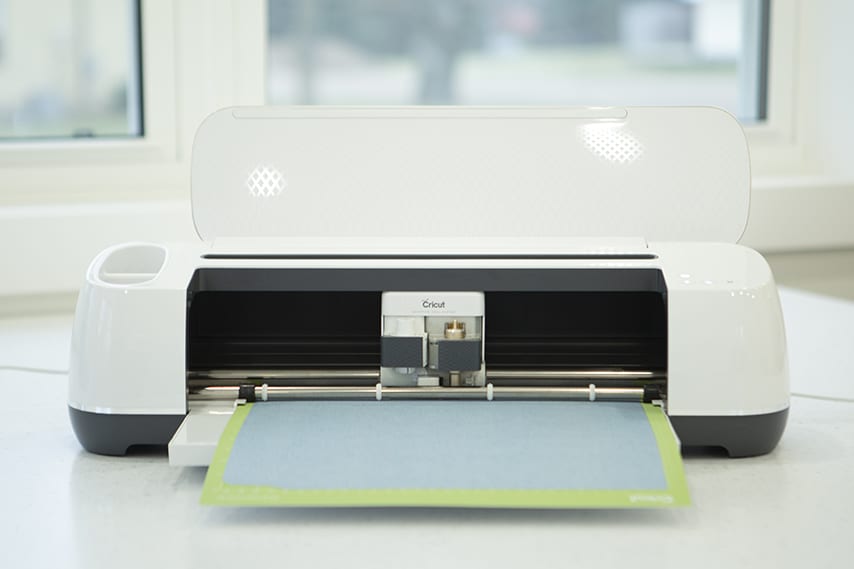
If you want to recreate the coasters I made, you can check out my Design Space Community page. I have a bunch of projects there you can try out. First thing you need to do when prepping your project is be sure you MIRROR your image. Super important if you are doing text. Use a green cutting mat and place the infusible ink transfer sheet ink side up. Try not to handle the sheet too much, you don’t want the oils from your hands to be all over it. When cutting, I used “more pressure”. I only did that because a lot of other people said they needed to do that for a good cut. With that setting, mine cut great so I will continue to do more pressure.
The transfer sheets feel like a really thick card stock. I just used my fingers and peeled the sheet away. Its pretty fun. On some tiny pieces, I did grab my weeding tool to help pull it up.

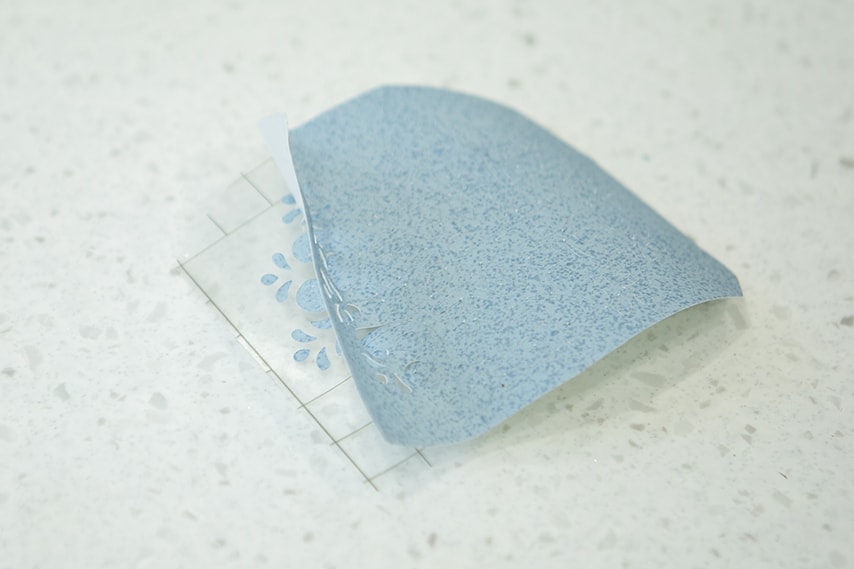
Here is a design after it has been weeded. It looks blue but remember, it will be a vibrant green color when pressed.
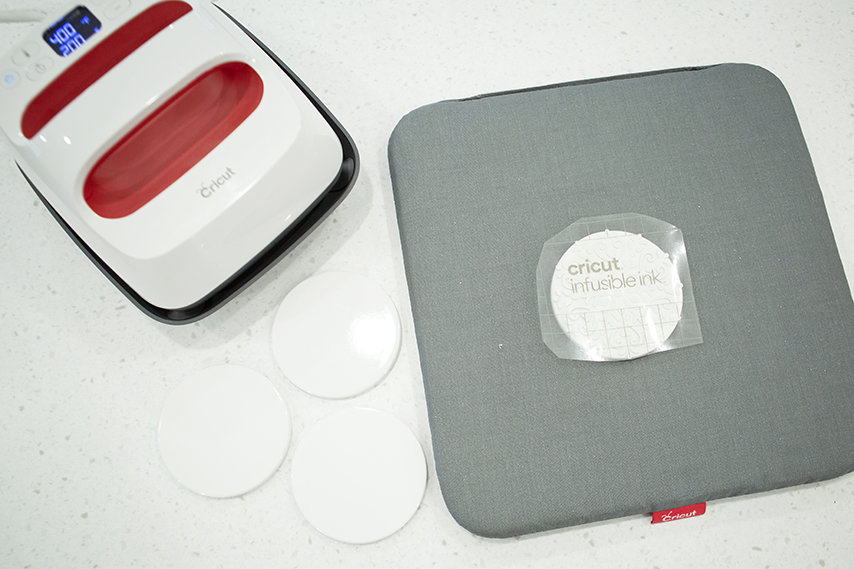
I grabbed my small EasyPress 2 and set the temp to 400 and for coasters, set the timer to 240 seconds. You can find the Cricut cheat sheet here.
It is very important to preheat your blank first. Do not heat over the recommended times in the cheat sheet guide – it can destroy the pigments. It is also important to not move the EasyPress while pressing. Just simply place the EP on top of your project and leave it. You should use the Cricut pressing mat because It holds the heat in your project and reduces moisture, which could ruin your project. They recommend you place a piece of under your project to prevent any inks transferring to your mat, but I forgot to do that. I didn’t get anything on my mat so that was good.
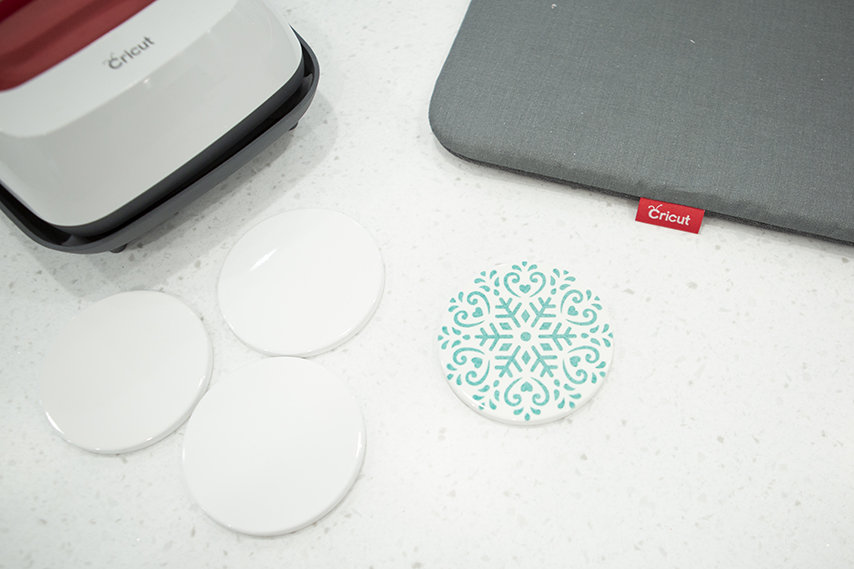
EEEKKKK….look how cute this one is! The green has a blue undertone too it but I still love it.
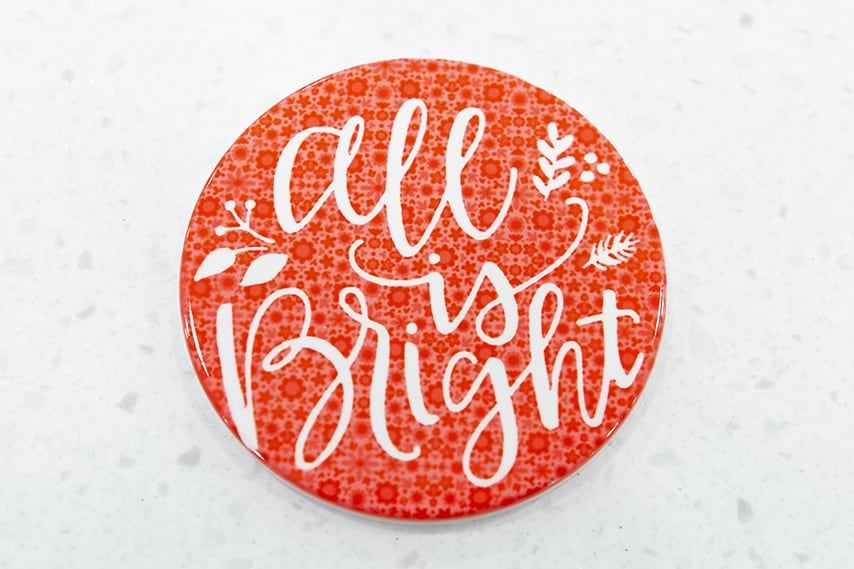
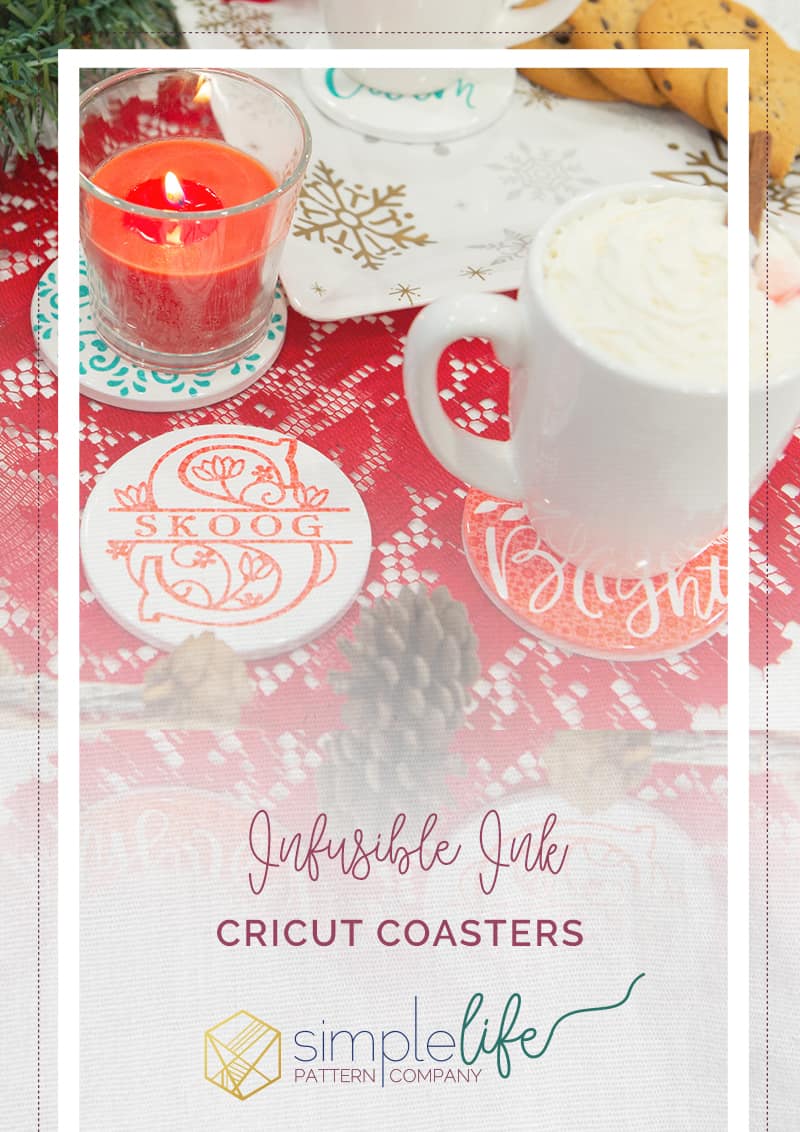
I LOVE how this one turned out. I love the pattern on the red color. The coaster is still really shiny with the ink transfer, which makes it look so good and professional. After I made all my coasters, I liked the ones that had more ink on them like this one above. There are a lot of cool designs in DS that work well for the circle coasters. You can also use the shapes and slice too to turn a design into a circle. Just be sure the cuts are not super small. In the coaster above, I lost the detailing in the leaves, so I just pulled all that out and made it empty in there instead of the leaf veins.
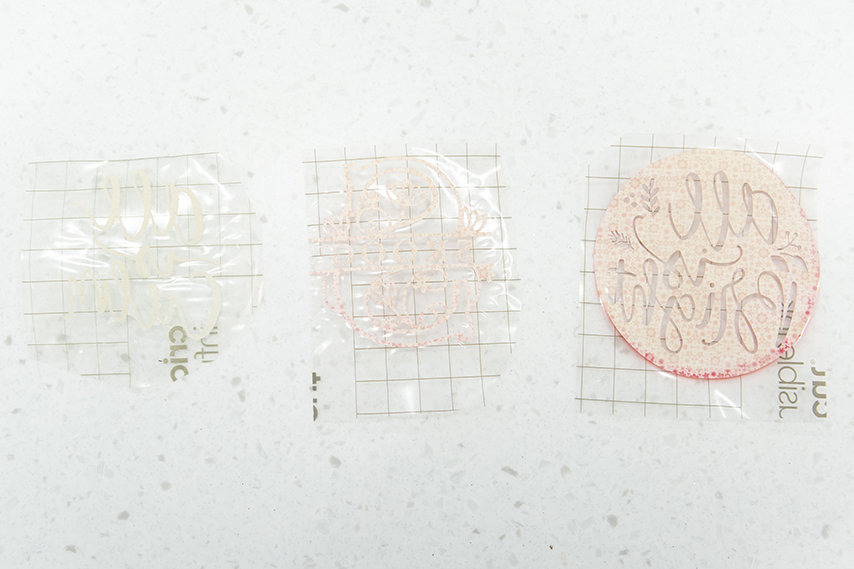
Here are the transfer sheets after. You can see my “All is Bright” design was too big for the coaster so it didn’t release that ink.
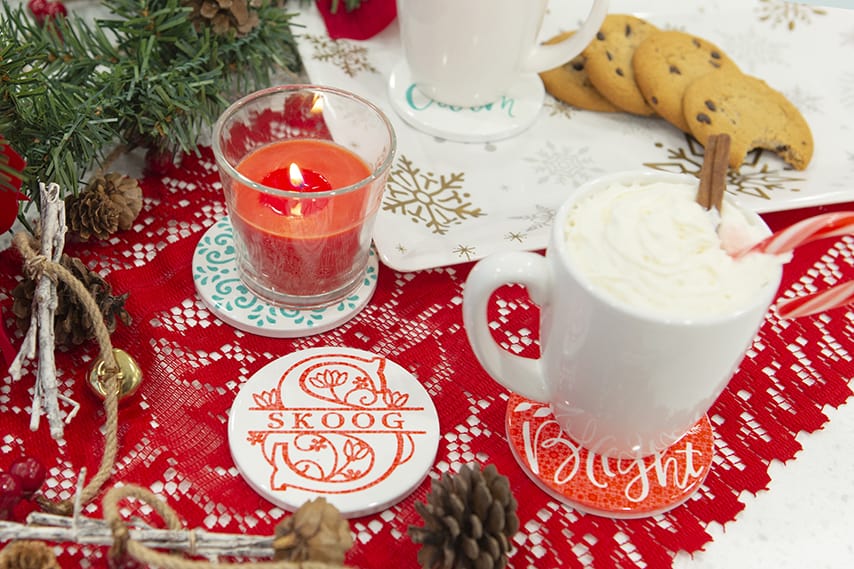
Check out how cute they turned out. I LOVE my monogram one too. Which is crazy because I not usually into that but the design is so pretty and simplistic. The one coaster I wish I could redo is the “All is calm”. I didn’t realize I lost the dot on the “i” until I was photographing them. And it just feels plain. I should have done that one the opposite way – like the red coaster.

I cant wait to put all my candles out on these and not have to worry about the surface under them.
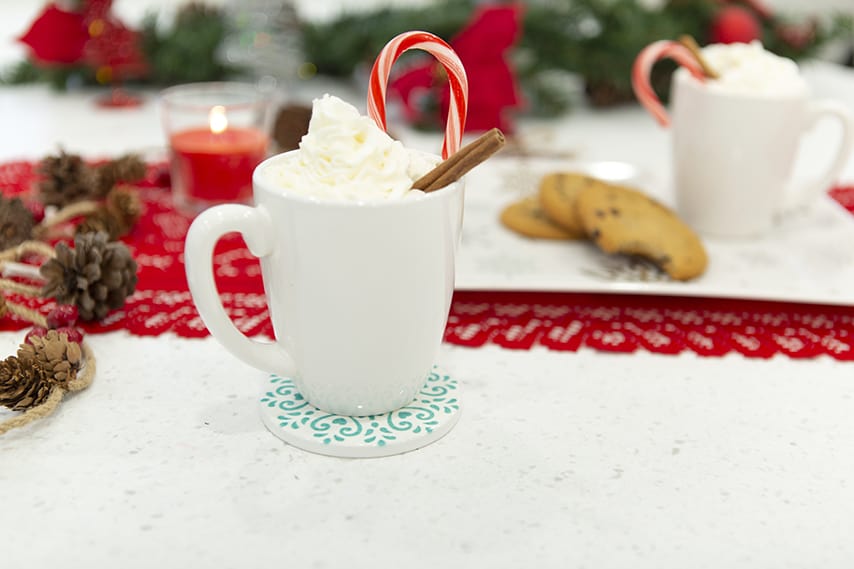
So, staging these, I just used cold water in the cups to keep the whip cream stable for pictures. It ate away at the candy canes during pics and my cinnamon sticks kept falling into the water. I tried telling my kids this but they still insisted on drinking them (gross!!!!!!). I bet they tasted very funny. I had so much fun at Dollar General getting Christmas decorations because I normally don’t put anything out until after Thanksgiving. I might try put these out and see if the hubs notices… hehe.
Love my candles and our monogramed coaster. Perfect for personalizing a set of coasters as a gift (or for yourself!)
Happy Crafting!
![]()