Cricut Infusible Ink totes for a cause
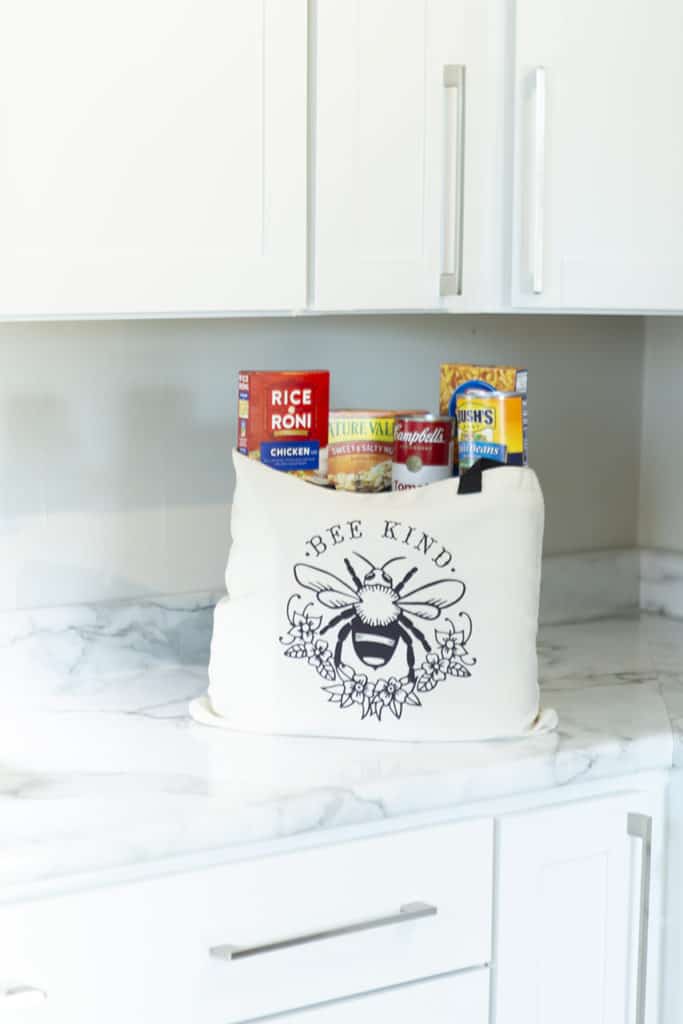
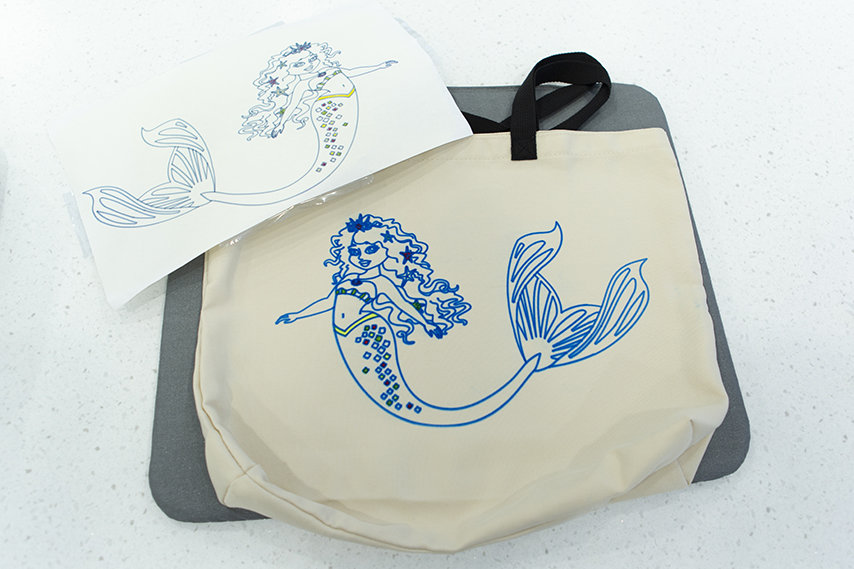
Are you looking for a way to give back to your community using your crafting skills? I have the opportunity to work with one of my favorite crafting brands, Cricut, to create totes to bring to my local food bank. I will be sharing some fun tips and tricks on using their Infusible Ink, which is now my favorite product to use! Its so fun, vibrant and I love that it is embedded into the fabric, so no raised up iron on. Plus, look how vibrant those colors are! The sheets don’t reflect the actual pressed color so its fun to see it transform.
This is a sponsored conversation written by me on behalf of Cricut. The opinions and text are all mine.
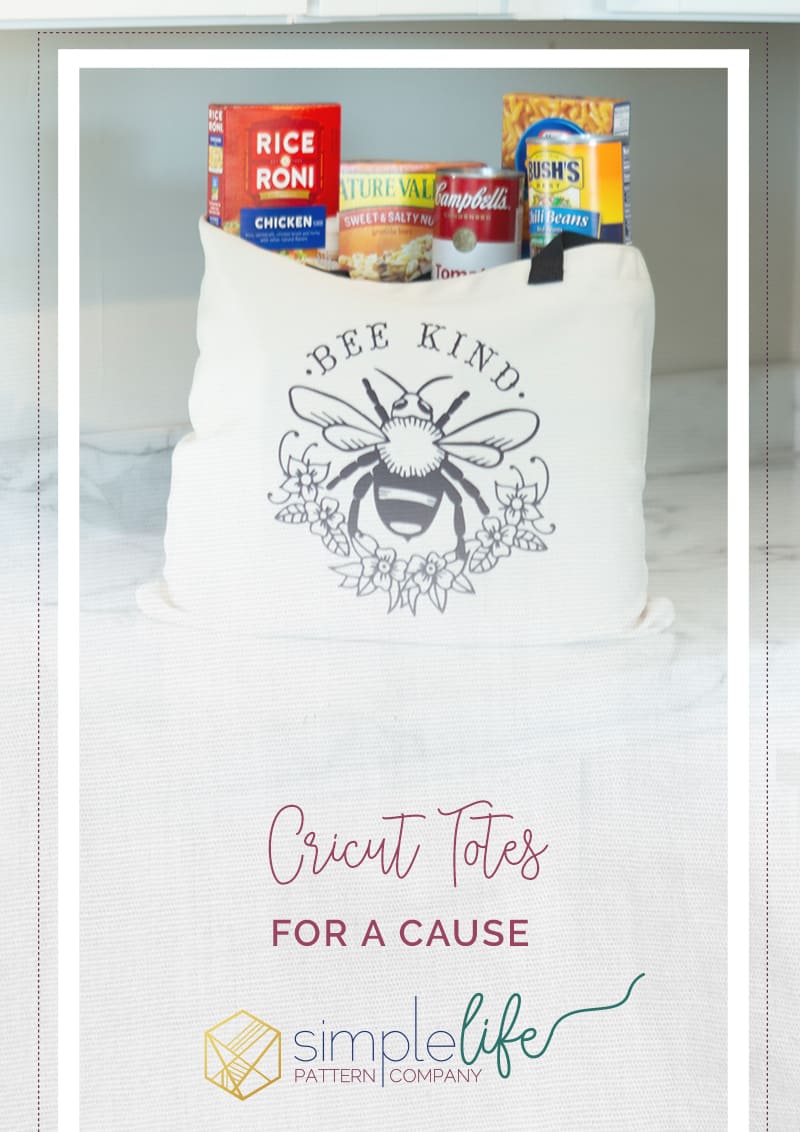
Lets talk a little about this campaign. Cricut knows the importance of paying it forward and came up with such a wonderful idea. Use their tote blanks and Infusible ink to create totes for food banks. Going to a food bank can take a lot of humility, and walking out with a heavy, bulky cardboard box isn’t ideal. A lot of people take public transport or have to walk so these totes are a great way to put a smile on someones face that is going through tough times. The best part is the totes are reusable so they can use them as shopping bags, beach bags or just catch all bags.

I am so happy to make all these wonderful totes (20 in all!) for my local food bank. If you would like to join me and create totes to give back to your community, you can find a local food bank at www.feedingamerica.org you can also google food banks near your location. While food banks will gladly take most food donations, there are a few things they really need:
- Canned meat & chili
- Canned vegetables
- Canned fruit
- Pasta sauce
- Non-perishable snack items for children (i.e. granola bars, juice boxes, applesauce)
- Macaroni & Cheese
- Low-sugar cereals
- Peanut Butter
- Instant Oatmeal
- Toothbrush & toothpaste
Okay, lets grab our materials and give back to our communities.
What you will need:
*Infusible Ink Sheets or Infusible Ink Pens
*Cricut cutting machine. I am using my Maker, but any will work.
The fun part is choosing your designs and Infusible Ink colors. I have some of the designs we choose to do here in my Design Space Community. Cricut also has some fun tote projects already set up in DS for you as well. Here are a few fun ones.
- Arrow Tote Bag
- Good Food = Good Mood Tote Bag
- Fresh Farmers Market Bag
- Floral Watercolor Tote
- All of the Things Tote
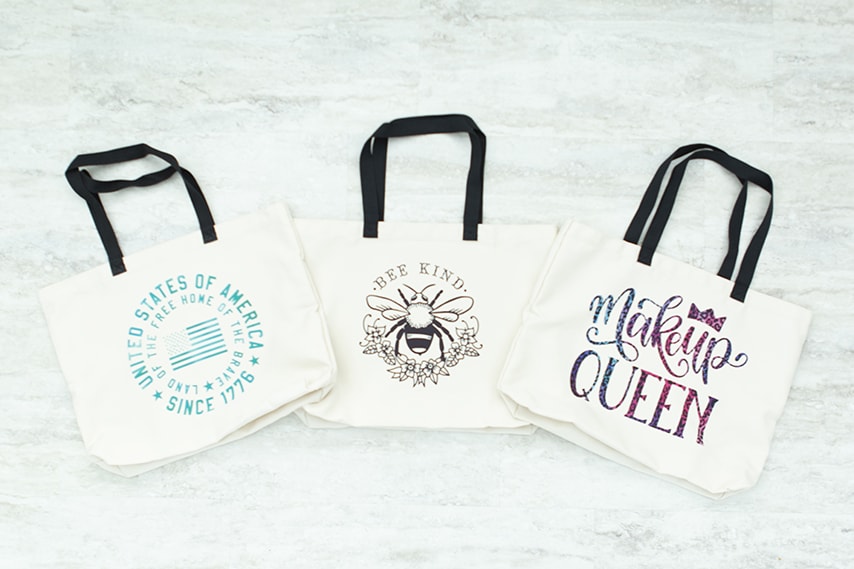
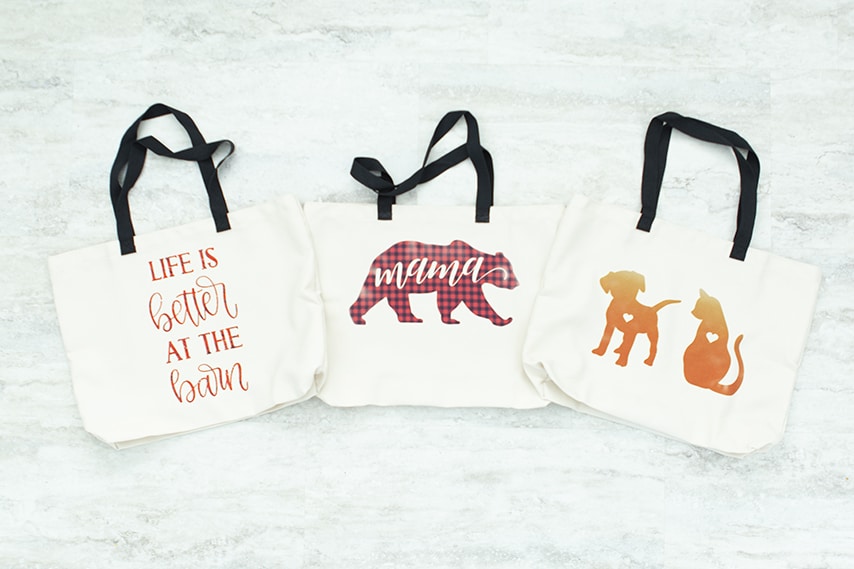
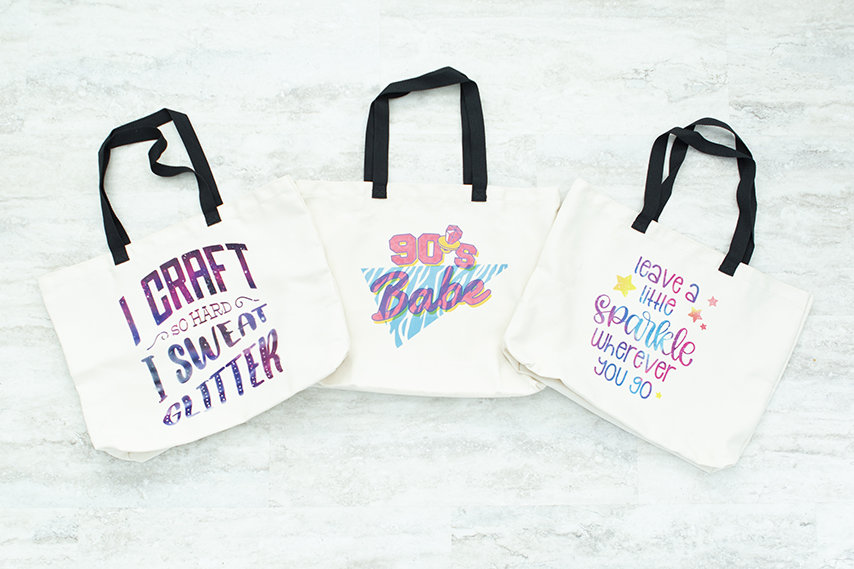
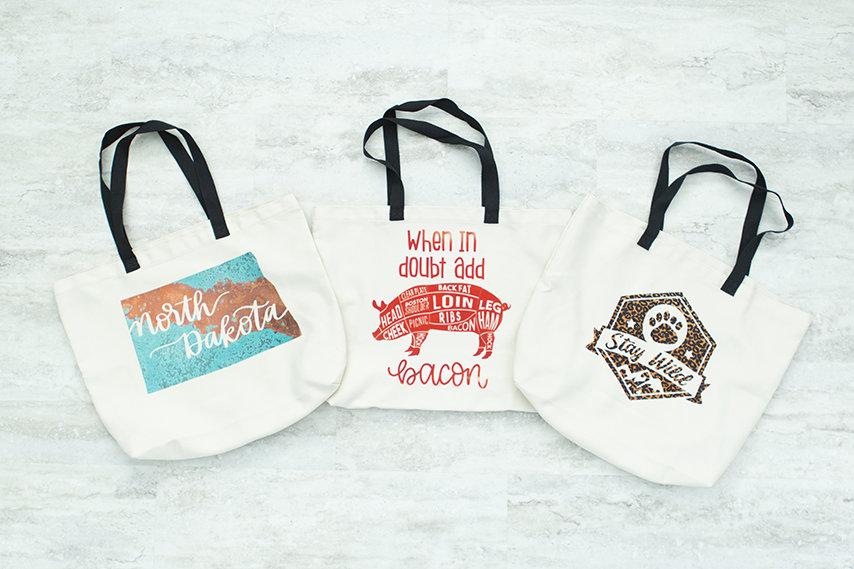
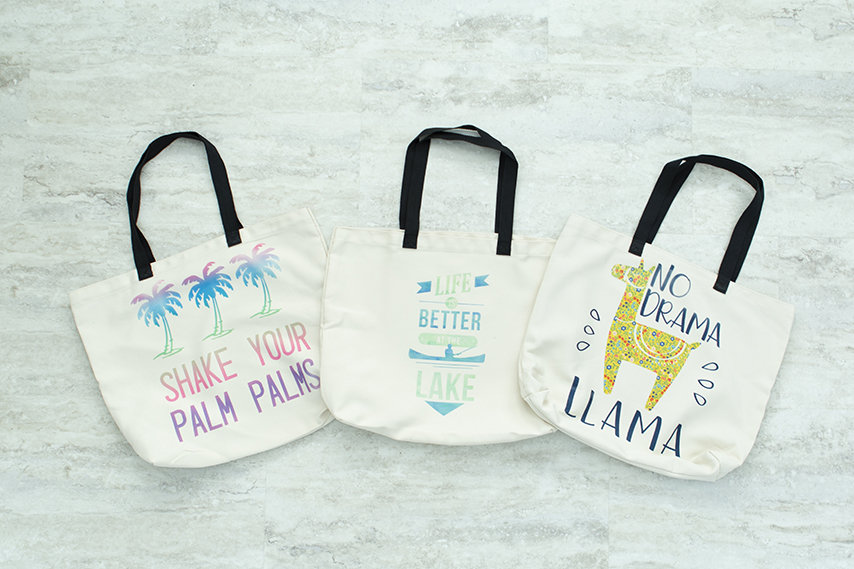
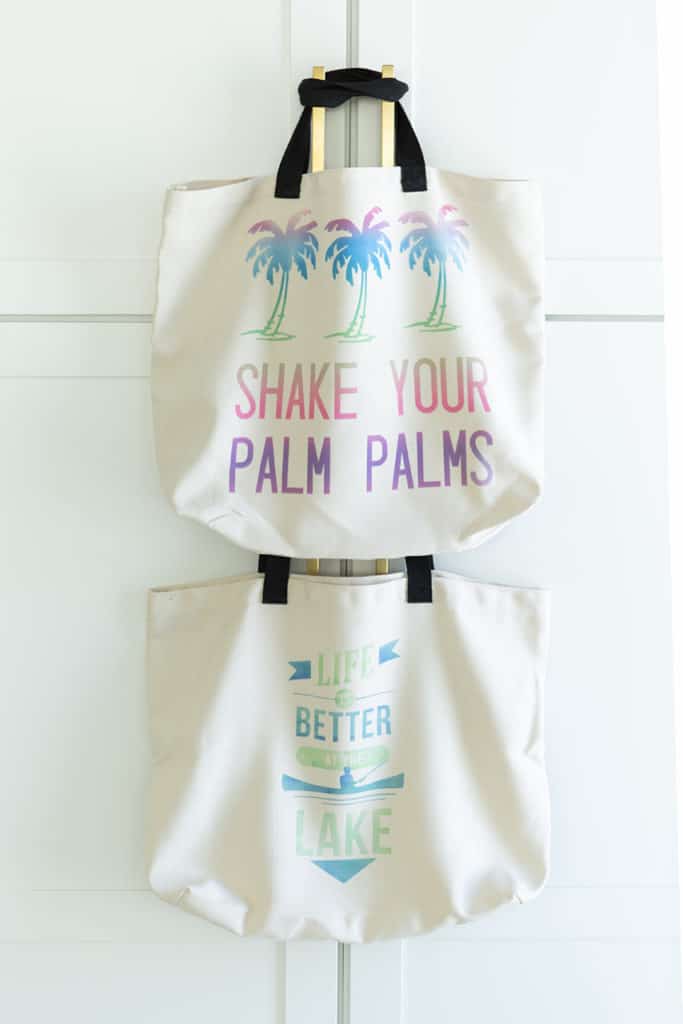
Because I made 20 bags, I just want to go over a few techniques and tips when working with Infusible Ink transfer sheets and pens. Most designs look so awesome in just one color/design. Here you can see these beautiful totes and they were made using just one sheet of ink each but looks so amazing. There are SO many designs to choose from too.
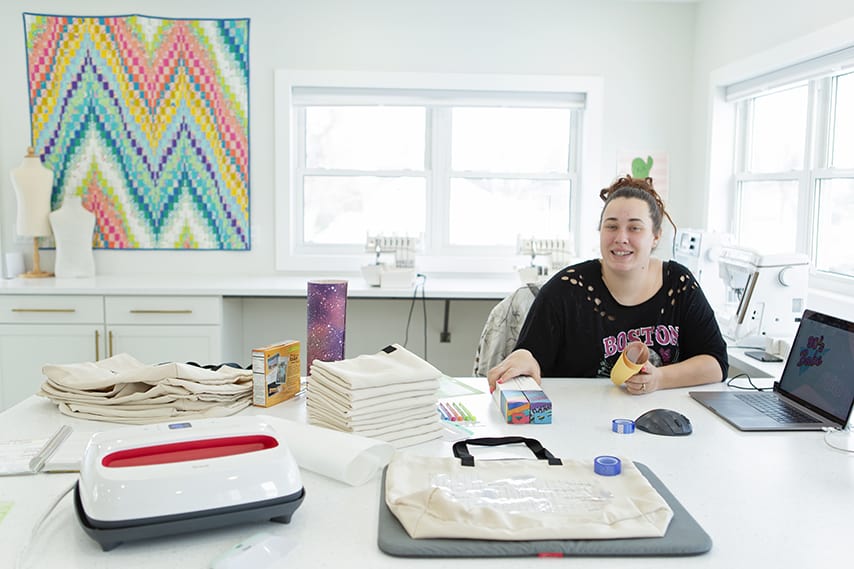
My super awesome friend came over and helped me make all these bags. She loves crafting with the Cricut now and are now designating our Monday afternoons to crafting together. YAY! Meet Ashley…. you will probably see her in more crafting posts now.
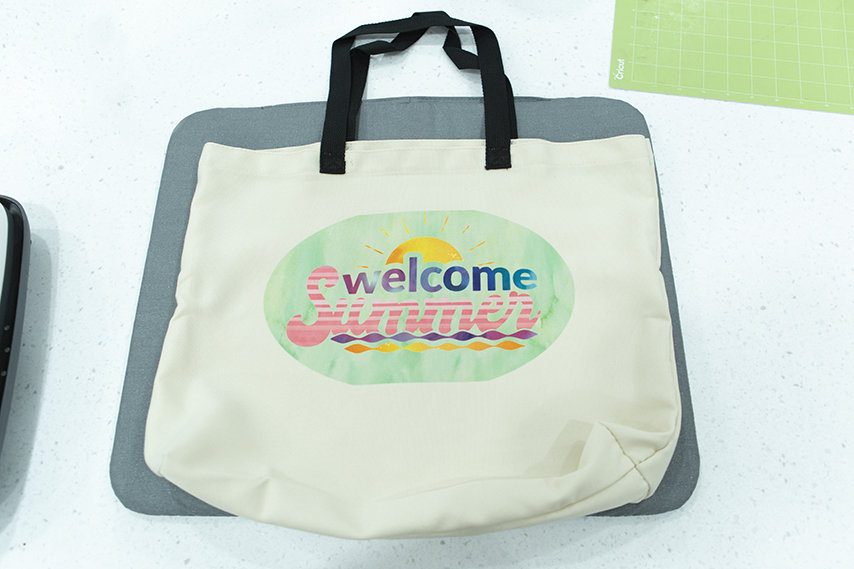
You can also layer Infusible Ink sheets but it will be a little trickier/different than using regular iron on. With iron on, you will press each color, one at a time. With infusible ink, Cricut doesn’t recommend that. Everything should be pressed together. The more/longer your press passed the recommended time, the design could get dull. Weeding the infusible ink is so much fun. You can use just your hands and peel the pieces right off. It’s like a thick card stock so it comes off pretty easy. To layer, you have to transfer each piece over to one sheet before pressing. So you want to take that into account when choosing your design and amount of colors. For example, the “Welcome Summer” below, I choose this design to show you if you have a main piece behind that everything else can be placed in, it makes it very easy versus trying to space everything, especially if you have letters that are not attached. So I just weeded each color and placed it in place on the oval where it fit in like a puzzle. Super fun and easy.

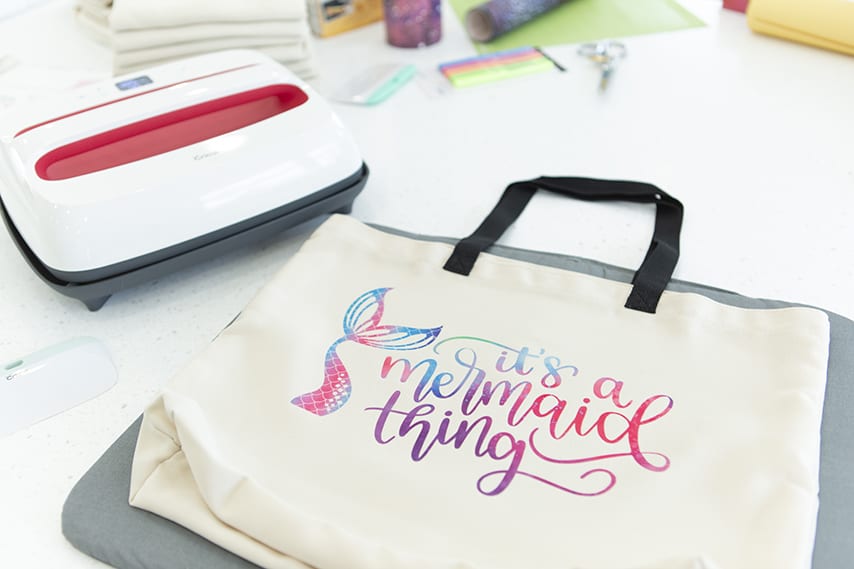
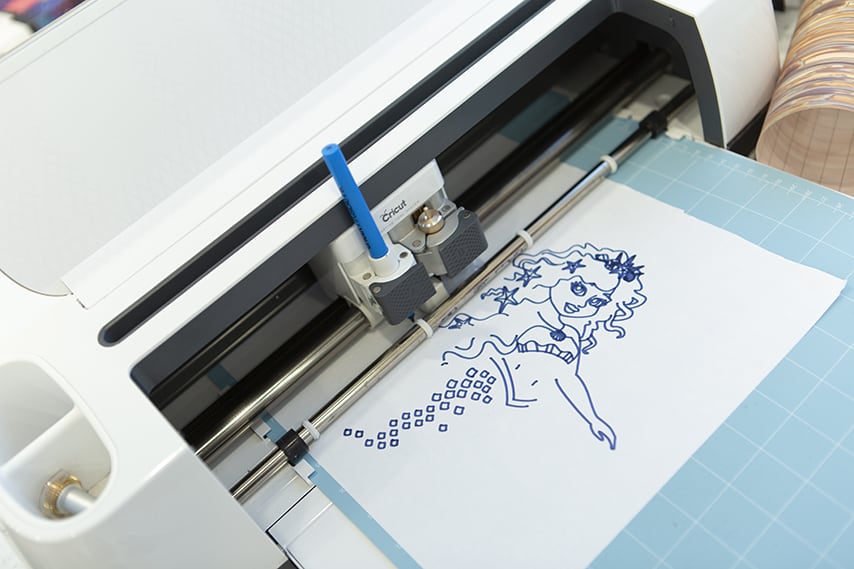
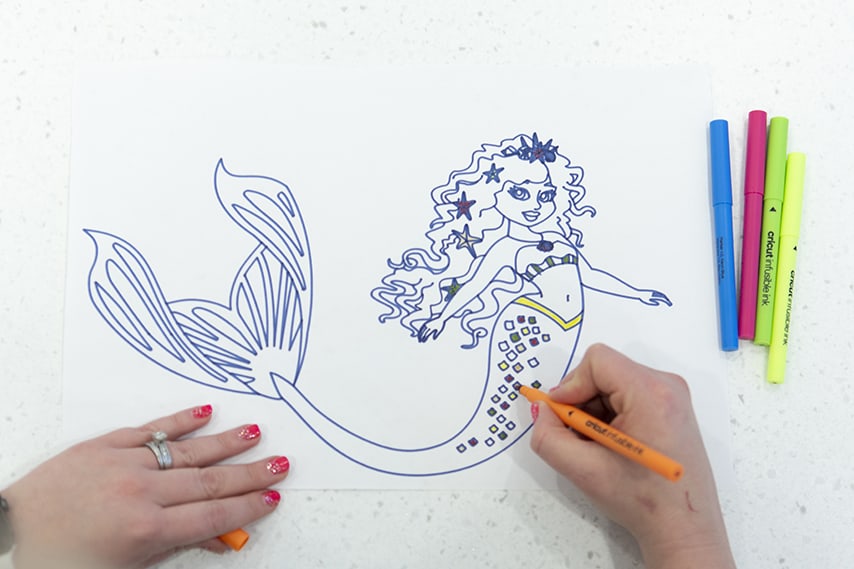
I also wanted to show you what you can do with the pens. This is my first project using the pens, but will not be my last! I cant wait to get more colors and let my kids create a few designs of their own. I choose this mermaid and didn’t want to fully color it in. Looking back now, I do wish I would have had a black pen for the outline and then fully colored it, but I am still experimenting and learning what to do with the pens. My mind is full of ideas so I will be sharing more projects with those soon too.
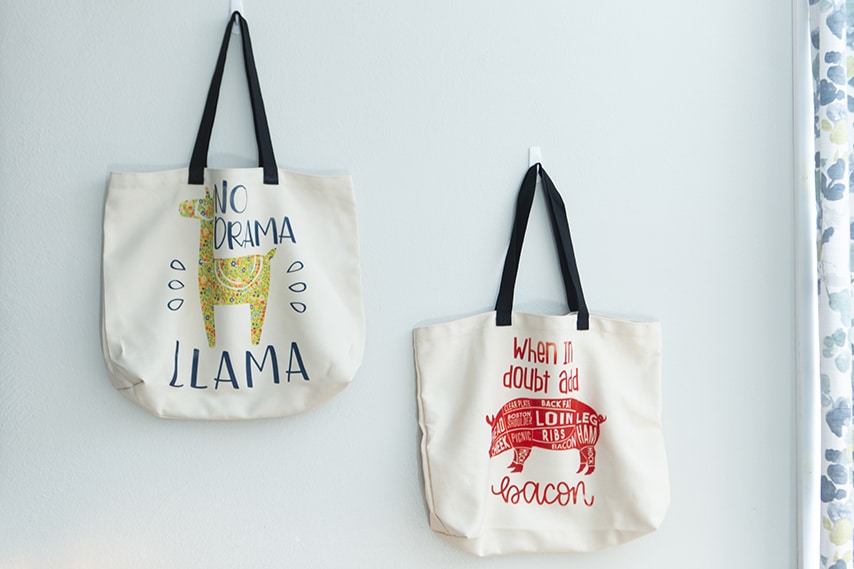
Here are some more Cricut Tote reusable bags I made. I hope I have inspired you to use your crafting skills to give back to your community!
Happy Crafting,
![]()