
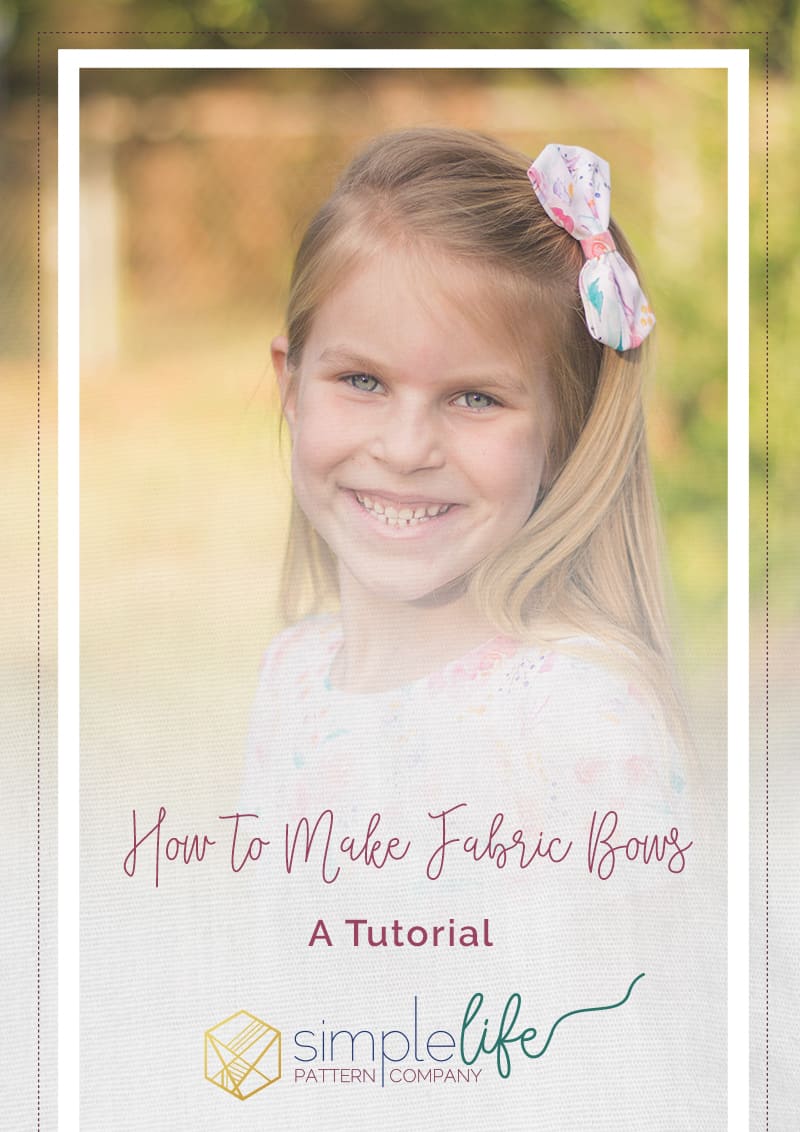
Tutorial: How to Make DIY Fabric Hair Bows
Hi Y’all. I’m back with a fun and easy fabric bow tutorial using scraps from the gorgeous Indy Bloom fabrics from Hawthorne Threads that I showcased earlier this week. If you missed them you can check out the post HERE!
I’m sure you are like me with tons of scraps too small to use for another project but too beautiful I can’t bring myself to get rid of them. Fabric bows are perfect for these scraps and I’m going to show you how to make them today.
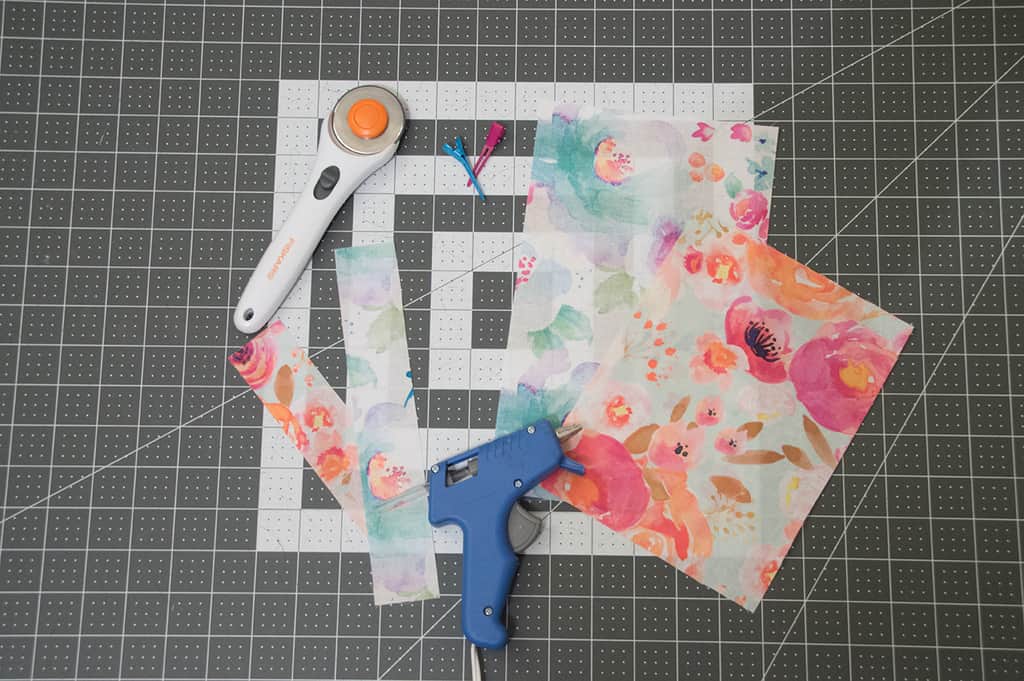
Supplies Needed:
-6 x 8 strip of Fabric
(this strip can be larger or smaller, depending on your preference)
-1.5 x 5 strip of Fabric

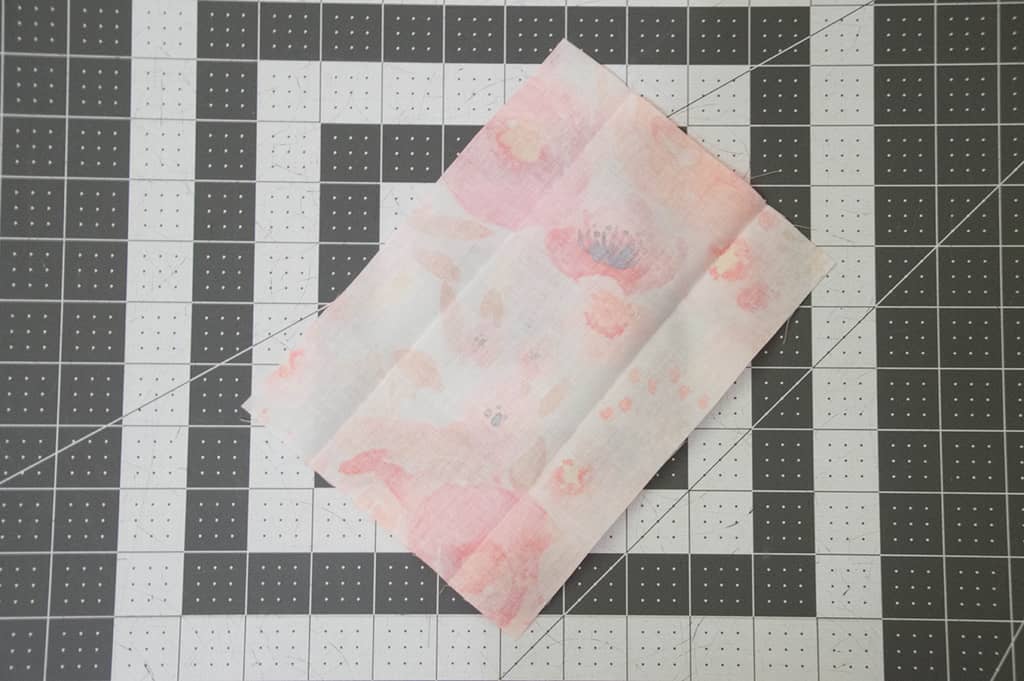
1. Fold your 1.5 x 5″ strip of fabric in half lengthwise, creating a crease, and press. Take your raw edges and fold them towards the crease you made and press. Now fold the strip in half and press.
2. Take your 6 x 8 strip of fabric and fold the long sides in 1.5″.
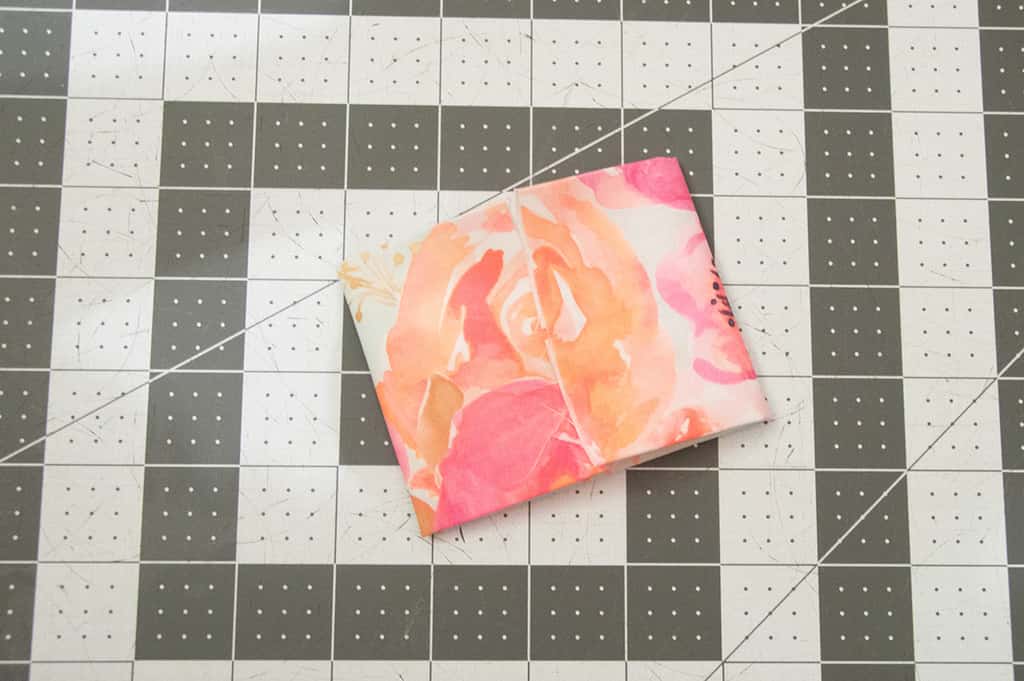
3. Next, find the center and mark with a pin. Fold the short ends in so that they overlap 1/8″ at the center.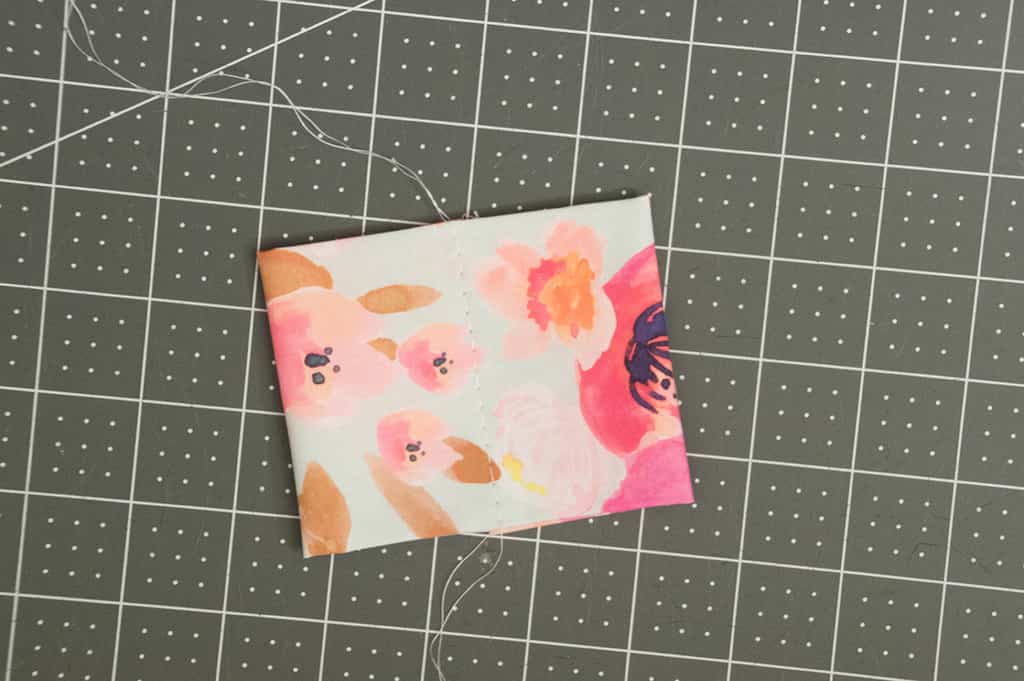
4. Sew a gathering stitch down the center, making sure both short ends are sewn. Pull the thread to gather the bow at the center and wrap the thread around the center a few times to secure.
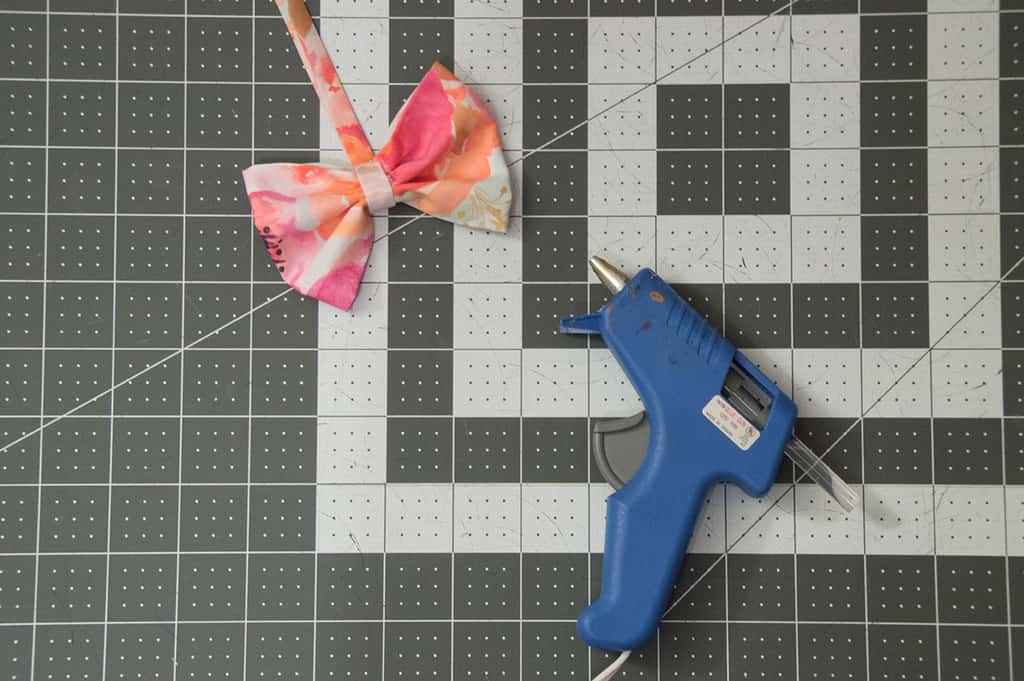
5. Using a small amount of hot glue, attach the small strip of fabric to the center of your bow.
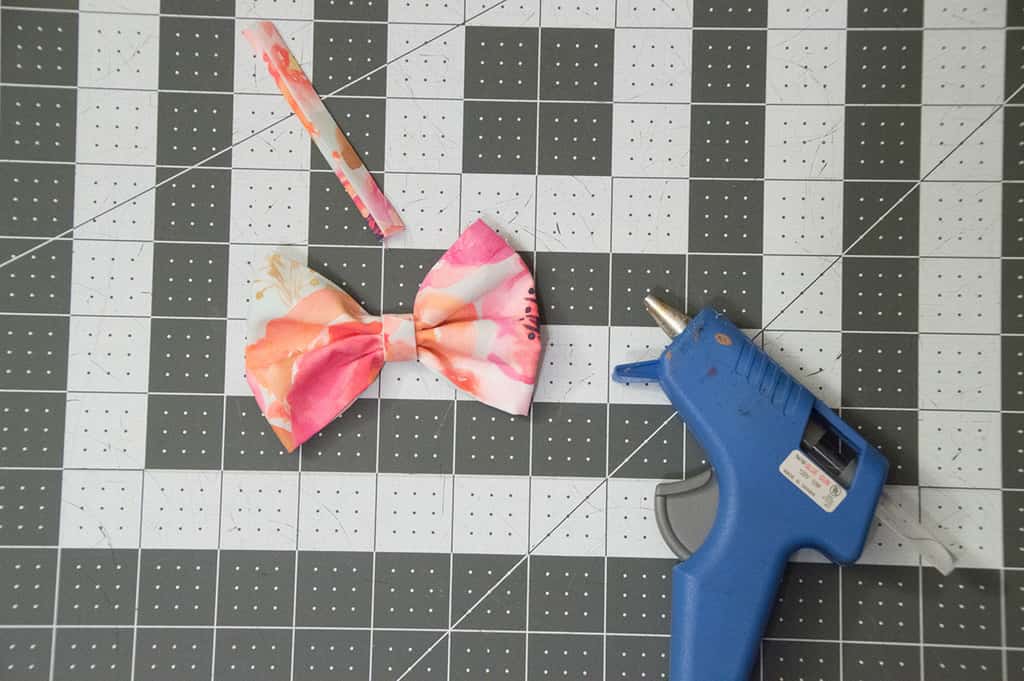
6. Turn the bow over, wrapping the strip around until you meet the other end of the strip. Hot glue the strip. Cut off any excess fabric from the small strip.

7. Glue your alligator clip to the back side of your bow!

There you have it, fun and easy fabric bows! Now you can use those scraps to pretty to throw out and your little will have beautiful bows that match her dresses.
Happy Sewing!
xoxox-Becca


Jen_ren
This seems so fun to make and everything is provided so adding some designs of those baby hair accessories is what I need to do, I’m sure my little girl will love it.