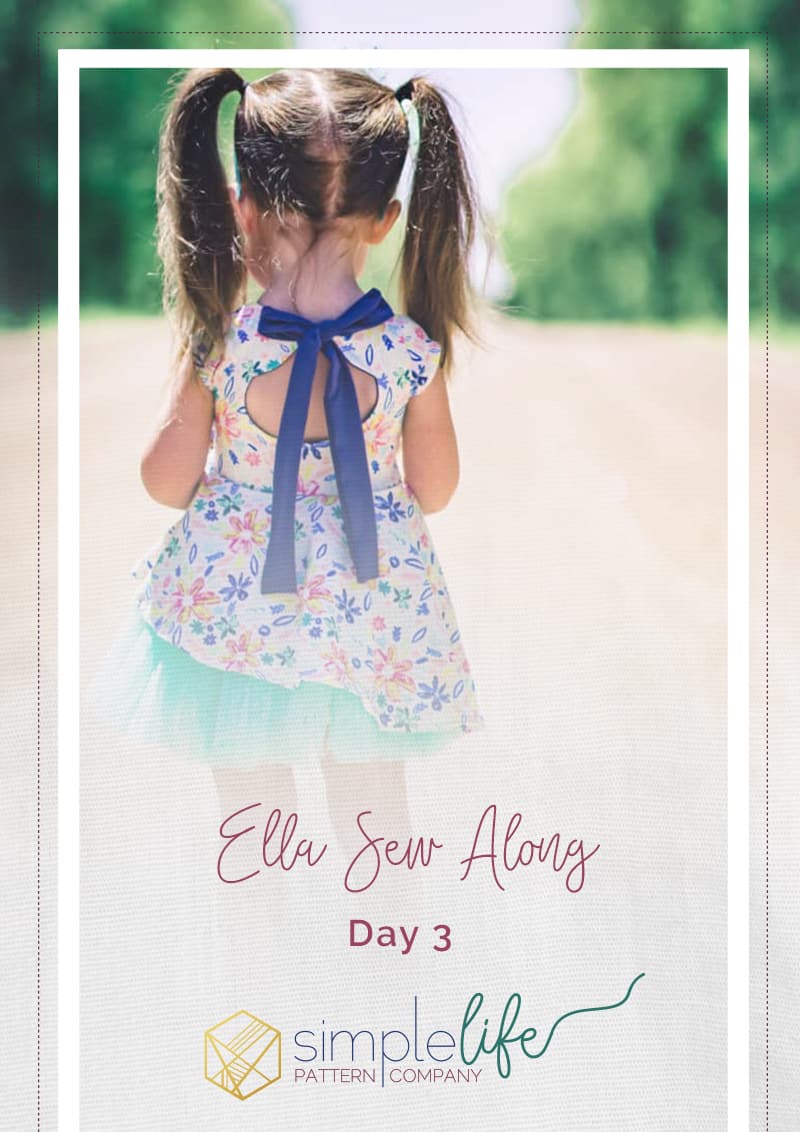
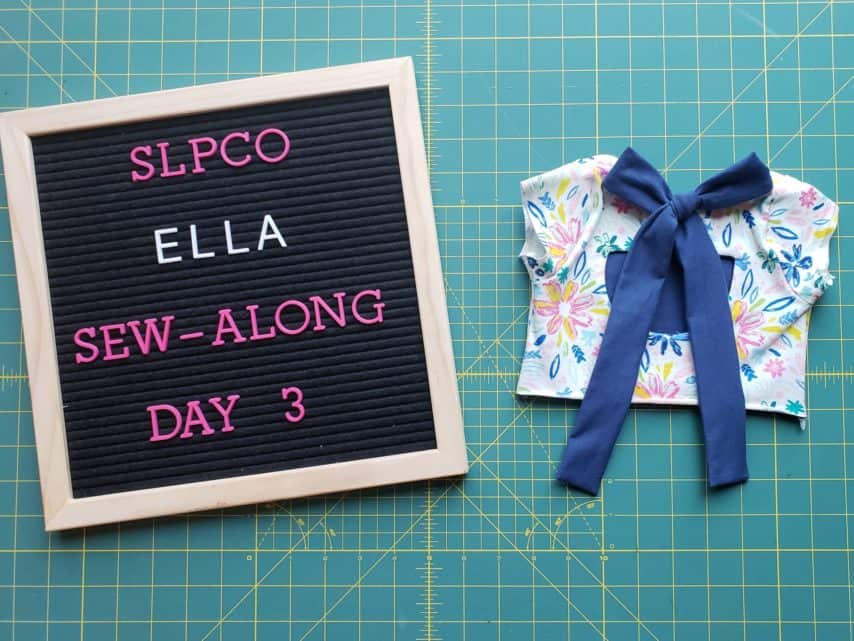
Ella Sew Along – Day 3
We are now halfway through the Ella sew-along! Everyone did wonderful adding ties to their bodice yesterday. If you are just now joining us, please be sure to check out the Day 1 and Day 2 blog posts. You will have until 8 pm CST on Sunday, May 17th, to catch up and submit your daily progress photos. For day 3 we will finish construction of our bodice by completing steps 10 through 19.
Adding Sleeves
Begin by turning your bodice so that right sides are facing out. Flip the lining through the neck hole. Press your bodice neckline well.
Before adding the sleeves you need to create a memory hem along the ends. Refer to step 11 of the Ella tutorial for hem widths. Next, place your sleeve on top of your bodice piece so that right sides are touching. Pin your sleeve to the two layers of your bodice (main AND lining). Sew/serge your sleeve in place. Repeat with the other sleeve.
Finally, lay your front bodice on top of your back bodice so that right sides are together. Match up the side seams, armpit seam, and sleeve seam. Pin in place. Sew/serge the sleeve and side seam in place. Flip your bodice right side out once finished. You are now finished with day 3 of the Ella Sew-along.

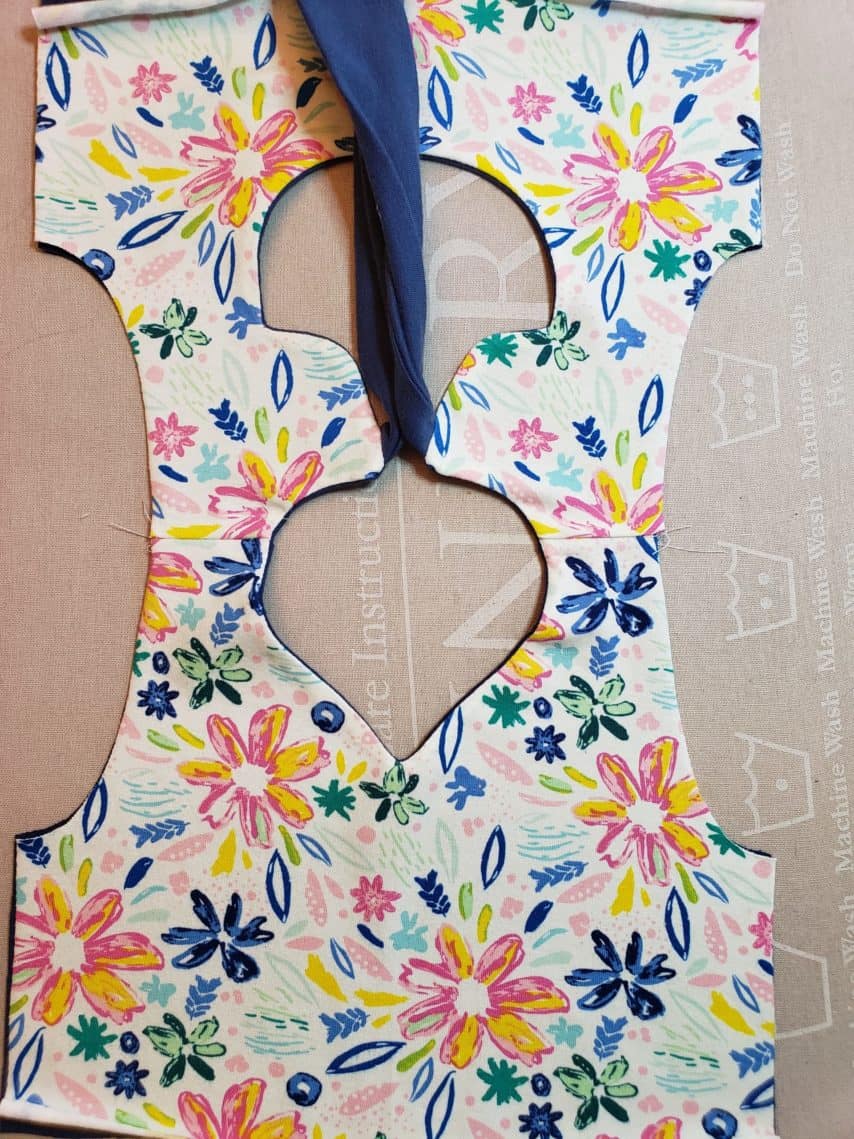
Sleeveless Bodice
If you chose not to add sleeves to your bodice you will need to use the burrito roll method to close your bodice. If you have never used the burrito roll method you can refer to the Isla Sew-Along for photos on how to complete the following steps. There is also a video in the fan group.
Begin by separating the shoulder seam on one side of your bodice and flip the lining away from the main. Take the opposite side bodice piece and roll it toward the open shoulder seam.
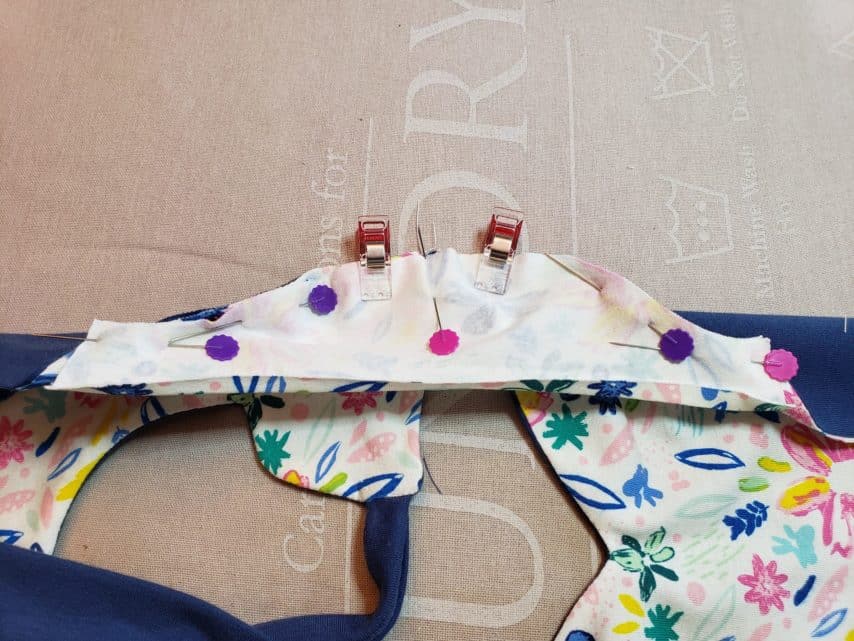
Next, take the lining piece on the bottom and fold it over the rolled fabric and onto the main fabric. Match up the armhole curve and pin in place. Sew/serge along the arm curve making sure not to catch any of the rolled fabric in your stitching. Clip your curves.
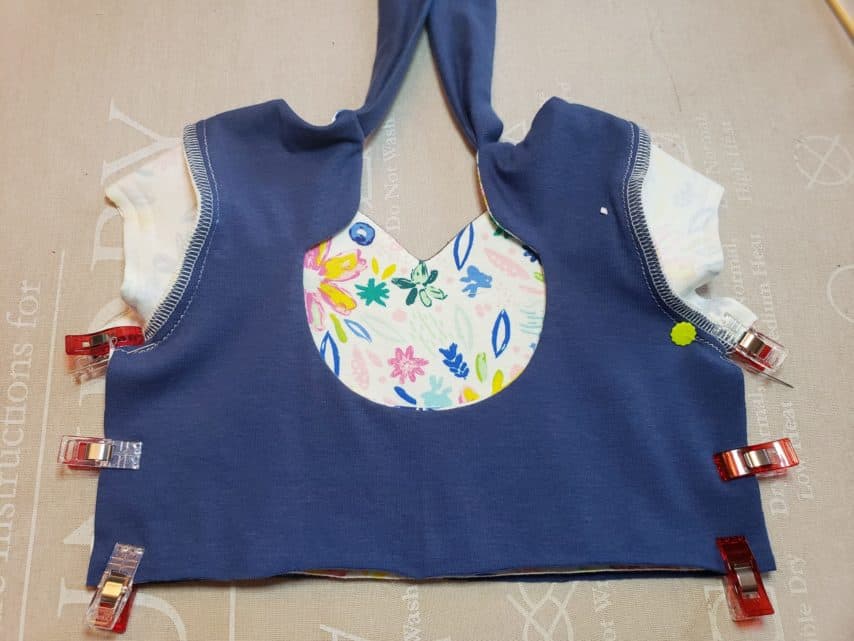
Gently pull on rolled fabric shoulder piece to pull your bodice right side out. Repeat for the opposite armhole.
To finish your bodice, separate the front bodice main and lining fabrics by flipping the lining up toward the neckline. Bring the back piece over and lay it on top of the front so that right sides are together. Match up the side seams where the main and lining fabric meet. Pin in place. Sew down the side seams. Repeat for the opposite side. Flip your bodice right side out. You are now done with day 3 of the Ella sew-along!
Day 3 Progress
Don’t forget to upload a photo of all your hard work from today into the Ella sew-along album. If you have any questions please feel free to ask! That’s what I’m here for. Also, be sure to check out the hard work of your fellow seamstresses. You are all doing such a wonderful job. I’ll see you back here tomorrow when we tackle tulle!
Happy sewing,
Chauncey