Embellish with Embroidery
Hi everyone, it’s Courtenay again with a simple little tutorial to help you add that extra personal touch to your Simple Life Pattern Company dresses with personalized simple embroidery.
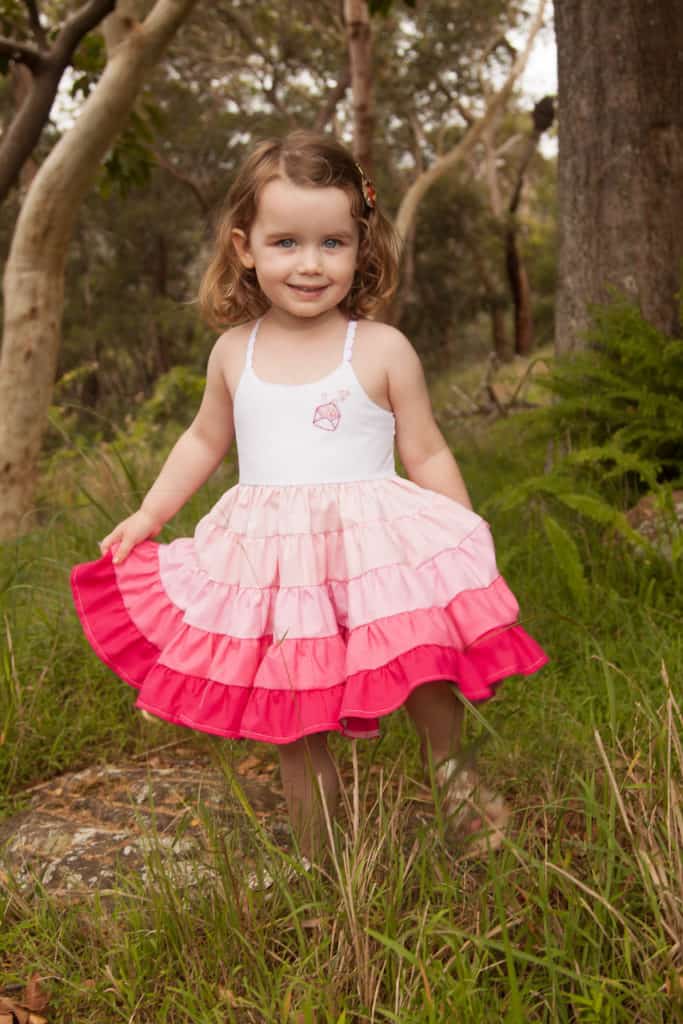
Miss Daisy requested a dress for Valentine’s day – it needed to be pink and twirly. I went with the beautiful Camilla dress, it has such sweet feminine details in the neckline, the delicate straps and the beautiful scalloped back. I decided to create an ombre effect by creating extra tiers in the skirt using a previous tutorial. I wanted to find a way to add some extra detail and bring colour into the bodice. After a quick Pinterest search (a stumped sewer’s best friend) I decided to try my hand at a little embroidered detail.
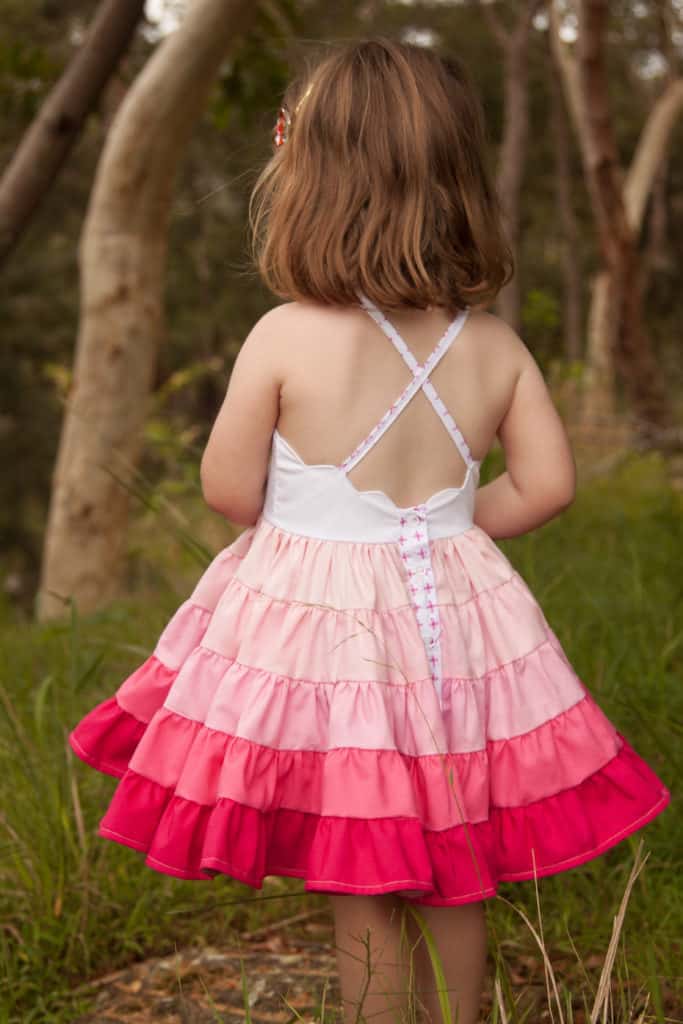
Camilla features such a beautiful back – perfect for spring and summer
Once you have found the image you are going to recreate you will need to gather a few items
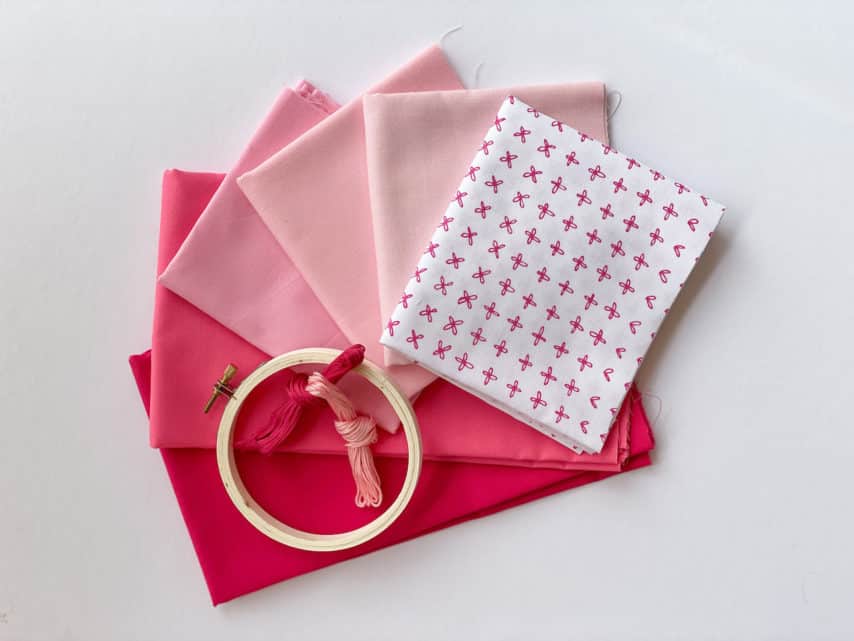
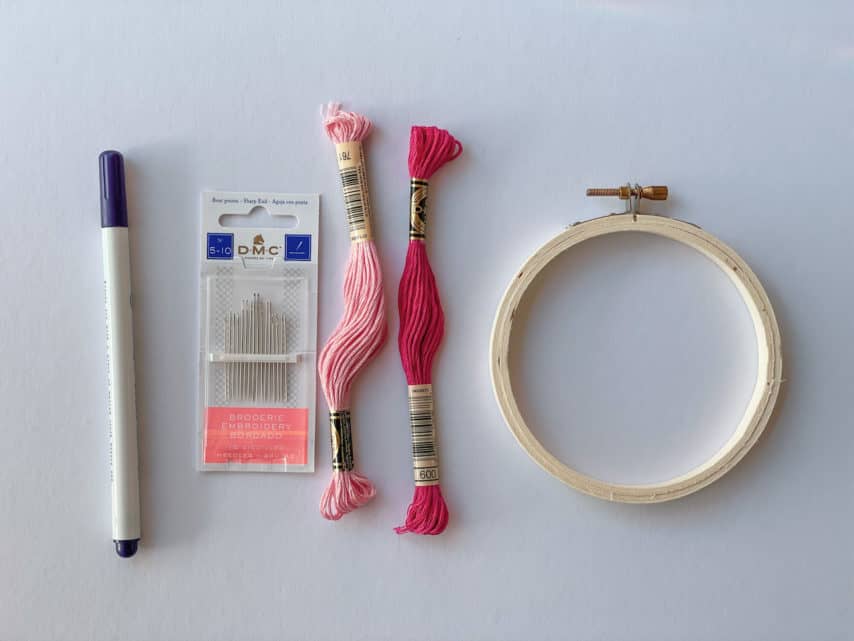
- Embroidery thread in you chosen colours
- Embroidery needles
- Embroidery hoop
- Something to transfer your image to the fabric – I have gone simple using a frixion pen but you could also use a wash-away tracing paper or something similar.
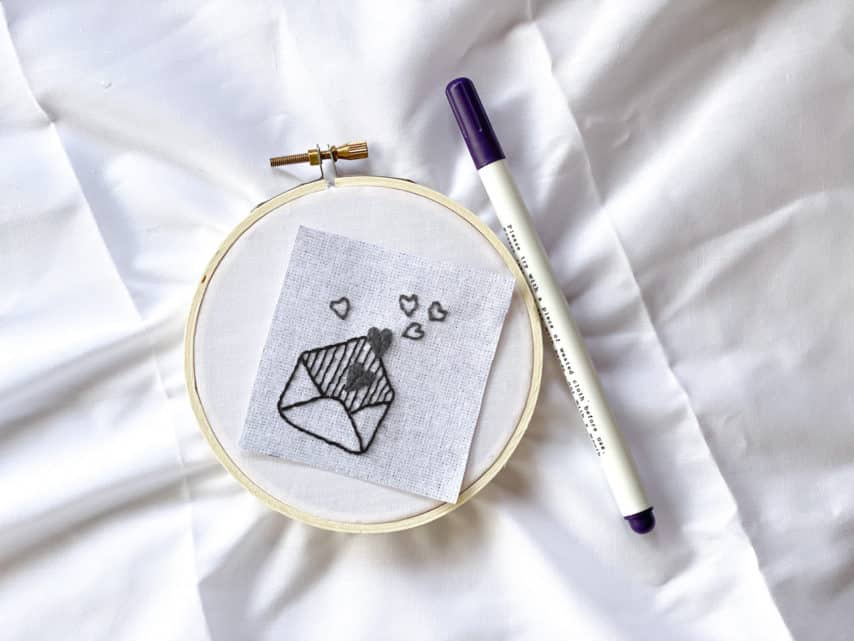
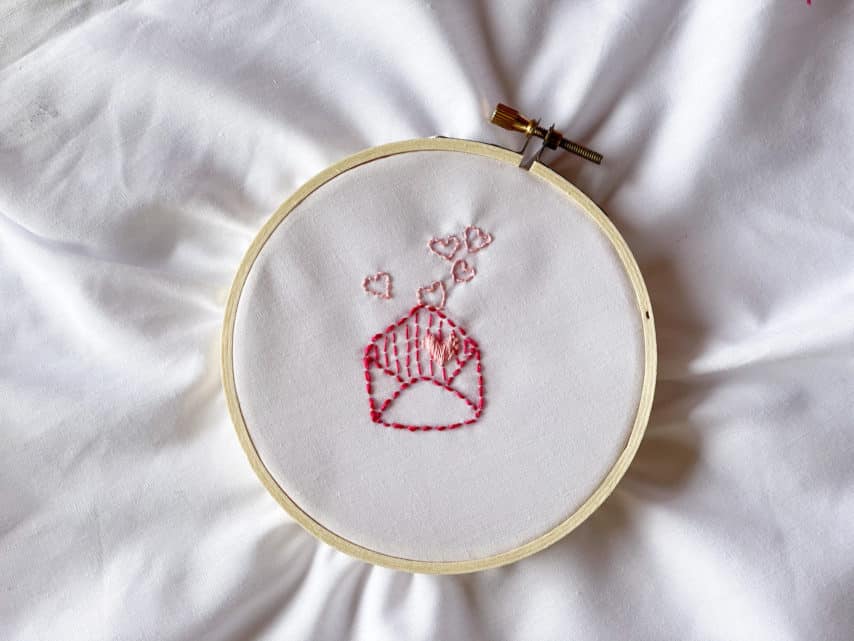
The first step is to place your fabric in your embroidery hoop. I started with a large rectangle of fabric to be cut at a later time. Always take the time to consider both the grain of the fabric, the angle of your image and its location of the fabric. It may help to use a frixion pen or chalk to map out the pattern piece on your fabric to ensure you are happy with the location of your embroidery. You then need to transfer your image into your fabric.
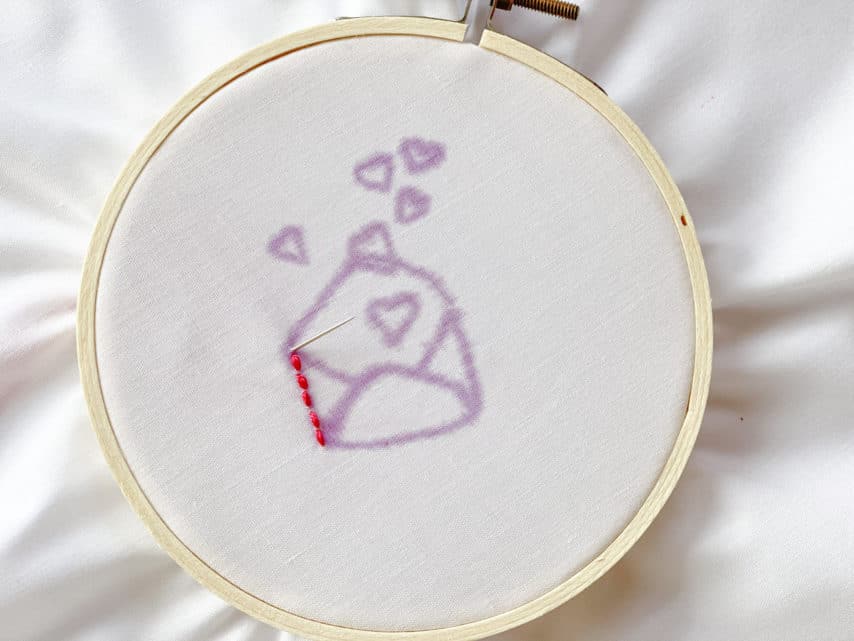
As a complete embroidery beginner I chose an image that could be recreated with a simple straight stitch. Not only is it beginner-friendly, but it is flexible and by varying the number of threads used, length, distance between and direction of stitches you can create a really impressive piece of art. It could just as easily be used to create a St. Patrick’s Day shamrock or a little basket full of Easter eggs. As you can see in the images, I gradually built up the embroidery – beginning with the envelope, adding finer detail and then changing colour to create the mix of outlined and solid hearts.
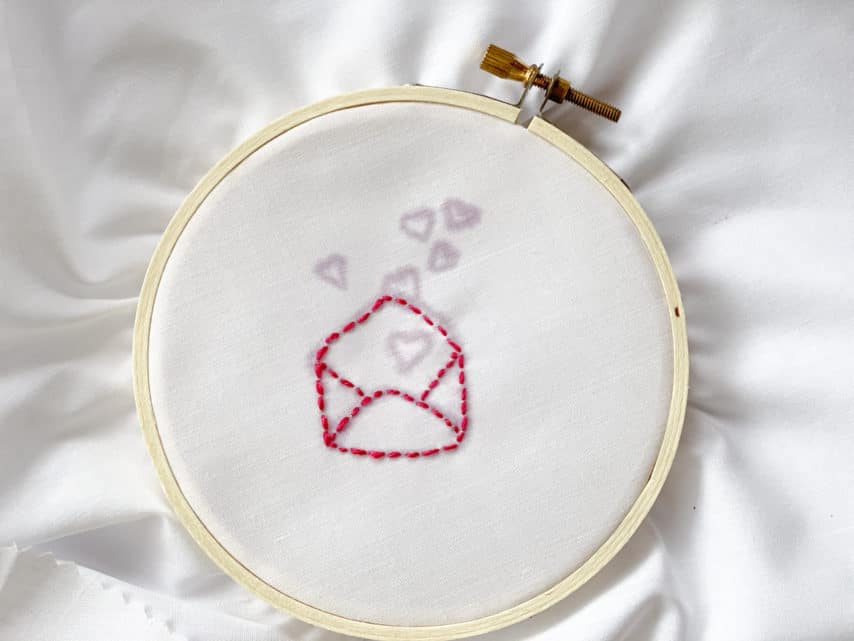
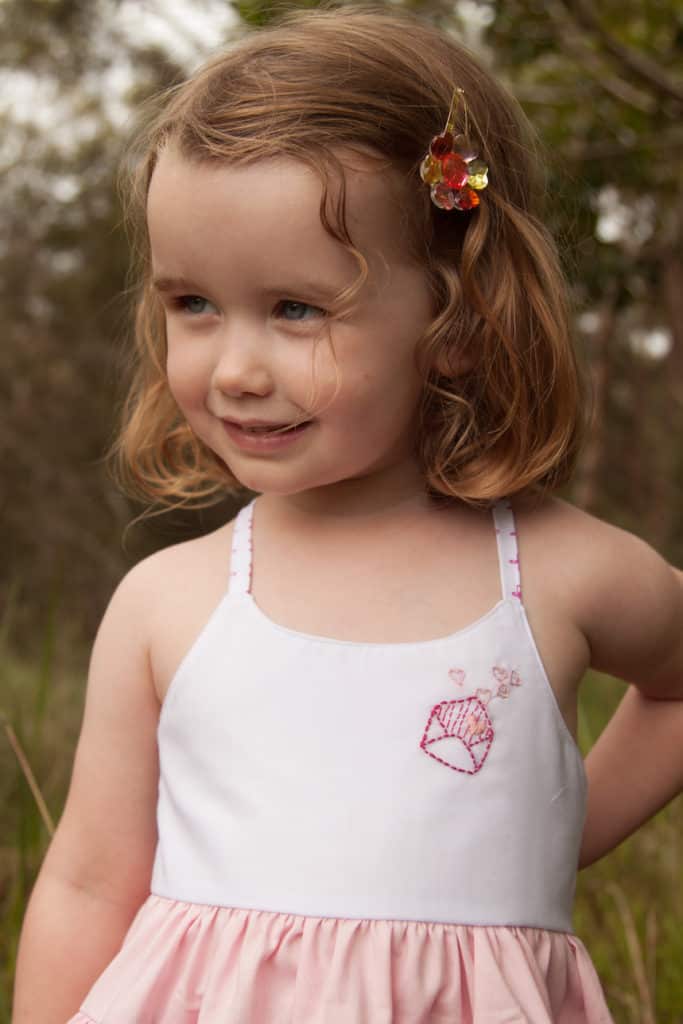
Once I was happy with the look of the embroidery I removed it from the hoop and gave it a very good press. I then used the fabric to cut out the main bodice of the Camilla dress and followed the tutorial to complete the dress.
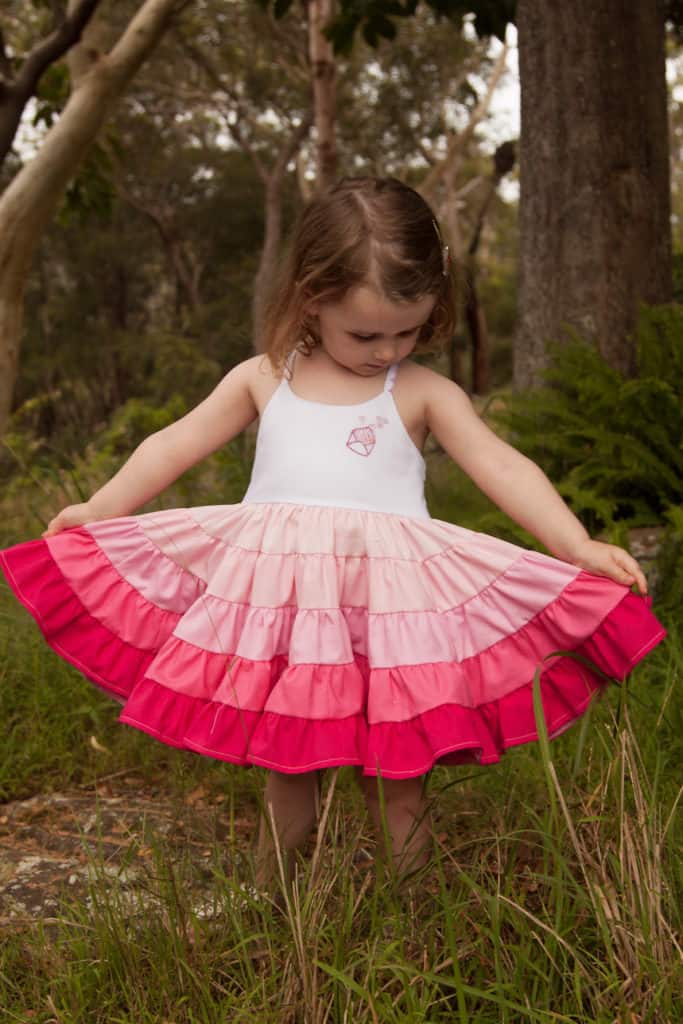
Don’t be afraid to try something new with your sewing. Is my embroidery perfect – absolutely not – but I was beaming with pride when the dress came together. Miss Daisy squealed with delight when she saw her dress up on the hanger, and I felt all the love in the world when did her first twirl in her new Valentine’s Day Camilla.
-Courtenay