Tutorial: How to Enclose a Bodice
Have you started thinking about holiday dresses yet? With the holidays right around the corner I wanted to share a new technique with you to make that dress extra special, on the inside and out. An enclosed bodice can make all the difference in a dress.
This techniqueis also great if the child you are sewing for is sensitive to seams.
So let’s get started!!!

For this tutorial I used the new Wendy’s Classic Collar Dress pattern, however this will work for any bodice with an attached skirt.
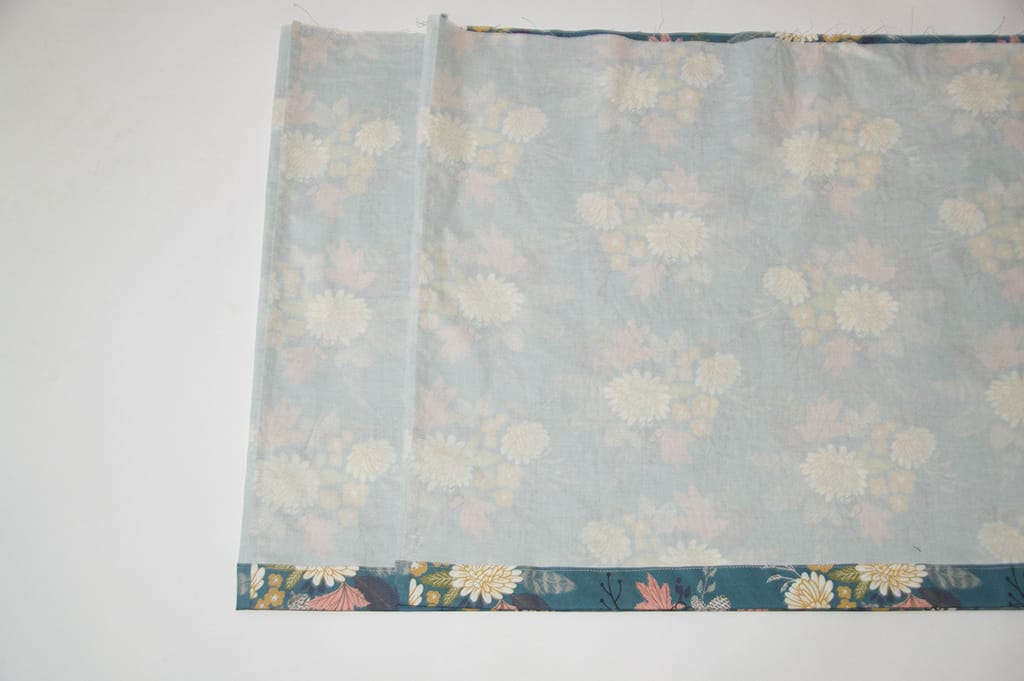
First thing you will want to do is finish the bodice per the pattern’s instructions. Since I am enclosing the bodice seam I also like to enclose the side seam with a french seam. You can find our tutorial for French Seams, HERE!

Finish the skirt per the pattern’s instructions. Add two gathering stitches along the top of the dress, starting at one side of the placket going around to the other side 1/4” from the raw edge.
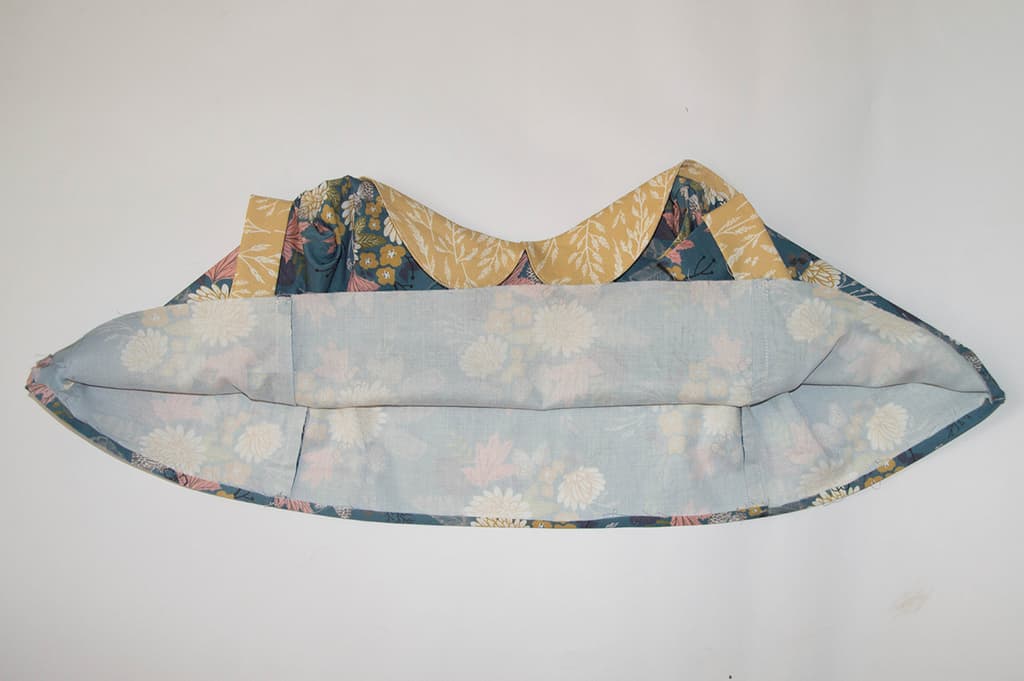
Next, turn under the bottom raw edge of the bodice lining 1/4″ and press.
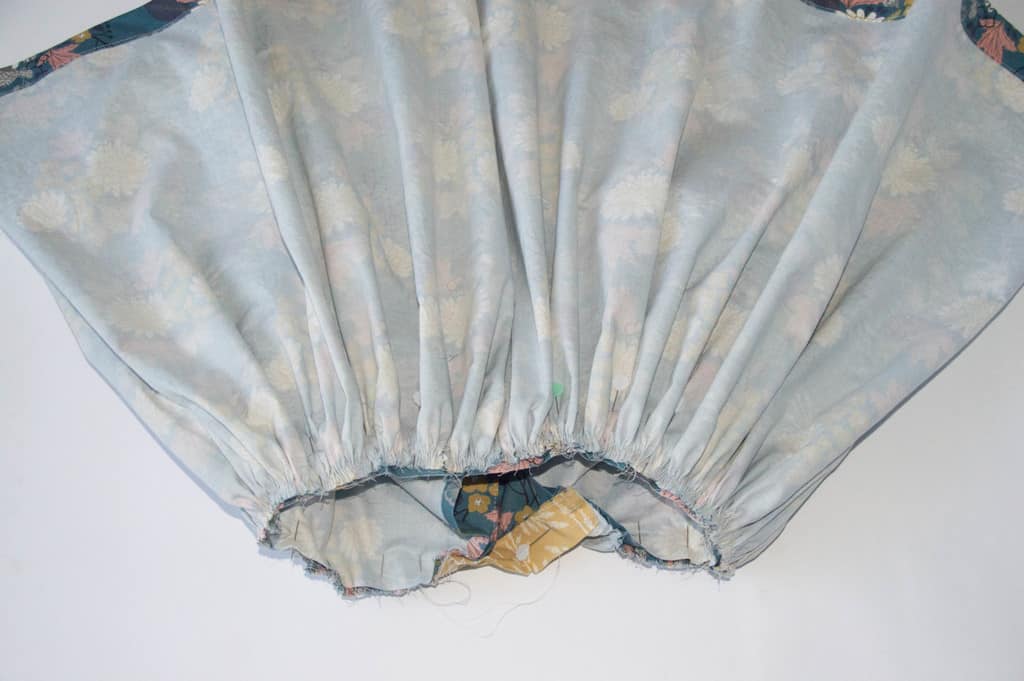
With right sides together, pin your skirt to the MAIN bodice piece only. Adjust the gathers so they are evenly distributed, lining up the side seams of your bodice and the skirt. Sew/ serge your skirt in place.

To help secure the lining bodice I like to use Thermoweb Fabric Fuse before topstitching. Pin the lining to your bodice, taking extra care to keep the bodice straight and tight.
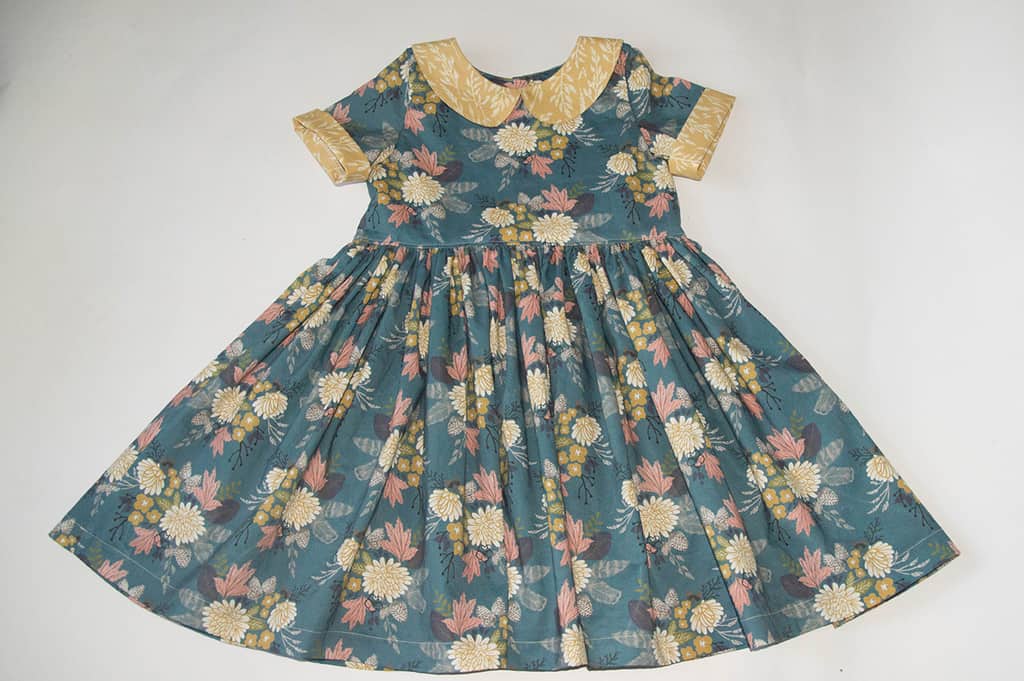
Turn your dress right side out and topstitch the bodice 1/8″ up from the seam, carefully removing the pins from underneath as you go.
There you go, now the inside of your dress looks just as beautiful as the outside!
Wendy’s Classic Collar Dress is on sale now through the weekend (October 22 at 11:59 CST). Grab a copy while it’s 25% off!
Happy Sewing!
xoxo,
Becca

*This post contains affiliate links


