Grow with me Romper – favorite hacks for our free pdf sewing pattern NB-5t.
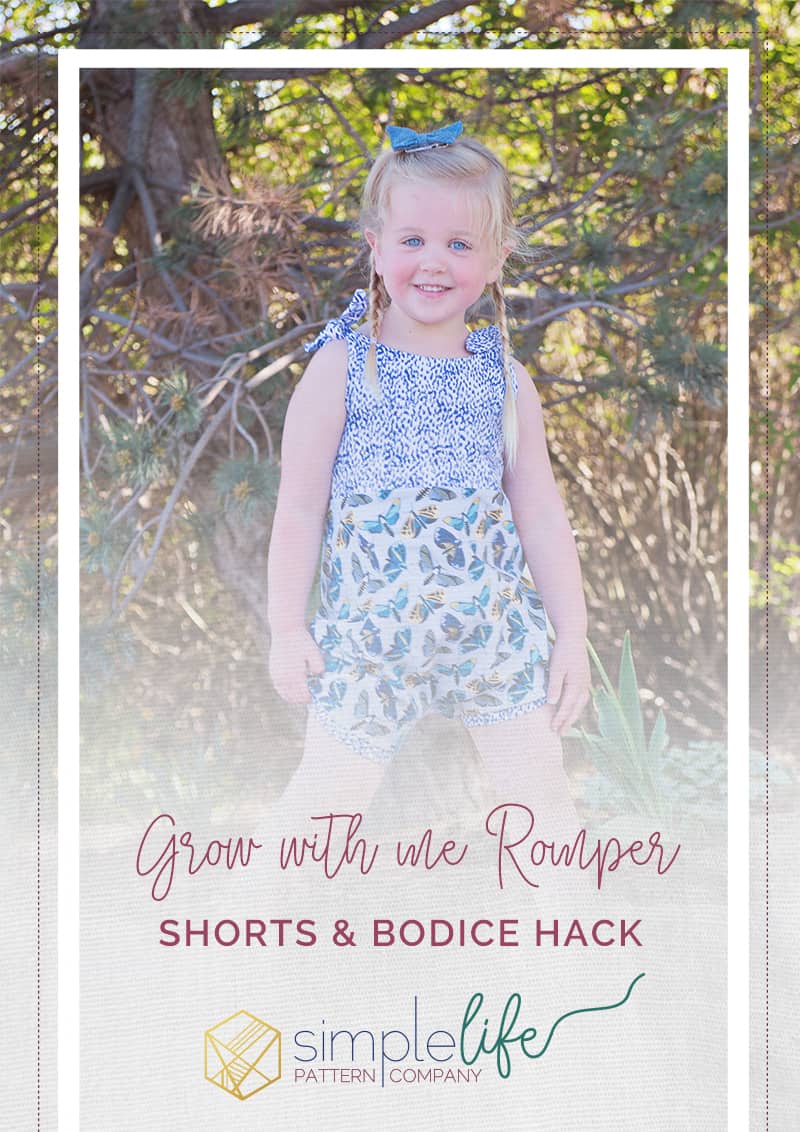
Hey everyone. I am here today to share with you some super awesome hacks for our free “Grow with me romper”. I designed this pattern exclusively for BERNINA a few weeks ago and it has been a pretty big hit in our Facebook Fan Group. Today I wanted to share with you a few hacks. How to turn the romper into shorts (or even capris) since summer is almost here. This makes the best play day outfit. I also wanted to use a panel I have been hoarding so I will show you how to accommodate the panel along with showing you how to add an empire (or drop waist) bodice instead of one piece of fabric.


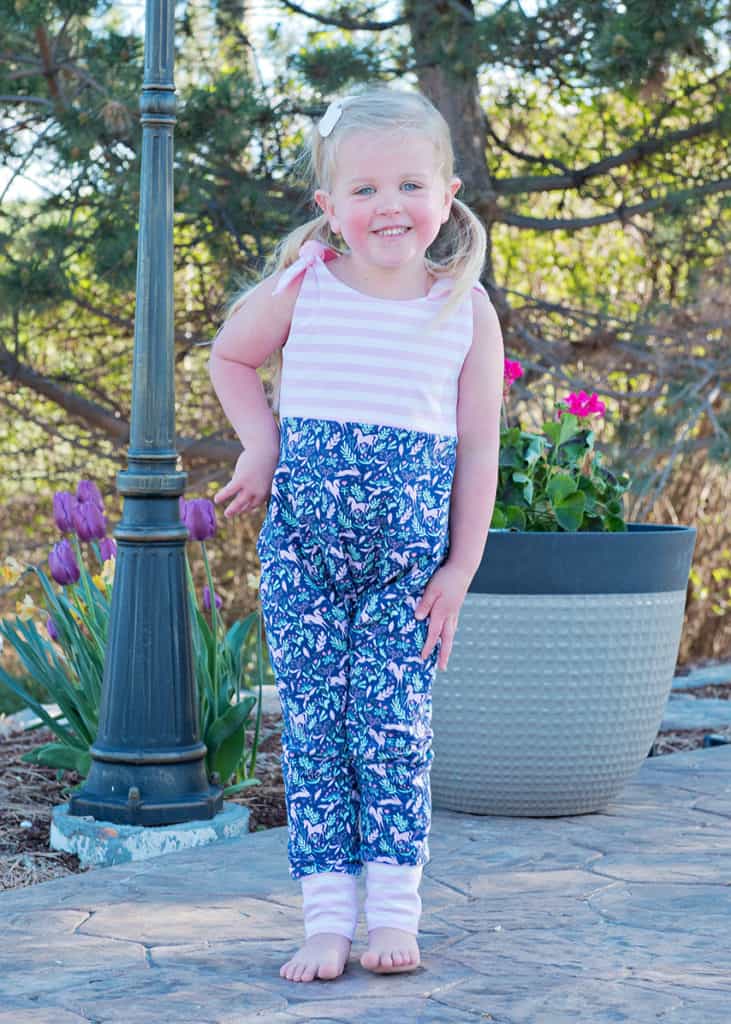
If you haven’t seen this romper around, here is a little recap of it. The romper comes in so many sizes, from NB all the way to 5t. I wanted to make sure I can put my two younger girls in this and it is hard to find cute rompers after 2t. It is a “grow with me” because the shoulder ties can be adjusted as the child grows. The leg cuffs fold over and as the child grows, you can unroll them to accommodate the height. The front neckline is a higher cut so as the child grows, it will still cover their chest. This romper is perfect for babies in diapers and potty trained toddlers. It is designed for knit fabrics and that scoop back makes it so you can simply slide the romper down, no need to undo the shoulder ties. Here are some pics of the romper as it was originally designed.


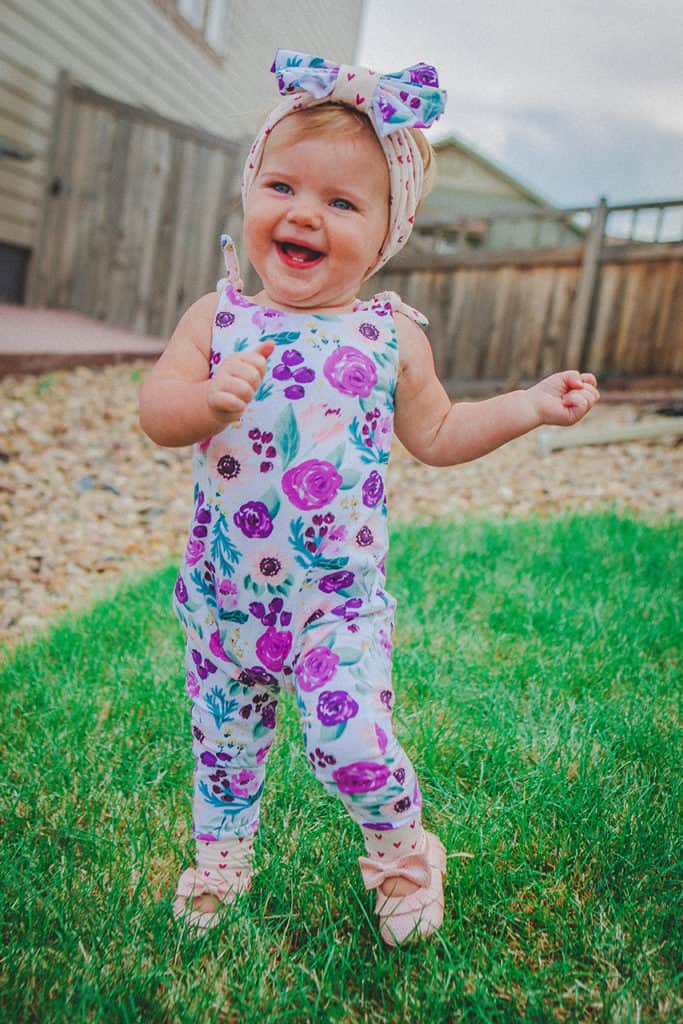
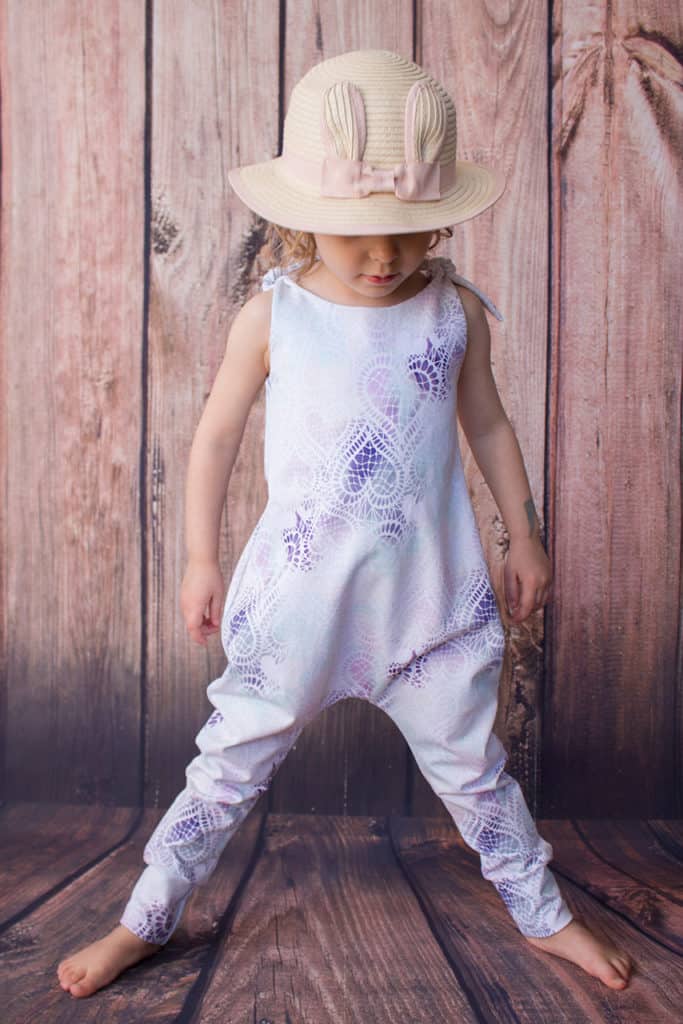
Okay – now that you know what this romper is all about, you can head over the BERNINA’s blog, We All Sew, and download the pdf. If you are like me, I love a good hack. Changing a few things on a pattern can really change the look. Sometimes you just don’t have enough fabric for such a long romper piece, or you simply want to have the look of a bodice with the pants. OR, you have a cabinet full of children’s panels and you are dying to cut into them. I fall into all these categories. Our tester, Kyla Sorenson, made a bunch of rompers during testing, creating the idea for this blog post. Isn’t B just so darn cute in all her rompers!


and here she is in the original version
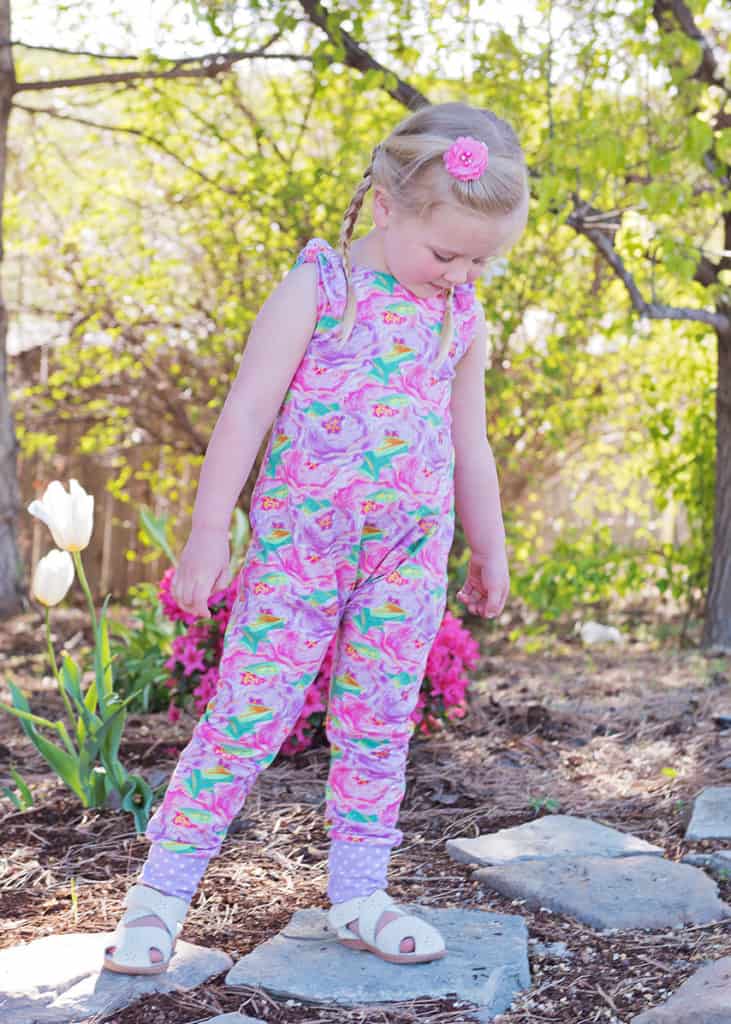
Lets go ahead and start with the “shorts” hack. This one is pretty easy. I had this gorgeous custom knit fabric from Kammie Lou Lou’s for a few months now but it was only a remnant. I BARELY had enough to get this size 4 romper cut out of it. The good news though is I found out she is running this print again, the round opens tomorrow (June 1st, 2019) so if you want some, you can preorder it.

All I did for the shorts was measure 1″ down from the crotch. You can draw a straight line across the leg. I didnt want to use a straight line because I knew the sides would sag down a little. So from the straight line you drew, measure up 1″-2″ on the right side of the leg. Then draw a diagonal line from the left straight line point to the right 2″ up point. This will be you new leg cut line. I only did 1″ up on this romper but I do feel I could have went to the 2″ on the size 4, either way – it still turned out super cute.

You will need to either hem the shorts or add bands. I decided to use the pink glitter that I used for the lining for the cuffs. If you want to add cuffs, it is just a little bit of simple math. Measure your leg cut line, Multiply by 2 (front and back) subtract your seam allowances, multiply by .9 (we want the bands to be 90% of the finished leg opening) then add your band seam allowance. Here is an example for the size 4 if you measured 1″ below the crotch and did a 2″ angle up. Your cut line is 7.7″. Your seam allowances are a total of 1.5″ (4 x .375″)
7.7″ x 2 – 15.4″ (multiply by 2 for front and back length)
15.4″ – 1.5″ = 13.9″ (finished leg opening)
13.9″ x .9 = 12.51″ (finished band width)
12.51″ + .75 = 13.26″ (add the 3/8 seam allowance to each side of the band)
Total band width is 13.26″. I always round to the nearest 1/4″ so this would be 13.25″
For the length of the band, that is totally up to you and what look you are going for. On shorts, a thinner band might be more comfortable. However, on capris, a longer cuff looks super cute. For mine, I did a 2″ band. Remember, what ever you want your final band length to be, you need to double it and add your seam allowance. The band is folded in half when sewn on.
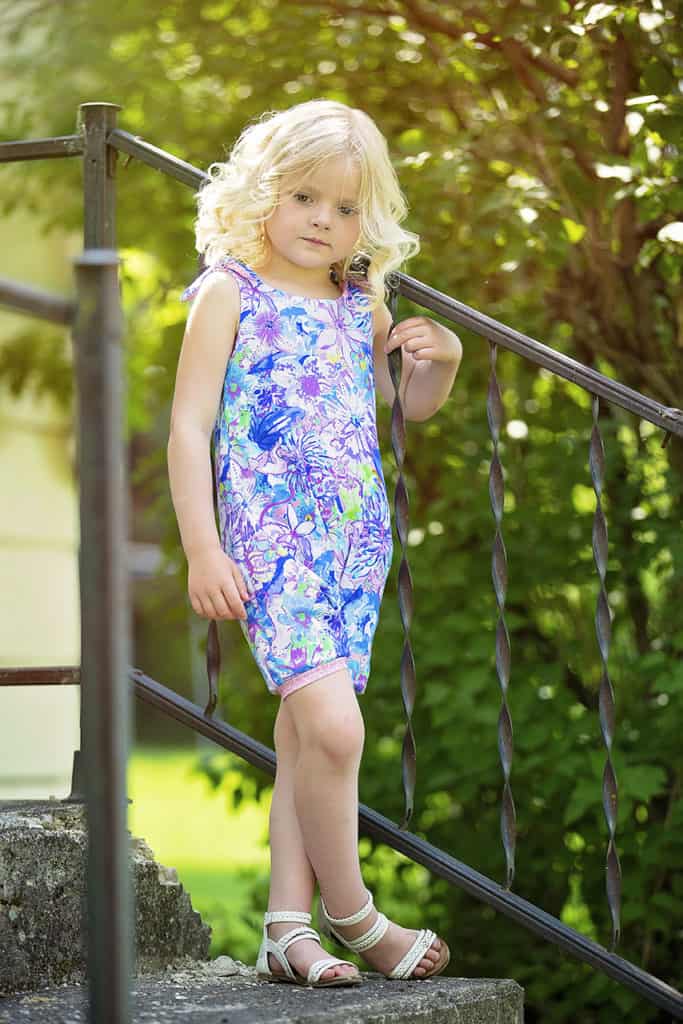
Okay, now that we made shorts, lets talk about adding an empire bodice to the romper instead of one piece of fabric. This is great if your short on fabric requirements or just want to add a contrasting bodice. This is also great if you are adding a panel, but we will go into more detail on panels next.
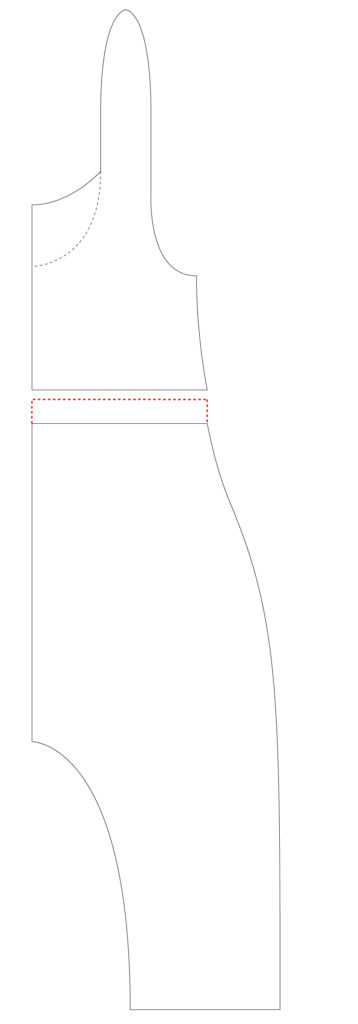
I am going to show you the easiest way to create the empire bodice hack. The pattern comes with a lining piece already so we are going to use that as our bodice. Simply place the lining piece (now our bodice piece) on top of the full romper piece. Draw a line across the romper piece where the lining piece ends. From here, there are a few things you can do. First, you can add your seam 3/8″ allowance to the bottom of your bodice and to the top of your pants.

Or you can leave the bodice as is and add the full .75″ seam allowance to the top of the pants. (Or vice versa, if you wanted to add the full seam allowance to the bodice).
If you are adding a panel, the process will be very similar to the empire bodice instructions. You just need to make sure your bodice length can accommodate the full panel. I was luck with this unicorn panel, I didn’t have to adjust the bodice length to make it fit. I got these gorgeous fabrics from Oh So Pretty Fabrics.

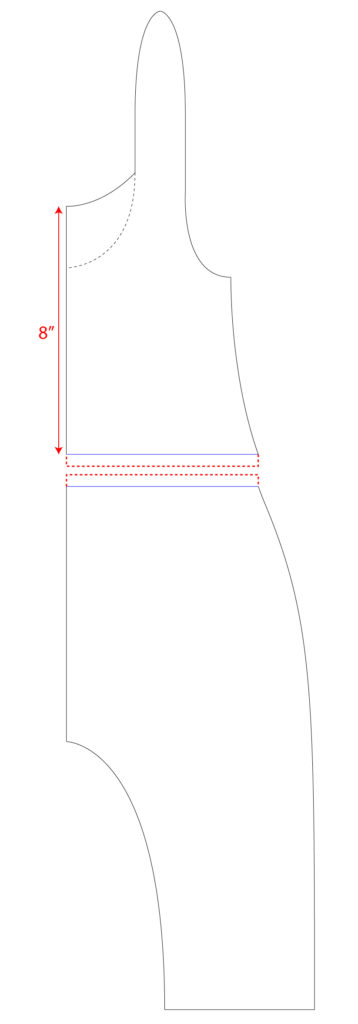
However, most panels are longer and will require a longer bodice or even a dropwaist bodice. Lets say you need the front bodice length to be 8″. Be sure you are leaving a little room at the top neckline and bottom of the bodice for your seam allowance. Measure from your front neckline down 8″ along the fold line. Draw a line across the romper. You will now do the same as you did for the empire hack. Add the 3/8″ seam allowance to the bottom of the bodice and the top of the pants or add the full .75″ to either the bodice or the pants. Easy peasy lemon squeezy.
I hope we have inspired you to take this free Grow with me Romper pattern and really make some unique outfits for year round play.

Be sure to follow us on Facebook and Instagram. Feel free to pin these to your favorite pinterest boards. If you have any questions, please feel free to join our fan group that is full of wonderful ladies sewists.
Happy Sewing!


