Adding Pockets and Elbow Patches to Tiegan
Hi all! Tara here to help you add pockets to your adorable new Tiegans!
I’m going to show you how to add a classic patch pocket, and fun shaped pockets and elbow patches using SLPCO freebies! Grab your Tiegen pattern pieces, fabrics, and let’s go!

We’ll start with the classic patch pockets. I added these to a curved cardigan with traditional bands, but you could add them easily to the straight cardigan version, or duster as well! Cut all of your regular pattern pieces, and then come back!
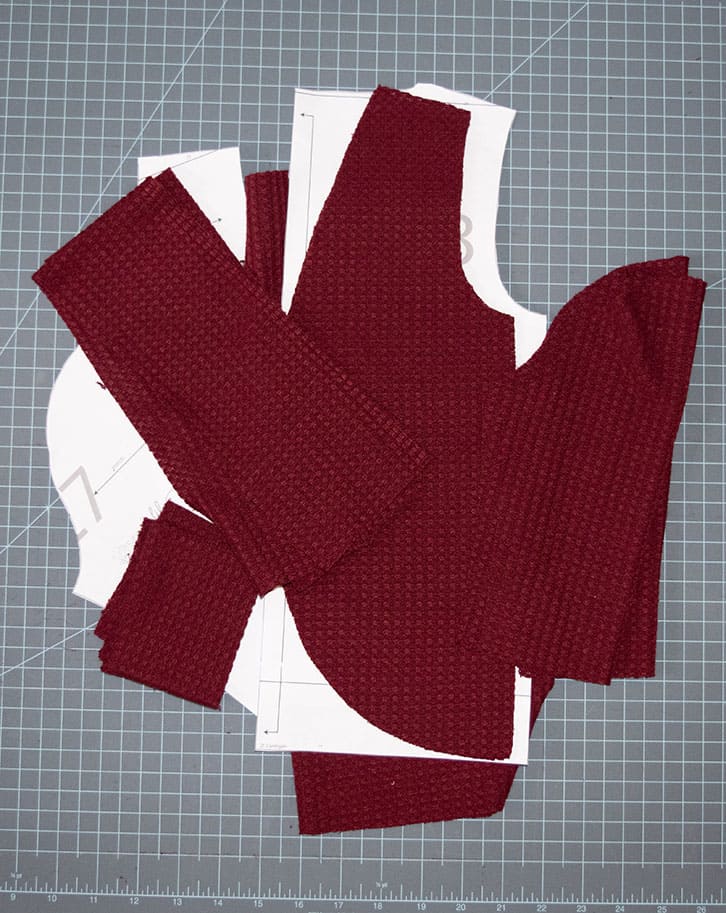
First, we need to take our front bodice piece and find the size of pocket we would like to add. Using my ruler to help guide, I found that a 4.5″ square pocket would fit my bodice, and look I was going for, nicely. I drew out the full 4.5″x4.5″ square to better visualize. I then took into account 1/4″ on the bottom and side edges that I would fold in, and an extra 1″ on the top of the pocket. This meant I would need to cut 2 5″x5.75″ pieces for my pockets. Your dimensions may be different based on pattern size, but the most important piece to remember is adding in the folded edge allowance prior to cutting.

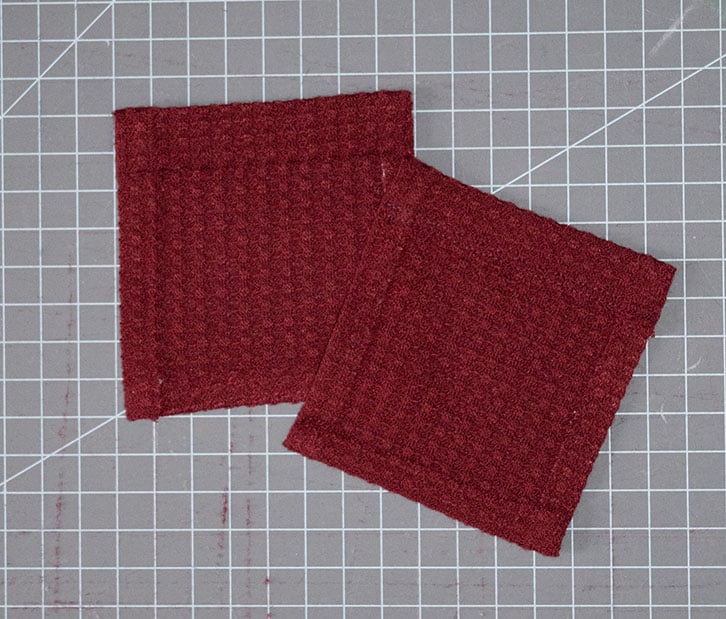
After cutting, fold your edges in, and press. I found that using hem tape helped to keep my edges neatly in place. First fold your bottom edge up 1/4″, press, then the sides in 1/4″ each, press, and finally the top down 1″, and press. Next, topstitch the top of the pocket close to the raw edge only (we will sew the remaining edges in place when attaching to the cardigan).
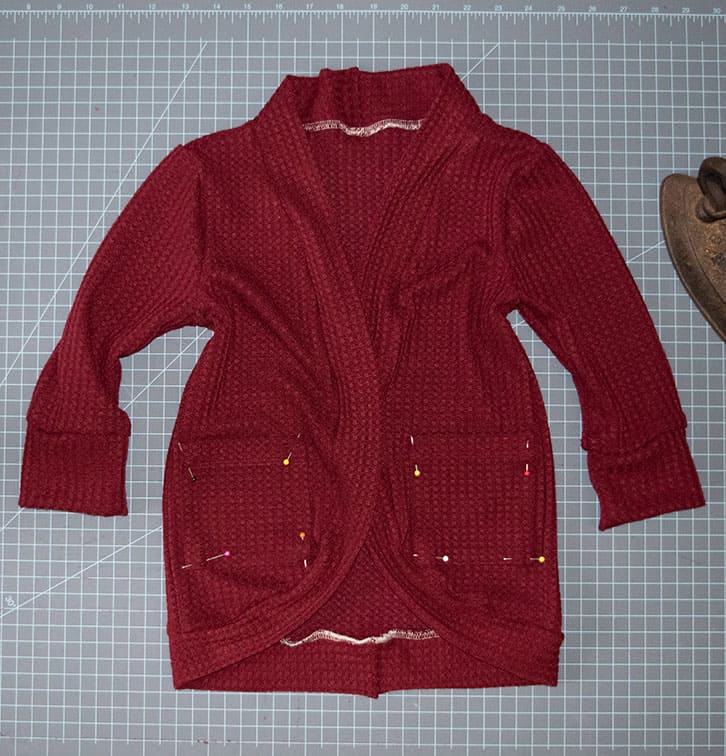
Using your hand drawn pocket on the front pattern piece as a guide, line up your finished pockets on the bodice. Pin in place, and stitch along the side and bottom edges.
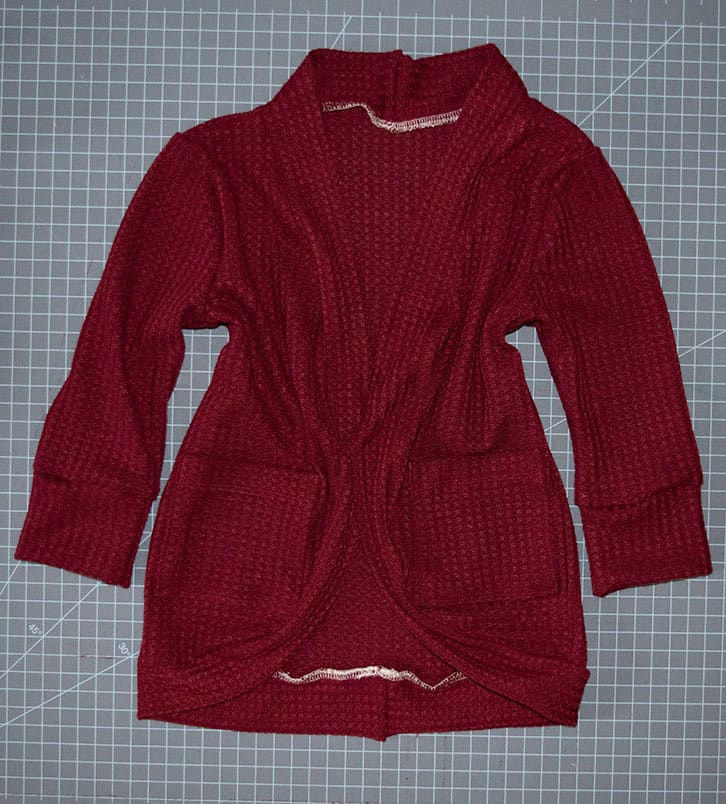
That is it! You are done! You now have adorable patch pockets on your Tiegan cardigan!

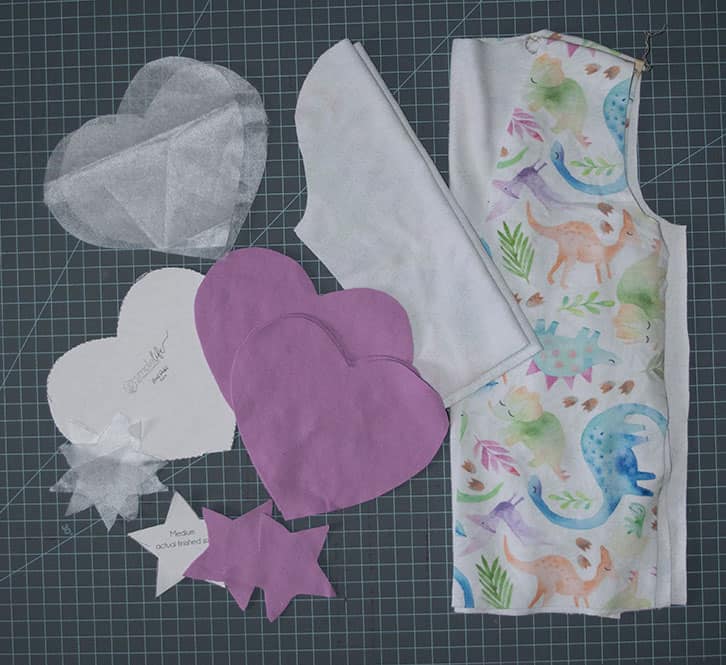
Next up are heart pockets and elbow patches using the *free* Heart Pocket add-on and Isla cut out add-on found in the files section of the Simple Life Patterns Group facebook page files! I chose to use the star cut out piece as my elbow patch in medium size, and the smallest heart pocket option.

Cut your regular cardigan pieces, pockets, and two elbow patches. I found it helpful to use a lightweight interfacing, not only to stabilize the elbow patches, but the knit heart pocket as well. If you would like to use interfacing, cut two elbow patch pieces, and two pocket pieces.
Apply the interfacing to the elbow patches and pocket pieces. Sew the pockets as directed by the add-on instructions. Next, lay your sleeve pieces out flat. Find roughly the middle, in height, and lay your elbow patch piece down and pin. Pictured, is the sleeve cut at cuff length. If doing cuffs also, make sure to add the cuff length on to find your sleeve middle! When placing your patch you will want to lay the patch over toward the edge of the sleeve that will face the back of your cardigan. This will help it to lay on your elbow when being worn. Be sure to mirror when pinning the other in place. Sew patch to the sleeve (it is helpful to drape the cardigan or sleeve piece over your little one’s arm prior to sewing the sleeve together in case adjustments in placement need to be made).

Finally, place your heart pocket pieces on your cardigan, and pin in place. Pictured is the straight banded version of Tiegan, your pockets may sit differently if on the curved option.
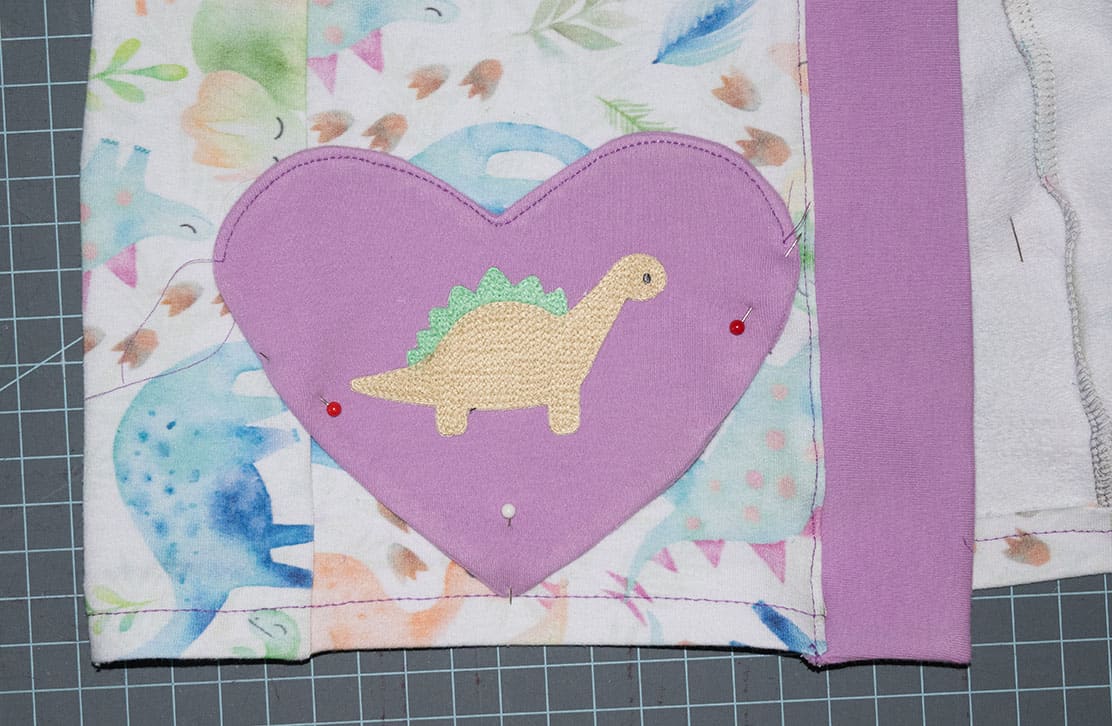
Sew your pockets to the cardigan, and you are finished!
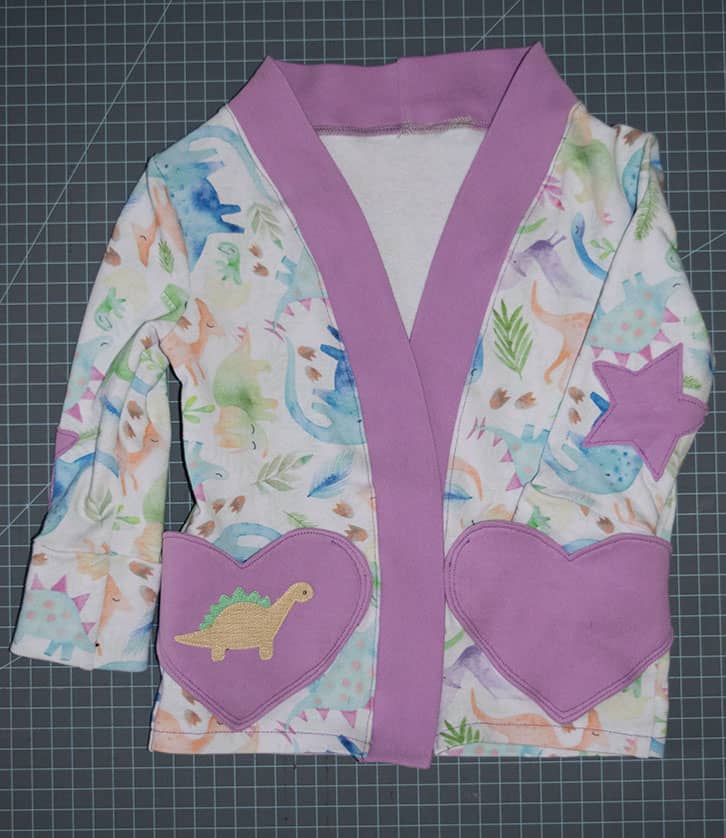


Thank you for following along with me as we add a little extra flair to our Tiegan cardigans! It is always fun to customize your sews that much more, but using the freebie cut-outs and heart pocket are just too sweet! I cannot see what you create!
Tara
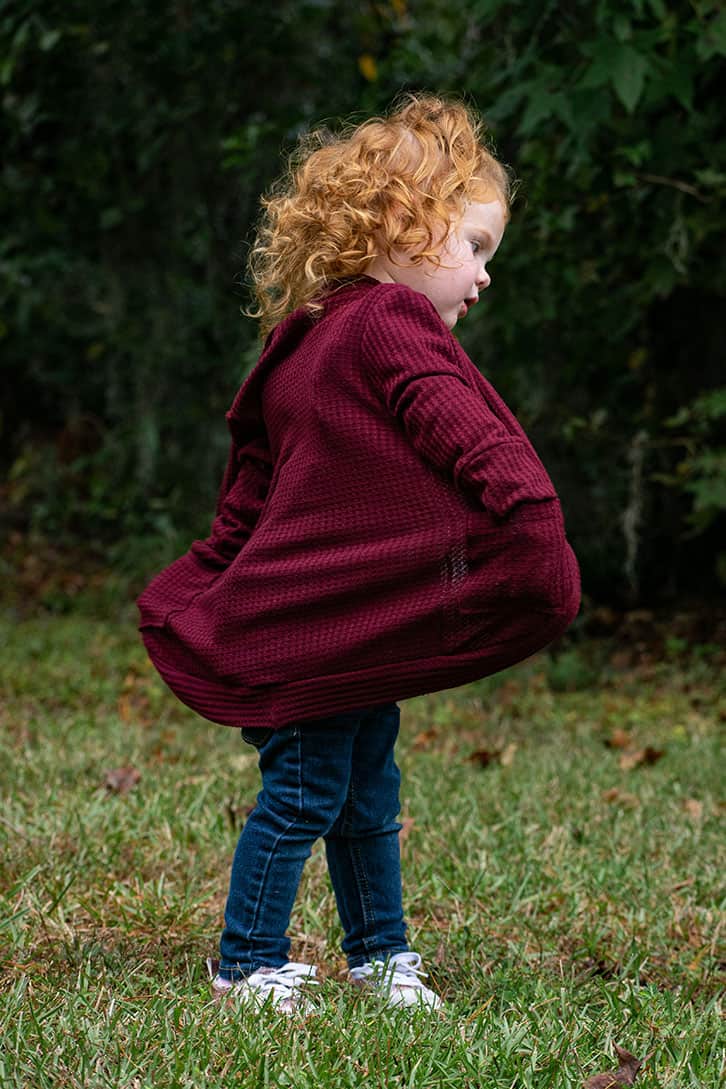
Fabric used in tutorial: Waffle knit from Purpleseamstress Fabrics paired over a Baby Jaimesyn in top length, and French Terry from Raspberry Creek Fabrics paired with a Lydia Leo.