How To Create a Pixie Skirt
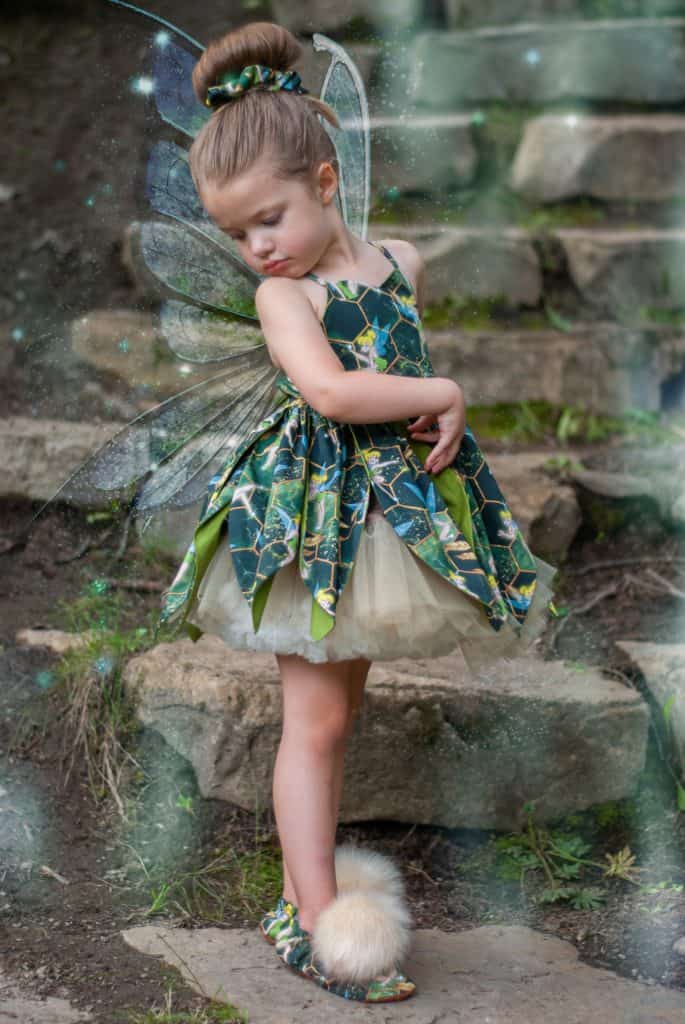
Good morning! For those who don’t recognize my kids by now, I am Victoria Strong. Since I received so many kind messages asking about the Tinkerbell-inspired dress I made, I thought I’d hop on and write a tutorial on how to create a pixie skirt!
Gather Your Materials!
For this tutorial, you will need:
- Paper (4 pieces taped together or parchment paper for easy pattern placement)
- A writing utensil
- Main fabric (how much depends on what size you are making – refer to fabric requirements on whichever dress you are adding this skirt to. It won’t be much more than that)
- Lining fabric (This is where you will be using more fabric than what is recommended in the requirements. Make sure you have as much lining fabric as you do main fabric as this skirt makes the dress fully lined)
- Sewing machine
- Scissors
- Thread
- Ruler
- A dress pattern for the bodice. I used Camilla, but any dress pattern with a gathered skirt option will do. When choosing a dress pattern, be sure to choose one to match your fabric (if using a knit, choose a pattern made for knits). I recommend using a woven pattern and woven fabric for this.
Step 1: Making your stencil
The first step in making our pixie skirt is to draw out our stencil. To calculate this, take the skirt width measurement from any Simple Life Pattern Company with a gathered skirt option in the size you are making. Then, add 14” to that number to account for the overlap that you’ll see later, then divide that number by 14” (amount of leaves in our pixie skirt). You will use this number to draw a horizontal line. This will become the top part of your leaf. Mark the middle of your line, and draw a perpendicular line down from your mark the length of your skirt length measurement.
finally, from the bottom of your vertical line, draw a curved leaf shape up one side to meet at the corresponding end of your horizontal line. Fold your paper in half along the vertical center line, and trace the curved line to the other side of your stencil for a perfectly symmetrical leaf.

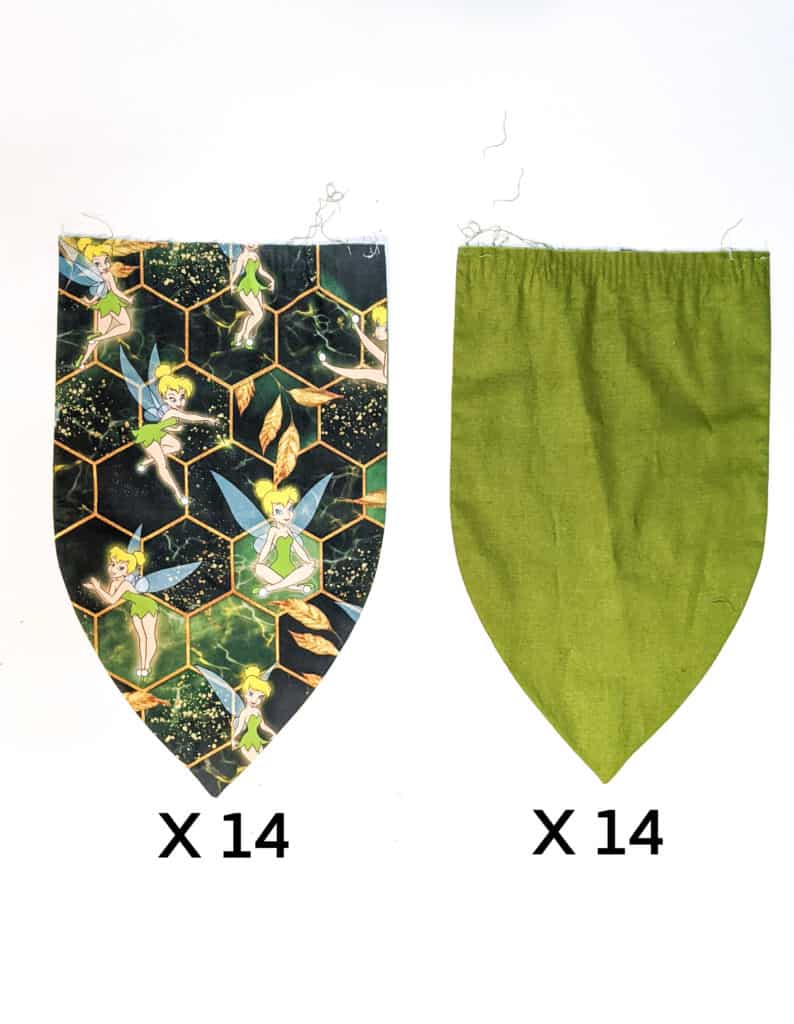
Step 2: Cutting the Skirt Leaves
Now we will use our stencil to cut 14 main leaves, and 14 lining leaves. Be sure to pay attention to the direction of your fabric. Non-directional prints will use less fabric.
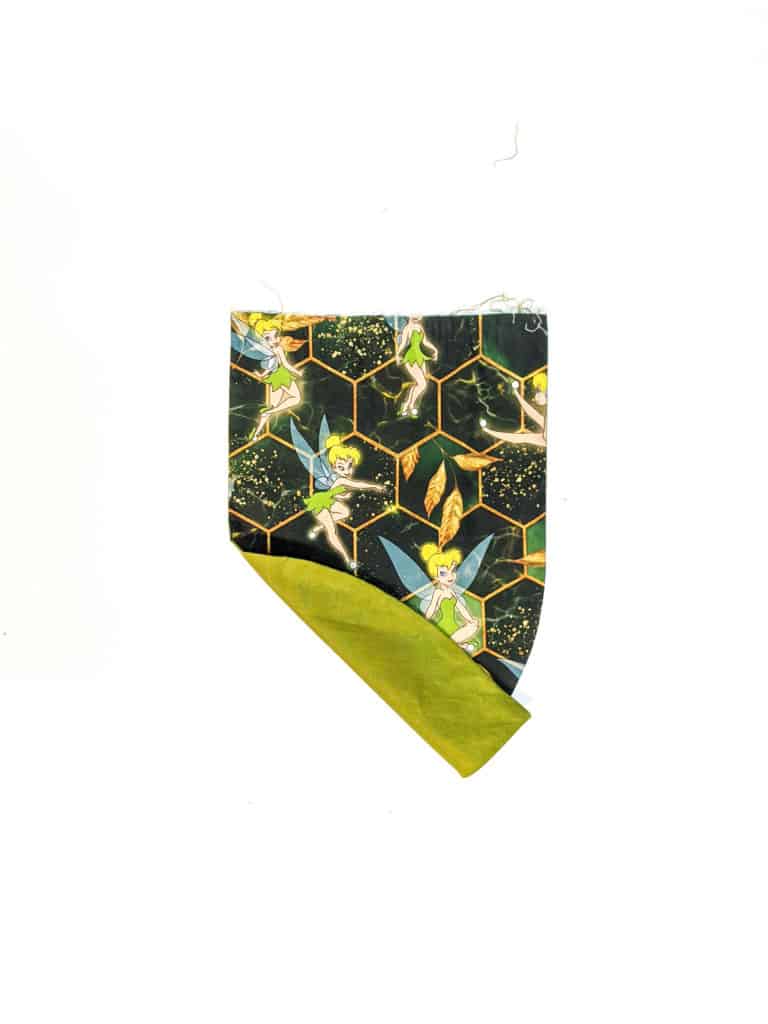
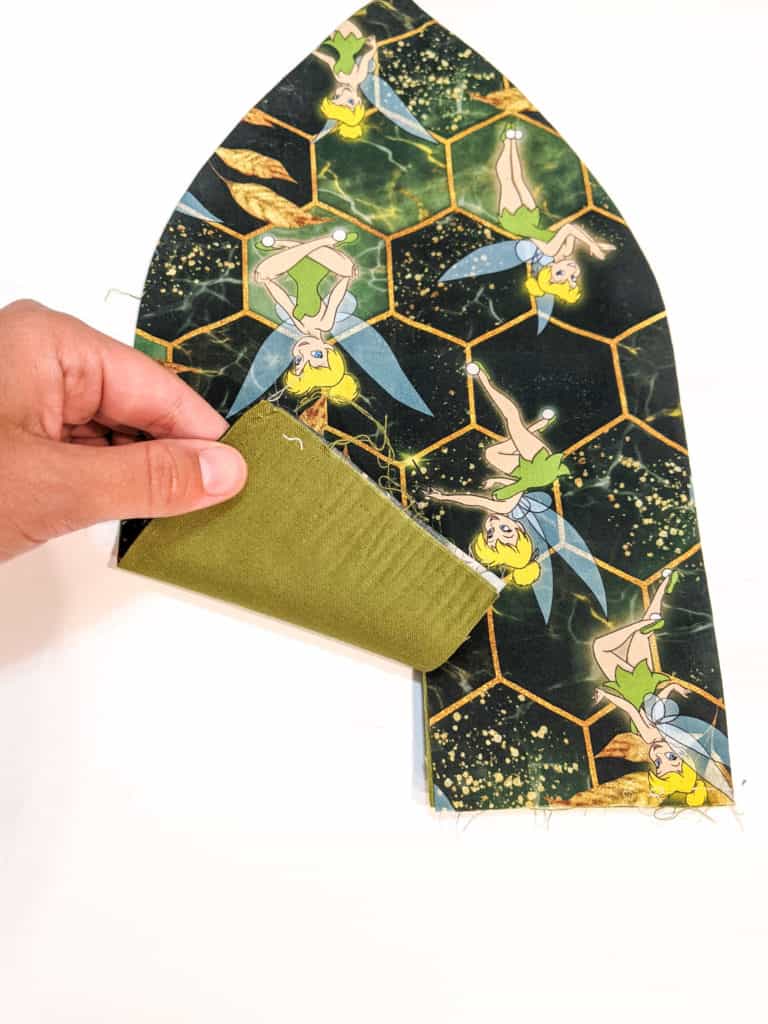
Step 3: Lining the Skirt Leaves
Next, place each of your main fabric leaves ride sides together with a lining leaf. Sew down a curved side and stop at the center point. With your needle in the down position, lift your presser foot and pivot your leaf to continue up the other curved side. Clip the seam allowance at the center point but don’t snip through your seam! Trim seam allowance in half (or use pinking shears). Turn right-side-out and press. Repeat with each leaf/lining
Step 4: Adding a Placket
On ONE of your leaves, you may need to add a placket depending on the dress bodice you’ve chosen to use. To do this, please follow the tutorial in your pattern, or see our YouTube video on adding a placket HERE.
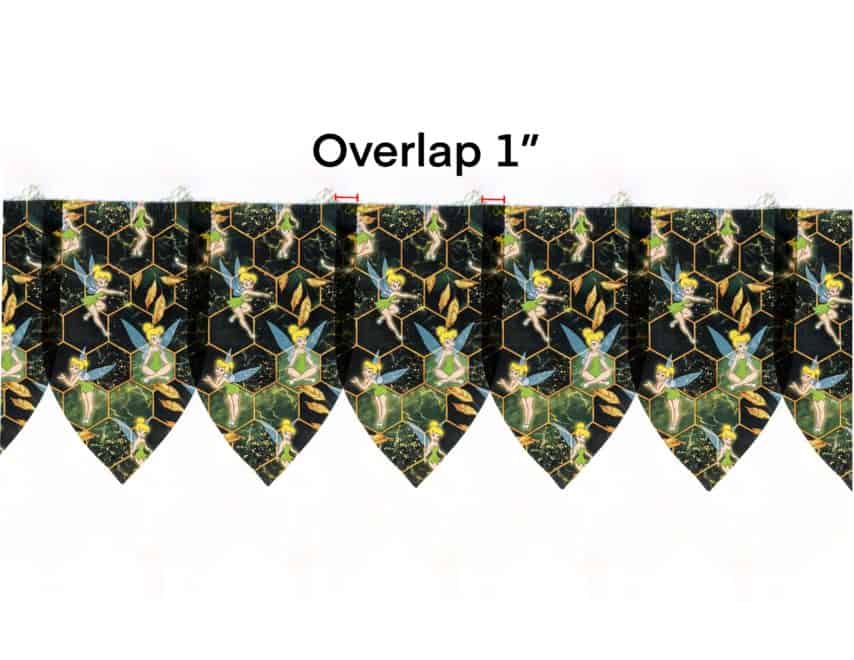
Step 5: Gathering
Once you have your placket finished, overlap each lined leaf by 1”. It is easiest to baste them in place with a 1/4” seam allowance before adding your gathering stitches. If all leaves are overlapped and basted, you will have a large loop of leaves.
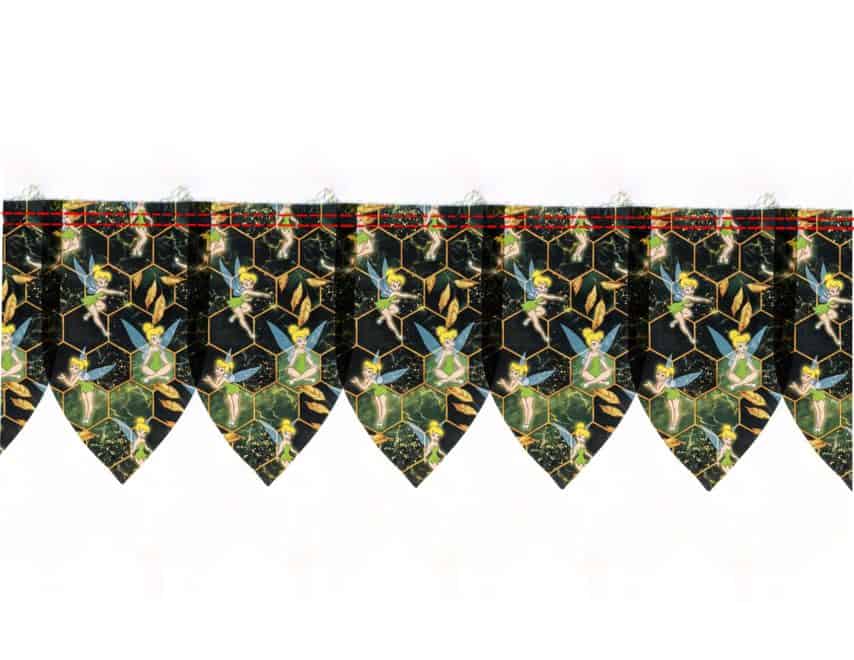
After you have your leaves basted in place, run two gathering stitches starting and ending at each side of your placket. Pull the bobbin threads to gather to fit your bodice.
Step 6: Attaching to Bodice
Finally, you are ready to attach your pixie skirt to your bodice! At this point, you can follow the tutorial included in the dress pattern you are using.
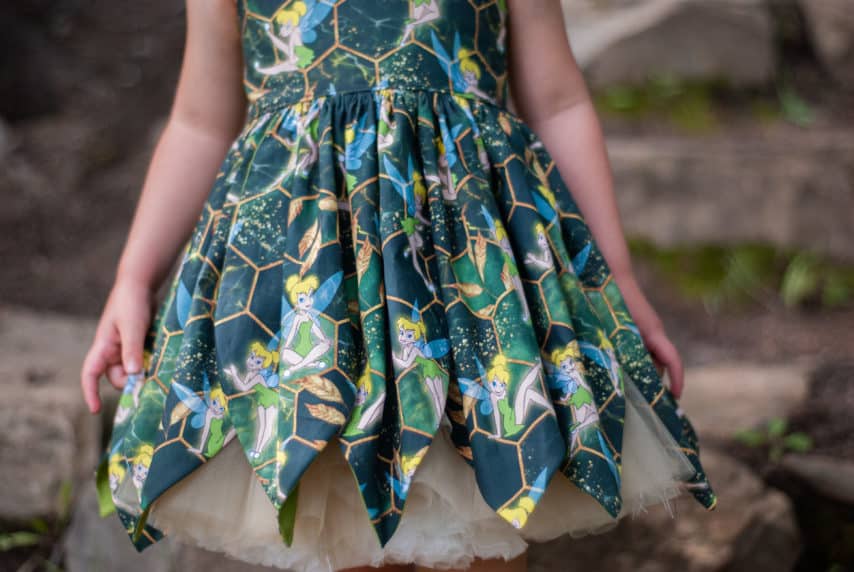
Step 7: Add Magic!
Congratulations! You have created a gorgeous dress for a pixie-lover like mine. Add an underskirt or a petticoat to really show off those leaves you worked so hard on, or if you have photo-editing skills, add some manipulation magic. Or both!
Find my fabric HERE
Thanks for reading!
Victoria Strong