How to sew the Cricut + Simplicity Mermaid Doll
I am back for another awesome Cricut + Simplicity tutorial, this time with the super adorable Simplicity pattern # 8067 D Mermaid doll. If you missed my last one, I did a fun tutorial on the Simplicity Cosmetic Tote (and turned it into a lunchbox!). If you are not familiar with the Cricut & Simplicity partnership, let me give you a few details. Cricut came out with the Maker cutting machine – which is AH-MAZE-ING. You can now cut thousands of different types of fabric on this machine and they do not have to have any type of bonding! Just place your fabric on the fabric grip mat and go! Not only does the Maker cut fabric, but it can mark it for you too. I personally don’t use this feature (you can turn it off) but I love it for my kids’ projects – so they know exactly where to sew. Once the maker cuts/ marks your fabric, you are left with the FUN part – sewing!
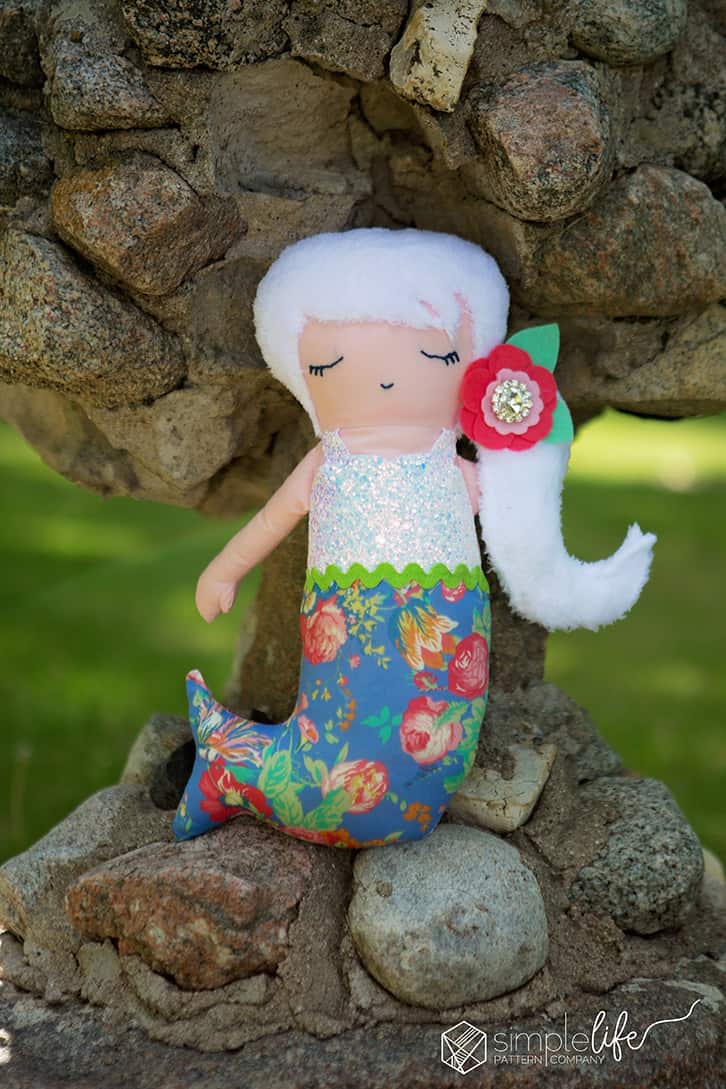
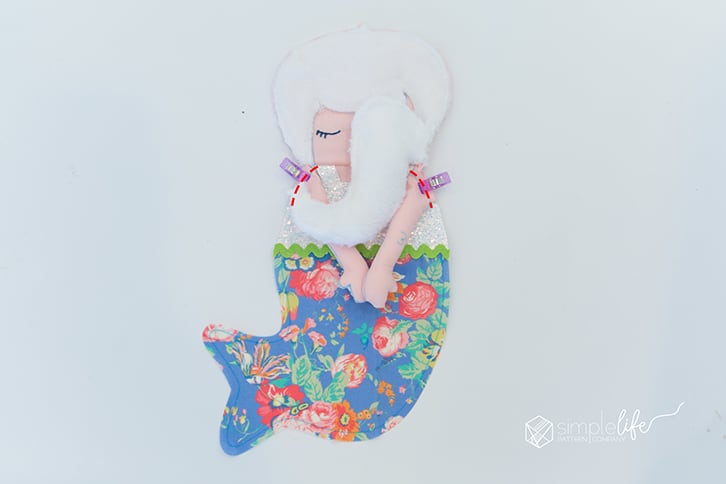
Check out this adorable mermaid. I used chunky glitter canvas that was super thick – honestly – I was a little skeptical – how can a machine cut through that effortlessly?? Well, it did! I used the rotary blade and the “burlap” setting as I saw that is the highest pressure setting. Worked like a charm. I am so excited that it can cut through this chunky glitter – I see lots of bows/ hair clips with this.
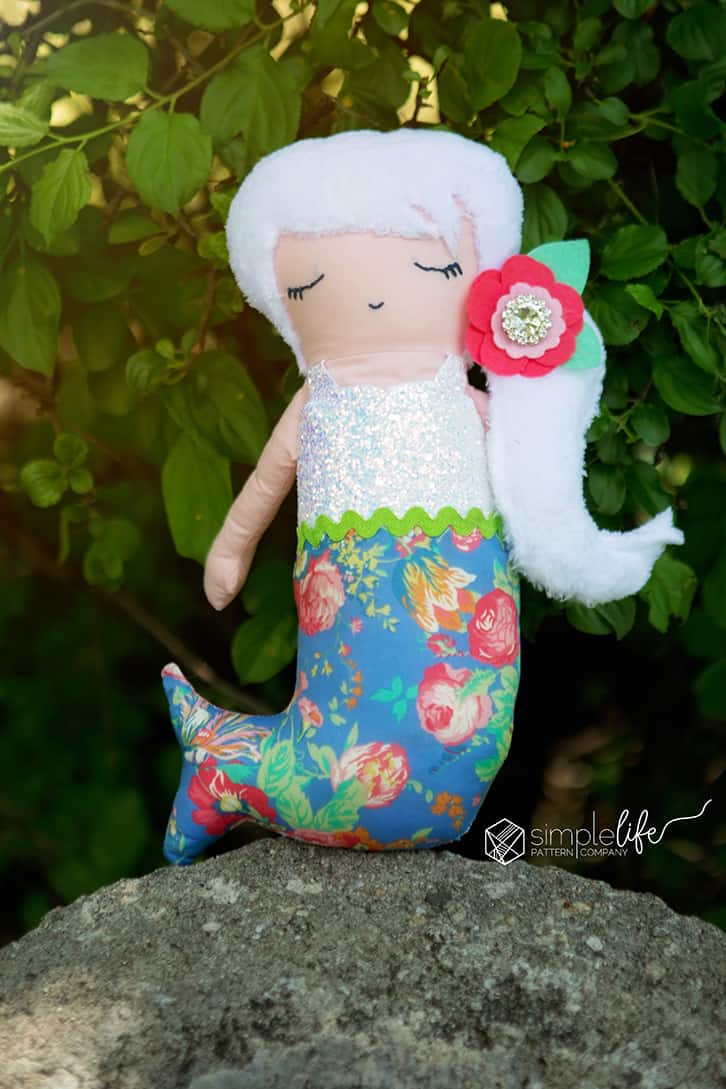
I had such a hard time choosing fabrics. I had 3 sets of options laid out for days – but when it came down to it, I went for this beautiful Liberty of London tana lawn fabric (I know – crazy expensive fabric for a doll – but OH SO WORTH IT).
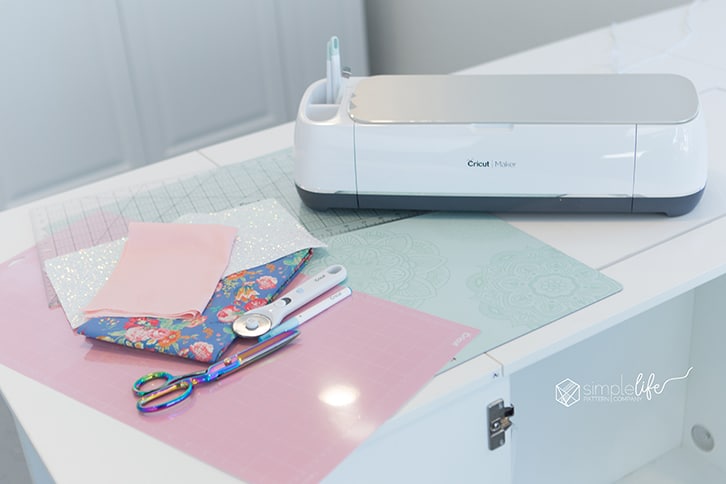
So gather all your materials – you can download the pdf file from Cricut Design space you can always have it on hand. Cut your rectangles according to the directions. I used my awesome 12″ x 24″ Cricut acrylic ruler – I find this to be essential when doing sewing projects with my Maker.
Flower fabric (felt is a perfect choice)
Button (for the center of the hair flower)
rick rack (for the bodice/ tail seam)
Fiber fill (to stuff the doll)
Embroidery floss (or fabric marker – for eyes/ mouth)
Cricut washable pen (optional – but helpful for beginners)
Self healing cutting mat (optional)
Step 1:
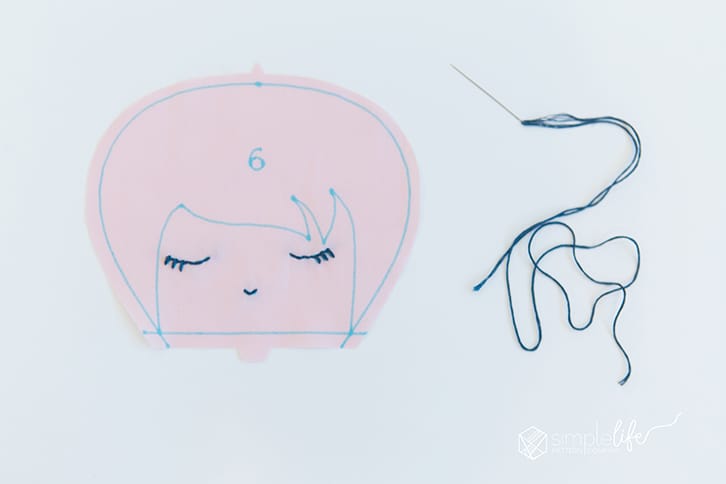
Embroider the eyes/ mouth. I didn’t have a fabric marker around, if you do, you can draw them on.
Step 2:
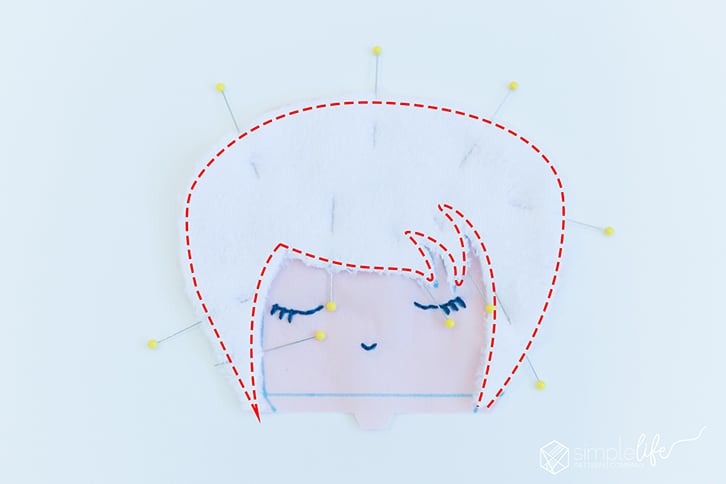
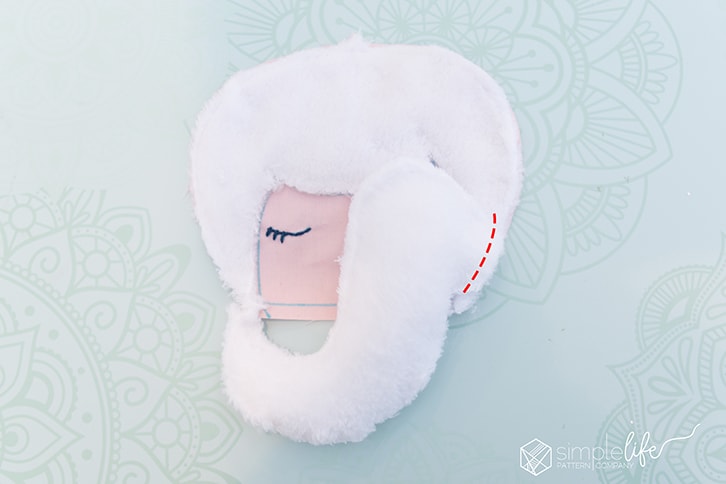
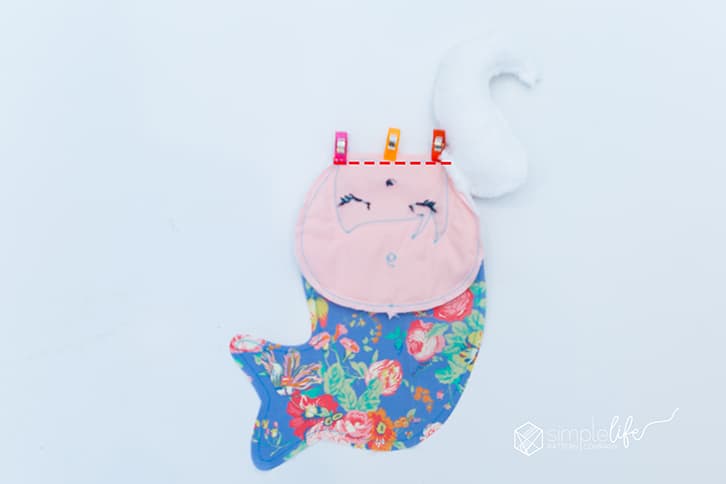
Take the hair piece and align it along the face piece. Baste the outside edges. Sew the inner hairline.
Step 3:
Take your 2 pony tail pieces and lay them wrong sides together. Sew along the curves, being sure to keep and opening at the top. TIP: If you are using a fabric that will fray, place your pieces right sides together, sew, clip your curves then turn right sides out. This pattern was designed for felt or fabrics that wont fray so they don’t have you turn them out.

Step 4:
Lightly stuff your pony tail. You don’t need much in there, just enough for dimension.Place it above the neck seam line and baste in place.
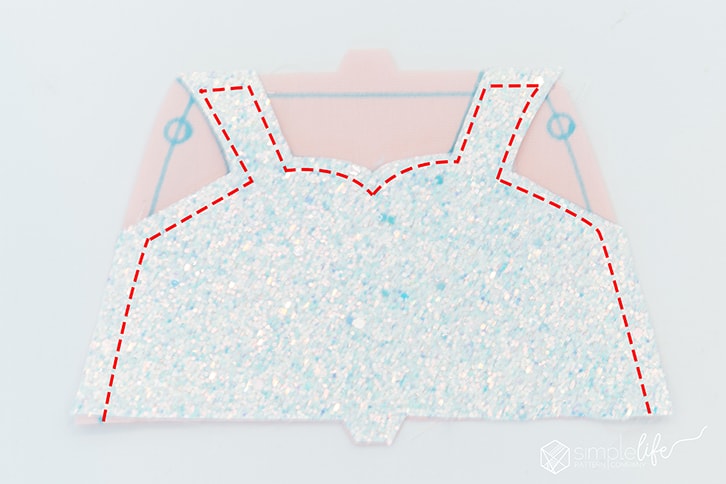
Step 5: Lay your bodice piece on your body so both pieces are facing up and stitch it in place.
Step 6: Take your body piece, right sides together and matching up the notches and sew it to your tail piece.
Step 7:
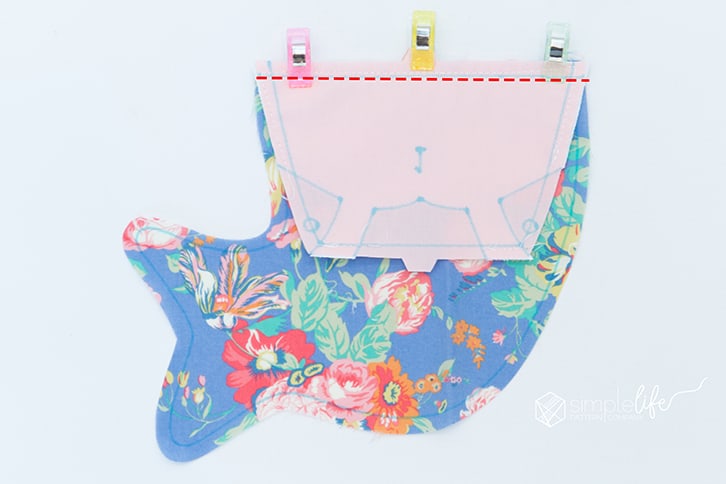
Take your head piece and place line it up with your body piece, right sides together, matching the notches and sew in place.
Step 8:
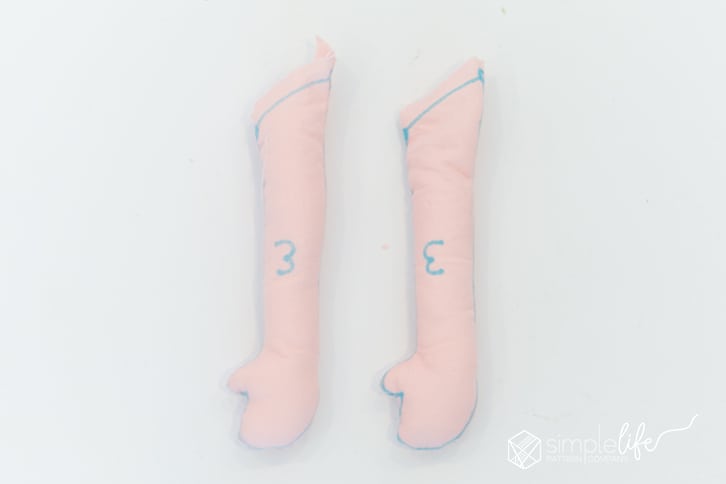
Take two arm pieces, lay them right sides together and sew. Clip your curves, turn right side out and stuff them with fiber fill. You will want to stuff these firmly, being sure to get the little thumb area.
Step 9:
Place your arms along the body sides. If you didn’t mark your pattern, just place them a tad under the neckline seam. Baste in place.
Step 10:
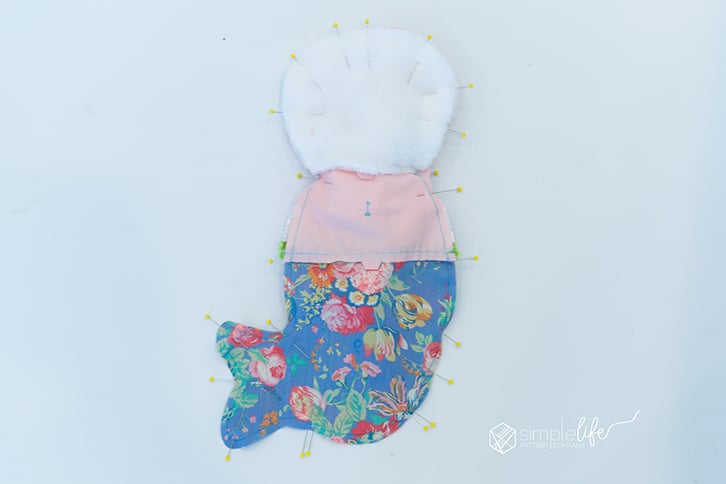
Sew your back head to the bodice and then to the tail like you did for the front. Lay your back piece on your front piece, right sides together. Pin in place. YOu will need to leave an opening at the bottom of the doll to turn out and stuff – about a 3.5″ – I like to double pin the start and stop point to remind myself. Sew the two pieces together, leaving the bottom open 3.5″.
Step 11:
If you did the washable market, I recommend you soak the doll in detergent (or dawn dish soap – thats what I used) and scrub the markings off. They do not come off easily so you will have rub the fabrics together. Rise thoroughly and let it dry. You can then stuff the doll and close the seam using a ladder stitch. Thats it! You are done.
I hope you enjoyed this tutorial – Comment below with what you would like to see next! I cant wait to start my next project.
Happy Sewing,
Katie Skoog
This is a sponsored conversation written by me on behalf of Cricut. The opinions and text are all mine.