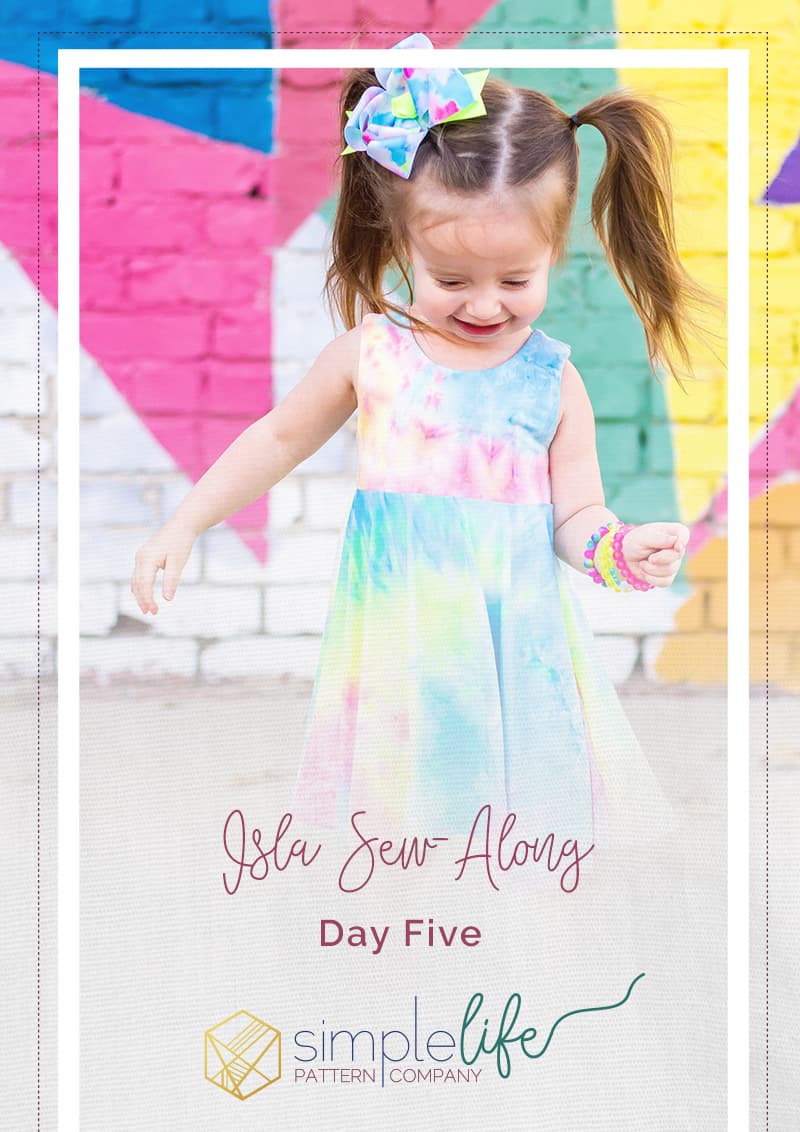
Isla Sew Along Day 5
You did it! You made it to day 5 of the Isla Sew Along. Today we will finish our pieces and attach our skirt/romper bottoms to our bodices.
Clear Elastic
When attaching the skirt or romper bottom to your bodice the last thing you want is for your finished seams to look wavy. You can use clear elastic to stabilize the bottom raw edge of your bodice. I prefer the clear elastic from Joann’s because it is thicker and doesn’t seem as flimsy.
If using the clear elastic, start by pinning the elastic to the bodice lining along the raw edge. DO NOT stretch the elastic. Also, we are attaching the elastic to the lining side just in case the elastic isn’t completely hidden in the 3/8″ seam allowance when we attach our skirt. Attach the elastic to the bodice using a 1/4″ seam allowance so that the stitches are not visible on your finished dress. After you’ve sewn the elastic to your bodice, be sure to check that it is not misshapen. If your bodice fabric appears to be bunching up or looks as though the elastic is pulling, remove the stitching and try again. Once you have your elastic sewn in place you can then attach your skirt or romper bottom.
Attaching the Skirt/Romper Bottom
Using clear elastic is not a requirement. In fact, I rarely use it unless I’m using a really thin knit fabric. I simply attach my skirt or romper bottom to my bodice and call it done.
If you chose to add a circle skirt then you will not need to sew any gathering stitches along the top raw edge of your skirt. Attaching the gathered skirt or romper bottom requires you to sew gathering stitches to the top raw edge of your pieces. Regardless of which skirt you are adding, flip your skirt so that the wrong side is facing outward. Find the center of your skirt front and back pieces and mark with a pin. With your bodice right side out, lay your skirt on top so the right sides of both pieces are facing each other. Line up your side seams of your skirt with your bodice, as well as the center of each piece, and pin in place.
Circle Skirt
For the circle skirt continue pinning your skirt to your bodice. Once you are finished pinning sew/serge the pieces together. Flip right side out. Press your seam up toward the bodice and you are done!
Gathered Skirt/Romper
The gathered skirt/romper will need to cinched in to fit the width of the bodice. DO NOT stretch your bodice to fit the width of your skirt. Pull on your gathering threads until the skirt is the same width of the bodice. Double check that the gathers are evenly distributed around the bodice. Pin in place. Sew/serge your skirt/romper to the bodice. Remove any gathering threads. Flip right side out and press your seam up toward the bodice. You are now finished!
Note: if you used the clear elastic do not iron over it as it will melt and can destroy all your hard work. Iron from the outside of the garment or use a pressing cloth as a barrier.
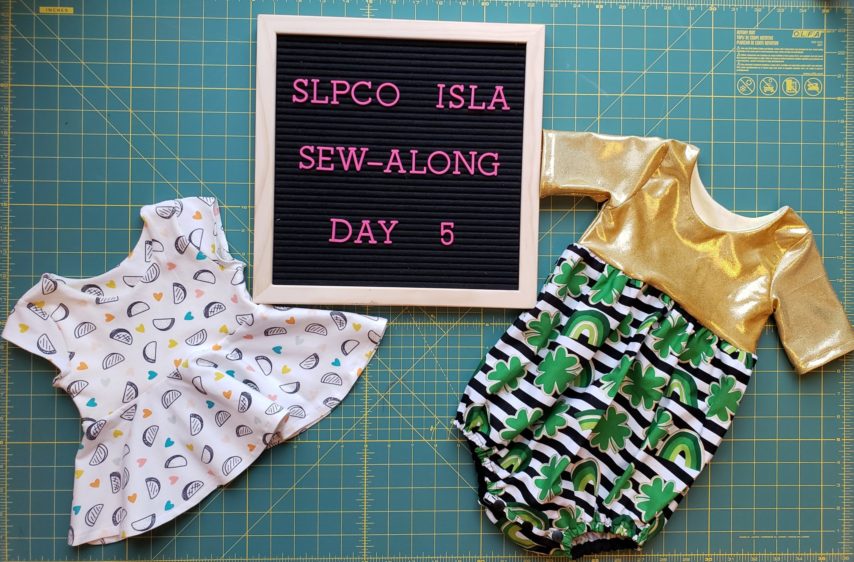
Day 5 Progress
Now comes the fun part of letting our littles wear our handmade creations. I don’t know about you but nothing makes my momma heart happier than seeing my daughter love to wear something I made. Also, who doesn’t love free shop credit? For a chance at a $30 shop credit, post a quick photo of your finished piece in the fan group Isla Sew Along album AND a modeled photo of your finished piece on your little. You must post both photos to be entered to win the shop credit. So get out those cameras and hit me with your best shot! We’ve had rain and snow the last few days but I’m hoping to show y’all some final photos on Saturday.
Thank you so much for joining me for this sew along. Please leave any feedback in the Isla Sew Along album. Let me know what you liked or didn’t like. If you have any video requests for future sew alongs I’d love to know that too. I’ll see you back here next month when we sew up Lydia!
Happy Sewing,
Chauncey