Jaimesyn Sew Along – Day 3
Hello friends! We are on day 3 of the Jaimesyn sew-along and today’s focus will be on adding pockets. If you are just now joining us there is still plenty of time to catch up. Just check out the day 1 and day 2 blog posts to see what we’ve done. Let’s get started.
Adding Sleeves
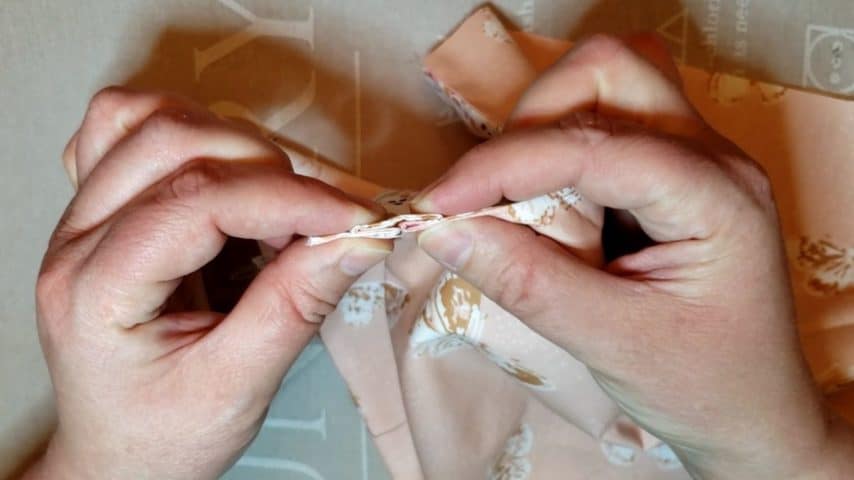
For those of you that decided to add sleeves, you will add them to your bodice today. Start by sewing a gathering stitch 1/4″ from the top of your sleeve from one point to the other. Find the center of the top curve of your sleeve and mark with a pin.
With your bodice laying right side up and flat, match the center of your sleeve to the shoulder seam of your bodice and pin together so right sides are touching. Start by pinning the edge of your sleeve to the edge of your arm hole and continue pinning until you reach the gathering stitches. Repeat with the other side of your sleeve. Next, pull your gathering threads and adjust the gathers to fit the remainder of the curve. Pin in place. Make sure you are pinning the sleeve to both the main and lining layers of your bodice. Sew/serge your sleeve in place. Repeat with your other sleeve.
To close the sleeve and bodice side seam, start by laying your bodice flat. Take the front bodice pieces and bring them down onto the back bodice pieces so that right sides are together. Match up the sleeve sides, armpit seam, and side seams. Pin in place. Now sew/serge along the entire arm and side seam. Repeat with the other side.
Finally, hem your sleeves. Refer to the pattern directions for sleeve hem lengths.
Adding Pockets
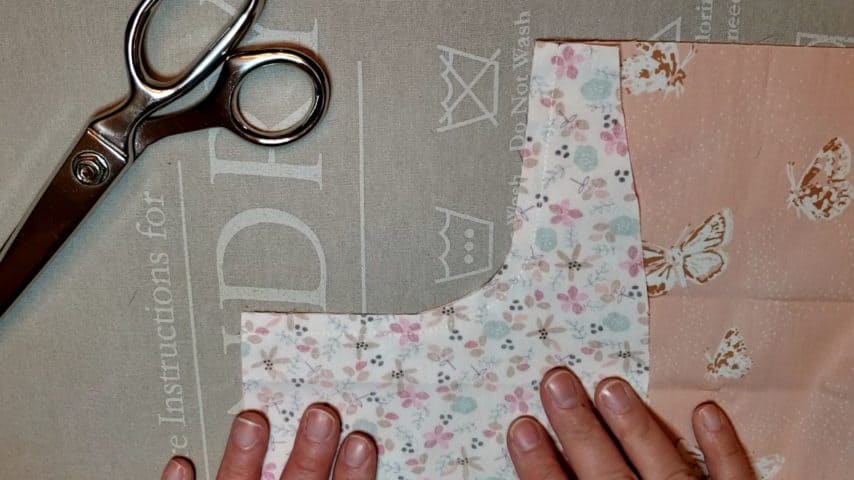
Take your front skirt piece and fold it in half so right sides are together. Next, lay your pocket lining piece along the raw edges of your folded skirt. Match up the top and side of the pocket lining piece with the top and side of the skirt. Cut out the exposed fabric square on your skirt piece. You will cut through both layers. Make sure you are not cutting on the folded edge of your skirt.

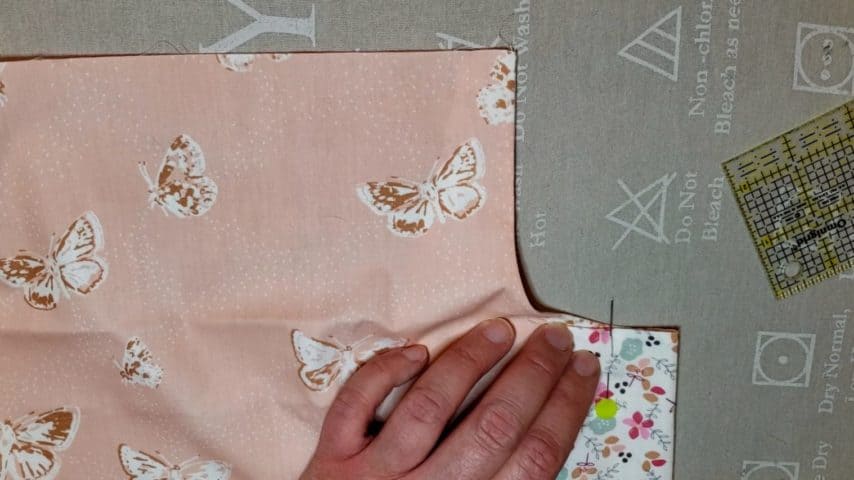
Next, take a pocket lining piece and lay it on top of your skirt so right sides are together. Sew along the curved seam. Clip your curves and turn right side out. Press. Repeat with the other side.
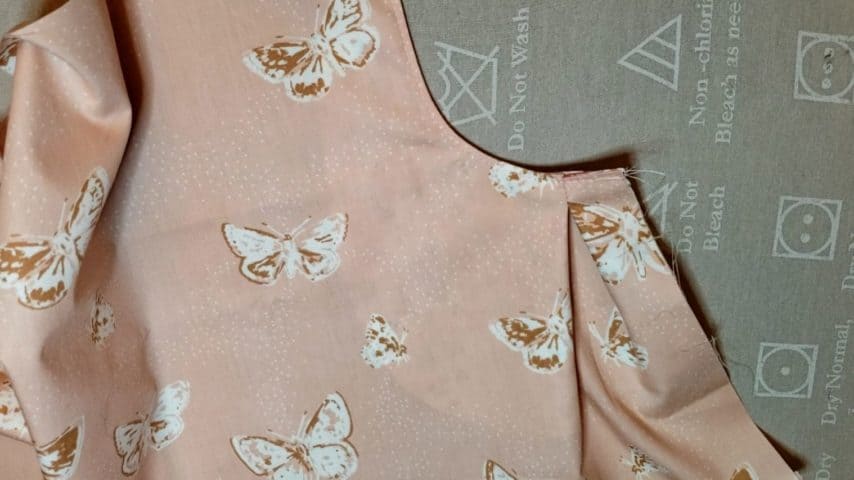
Pocket Pleat
To create the pocket pleat, fold the side your skirt and pocket lining so that it is even with the top edge of the pocket. From the folded edge, measure over 1″ and mark with a pin. I like to make a mark with a sewing pencil. Then measure down 1/2″ from your first mark and mark with a pin. This will be your stopping point when you sew your pleat stitch. Sew a straight line from the first pin/mark down 1/2″ to your second pin/mark. Make sure you backstitch several times to secure the pleat. Repeat with the other pocket.
Take the folded edge of the pleat and push it so that it matches up with the pleat stitches you just sewed. This should evenly distribute the pleat on both sides. Press in place. Now topstitch your pocket 1/8″ from the edge. You will sew over the pleat to secure it down. Repeat with the other side.
Next, take your pocket bag and lay it on top of your lining so that right sides are together. Sew/serge around the pocket bag and lining. Do not stitch through your skirt at this time. Only the pocket bag and lining. Repeat with the other side.
Finishing Your Skirt
Align the top and side of the pocket so that it is even with your skirt. Baste in place. This will keep your pocket from shifting when you attach the skirt to your bodice and when we sew the back skirt piece to the front.
Next lay your front skirt on top of your back skirt so that right sides are together. Sew/serge the side seams of your skirt.
Fold up your hem 1/2″ with wrong sides together and press. Fold up an additional 1/2″ and press. Finally, topstitch 3/8″ from the edge.
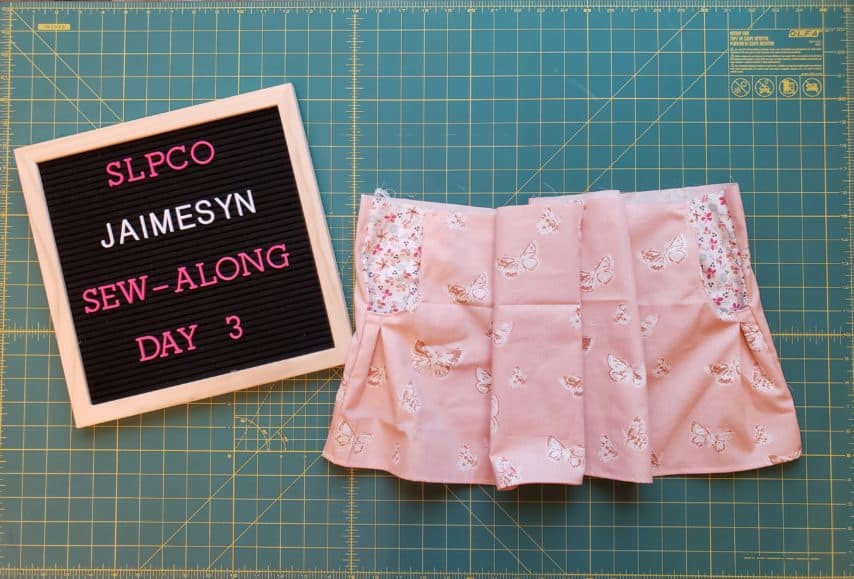
Day 3 Progress
Whew! You did it! How did you do adding the pockets? I’ve created a video to help guide you through adding the pocket and creating the pleat. If you have any difficulties, please let me know and I’ll answer as best as I can. After all that hard work, don’t forget to add your daily progress photo into the sew-along album. See you back here tomorrow when we will sew our skirt to our bodice.
Happy Sewing,
Chauncey