Knit Ayda Sew-Along Day 3
Welcome to day 3 of our Knit Ayda Sew-Along!
In case you are just joining us here are the links to day 1 and day 2. Head back here to day 3 when you are caught up!
Now that we have all of our pieces cut we are finally ready to start sewing. Today we will be constructing our bodices.
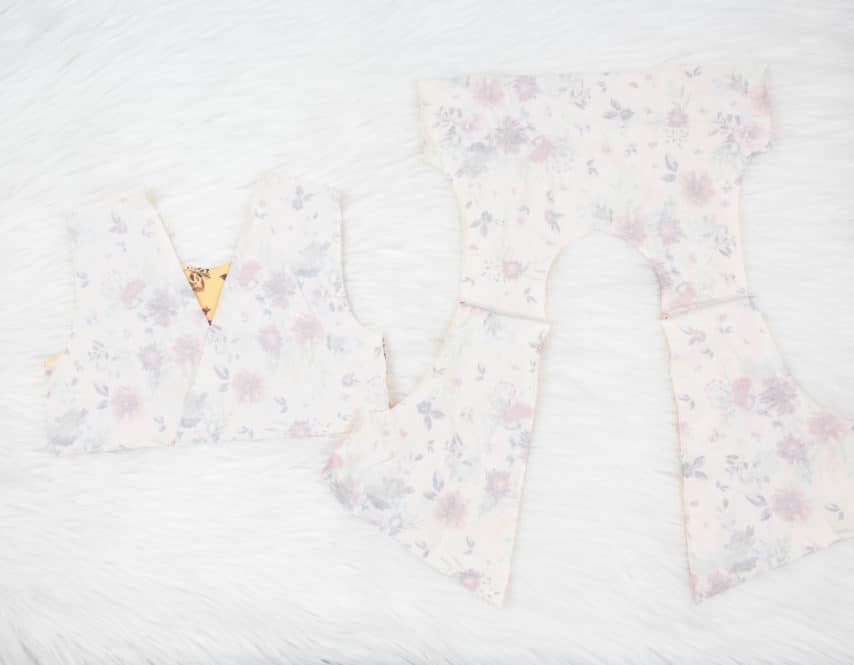
First things first we will need to attach the lining pieces and main pieces at the shoulder seams. So lay your bodice front main piece and bodice back main pieces right sides together so that the shoulder seams are aligned. Repeat with your lining pieces. A quick note, make sure your armscye is aligned as well so you can be sure you place the back pieces on the correct sides.
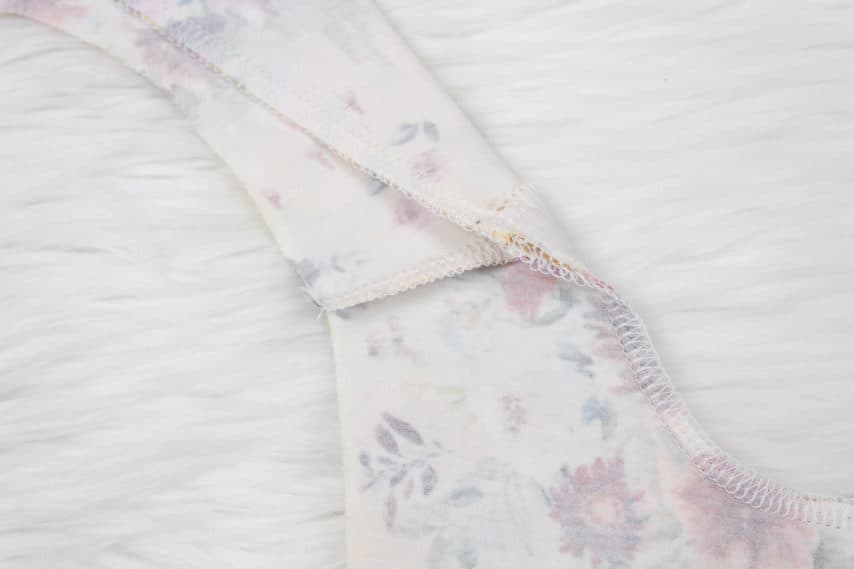
A quick tip that I like to use to ensure my shoulder seams lay nice and flat after sewn is to make sure each seam is pressed in an opposite direction. Notice in the closeup photo below the front of the seam is pressed down while the lining bodice shoulder seam is pressed up. This ensures your seam will lay nice and flat when turned right side out.
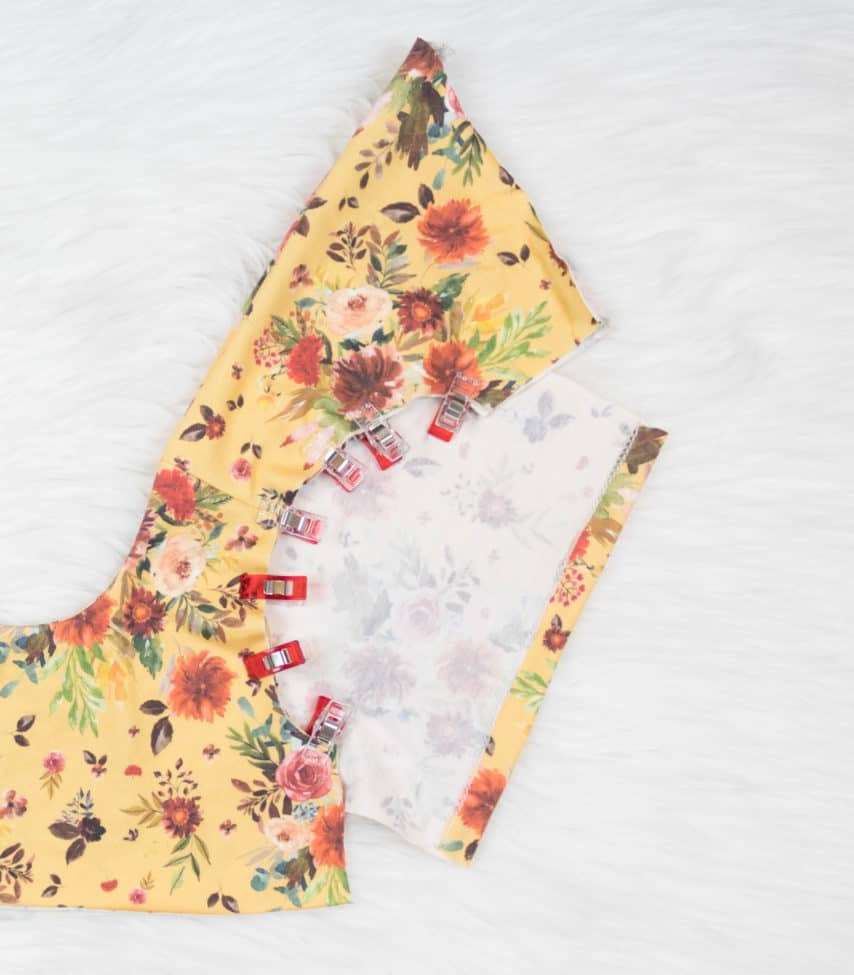
Now we will turn our bodices right side out and attach our sleeves. Your sleeve will be pinned/clipped to the armscye with right sides together. Shown below is the wrong sides facing up to demonstrate how I ease my sleeve in using lots and lots of clips. This ensures that my sleeve will not have any ripples and the seam will not become wavy or stretched when sewn.
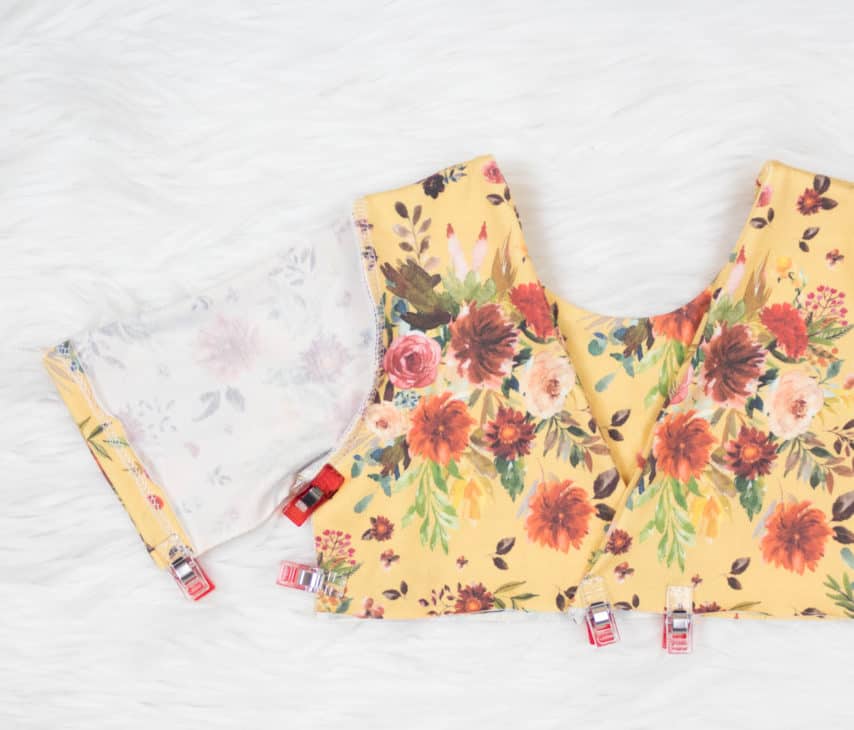
Now that we’ve sewn our sleeves on we will place our bodices wrong sides out, making sure to align the sleeve seam as well as the side seam. I’ve also pinned my overlap on the back bodices so that the back bodice is the same width as the front bodice.
Our bodices are now complete! That was quick and easy wasn’t it? Head over to the Facebook group and find the day 3 post here!
I’ll see you back here tomorrow to attach our skirts.
Until then,