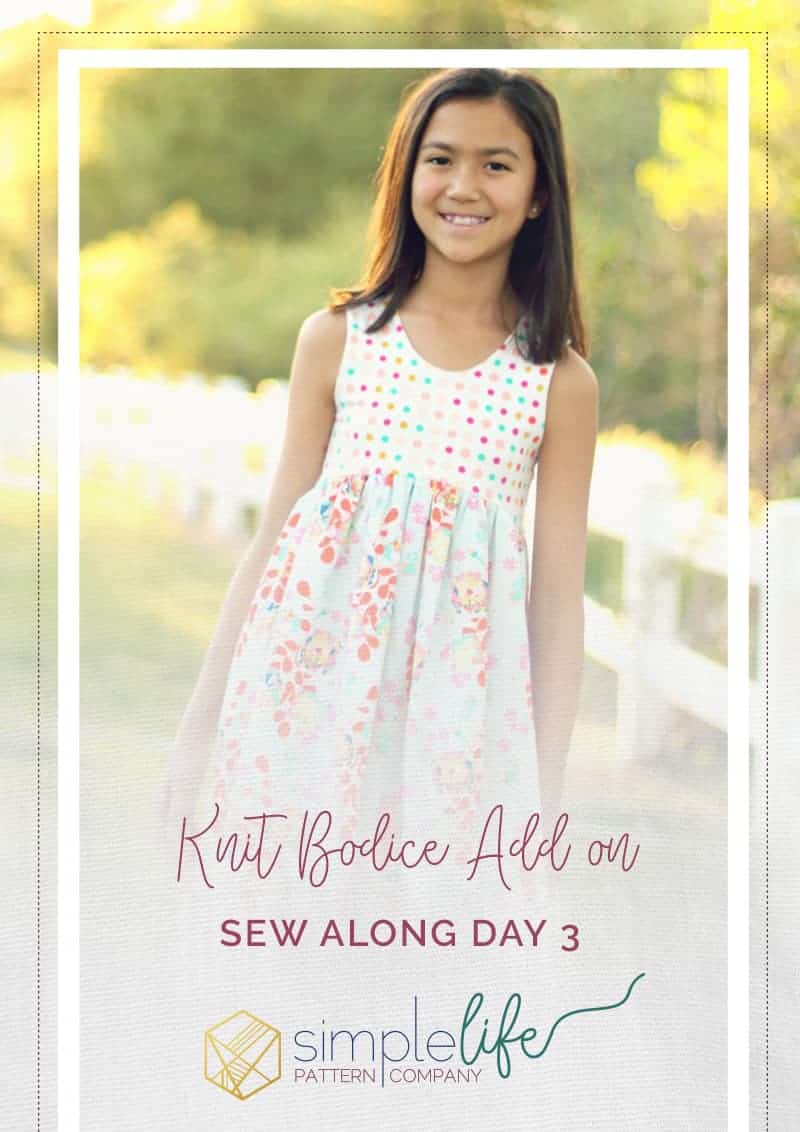
Knit Bodice Add On Sew Along Day 3
Welcome to Day 3! Today we are going to create the easy-to-sew Lucy Dress with the Knit Lucy Bodice Add-On! If you got through the Knit Bella Dress on Day 2, this will be a breeze! I planned this one for today because I know the famous “burrito roll” can be intimidating, so I wanted to ease you in to things with Bella. First things first, if you are catching up on Day 1 or still need to grab a copy of any of the patterns featured in this sew-a-long, head on back to the Day 1 post where we’ve linked everything up for you. Don’t forget to use code SLPcoSAL to get 20% off. If you are joining us to sew up the Knit Lucy and have all your pieces cut, it’s time to sew! Remember, you will need both the original Lucy Pattern for the skirt measurements AND the Knit Lucy add-on patterns to complete this dress.
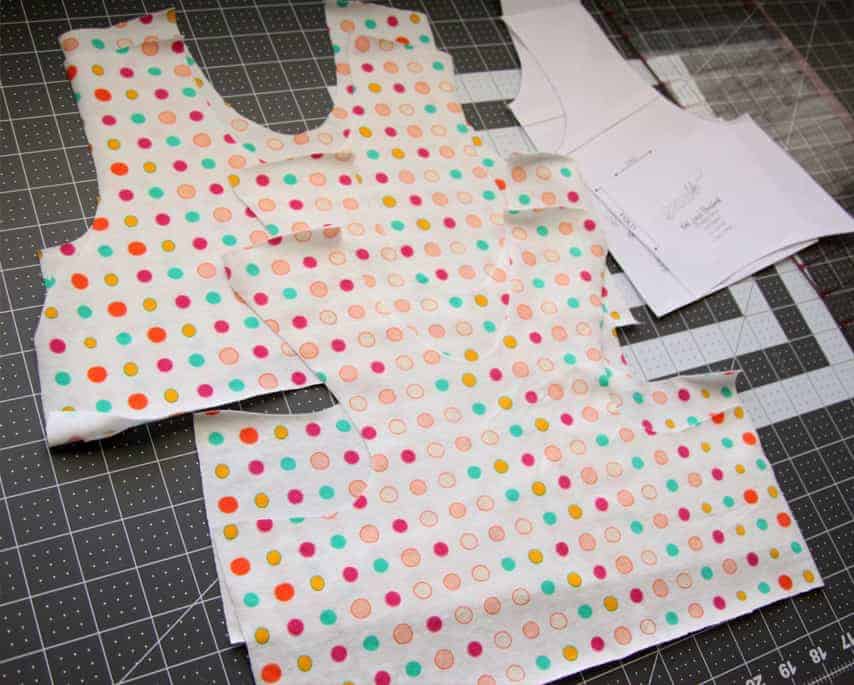
For this pattern you need to start with 2 front bodice and 2 back bodice pieces. That’s it. If you haven’t cut it out yet, you will need to pick which racerback width you prefer. I went with the wider version.
If you are already comfortable with the burrito roll trick, go ahead and whip up that bodice! If you are following me, grab your front and bodice pieces and head to your machine. Make sure that you have your machine set on a stretch stitch. You can do the one that looks like a “double” stitch, or there’s the one I like, the “lightening” stitch (the angled zig-zag). *IMPORTANT NOTE: If you are adding embellishments to the bodice do it now before you sew anything together!* Now place the main front and back bodice pieces RST and sew the shoulder seams together. Repeat for the lining pieces. If you find your machine eating your fabric, make sure you have a good tail of thread and start slightly in from the edge so that your feed dogs have enough fabric to catch and pull through. Once you have 2 sets of bodice pieces sewn at the shoulders, you are going to press those shoulder seams open. Then you will place both bodice pieces right sides together and sew along the neckline. If any of this seems confusing, don’t fret … Katie’s tutorial is very easy to follow and filled with photos! When you are done sewing the neckline, trim the seam allowance – this is very important so the neckline sits nicely once you turn it! This is what you should have now …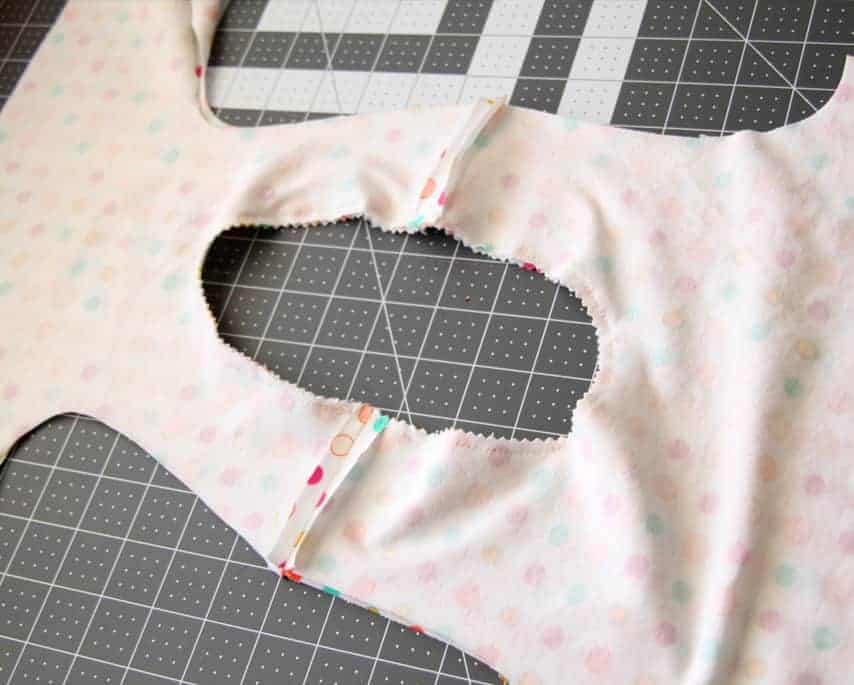
At this point you are going to turn the bodice with right sides out. You can press the neckline if you would like to make it all nice and flat. Then it’s time to start that fun burrito roll technique to close the shoulders! It was something that confused me for the longest time, but all of Katie’s tutorials are very easy to follow to get this down. In short, you are going to open one side of the bodice at the neckline seam. Then you will place the opposite shoulder strap in the middle of that open seam. Next, you will close the open seam by folding the lining over, RST with the main bodice and line up the raw edges of the armscye and stitch together. After you trim the seam allowance, you are going to pull the opposite shoulder that is now sandwiched in there through the opening. Confused? I apologize. Katie can explain it much better than I. Here are some photos to help, though! Repeat on the other side.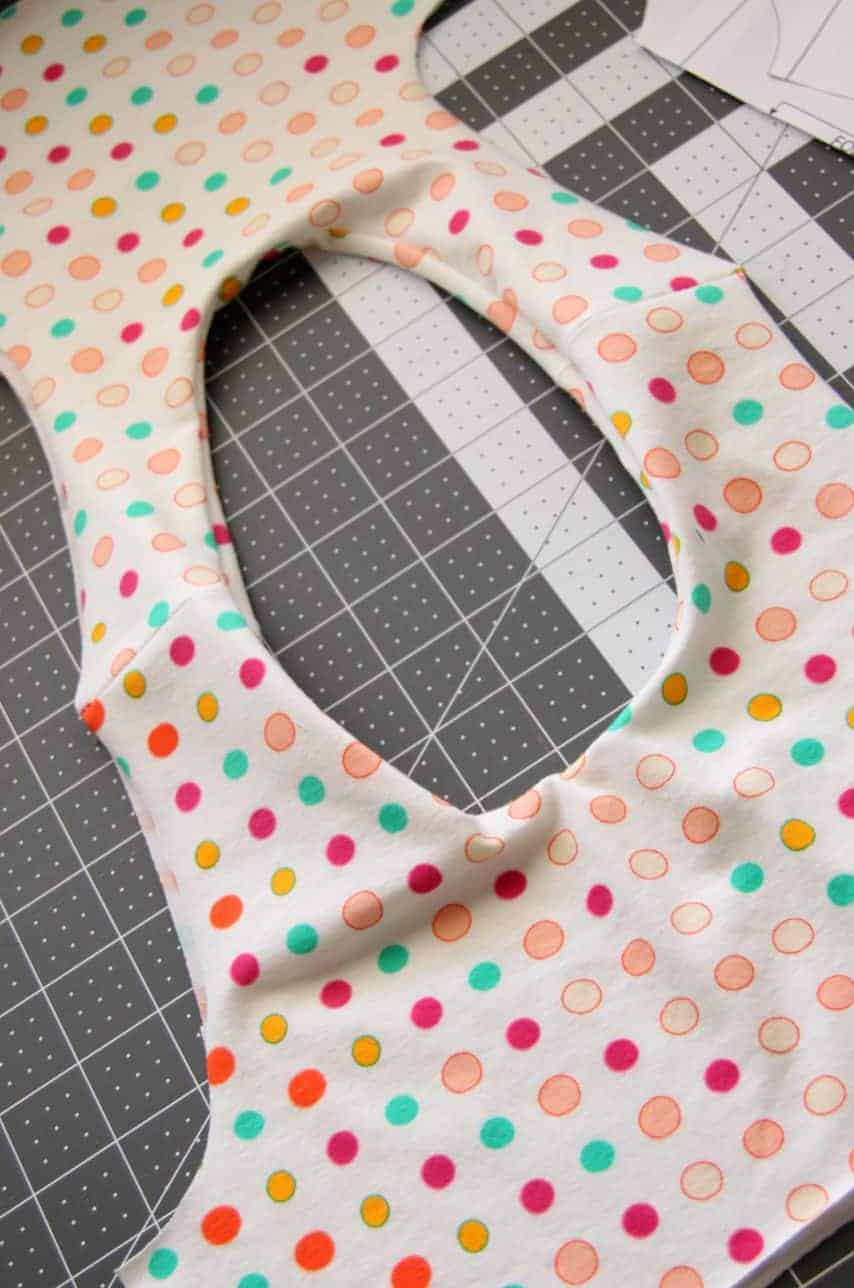

Once you have done both sides, and pulled them through, your bodice should looks like this photo. Seriously, just revel in the beauty of those enclosed armscye seams. Take a minute to congratulate yourself … the bodice is almost done!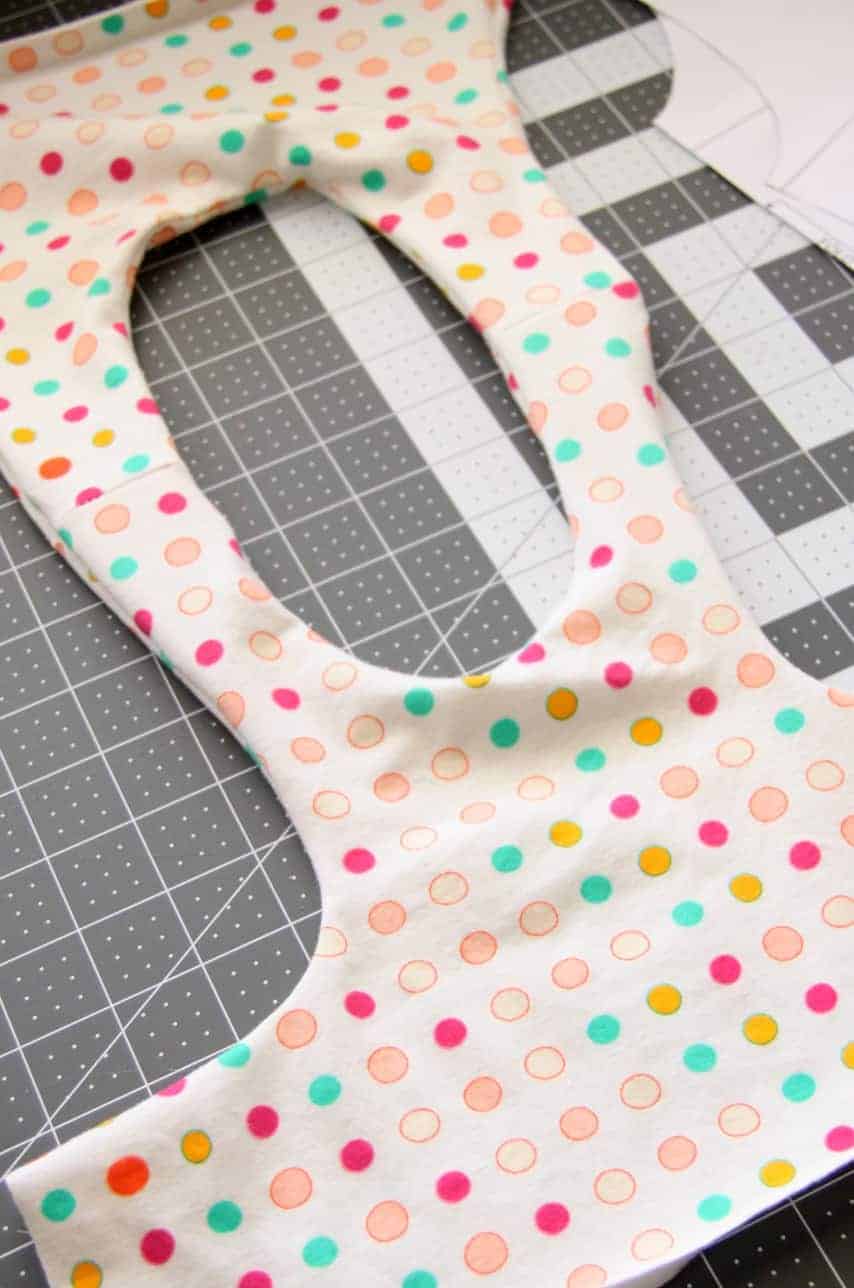
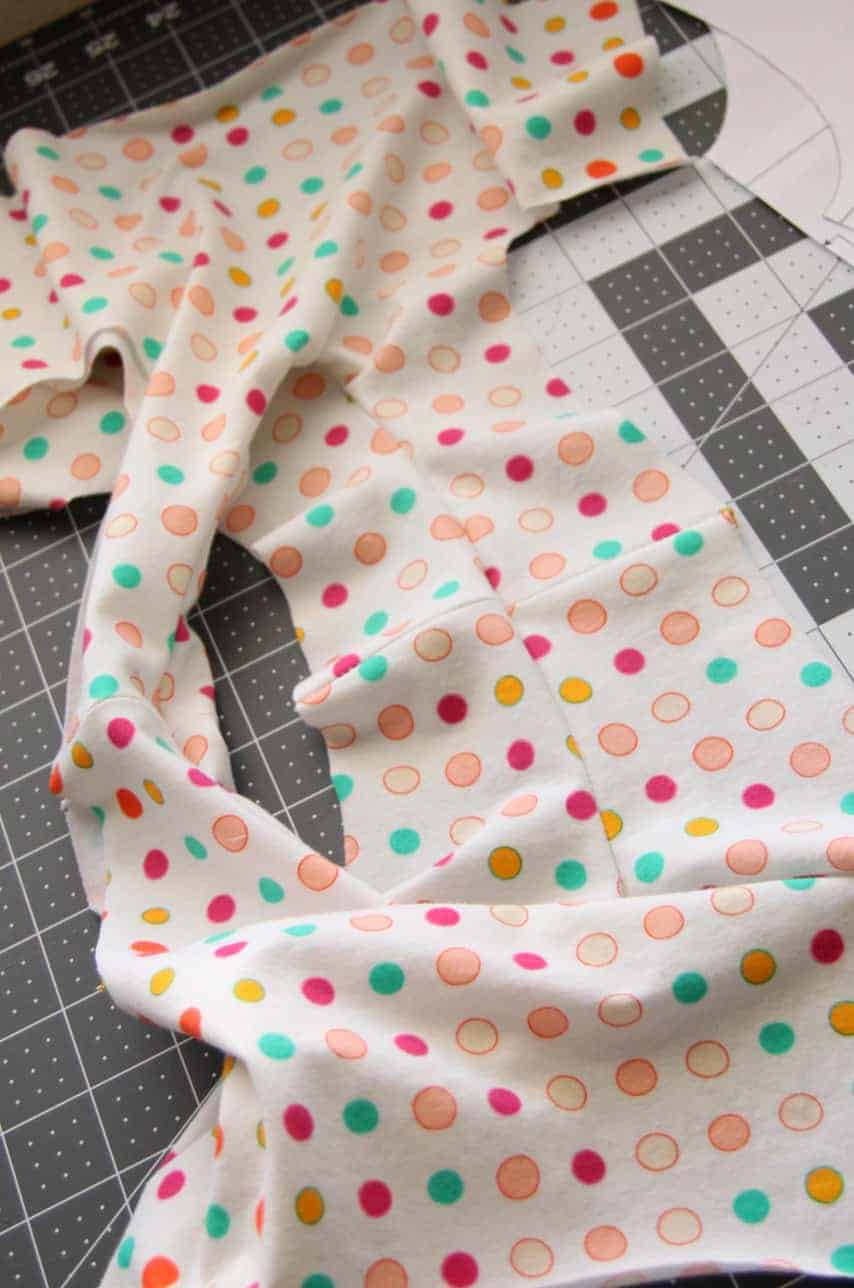
At this point, you’ll want to attach the back and front bodice together per the pattern instructions. Make sure right sides are facing out and give it a good press.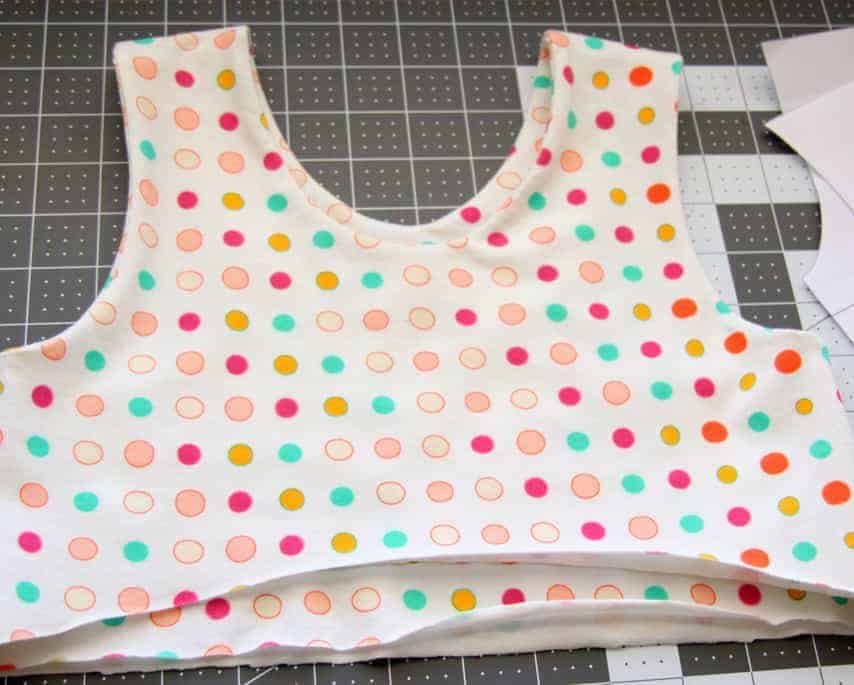
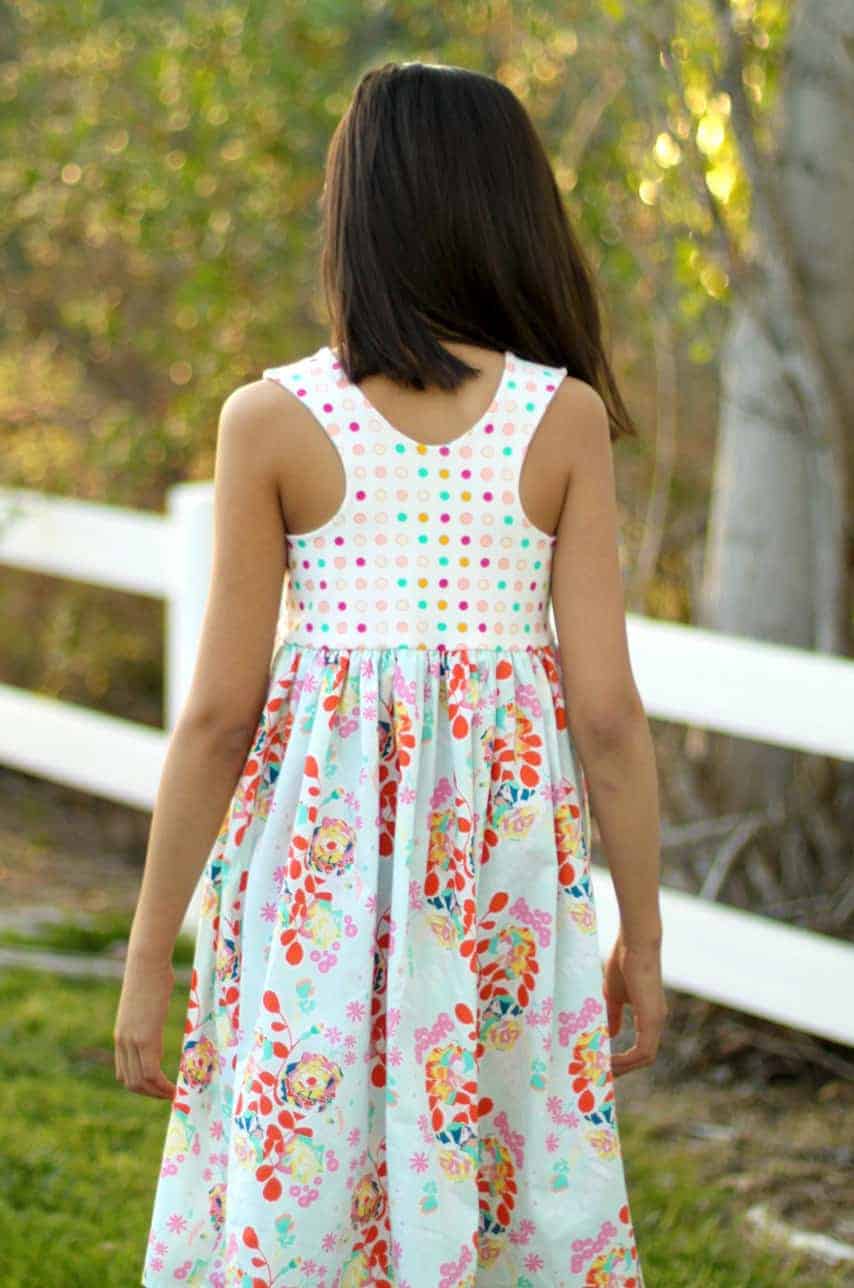
Your bodice is DONE! That curved front bodice is so pretty. Be honest, that was easier than you expected, right?! Now go grab that skirt fabric! It’s time to get going … you are so close to finishing this dress. Put your machine back to a regular stitch and sew up the side seams with the fabric RST. Once that is done, finish the side seams and put a gathering stitch around the top of the skirt. Time Saving Tip: I like to press the hem prior to adding the bodice. I like that I don’t have the extra weight of the bodice when turning it around the ironing board, so pressing the hem goes much faster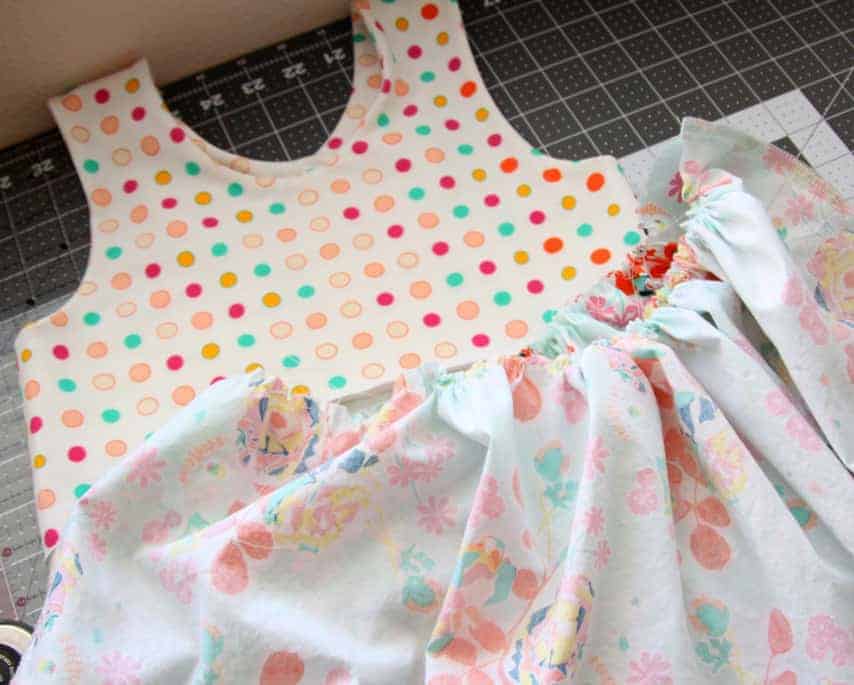
This is getting exciting. We are so close to being done. Go get that bodice so we can attach it to the skirt. Turn your skirt inside out and place the bodice inside with raw edges together. Make sure that the right sides are together. Gather your skirt to the width of the bodice if you haven’t done so yet. Reset your machine to that handy stretch stitch … this is the stitch you are going to use to attach the skirt and bodice. The stretch stitch allows the bodice and skirt to stretch without breaking any threads when you put the dress on your sweet girl!
All you have to do now is finish that seam where the bodice and skirt attach and sew up your hem. There you go … a fun Knit Bodice Lucy Dress! This dress is perfect for summer. Make sure to add your photos in the Day 3 album in the Simple Life Patterns Fan Group. Tag your photos with #SLPcoknitSAL and #SLPcoknitLucy when you load them.
Hope you found this dress as easy and fun as I did! Tomorrow we will be working on the Knit Ayda and sleeve. Until then, have a wonderful day!
~Katrina, Wild Bumbleberries