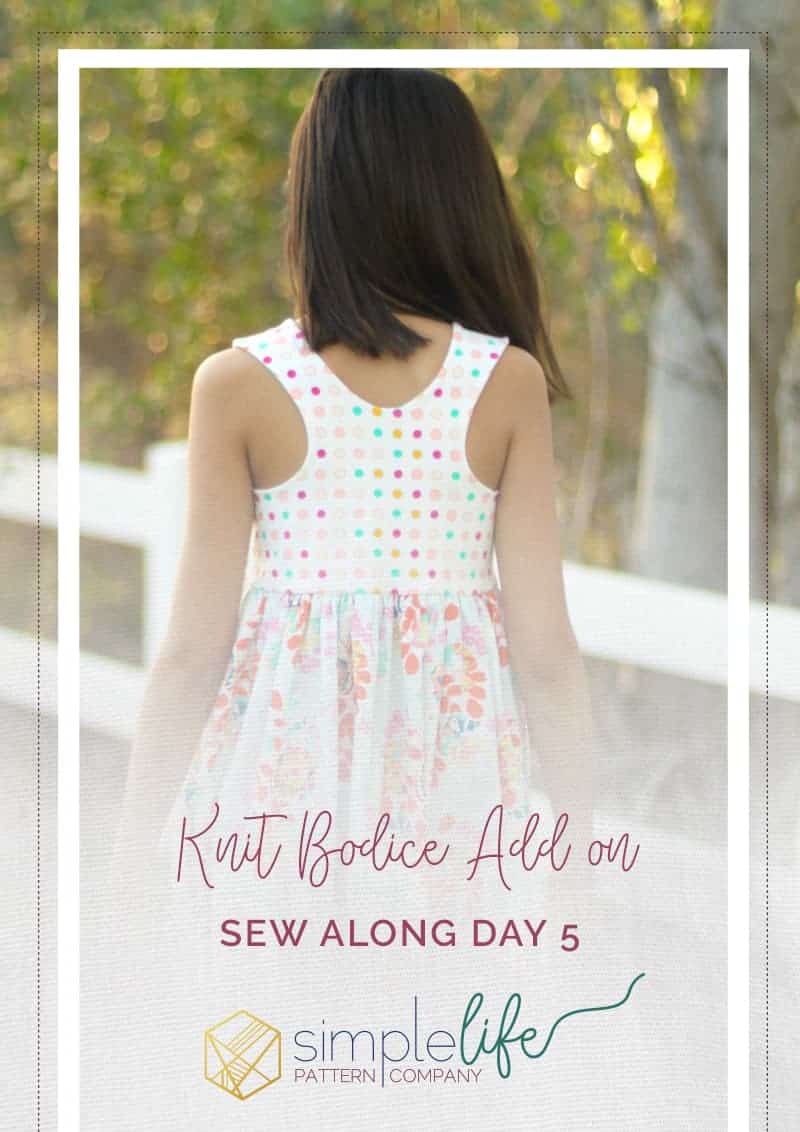
Knit Bodice Add On Sew Along Day 5
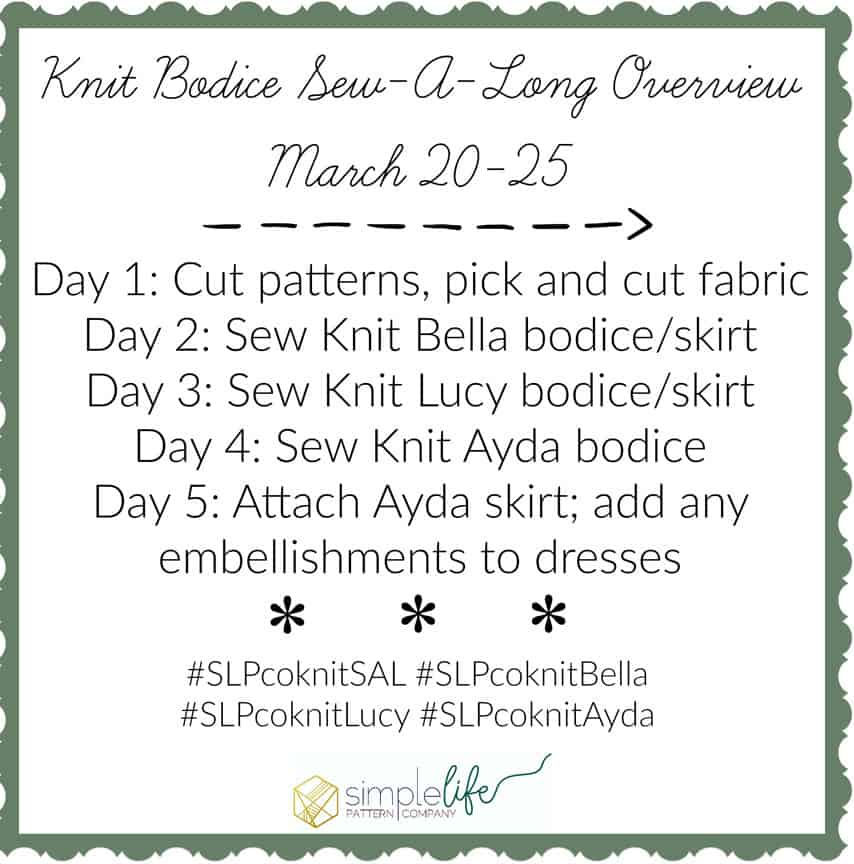
Good morning and TGIF! We made it to Day 5! Today is going to be an easy day. We are going to finish up the skirt for the knit Ayda we started yesterday on Day 4. If you still need to grab a copy of this or any of the patterns featured in this sew-a-long, head on back to theDay 1post where we’ve linked everything up for you. Don’t forget to use code SLPcoSAL to get 20% off. We are also going to look at a couple of extra embellishments you can add to some of your dresses (it’s not too late!). If you are continuing on us to sew up the Knit Aydaand have your skirt pieces cut, it’s time to sew!Grab your skirt pieces and completed bodice and let’s go …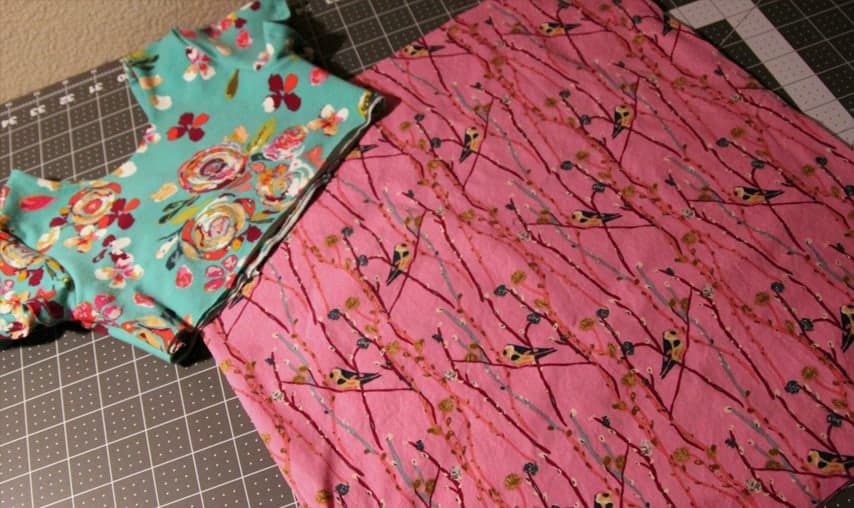
You will need either 2 gathered skirt pieces or circle skirt piece. Remember if you are doing the circle skirt, you will need to cut it from knit fabric ONLY.
Next you will want to hem the skirt. Time Saving Tip: I like to press the hem prior to adding the bodice. I like that I don’t have the extra weight of the bodice when turning it around the ironing board, so pressing the hem goes much faster. If you are hemming a knit skirt, make sure that you have your machine set on a stretch stitch. You can do the one that looks like a “double” stitch, or there’s the one I like, the “lightening” stitch (the angled zig-zag). If you are doing a gathered skirt, put a gathering stitch around the top.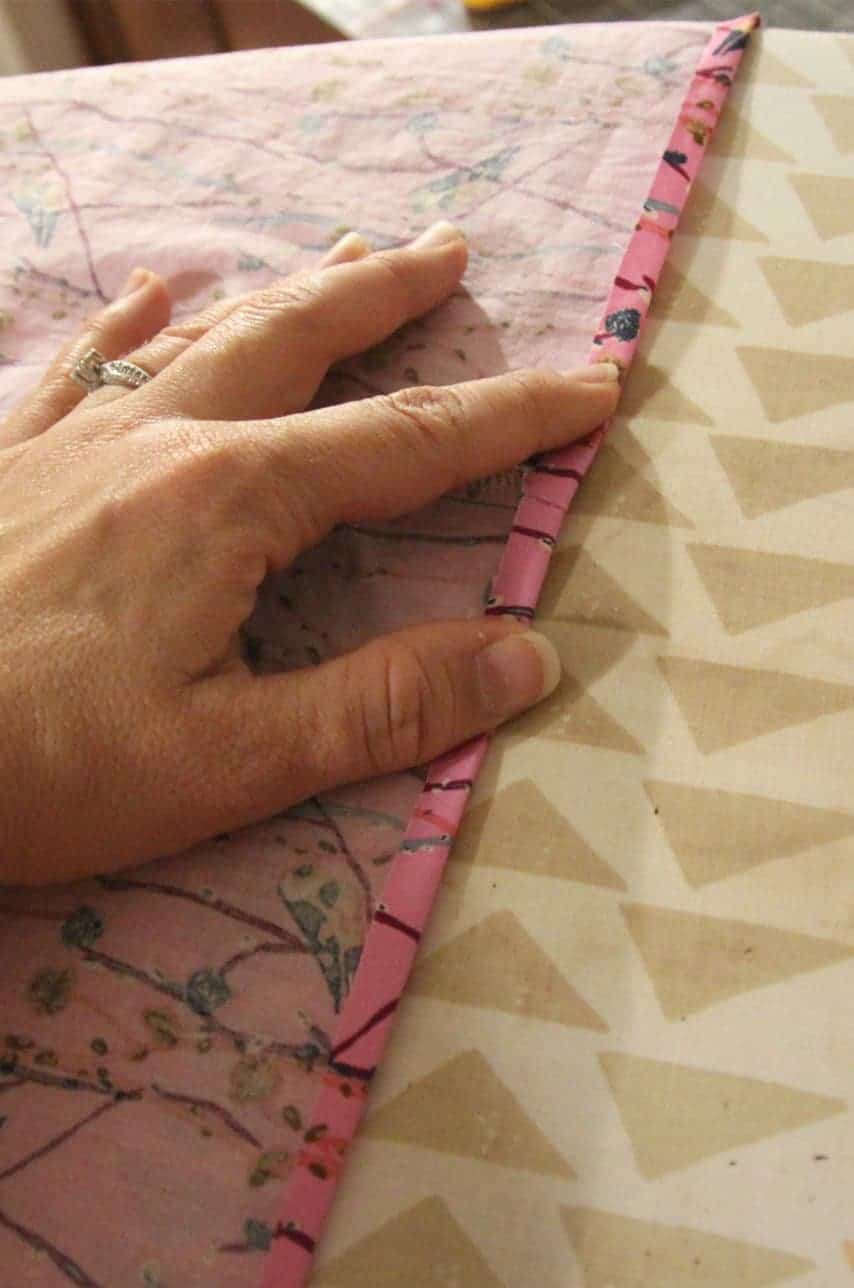
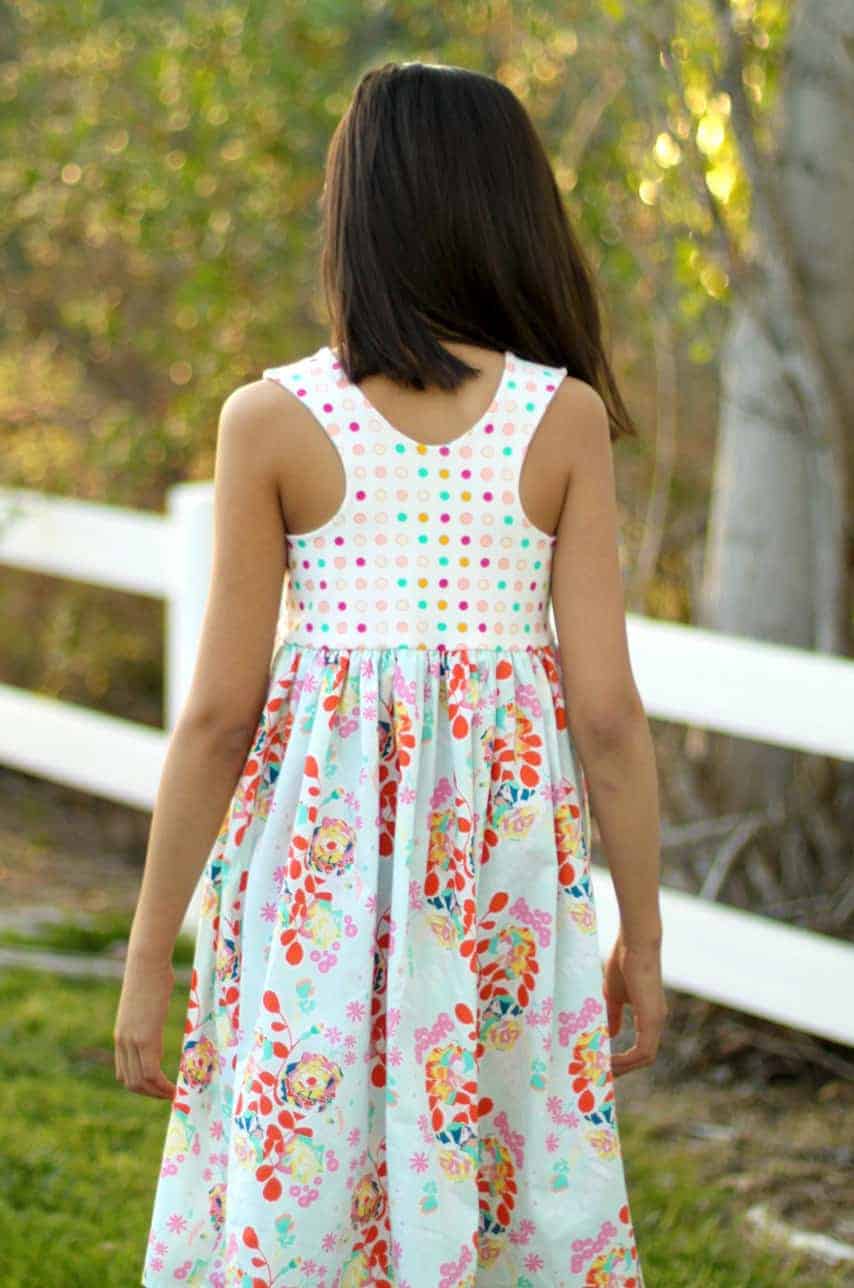
We have finally come to the part where we are ready to attach the skirt to the bodice. EEK! You are so close!Now you’ll grab your bodice because it’s time to attach it to the skirt. Turn your skirt is inside out and place the bodice inside with raw edges together. Make sure that the right sides are together. Remember that stretch stitch? That is the stitch you are going to use to attach the skirt and bodice. Using the stretch stitch allows the bodice and skirt to stretch without breaking any threads when you put the dress on your sweet girl!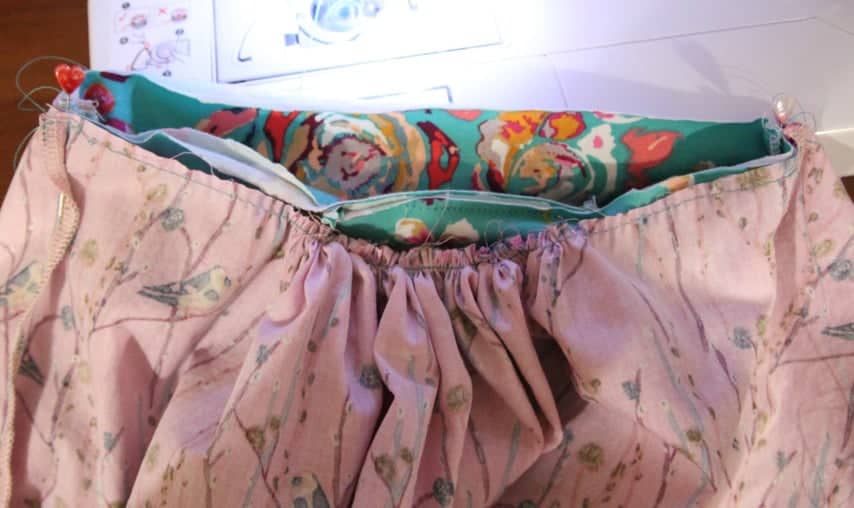
That’s it! You are DONE! You now have a gorgeous knit bodice Ayda dress. Congratulations!
At this point, it’s a great time to go back and add any extra embellishments if you have time! Add some pockets to your Lucy dress, maybe even a ruffle or lace trim to your Bella dress. There are lots of options throughout all of the tutorials to make each dress one of a kind!
That concludes this sew-a-long. Thank you so much for joining me this week! I also want to thank Katie for letting me host everyone in this busy, but fun adventure. The patterns are just so fantastic and easy to sew up and make it easy to make beautiful dresses! I also want to thank Art Gallery Fabrics for their gorgeous Fusion lines. The fabrics featured in this week are from Abloom Fusion, Joyful Fusion and Boho Fusion. Make sure to add ALL of your final dress photos in the Day 5 album in the Simple Life Patterns Fan Group. Tag your photos with #SLPcoknitSAL, #SLPcoknitBella, #SLPcoknitLucy and #SLPcoknitAyda when you load them.
I would love to give everyone a chance to catch up this weekend, so we will have the voting on Monday for the winner of a $50 store credit to Simple Life Pattern Company and 3 yards of your choice of Art Gallery Knits! That’s such an amazing prize. Thanks again and have a wonderful day!
~Katrina, Wild Bumbleberries