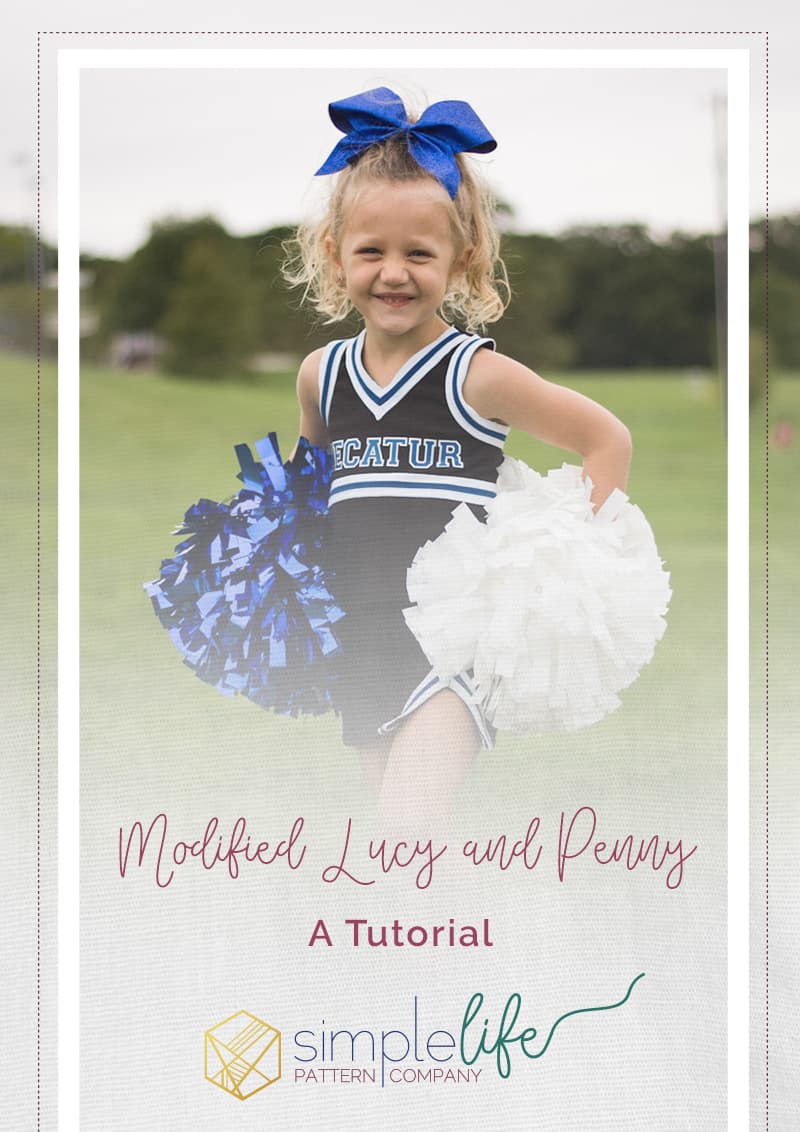
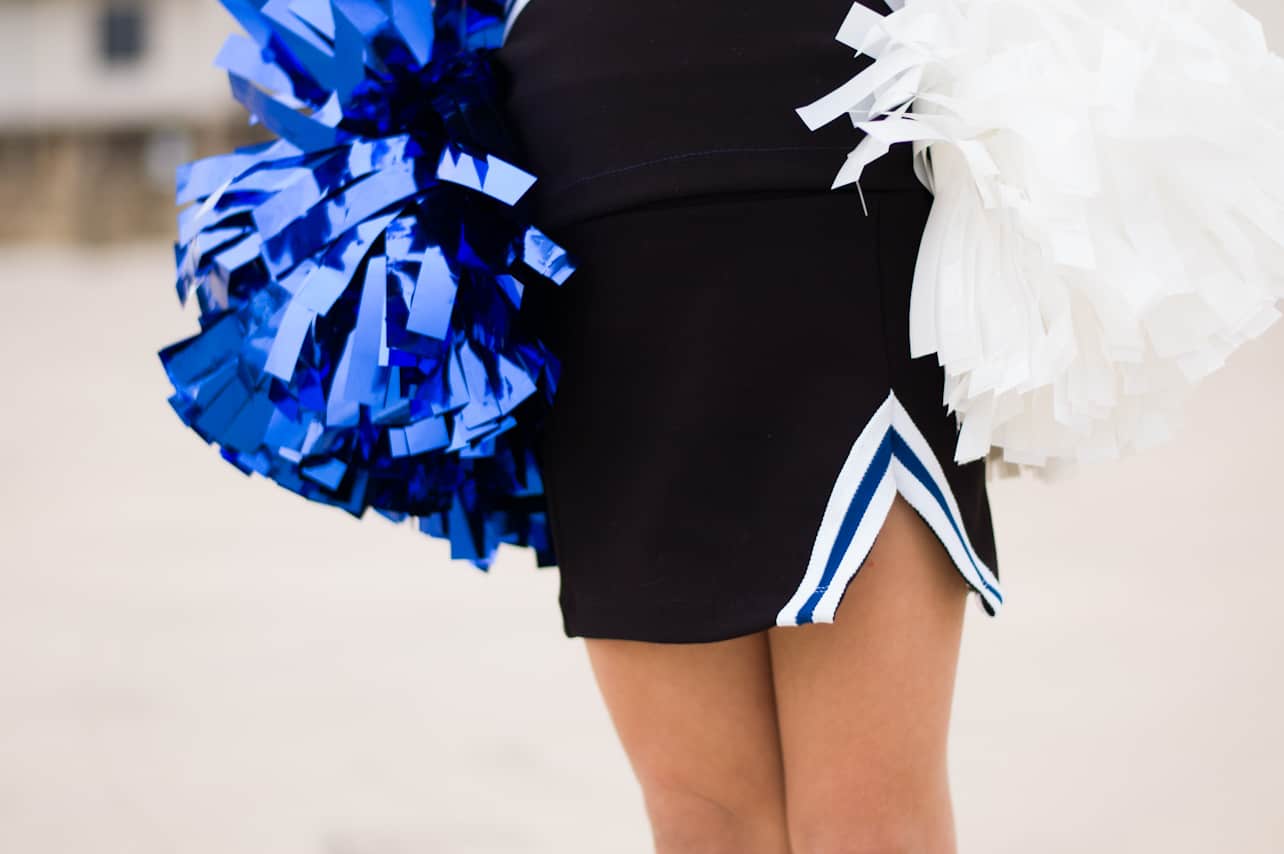
Modified Lucy and Penny Skirt – A Tutorial
Hi it’s Lacey again!! There is something magical about high school football season, isn’t there? The
entire community comes together for pep rallies on the square, everyone is sporting the school colors,
and the little ones are running around in their jersey’s and cheer uniforms, admiring the high
school kids they can’t wait to grow up and be!
Whether your family roots for the local high school team on Friday night, your favorite college
team on Saturday, or pro team on Sunday, this modified Lucy and Penny skirt will help get you
in the spirit to Go! Fight! WIN!!!

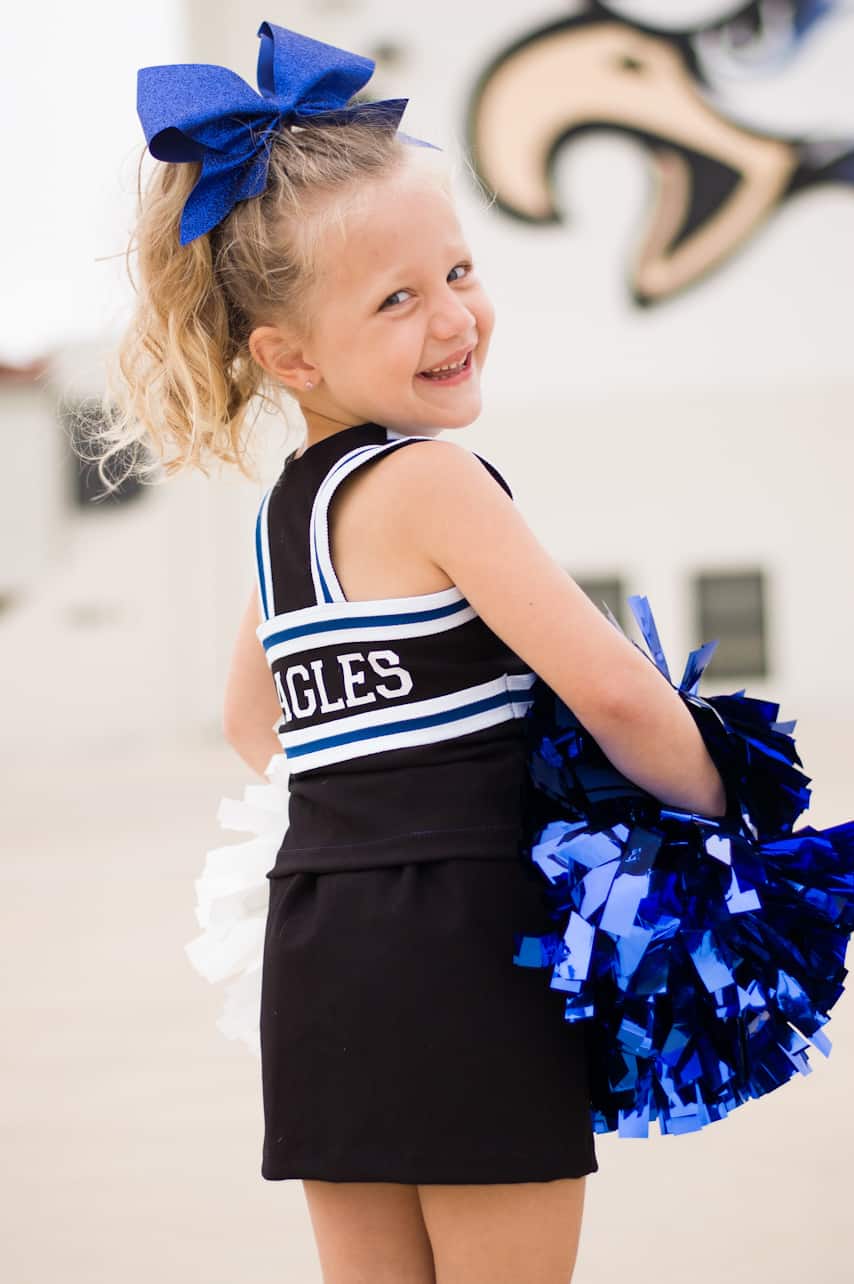
Today, I’m going to walk you through how to modify the Penny mini into a cheer skirt. If you want
to make the Lucy top as well, check out Becca’s blog post here. The only additional
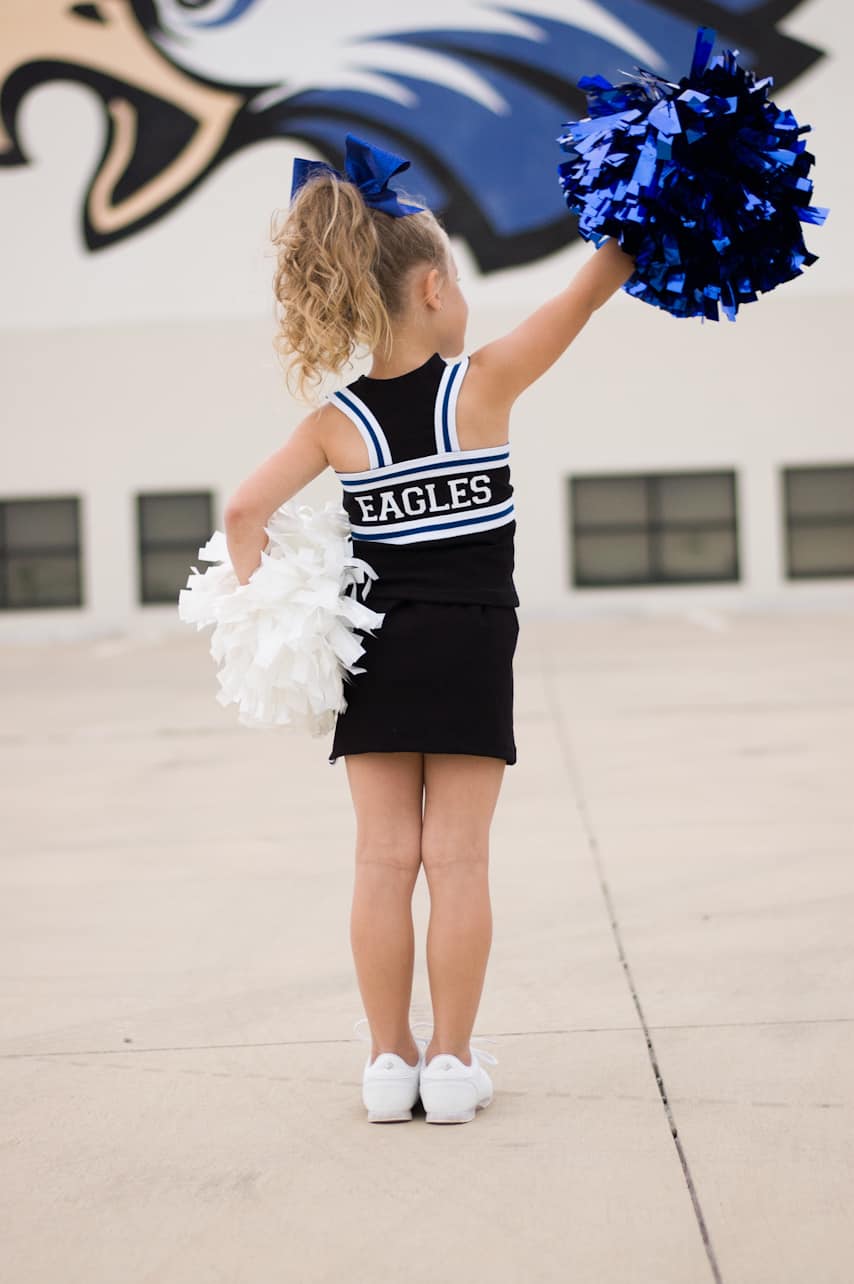
modifications I made were to square off the back, and add trim! For fabric, I found a thicker
polyester knit that had a good weight to it, and 50% 4 way stretch. The trim has 2 way stretch,
and I found on the top it worked best to treat it like a binding, cut at 80% length and stretch it as
I attached to eliminate any waves/gaping. On the skirt, don’t stretch the trim at all.
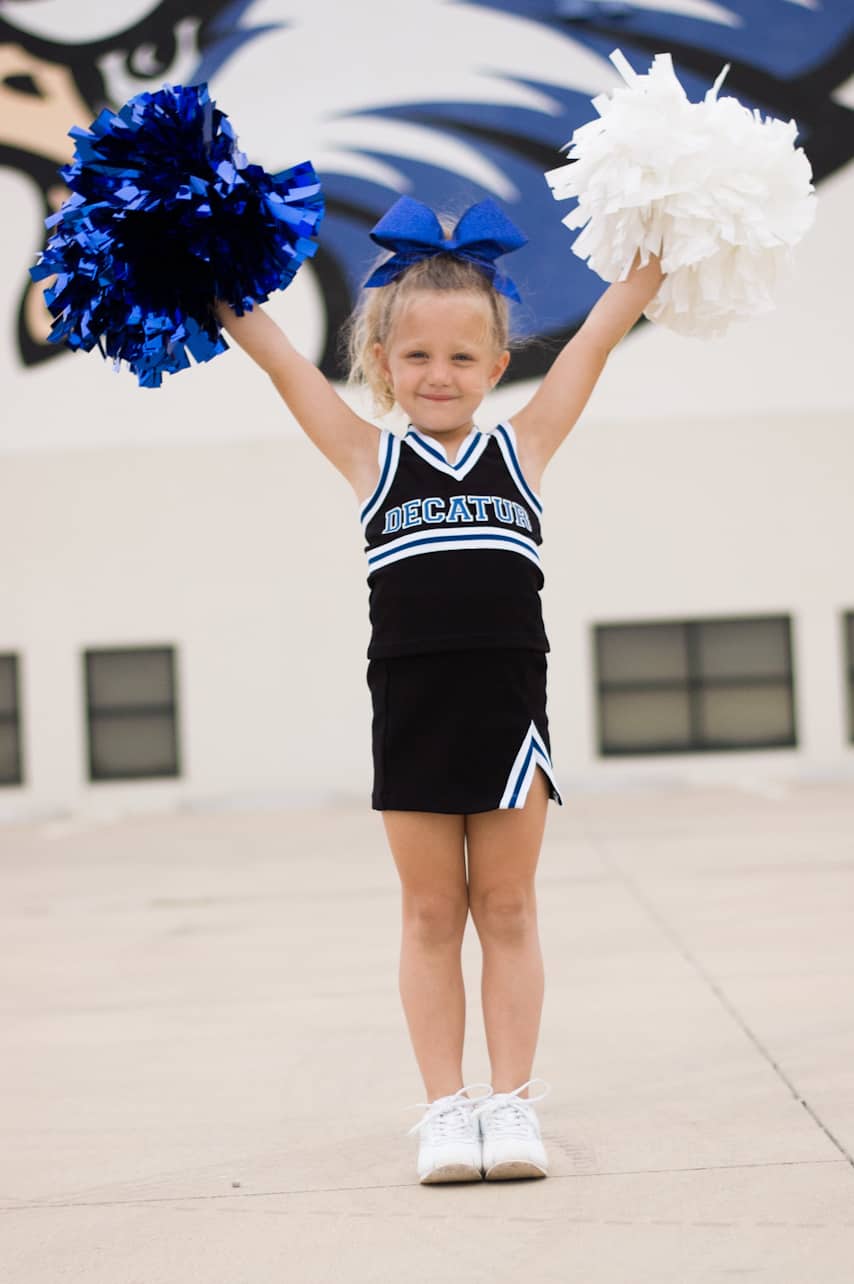
Now, for the Penny, go ahead and cut out your pattern pieces, but before proceeding with step
10, we are going to cut the V on the skirt.
1. Let’s find our measurements. You will need to calculate how wide of a gap you want, divide it
in 1/2 and then add in 1/4 to turn under for the hem. Next, you find how high you want the split
to go, and add in the hem allowance. See chart below:
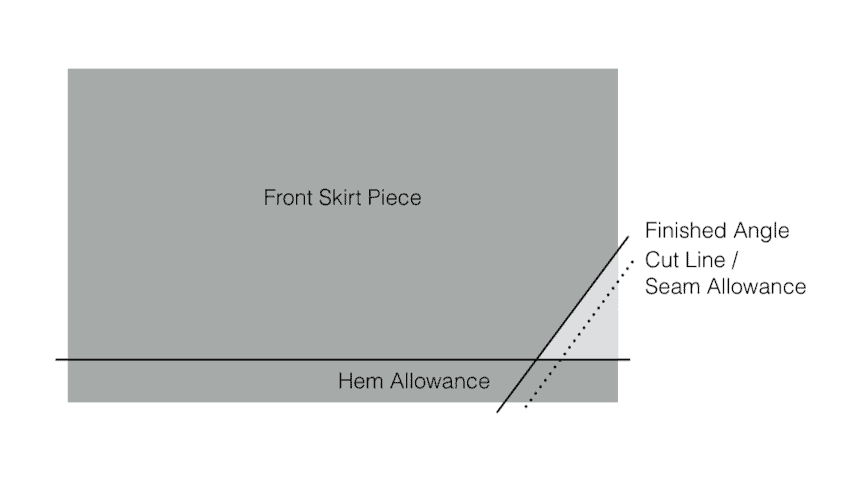
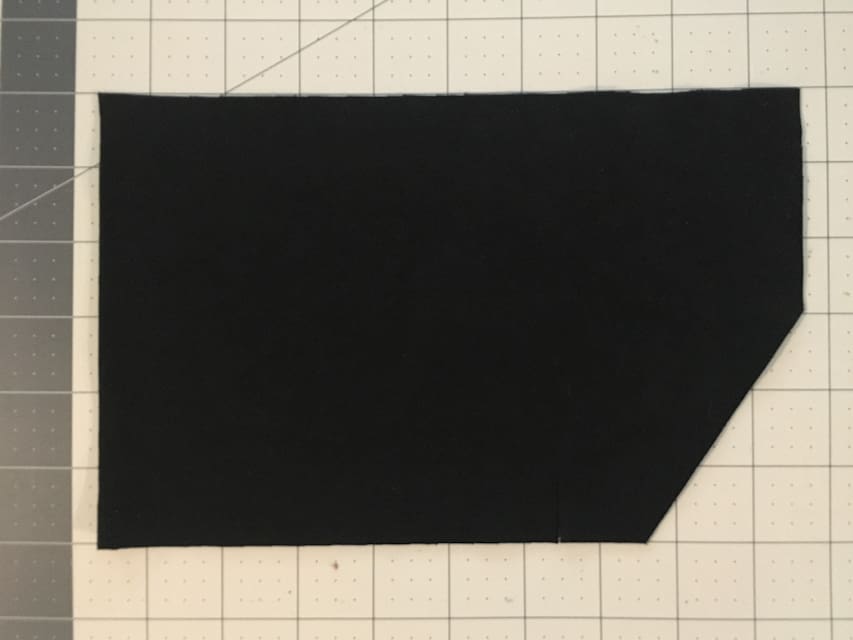
2. Cut the angle from the right front side of the front skirt piece and the left front side of the skirt
back piece.
3. Serge the angled edge, turn up and iron towards the RIGHT side of the skirt. Repeat for the
other side.
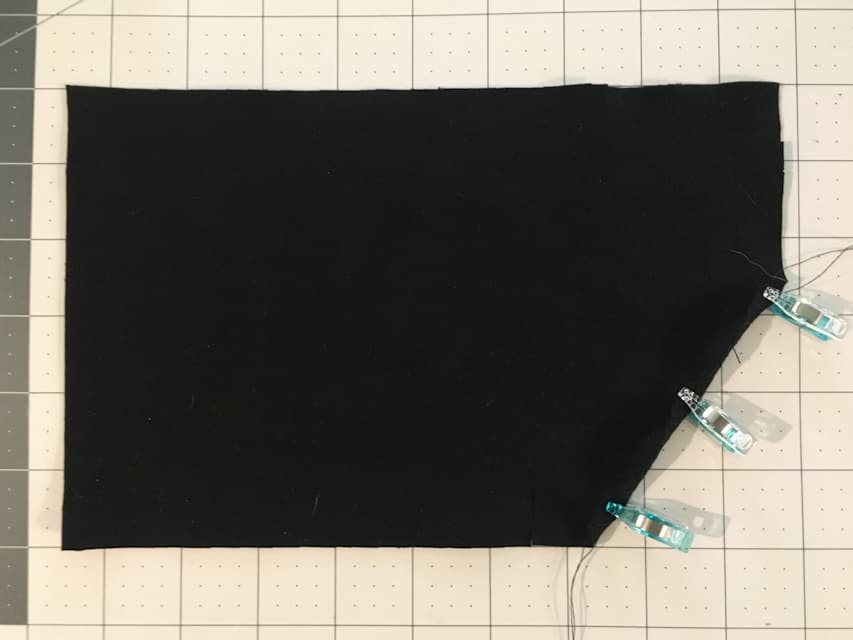
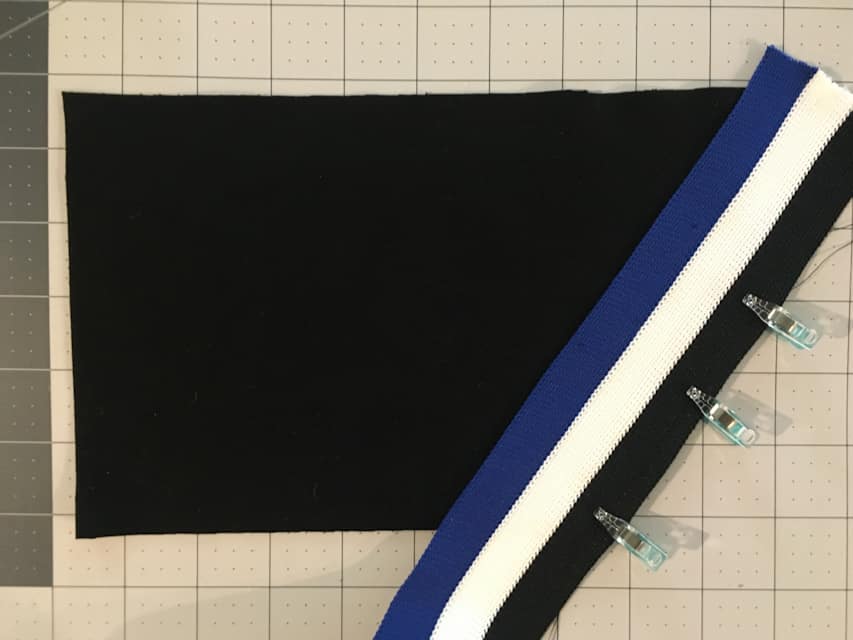
4. Pin your trim to the angle, right along the edge. Make sure the serged edge is turned up and
hidden beneath the trim and sew across the top and bottom edges to attach. Repeat for the
other side.
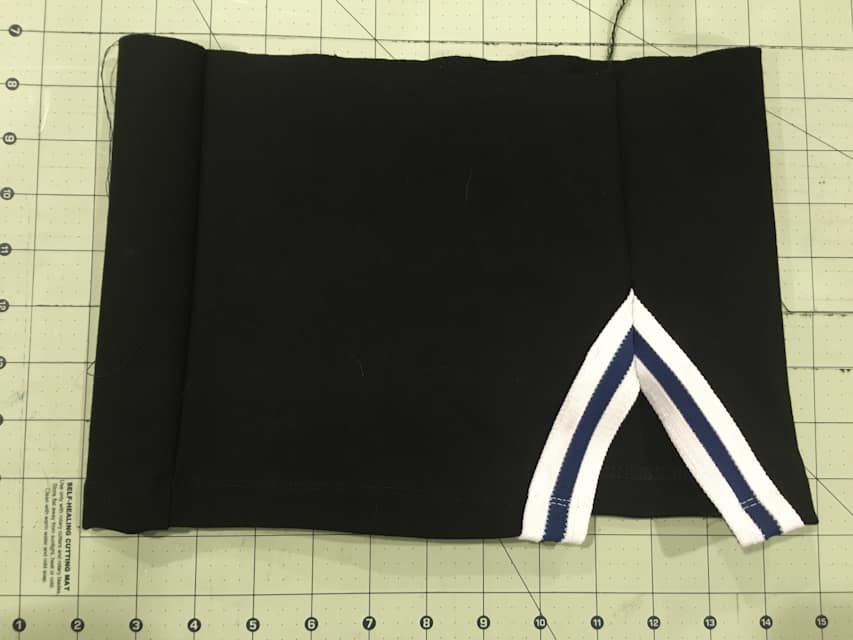
5. Move on to step 10 in the Penny pattern! Below is a pictures of what it should look like once
the skirt pieces are attached to each other.
I hope you guys have great success creating your own custom cheer outfits! Just a small tweak
here, added embroidery and trim there and you have a one of a kind uniform. Have fun, take
risks and I can’t wait to see what all you create!
– Lacey