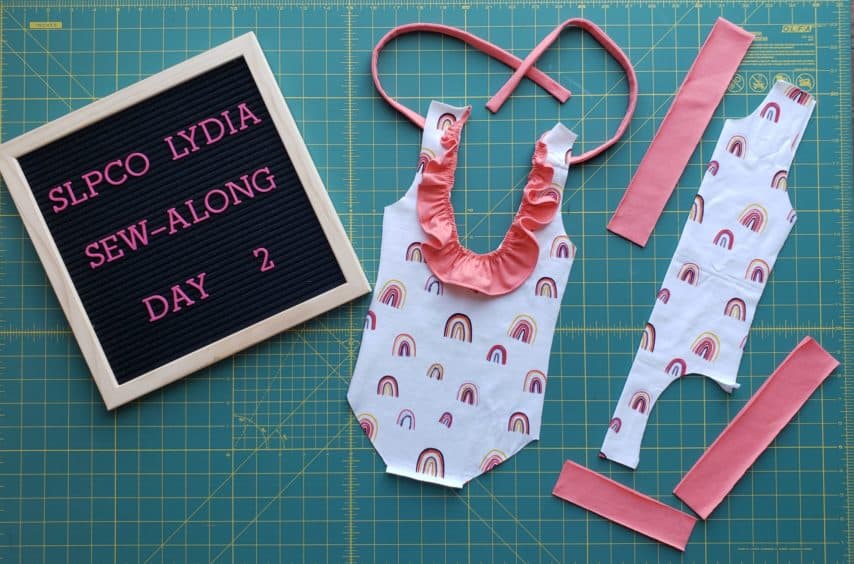
Lydia Sew-Along Day 2
Welcome back for day 2 of the Lydia sew-along! If you are just now joining us you still have time to jump in. Just be sure to check out my post for day 1 to catch up. Thank you so much to those of vou that uploaded your photos yesterday. I’m loving the fabric you all have selected. For day 2 we are cutting out our fabric pieces and attaching the back bodice ruffle. Here we go!

Cutting Your Fabric
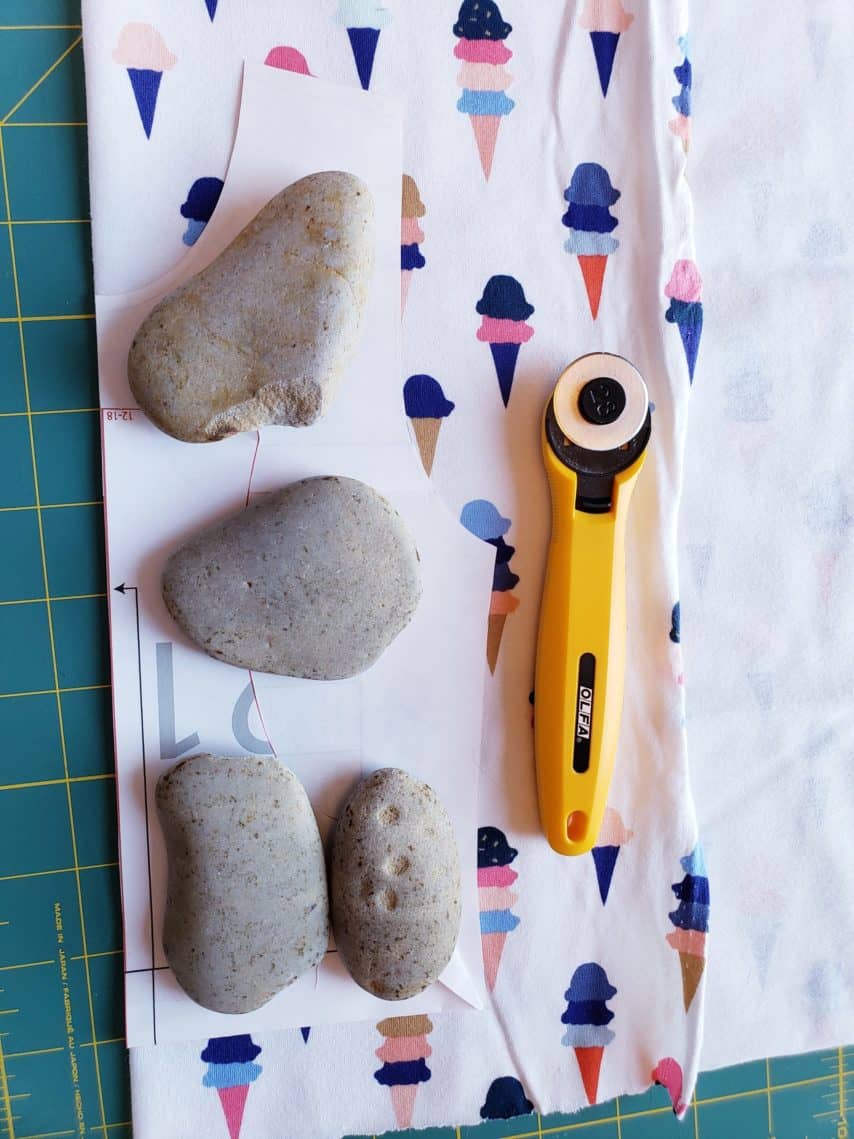
Like I stated during the Isla sew-along I prefer using a large cutting mat, 28mm rotary cutter, and pattern weights when cutting knits. I find that the smaller rotary blade allows me to cut out the baby sizes with more precision. Also, I use pattern weights (aka rocks from Chacely’s treasure collection) to keep the knit fabric from shifting and moving while I’m cutting. Since we are sewing with knit fabrics it is important to pay attention to the direction of your stretch when cutting your fabrics. Make sure you locate the stretch arrows on your pattern pieces. They indicate the direction your fabric should be going. Once you have all of your fabric pieces cut we are going to move along to hemming and attaching the back bodice ruffle.
Back Bodice Ruffle
If you are adding the back bodice ruffle you will notice there are two cut lines on the pattern piece. One is for creating a hemmed ruffle and the other is for leaving a raw edge. You do not need to hem your ruffle since knit fabrics do not fray like woven fabrics. I really like the professional looking finish of a hemmed ruffle.
Hemming knit fabrics can be a real pain in the rear, especially if your knit fabric tends to roll. Once I have my ruffle piece cut out I like to starch and iron it really well. This helps the fabric stay flat while I’m working with it. Using my Clover Hot Ruler and iron, I fold the raw edge over 1/4″ with wrong sides together and press well. Then fold over once more and press again. Now you can hem your ruffle piece 1/8″ from the edge. I will upload a video in the fan group showing how to quickly hem your ruffle.
Next you will sew two rows of gathering stitches along the curved raw edge. If you are new to sewing gathering stitches you will want to lower your tension and use a long stitch length.. When you pull your threads to gather your ruffle, they will slide easier with less chance of breakage.
Find the center of your ruffle and pin it to the back of your bodice with right sides facing up. Gather your ruffle to be the same length of your back bodice neckline. Distribute your gathers evenly along the neckline and pin or clip in place. I prefer using Clover Wonder clips when working with knits. Baste your ruffle to your bodice.

Day 2 Progress
That’s it! You’ve made it through day 2 of the Lydia sew-along. Don’t forget to upload a photo of your daily progress into the Lydia Sew-Along Album in the Facebook fan group. I’ll see you back here tomorrow when we will work on adding the back ties and sleeves.
Happy hemming,
Chauncey