How to Make a French Seam Tutorial
Hi there! I have a quick and easy French Seam tutorial to share with you today. Only yesterday did I buy a serger (I know, what took me so long?) and before that I would use my machine to overlock the edges. This takes forever and never looked as pretty so I started using this technique on my skirts to make them look as beautiful on the inside as the outside.
French seams are a neat and professional way to finish your garment by enclosing the raw edges within the seam. It is best used on lightweight to medium weight fabrics.
I will be using a 3/8” seam allowance for this tutorial since that is what we are mostly used, however you can easily tailor this to any seam allowance. Okay, let’s get started!
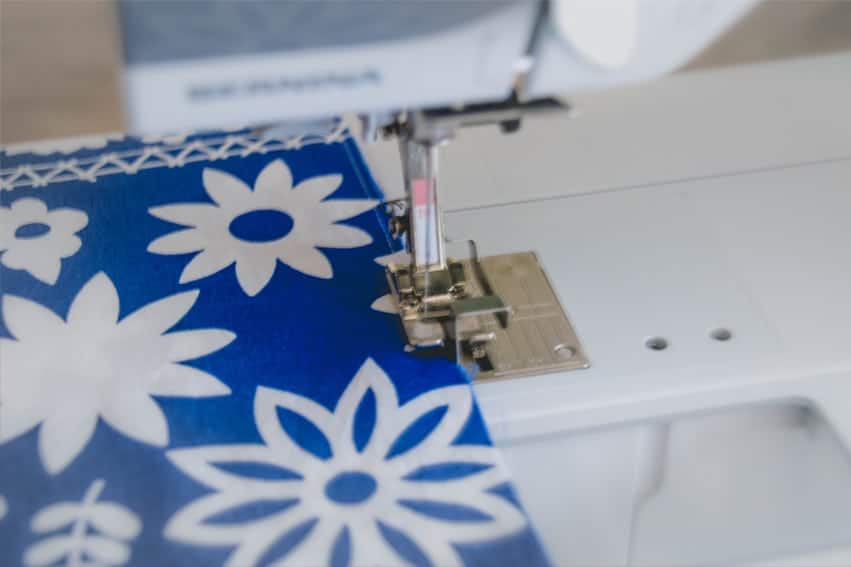
Step 1: Sew the side seams with the wrong sides of the fabric together at 1/8″.

Step 2: Open the seam, right side of the fabric facing up and press the seam open.
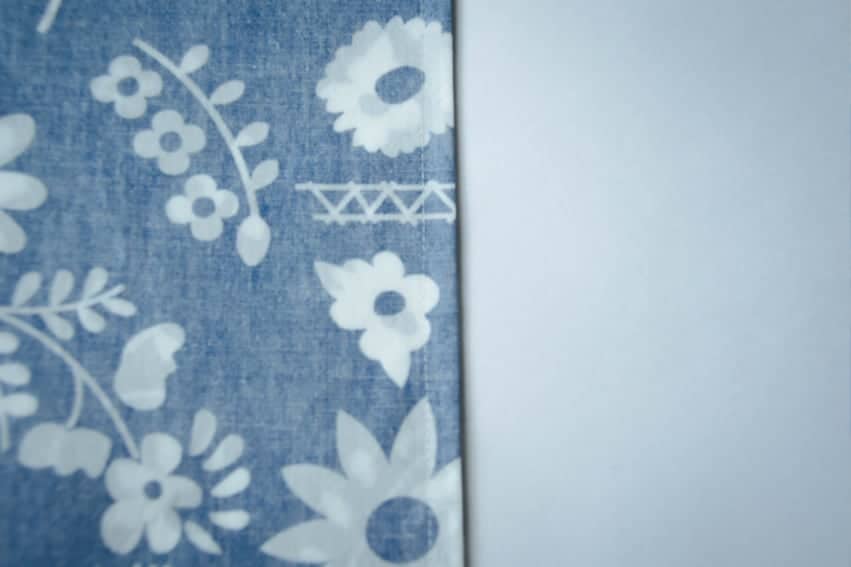
Step 3: Fold the fabric on the seam, right sides together. Press the seam flat with the stitching on the edge of the fold and stitch at 1/4″ seam allowance.
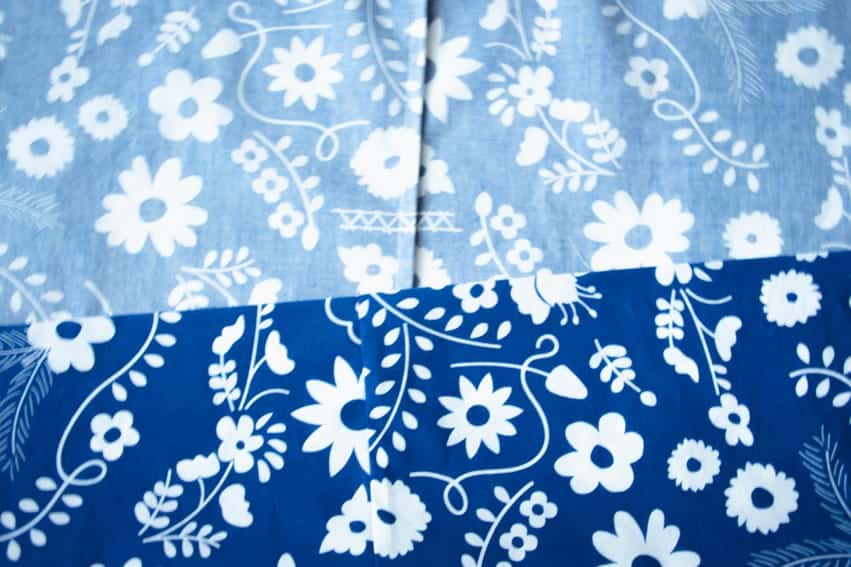
Step 4: Press on the wrong side of the seam, pressing the entire French seam to one side.
Well, there you have it. Now you know how to sew a beautiful and professional looking French seam. I hope you find this tutorial useful.
Happy Sewing!
Xoxo- Becca