Making Potholders with the Cricut Maker – a free pattern
This post was created in partnership with Cricut. All opinions are my own.
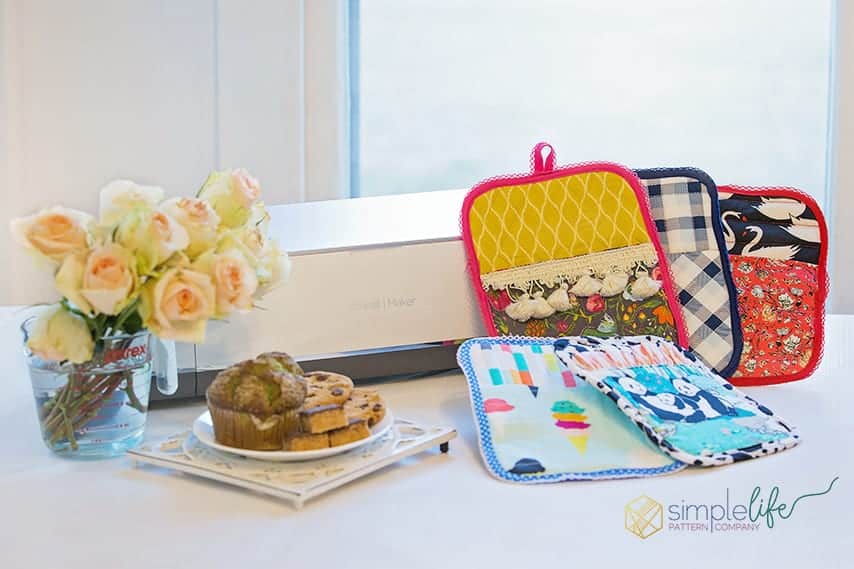
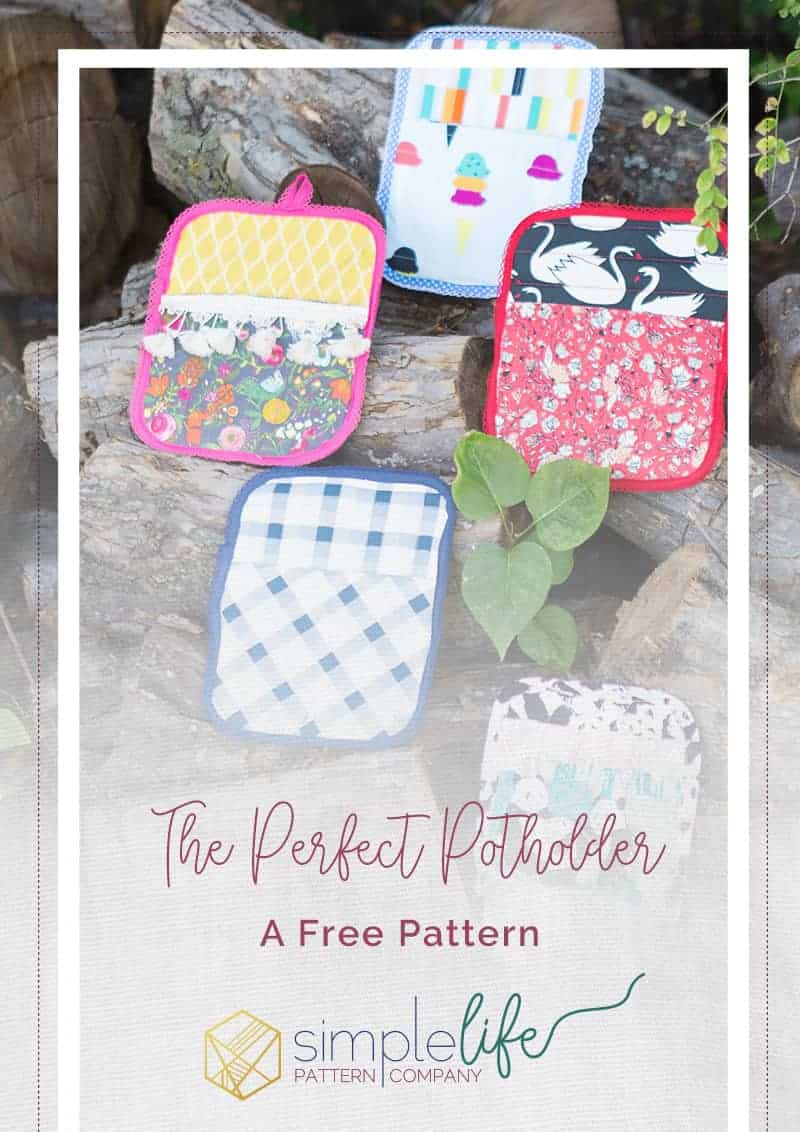
I am so excited to share a free pattern with you today. I have been in desperate need of new pot holders. I can’t even tell you the last time I bought them (actually, I don’t think I bought any of mine! They were given to me or I won them at Christmas events). haha. So needless to say, its time to toss the burned, crusty Christmas themed pot holders away and replace them with super cute handmade ones.
Download your free pattern now
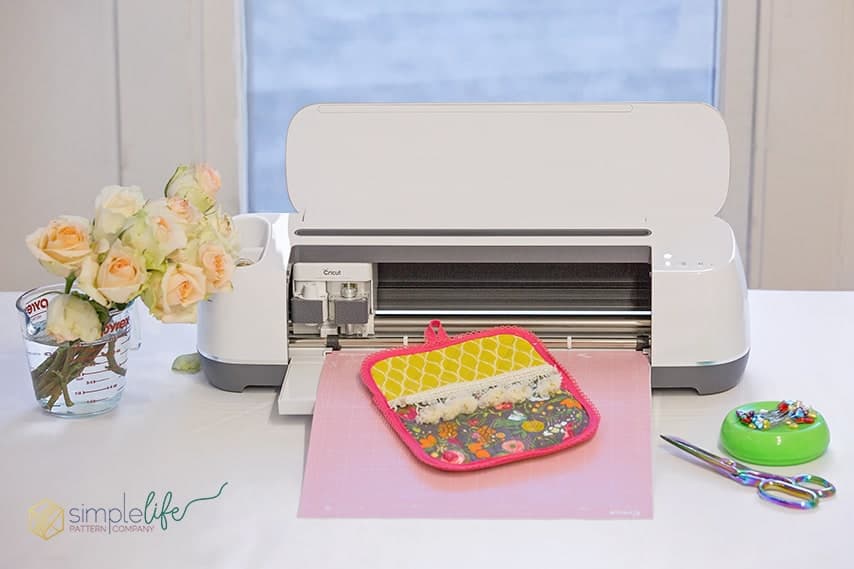
The best part about this project is you can cut the pieces out on your Cricut Maker! I have included a SVG file you can open in design space and have your Maker do all the work. Don’t have a Cricut maker? Thats okay, I have also included a PDF with the pattern pieces that you can print out and cut by hand. You can use one fabric or get fun and pair multiple fabrics together. These make great gifts (house warming, weddings, Christmas). My mom even requested pot holders for her birthday. Why is it that we always need new ones? I blame it on the sweet potatoes at Thanksgiving, getting all that marshmallow goo all over them.
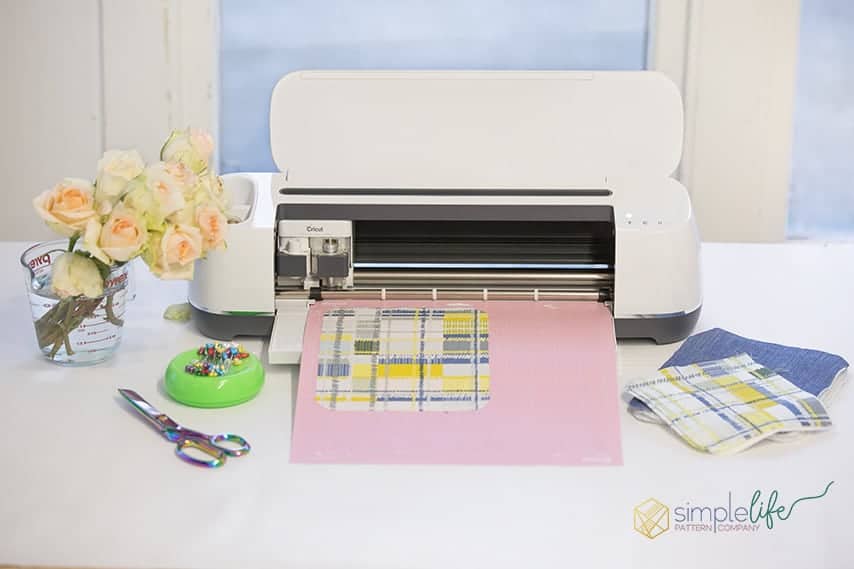
The Cricut Maker comes in REALLY handy when you are making a bunch of these. I load up fabric on a cutting mat and while it is cutting, I sew up other parts of my projects. That way I am not wasting any time cutting, and the best part is that it will be cut accurately and everything will match up perfectly, which is such an awesome feeling. The Cricut Maker spoiled me with precision so when I went to sew my hand cut potholders, oh lordy! Nothing matched up and they were all different sizes! I couldn’t believe I was that sloppy (haha)! I wasn’t in a hurry or anything but it just shows how human error makes a difference, and that precisely cut fabric really does make sewing more enjoyable.
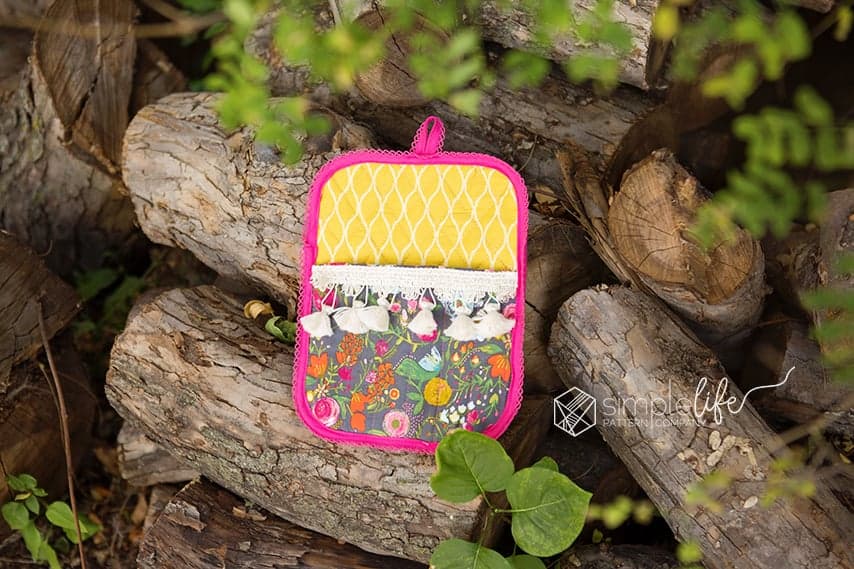
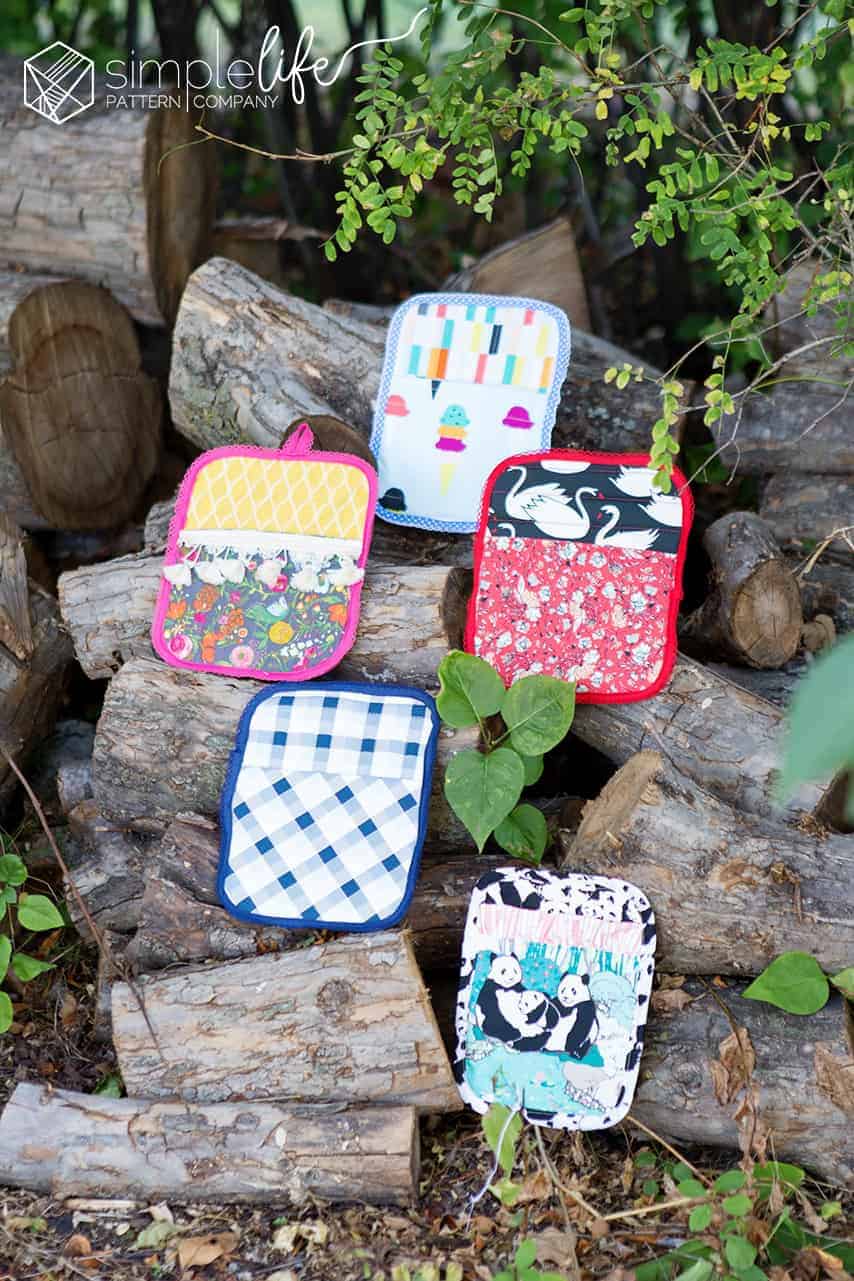
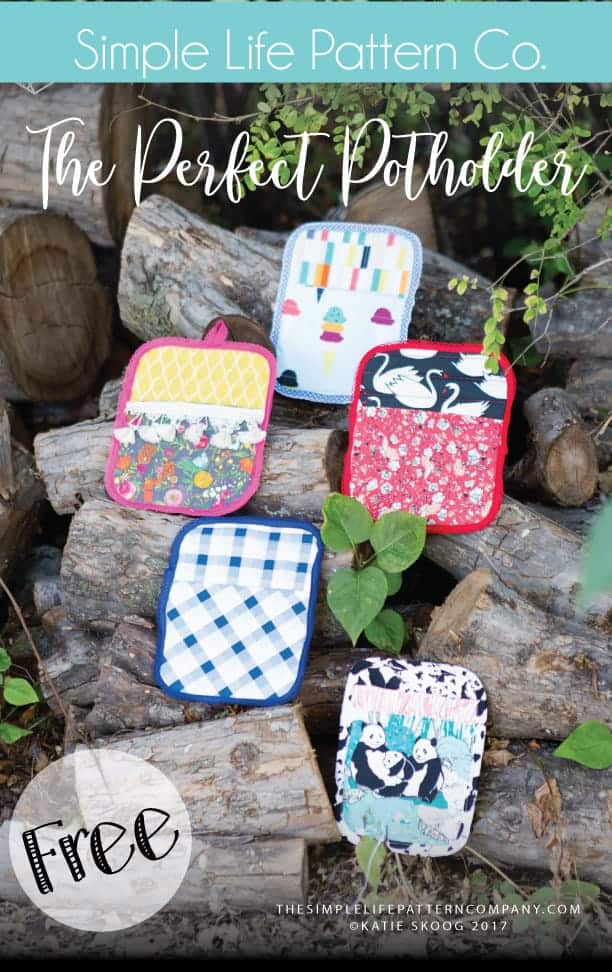
I find it best to make a bunch of these at a time. I even included my husband in on the fabrics and he chose a handsome blue plaid for “his” pot holder. There are a few different options you can do with this pattern. You can do a simple one with no hand pocket. You can add the hand pocket and there is also a ruffle option (my fave). If you are cutting on your Cricut Maker, you can use a 12″ x 24″ fabric grip mat and cut out multiple pot holders. Its fun to pick about 4 fabrics that coordinate so you can cut multiples of each piece and mix and match them around.
(now if only it came off the cutting mat like that huh!!! ^)
Okay – lets get to the fun stuff! Here is a list of materials that you will need. I have included affiliate links to the products that I used.
Potholder pattern!!!! download the pattern pieces / SVG file here for FREE. Please note, the link to the SVG file is in the pattern on page 3. My site doesn’t support SVG files so that link will take you to the dropbox folder. Sorry for any inconvenience).
I have attached links above for your convenience. These are affiliate links, however, they are all things that I use and really do love these products. For the fabric, you will need 2-4 Fat quarters or large scraps, whatever you have laying around. Insulbright is a reflective batting used for insulating pot holders and lunch boxes. I recommend using 2 pieces of it in the pot holders. For the batting, I use The Warm Company batting, warm and white or warm and natural, whatever I have nearby. The bias tape can be purchased or you can make your own using this BLOG POST on bias tape. Its fun to have a coordinating bias tape to tie it all together. You need a few safety pins to hold your quilt sandwich together while quilting. A high quality thread such as Aurifil 50 wt. for quilting the pot holders. If you want to draw your quilt lines onto your pot holders, you will need a water or heat erasable pen. I HIGHLY recommend all sewists have a frixion pen in their essentials kit.
Lets get started!
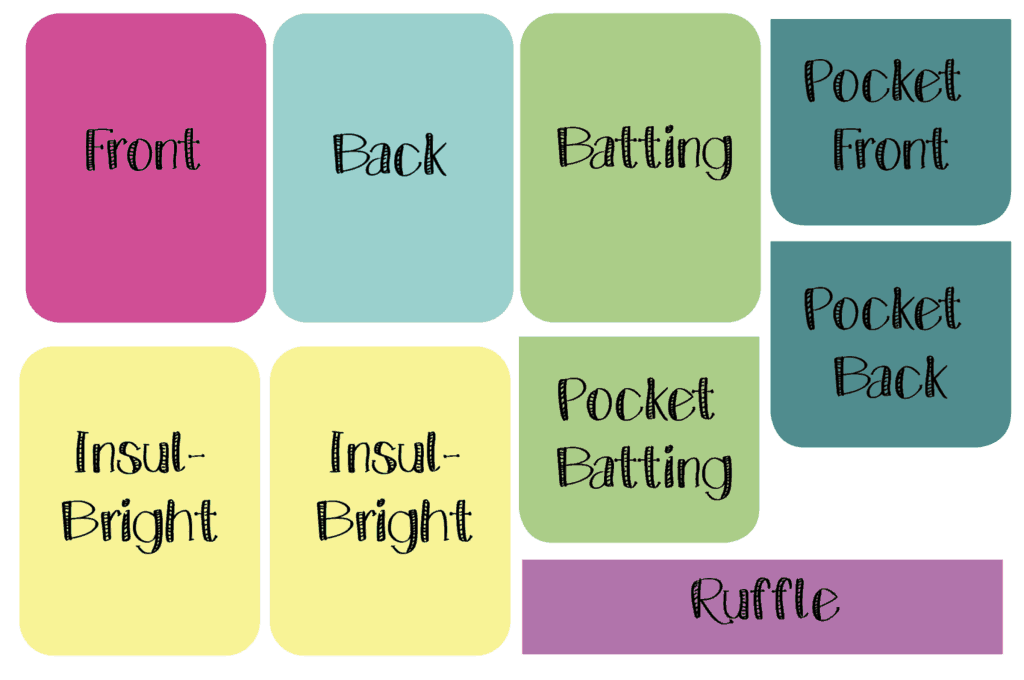
Open the SVG file in design space. (There is a link in the pattern you downloaded – on page 2 that will take you to the SVG. My site doesn’t support that file, sorry) Prep your fabric grip mat with fabric. Go on to cutting out a Front, Back, Pocket Front, Pocket Back and ruffle. If you are not adding the pocket or ruffle, Click the eye in Design Space to turn that cut off. I also have a layer in there to cut your batting and Insulbright. I recommend adding 2 layers of insulbright to your pot holders, but 1 will work too.
If you are using the PDF version, print your pattern pieces out (2 pages). Go on to cutting out a Front, Back, Pocket Front, Pocket Back, ruffle, 1-2 layers of Insulbright and 1 layer of batting.
The Perfect Potholder
Seam allowances are 3/8″
Step 1: Here comes the fun part! Lay your backing with the wrong side up. Now place your 1-2 layers of Insulbright on it next (there is no wrong/right side). Next, place your batting over the Insulbright. Take your front piece and place it on all those layers, right side up.
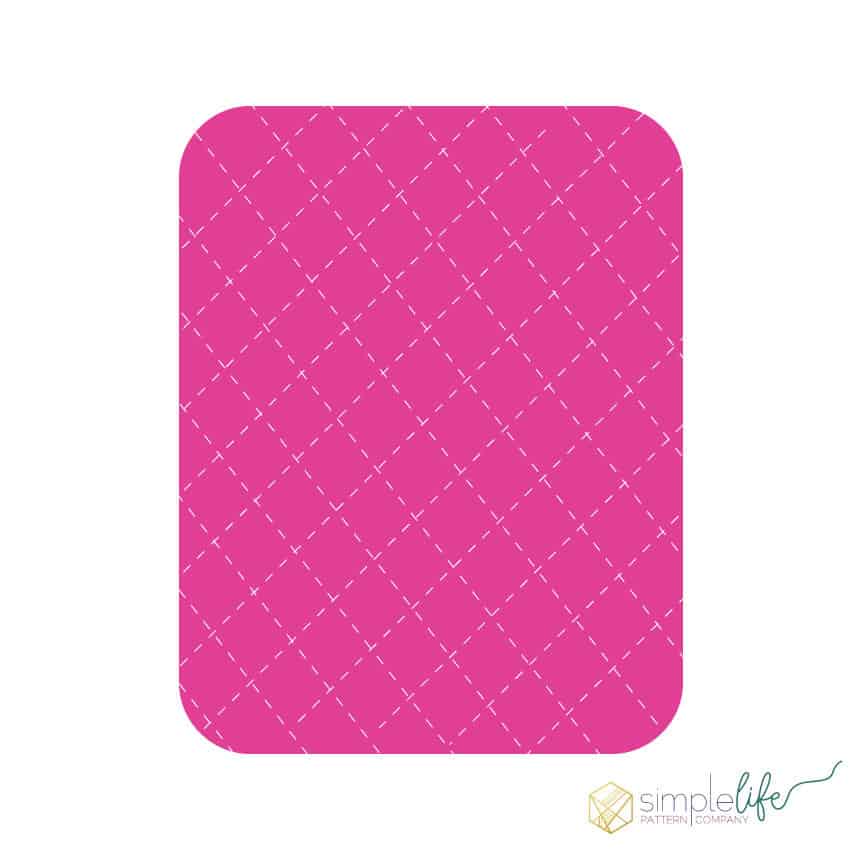
Step 2: Using your safety pins, pin the layers in place in a few spots. Quilt your layers together using any design you want. TIP: with the amount of layers, you do not want to over quilt this – nothing too dense. Use a design that has a lot of space in between, such as 1″ lines or a large meandering. You can use a water or heat erasable pen to mark your quilting lines.
If you are adding the pocket, then continue below. If you are not adding a pocket, then skip to step 9.
Step 3: Lay your pocket batting flat. Take your front pocket pocket piece and lay it on top, right side up.
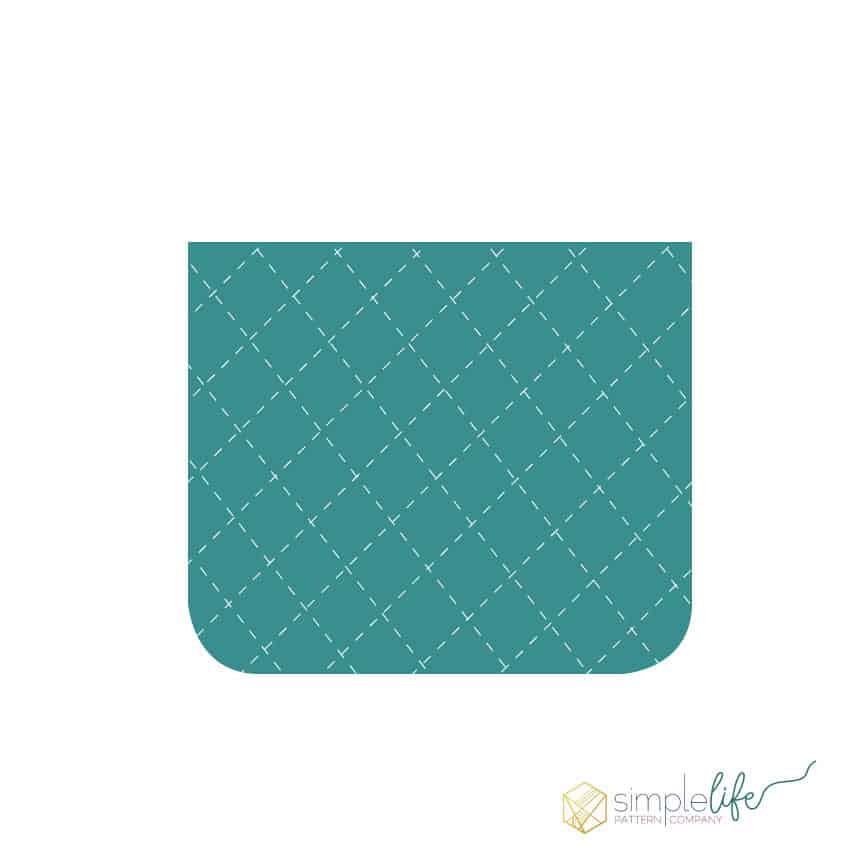
Step 4: Safety pin the pieces together and quilt the 2 pieces together like you did in step 2.
If you are adding the pocket with a ruffle, continue below. If you are not adding the ruffle, then skip to step 7 .
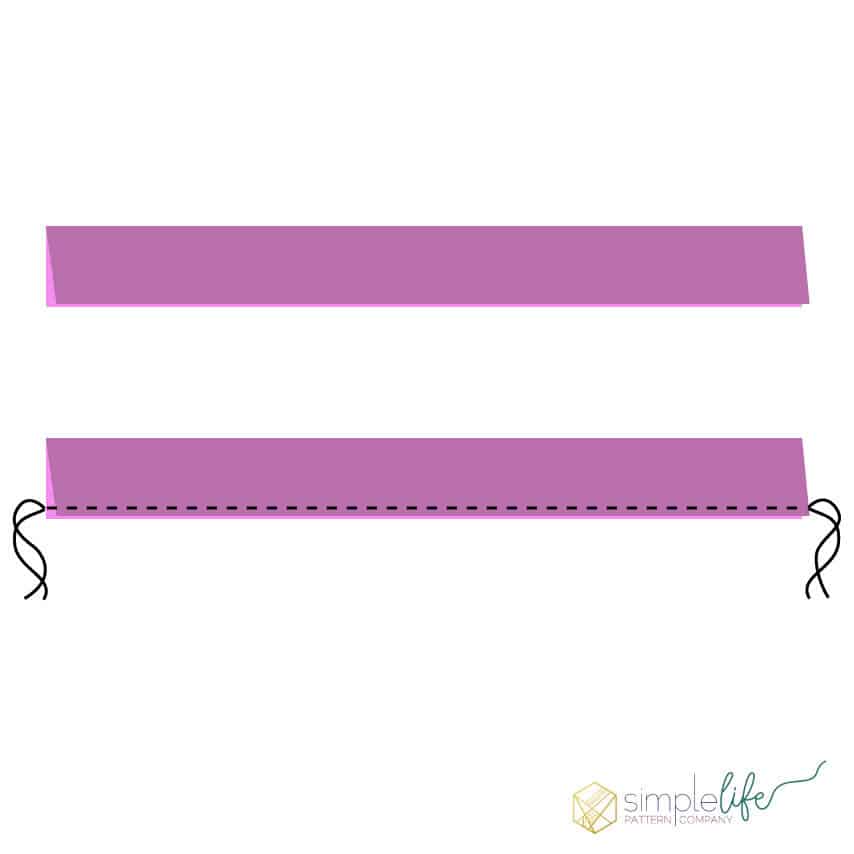
Step 5: Take your ruffle and fold it in half lengthwise, wrong sides together and press. Do a gathering stitch along the raw edges (through both layers).
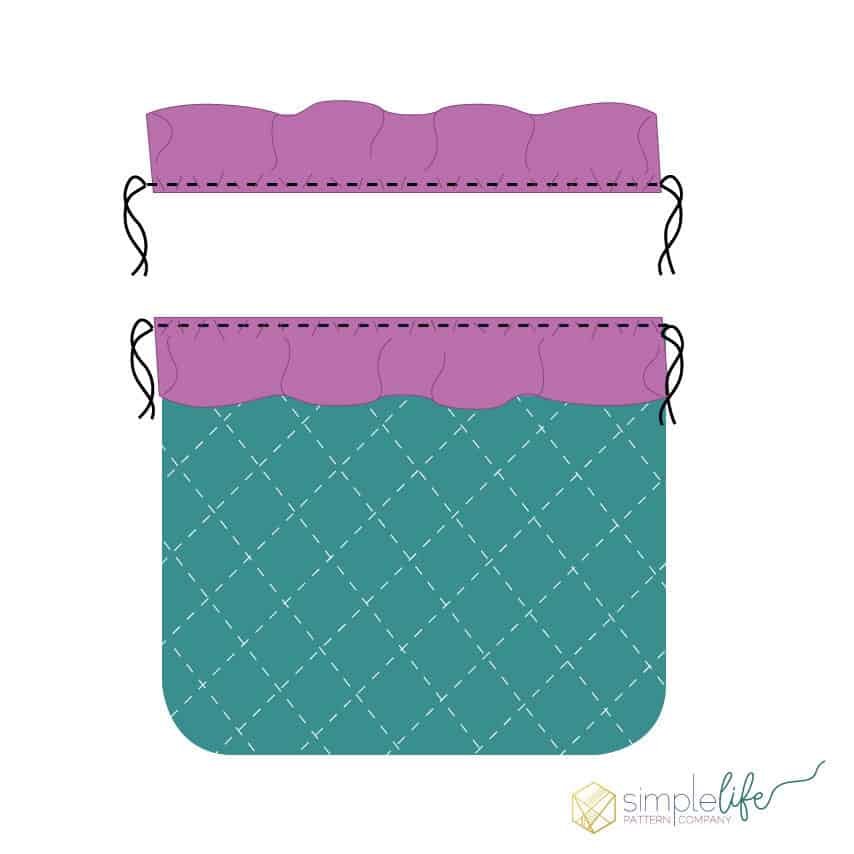
Step 6: Adjust your gathers so it is the same width as your pocket top. Pin your gathered ruffle to the front pocket piece.
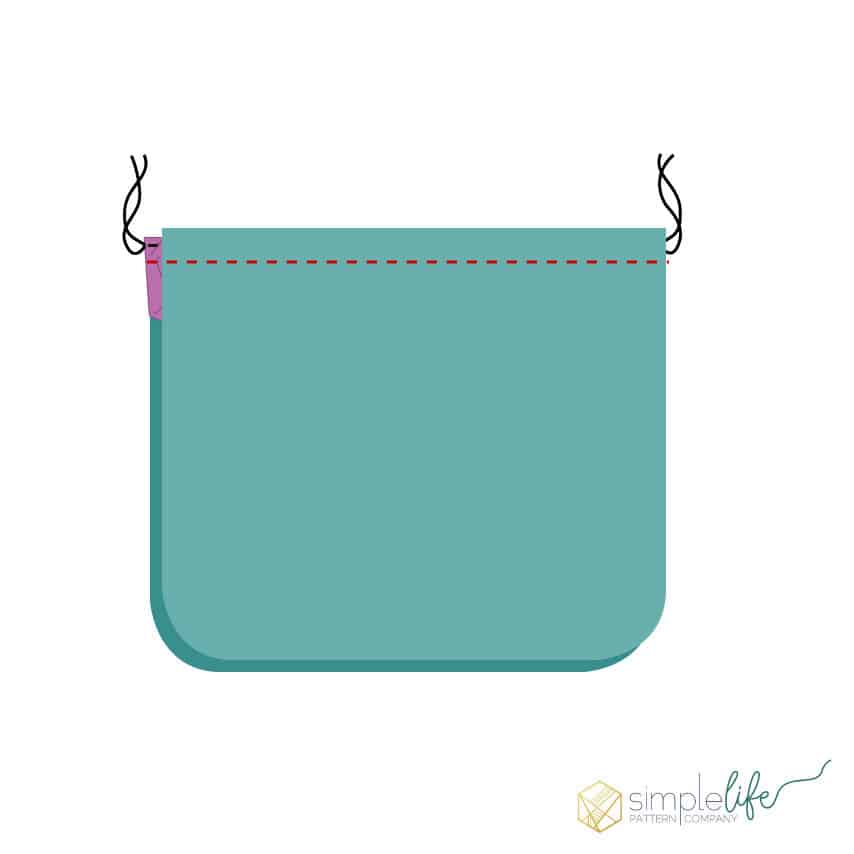
Step 7: Take your back pocket piece and lay it on top of the front hand pocket piece, right sides together. Sew across the top.
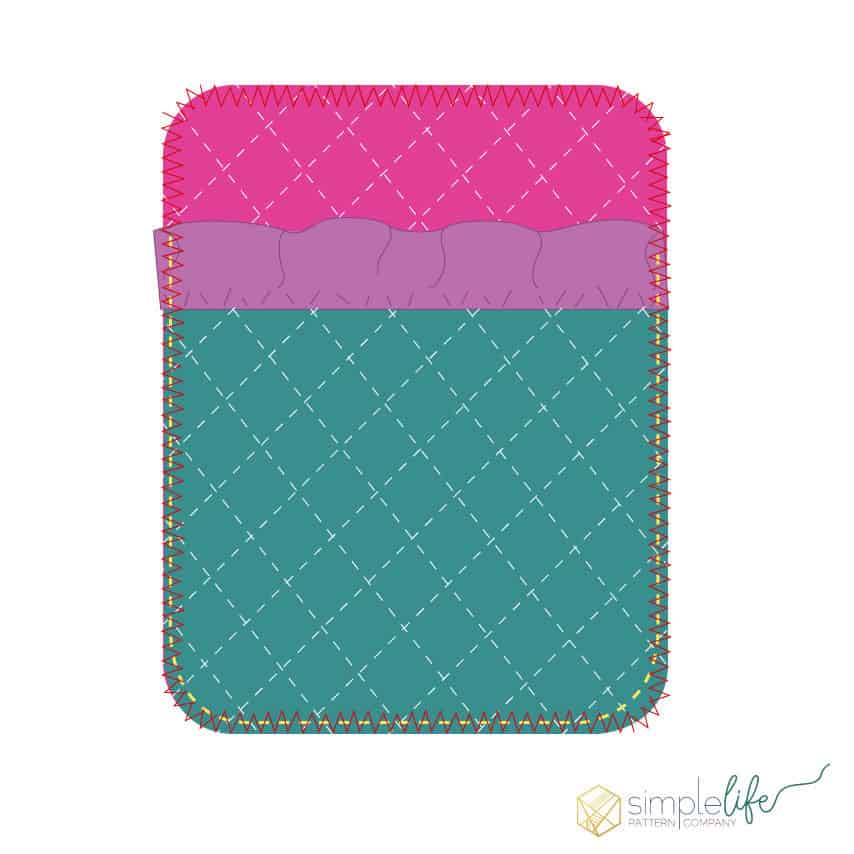
Step 8: Align your pocket piece to the bottom of your front potholder piece. Baste the sides and bottom in place.
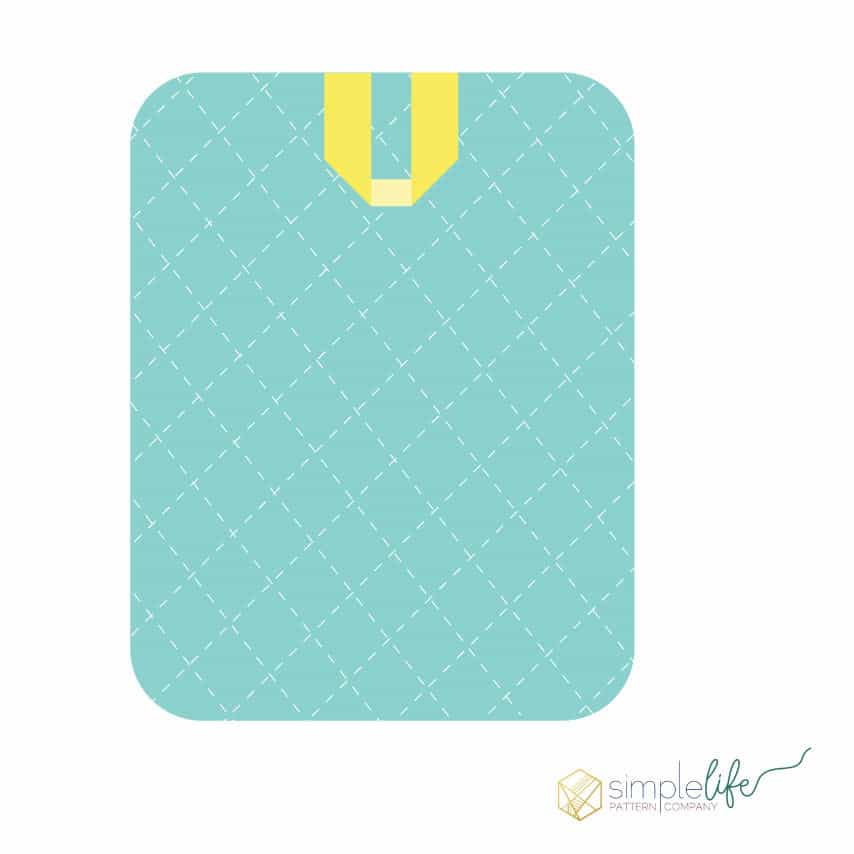
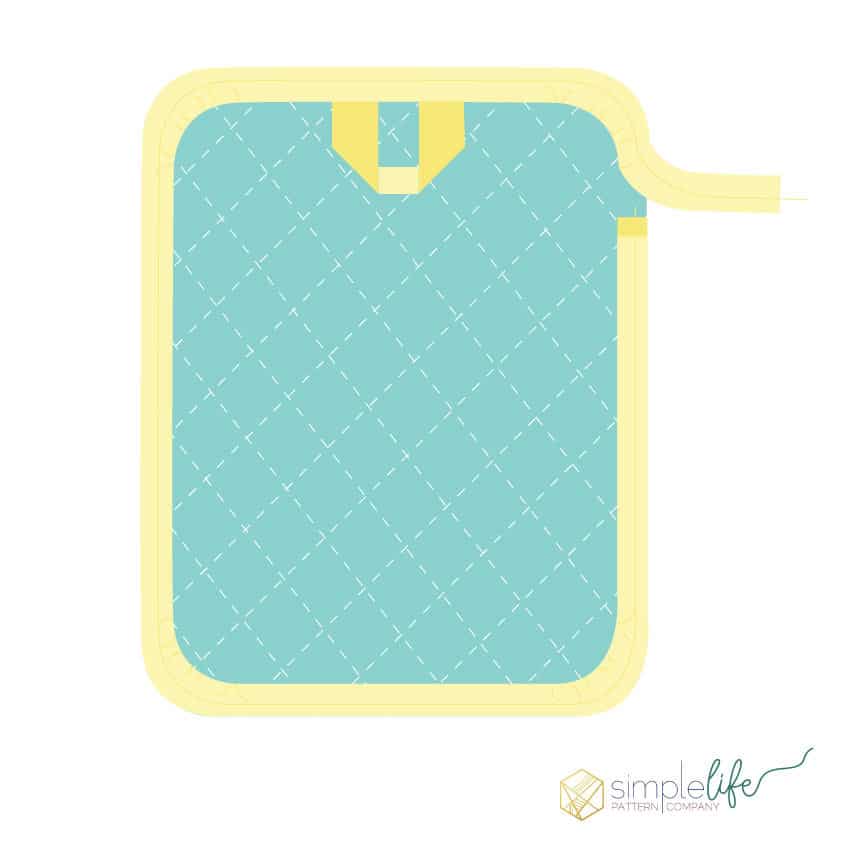
Step 9: Take a 4″ piece of bias tape and fold it in half. Place it on the top center back of your potholder. Baste in place. This will be the holder.
Step 10: You can zig zag stitch along the raw edges of your potholder. This will help with applying the bias tape.
Step 11: Take your bias tape and open it up. Fold the short edge in 1/2″ and press. Starting on the right side of the BACK of the potholder, pin your bias tape in place. Pin all the way around to where you started. You can trim your bias tape, leaving about 2″ extra for security. You will sew near the fold line closest to the edge. You will want to sew just a scant closer to the edge. Starting at the beginning of your binding, sew the binding in place. When you get towards the end, overlap the binding by about 1/2″ and finish sewing in place. Trim any excess off.
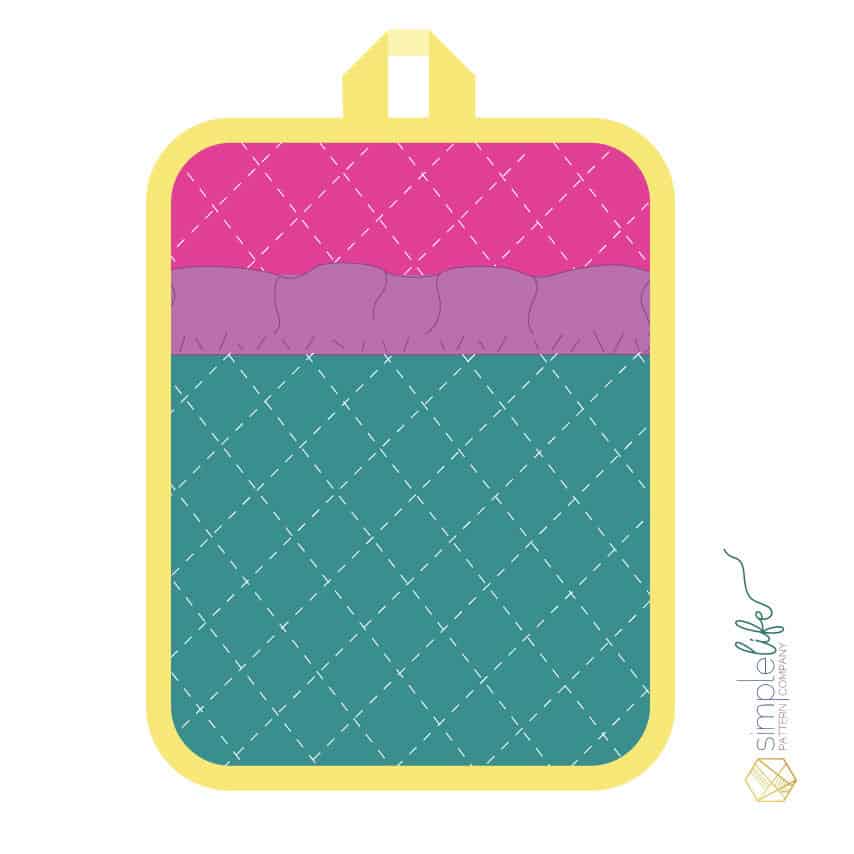
Step 12: Take your binding and flip it towards the front of your pot holder. Begin pinning it in place. Be sure your binding is covering your stitching. You may have to stretch it in place in some thicker areas. Flip your holder piece up and pin in place. Sew the binding down 1/8″ from the edge.
You are done! Now you have a gorgeous new potholder. Be careful, they are addicting!
Happy Sewing,
Katie Skoog
#SewWithCricut #CricutMade #CricutMaker #Cricut #Ad
This is a sponsored conversation written by me on behalf of Cricut. The opinions and text are all mine.


