Paperless Sewing: How You Can Skip The Paper And Tape With A Projector
Hello friends, and welcome to the new age of paperless sewing!
Long gone are the days of printing, taping, cutting, and storing our PDF patterns. Would you believe me if I told you that you could skip it all together, and get right to cutting your fabric and sewing?
Well, my friend, sit down and buckle up because I am about to take you for a wild ride!
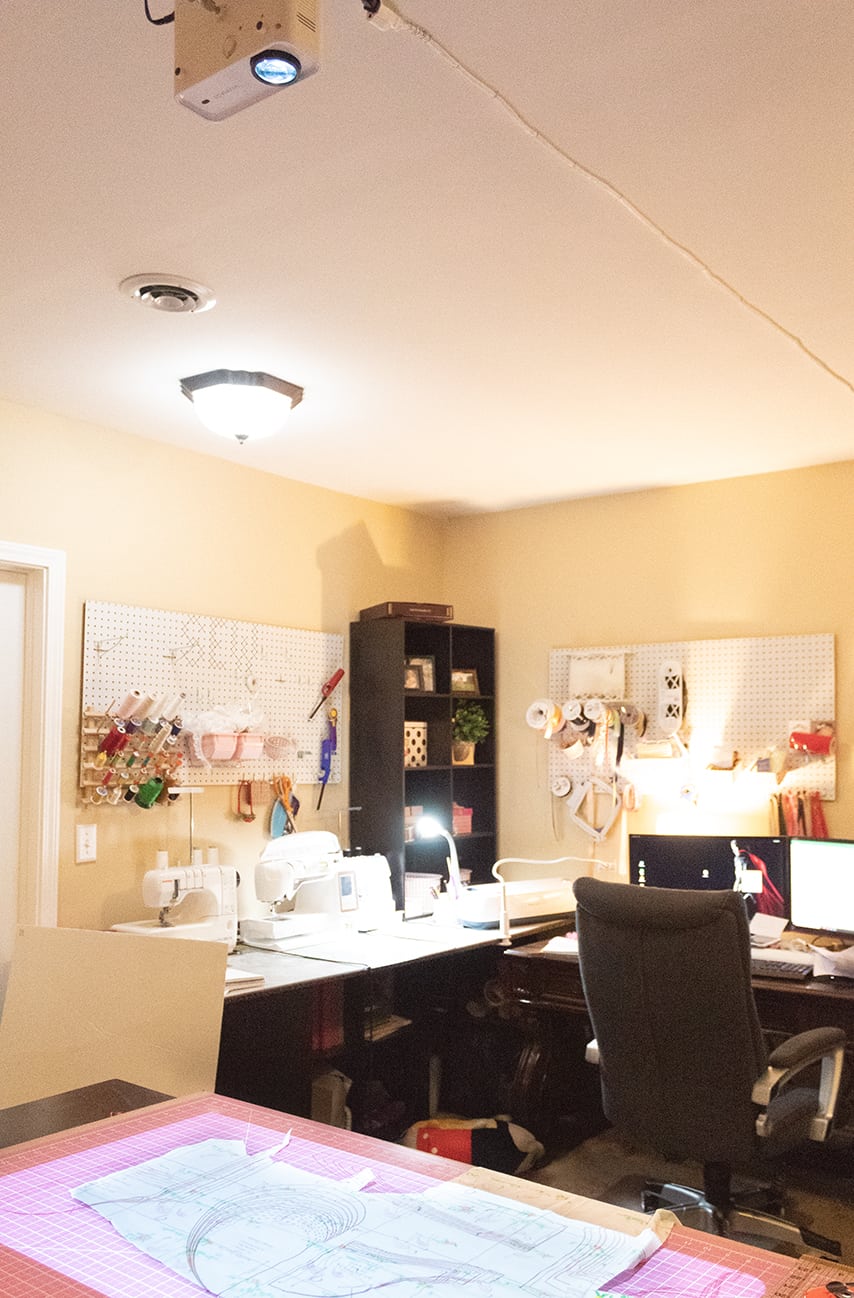
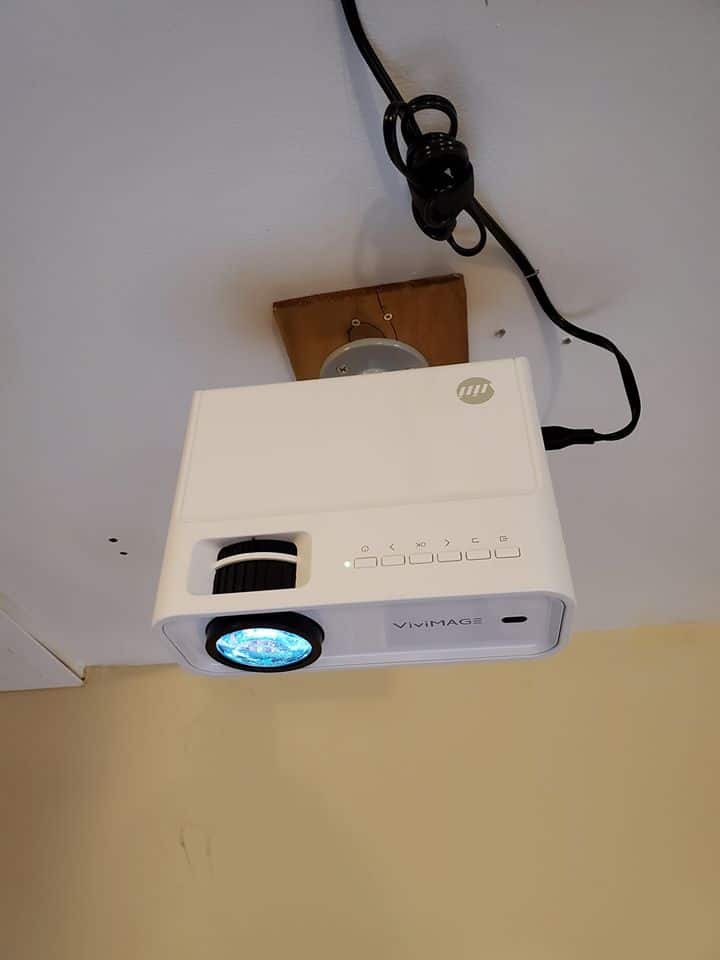
My projector setup. I have 65″ from cutting table to ceiling. Projector used is the Vivimage Explore 2 and the mount I used can be found here
Paperless Sewing
I first discovered paperless sewing via Facebook. In fact, there is an amazing group on Facebook dedicated solely to projectors for sewing! You can find it here. If you are at all interested in using a projector for sewing, I highly recommend you join that group as there is a HUGE wealth of knowledge in there.
One of the first things you need to consider when moving towards paperless sewing is where you will be cutting and how much space you have in that spot. For example, I have a dedicated table that I cut on and I have no other places to move it so my projector needed to be installed directly above it. From ceiling to cutting table surface, my distance is 65″. This is what you will see referred to as “throw”.
Some projectors can give a larger projection area with a shorter throw so you want to pay attention to that when choosing your model. I chose the Vivimage Explore 2 specifically for the larger projection area with a shorter throw.
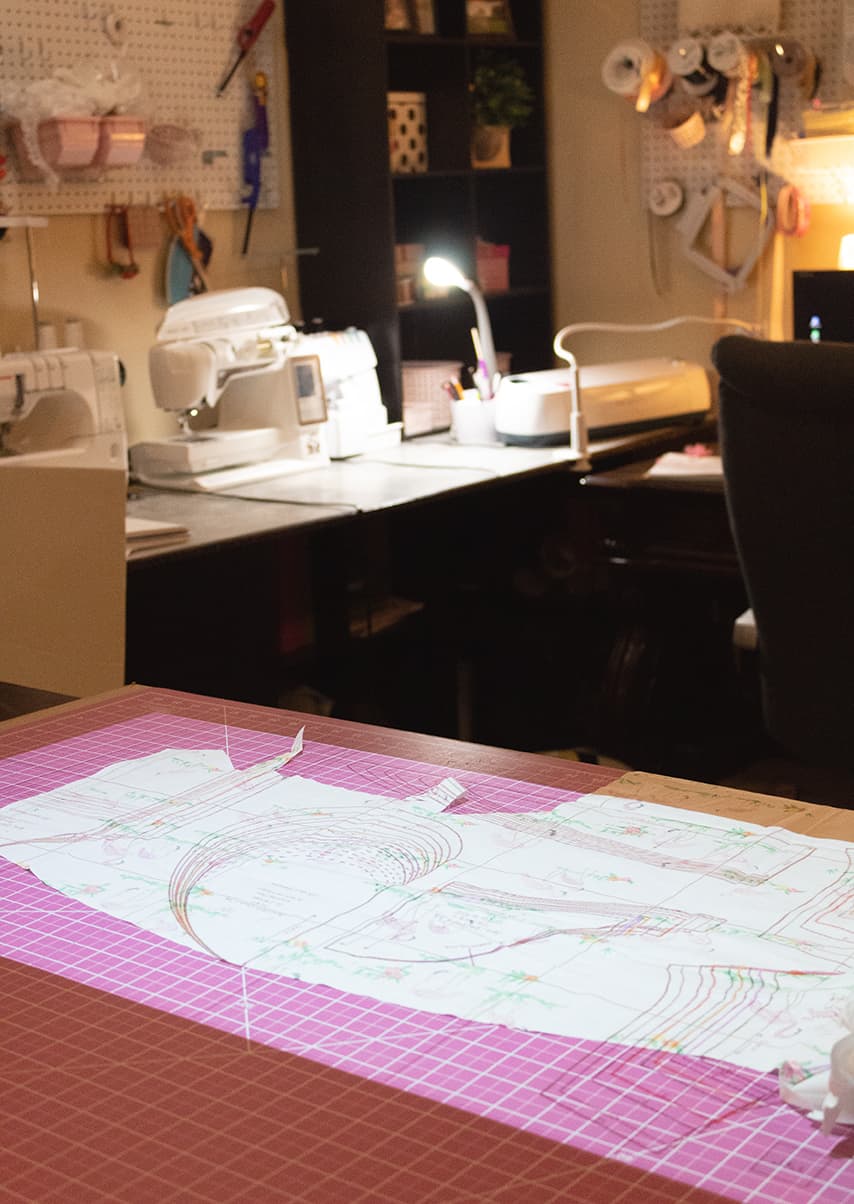
The next thing to consider is how bright or dark your space is. I personally sew in my basement so while I have some overhead lights and a few table lamps, I have very little natural light. As you can see in the photo above, my projection is nice and bright even with the overhead lights on.
If your sewing space is bright, with lots of natural light you’ll want to look at a projector that’s nice and bright. There are quite a few recommendations based on lighting in the Projectors for Sewing group on Facebook.
Third, you will need to determine how you will be connecting to your projector. Will you be connecting via WiFi? If so, you need to purchase a projector that has WiFi. Will you be connecting via Chromecast? HDMI Cable? Or even Miracast?
My projector has Miracast so I am able to connect my PC to my projector via Miracast.
Paperless Sewing: I have my projector, now what?
Once you have your projector mounted you will need to make sure it is level (also double check that your table is level). Once everything is level it’s now time to calibrate!
Calibrating and leveling your projector is the most important step in this whole process. If your settings are off, you will end up with garments that do not fit the way they’re intended.
In order to calibrate, I HIGHLY recommend you grab the calibration grid in the files section of the Projectors for Sewing group. Using this ensures that your image is projecting properly across the entire projection area. For example, your 1″ square could be lined up in the center, but completely distorted along the outer edges. See my image below for a demonstration of this:
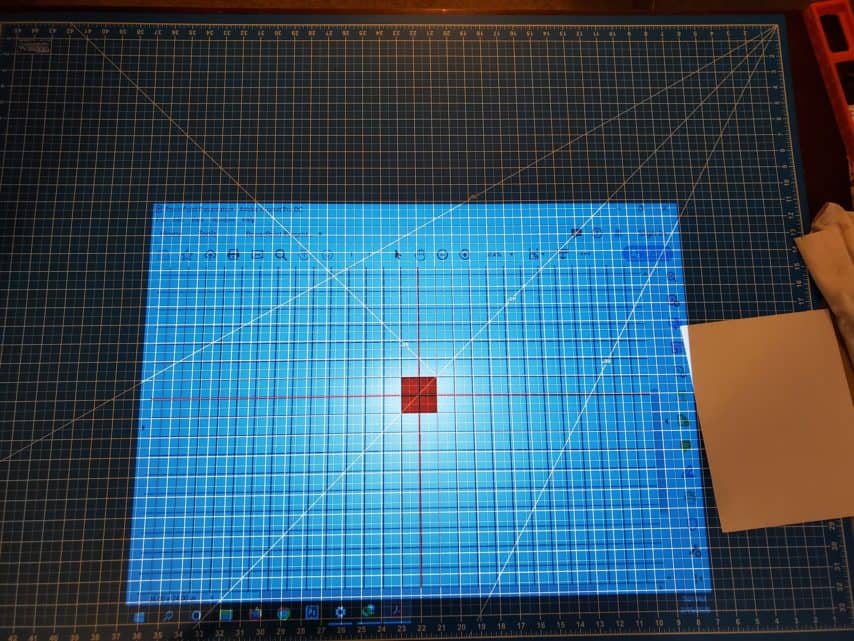 As you can see, the red squares in the center are at 1″, but as it got towards the sides the squares were no longer 1″.
In order to fix this you will adjust the zoom percentage that you are viewing your pattern at. It is recommended that you adjust by .1 increments until it all matches up.
TIP: Get the middle of the grid calibrated as close as possible. Once the middle is calibrated it’s easier to adjust for the outer section.
In the image above my zoom percentage was set at 30.4, I ultimately ended up increasing my zoom by .1 increments until I reached 31.5, this was the number that gave me perfect 1″ squares across the entire projection image. 
Now that you’re calibrated you are ready to go! As long as your projector doesn’t move, you won’t need to recalibrate each time you use it. I recommend writing down the zoom percentage number somewhere so that you don’t forget it. Now it’s time to cut!
Here’s what I learned along the way:
Throughout this whole process I learned some tips and tricks that you might find helpful.
- I recommend rotating your PDF so that any long pieces are going across the long side of the projection area. To do this you can either right click right on the projection area and click rotate clockwise, OR you can click View->Rotate View->Clockwise.
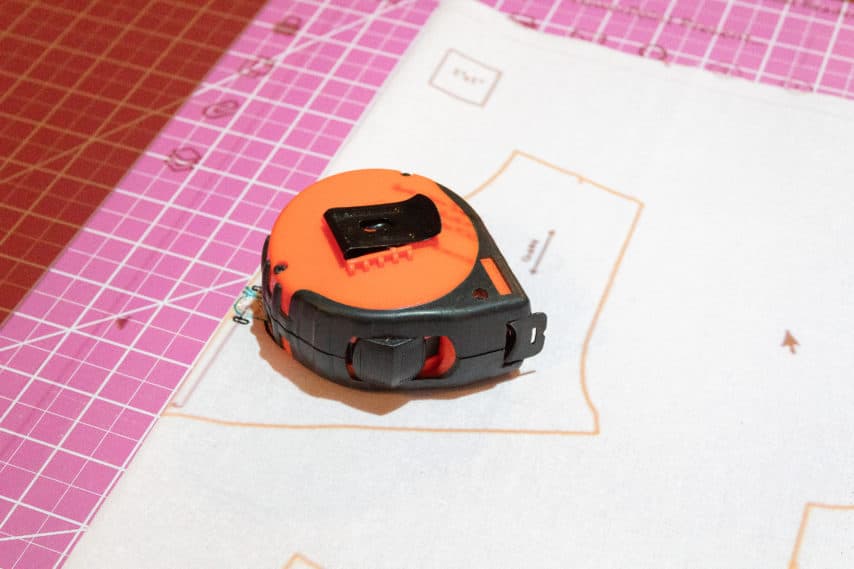
- Use pattern weights so that your fabric does not shift while cutting. You don’t need anything fancy, I typically use whatever heavy object I can find nearby. Take a look here where I used a heavy tape measure as a pattern weight.
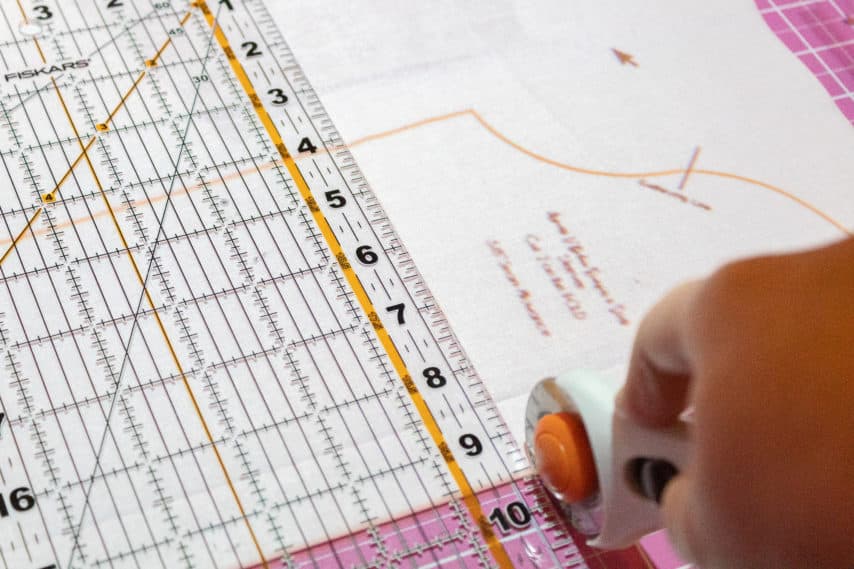
- Use an acrylic ruler to cut along straight edges. This not only ensures you are cutting straight but also keeps your fabric from shifting, especially if you are cutting on the fold (you don’t want the bottom layer to shift on you!)
- Cutting on a dark fabric? Don’t worry, you can invert your image so that the background is black and the lines are white! To do this you’ll access the Accessibility settings in Adobe.
- You can view your pattern in full screen mode by pressing CTRL-L (on a PC) or by clicking View->Full Screen Mode
- Change these settings: Edit->Preferences->Full Screen, then UNCHECK ‘fill screen with one page at a time’. This makes it so that your zoom percentage stays the same when you switch to full screen mode. (Note: if this doesn’t work, you can click CTRL-Y to get the ‘zoom to’ dialog box to pop up when using full screen mode)
- IPAD/IPHONE/ANDROID USERS: You cannot access layers in the Adobe Reader app. In order to access layers you will need the Xodo PDF Reader app (available on iOS and Android)
What files can be used with a projector?
You can use a standard A0 file with your projector, however we are now offering files specifically for projectors with our new patterns. We have a growing section of patterns with projector friendly files, at the time of writing this there are 33 patterns with projector files available.
These files feature:
- Thicker Lines
- Layers
- A 5″x5″ calibration layer to ensure your pattern measures properly across the entire projection.
- All pieces are laid out so the grain lines are in the same direction
And best yet? The projector files are available for FREE with your purchase of the pattern, no need to purchase any add-ons.
Want a non-committal way to check out the new projector files? Check out the FREEBIES section on our website. Our women’s Harper Top, Tunic, Mini, & Dress is available for FREE with the code found in our Facebook Fan Group and includes a projector friendly file!
So, what do you think? Will you be joining in on the new Paperless Sewing movement?