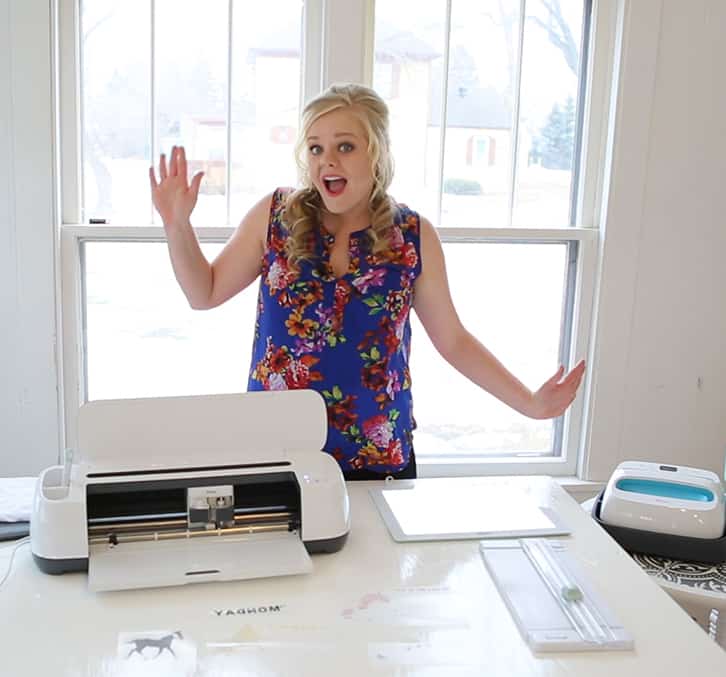
Playing with the new Cricut SportFlex!

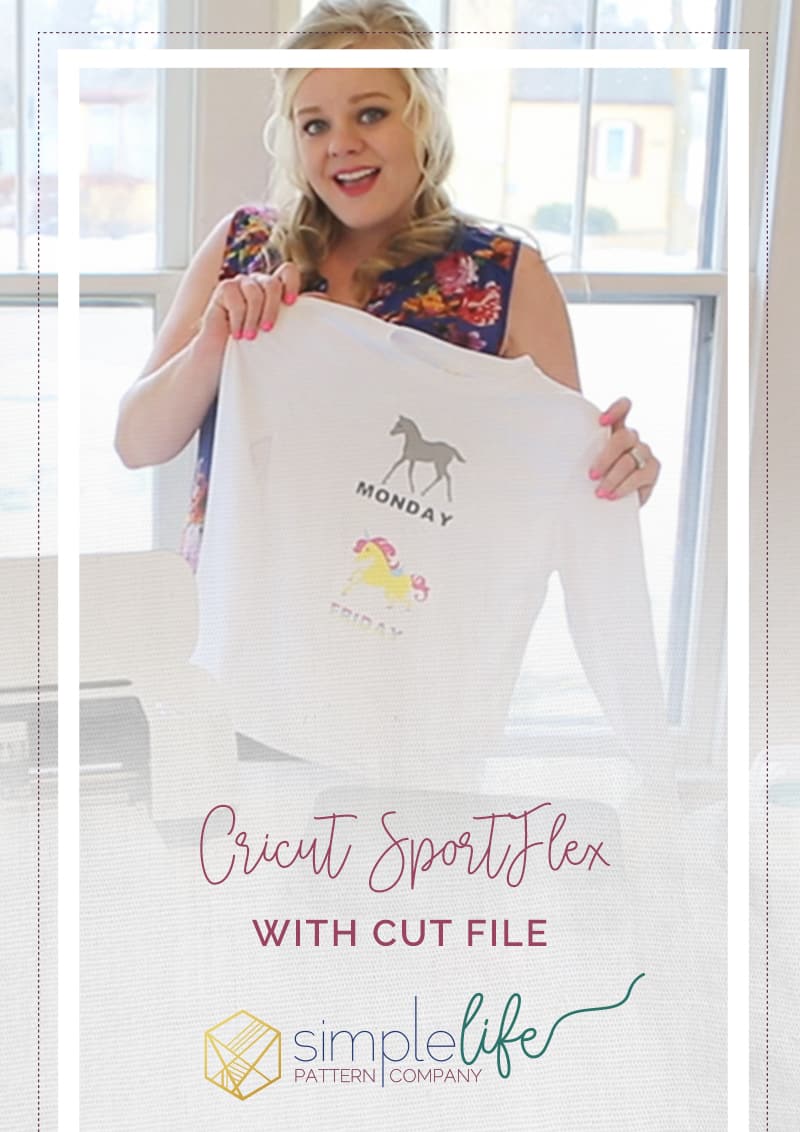
Hey everyone! I had so much fun creating some designs for you in design space! While I only had time to do 1 project for this post, I will be posting more links for some super fun cuts! I am sharing with you a super fun horse / unicorn file that my girls just love! I bought my oldest a shirt similar to this MANY years ago and it is still being passed down, but lets face it, it has seen better days! When Cricut announced they created a special iron on, SportFlex, for shirts and athletic wear, I jumped on board. SportFlex iron on is designed to stretch, it is thin and has the “Strong Bond” guarantee, perfect to adhering to your nylon and polyester activewear. Having an iron on designed to stretch is very amazing. You can now use it on leggings, shirts, swim suits, gymnastic outfits….. so many things! But today we are going to work with Dri-fit shirts. Lets get ready to make this super fun Monday horse / Friday unicorn shirt.
So pull out your Cricut Maker (or other cutting machine) and lets get started!
This post is sponsored by Cricut All comments, recommendations and reviews are mine. #Cricut #Cricutmade #CricutStrongBond #ad

My girls, especially my 2 older ones, absolutely love the dri-fit shirts. They love all the Nike and Under Armor athletic wear but I am so tired of spending a fortune on them (athletic wear tends to have a longer inseam – which is nearly impossible to find for my taller girls). So I jumped on to Amazon and ordered some cheap dri-fit shirts in a variety of colors – the more neon they are, the better (according to my kids)! being able to make them fun “hip” shirts sure makes me happy!
Are you ready to get started? Here is a list of products I used in the video:
PRODUCTS USED:
SportFlex Iron On
EasyPress Mat
EasyPress
Maker
BrightPad
Frixion Pens
Pressing Sheet
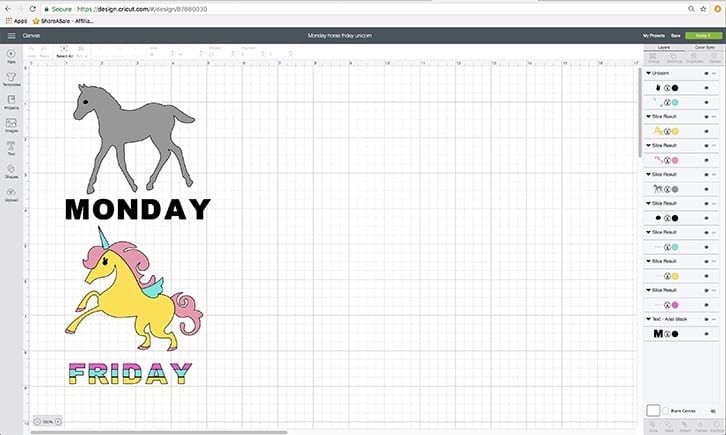
I narrowed down my color selections for the cut file and got started cutting these shapes out on my Cricut Maker. Once I had everything cut, weeded and trimmed down, I had to figure out placement on the shirt. Then came the FUN part – Pressing all the pieces in place. This file took a couple times to press to get all the colors on. Here are some helpful tips for using SportFlex:
Temperature for the EasyPress is 305 degrees.
If you have the EasyPress Mat, use that, it is super amazing!
Preheat your fabric for 15 seconds.
Apply medium pressure to the EasyPress.
Press for 30 seconds.
SportFlex is a warm peel – In my video I mention cold peel but the official word from Cricut is warm peel 🙂 If you do cold peel it wont ruin anything, just wanted to update you on that.
Do not do more than 2 layers of SportFlex. You can use the slice tool in Design Space to eliminate many layers.
When the design is adhered to the garment, turn wrong side out and press the back of the iron on for 15 seconds.
Come check out this fun quick video showing you how to recreate this design yourself!
You can make this exact file! Click HERE to get the files – these will all be free if you have Cricut Access. I hope you have as much fun making this as I did!
Katie Skoog
This is a sponsored conversation written by me on behalf of Cricut. The opinions and text are all mine.