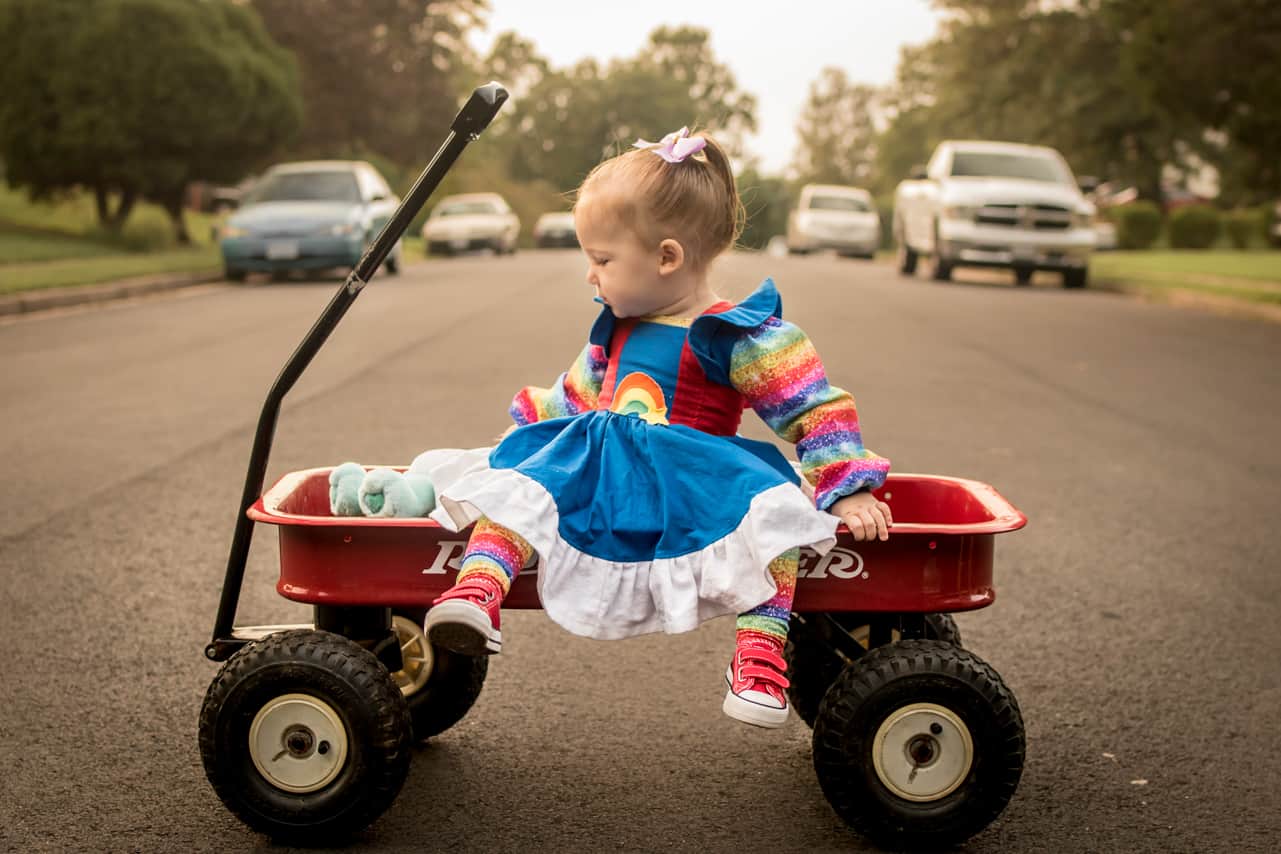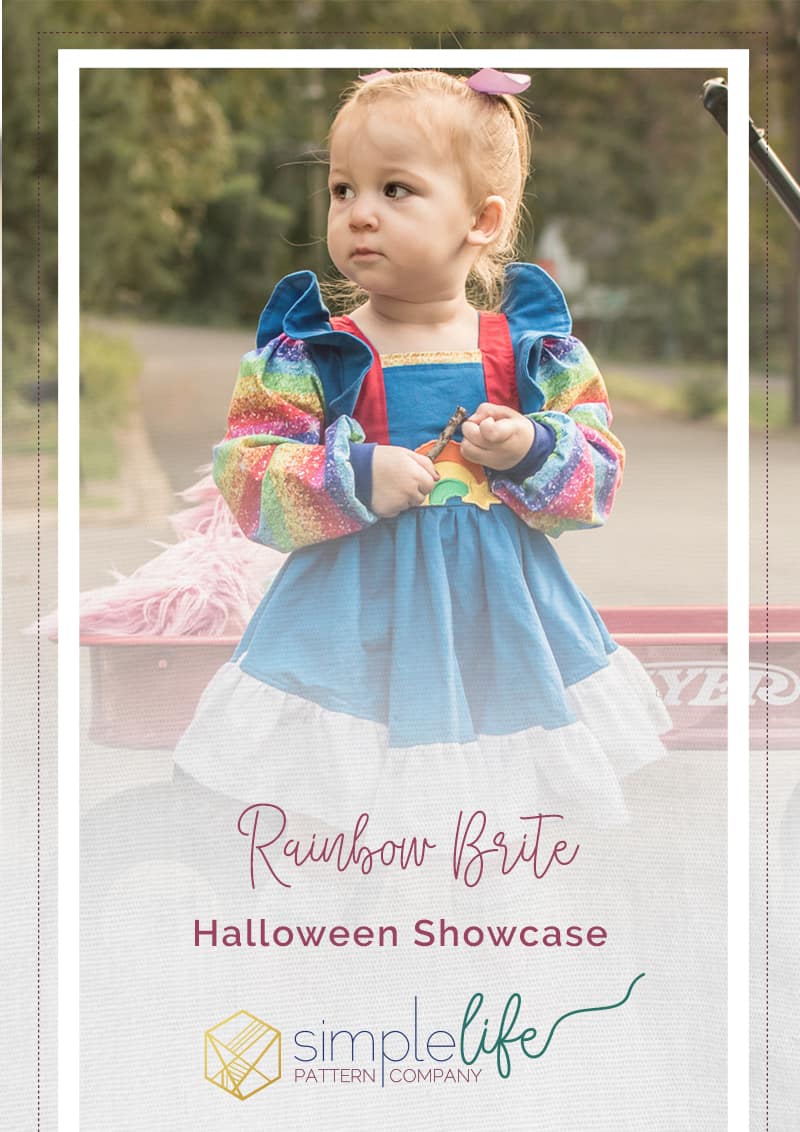
Rainbow Brite {A Halloween Showcase}
Costumes. Pumpkins. Falling leaves. It is officially Halloween season! Did I mention the costumes?! When I was young, I spent months meticulously planning and designing each Halloween costume. My mother was an amazing seamstress, and was able to bring my designs to life year after year. Now that I have my own children, I design and plan their costumes……after letting them think about what they want to be, of course. My name is Shelley Hill, and I am so excited to share how I brought this little Rainbow Brite costume to life using a few Simple Life Patterns.
I spent many days staring at this picture for inspiration and planning, trying to figure out the perfect combination of patterns to recreate this sweet character.

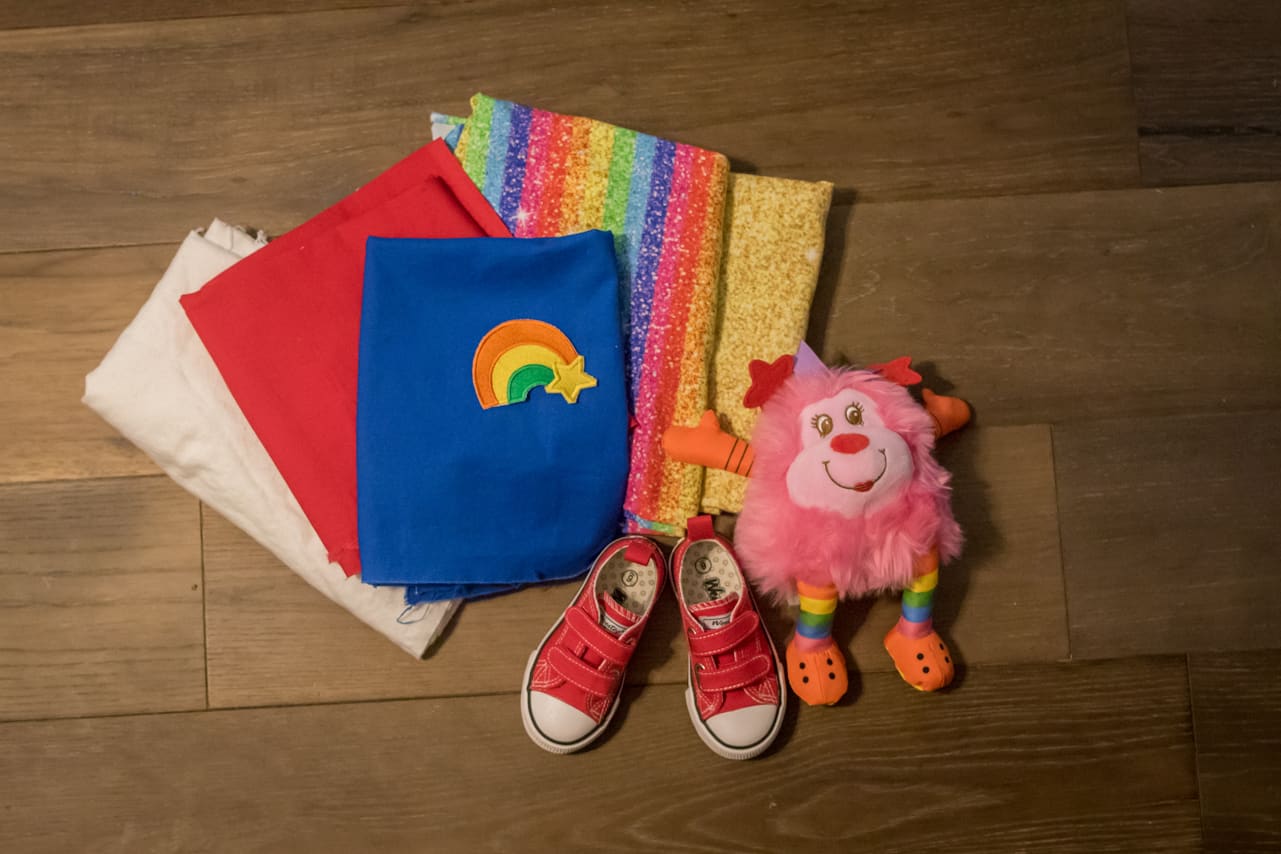
The first thing I did was gather all of my materials. The solid color fabrics are all basic quilting cotton, and the knit glitter fabric came from Oh So Pretty Custom Fabric shop. I was able to find a Rainbow Brite patch on Etsy. The patterns I used were Betty, Hampton, Rosie, and Sloane.
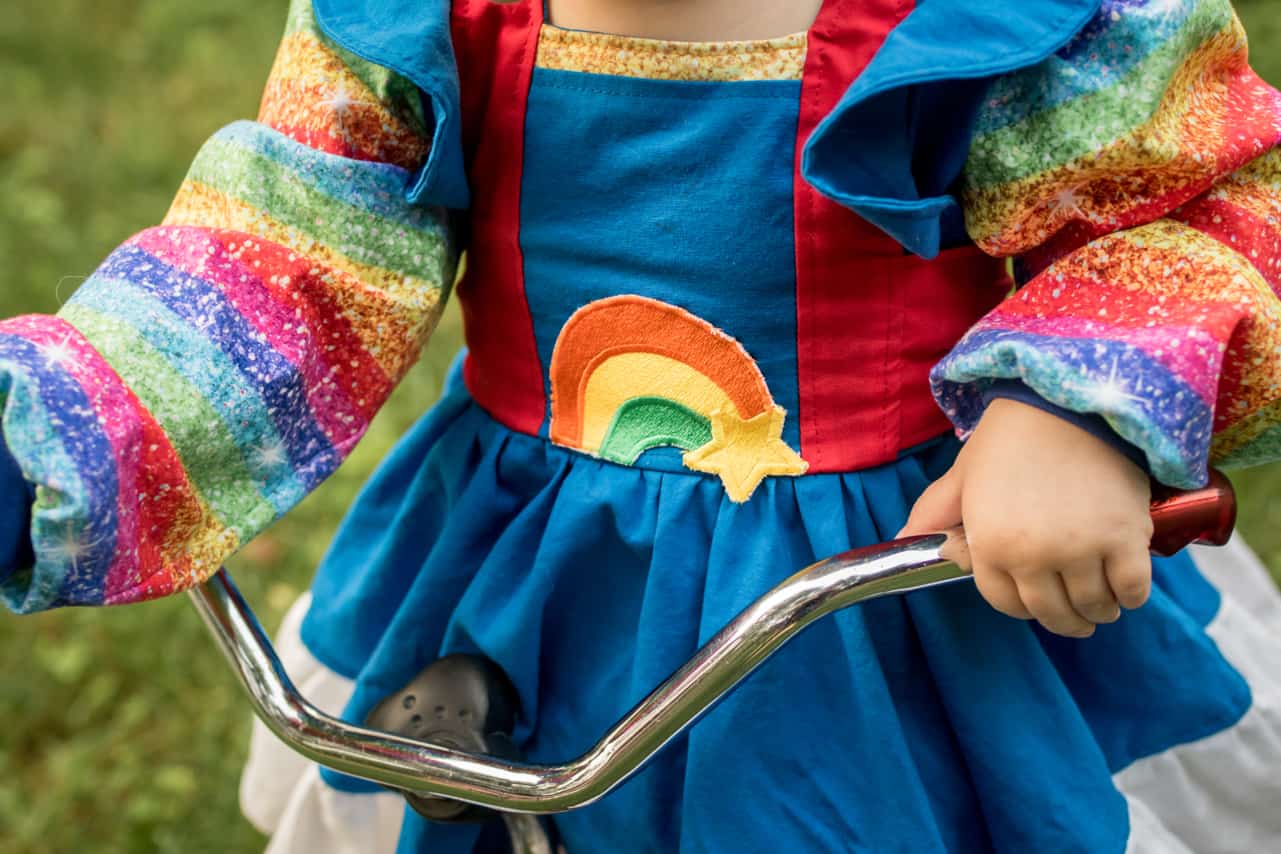
The main dress is mostly made from Betty. I decided to color block the front and back panel of the bodice, so that my toddler wouldn’t be able to pull off suspenders. I first sketched in my seam allowance, and then sketched out how I wanted the colors to look.
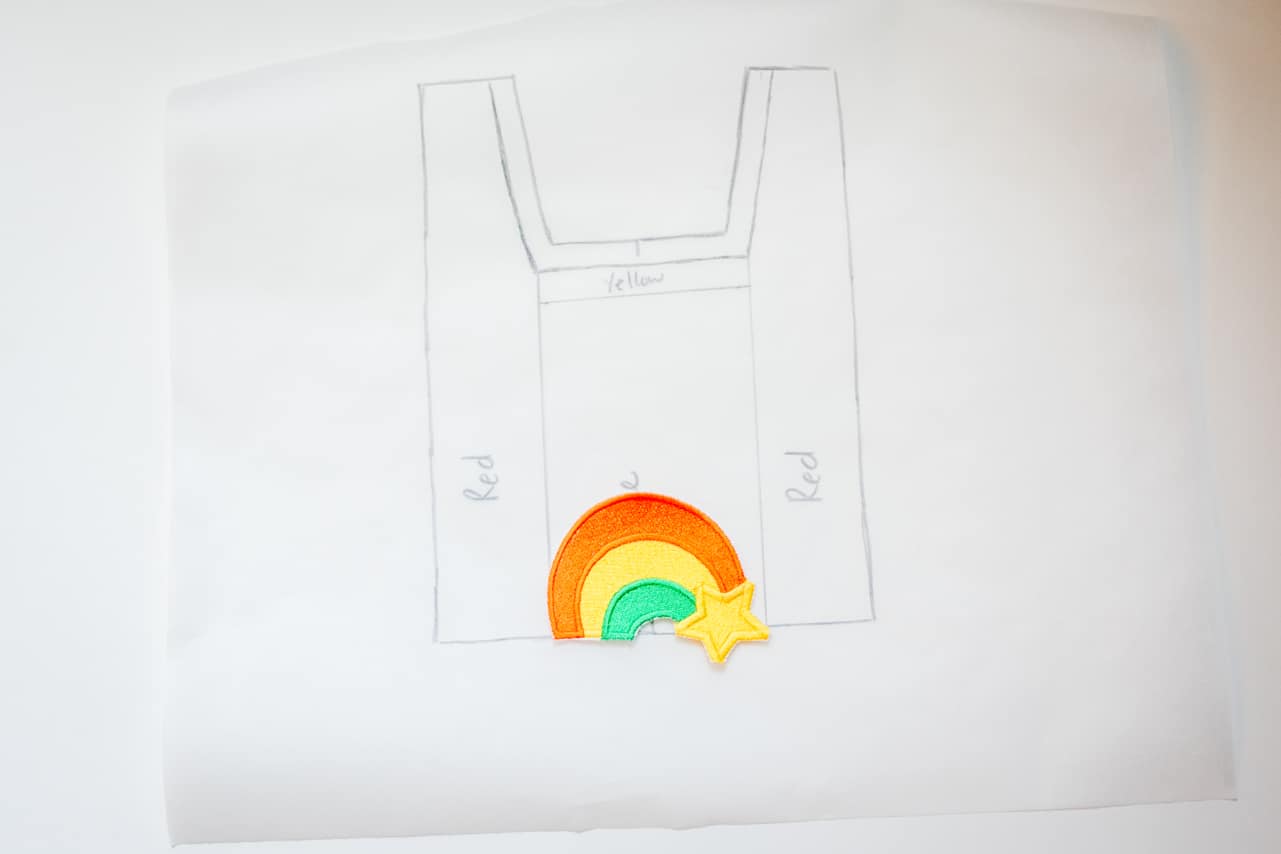
I cut the pieces and made sure it matched the original front bodice once sewn together. Don’t forget to add seam allowance where your colors meet!
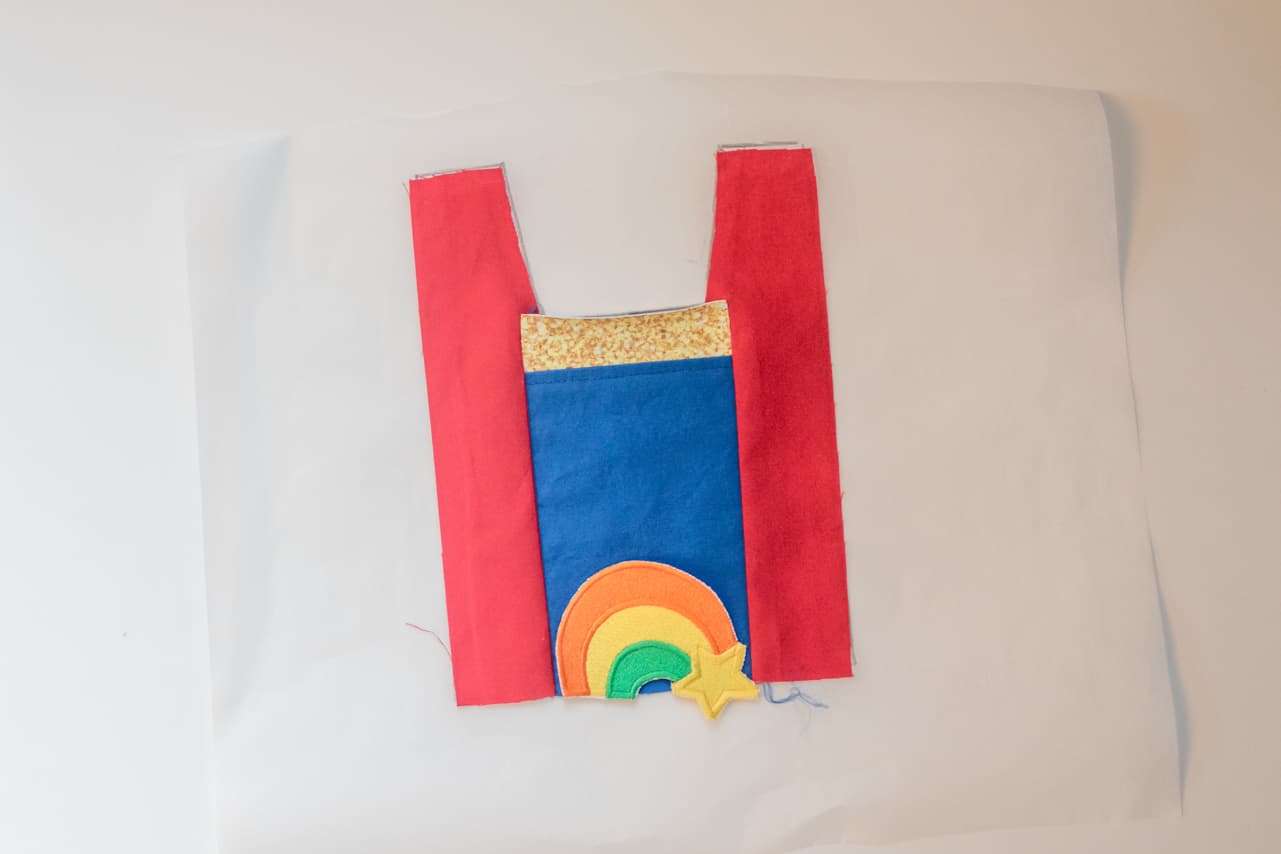
After following the same procedure for the back suspenders, I moved on to the belt.
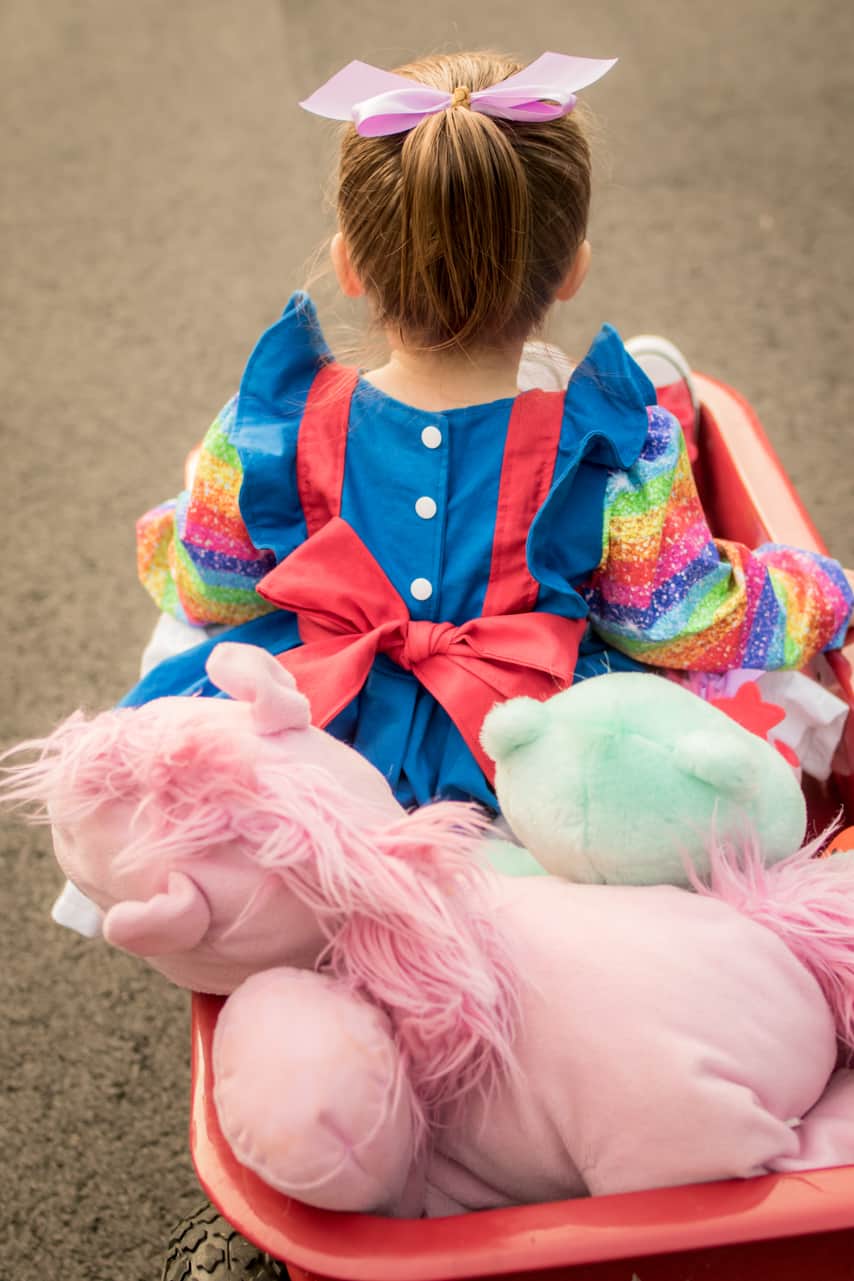
Betty is an amazing base for Rainbow Brite, because it already comes with colorblocking sides, instructions, and pattern pieces. My vision, however, was to have a girly bow in the back. I used the measurements of the side bows for the width of the belt, and estimated how long the bow ties should be, based on a few dresses with back bows that she already has in her closet. I basted the belt straps to the sides of the front middle panel 3/8” above the raw edge before I added the flounces and the bodice sides. This made the belt connect to the front red ‘suspenders’, and come around the front of the flounces in the front and back.
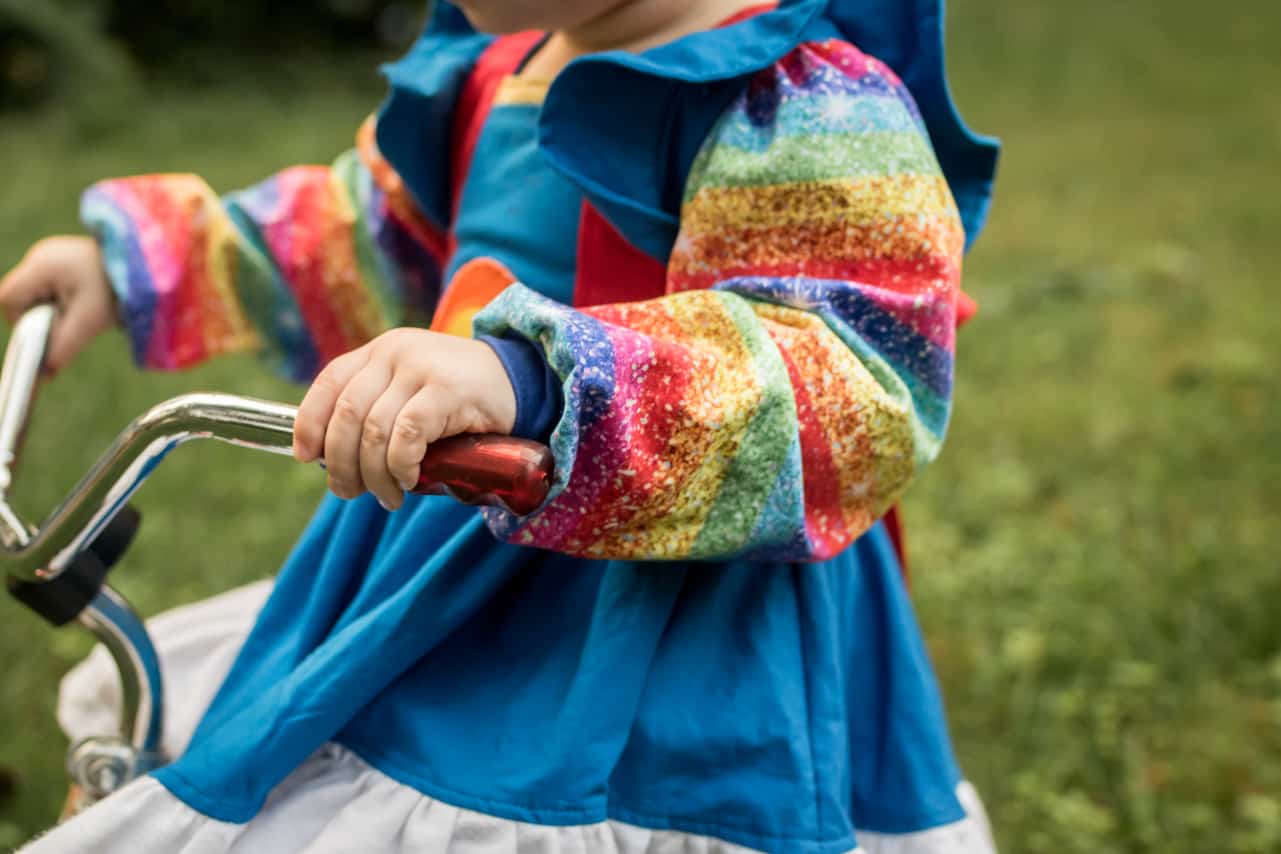
Mashing different sleeves onto a pattern is very simple and straight forward. Cut out the sleeves you want, and follow the sleeve construction.
For this project, I had knit sparkly rainbow fabric, so I chose Hampton for the poofy knit sleeves with a cuff. If you have woven fabric, a few patterns that have a good puffy sleeve might be Pearl, Maisie, or even the new Geneva.
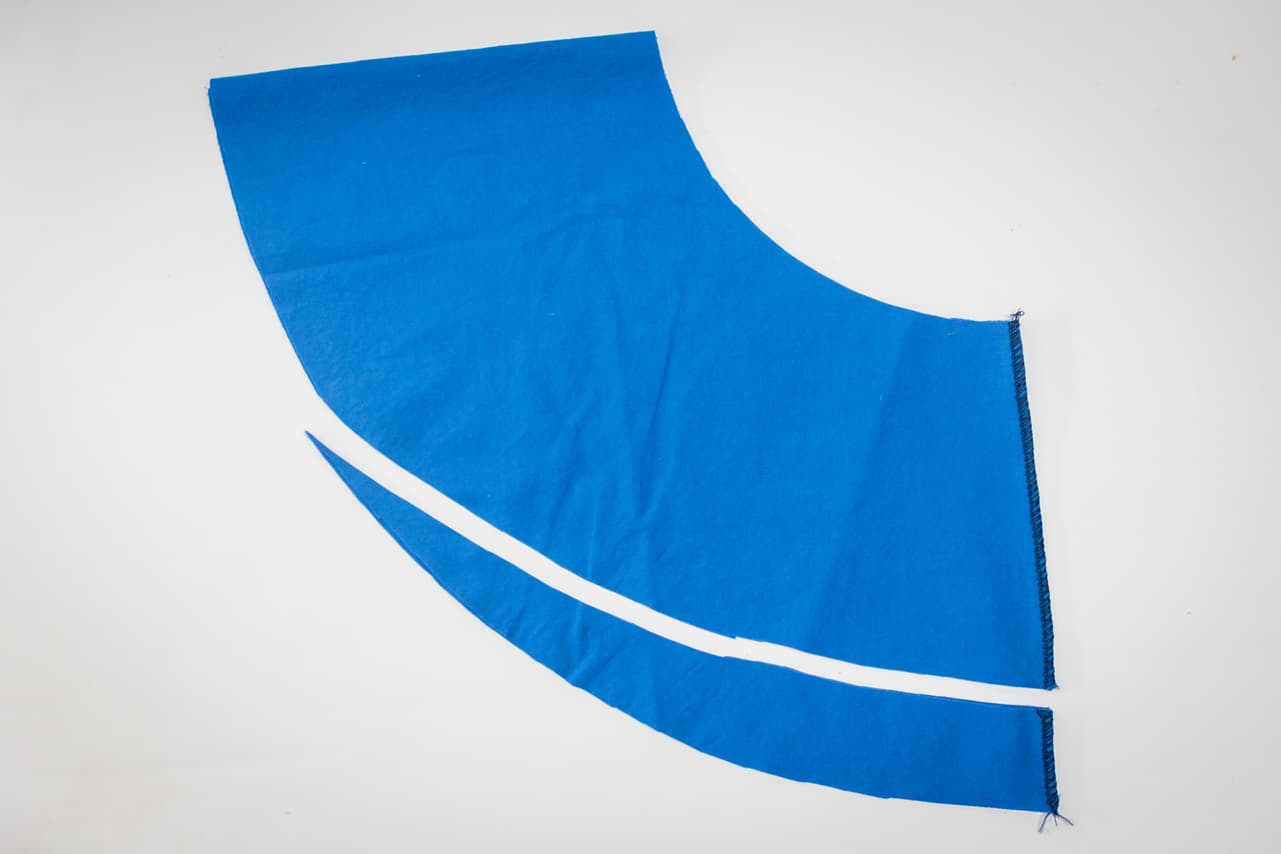
With the bodice construction finished, it was time to focus on the skirt. I noticed that Rainbow Brite’s skirt is a high/low/high shape. You can use the Hampton to get this shape, or you can trim the sides of your skirt. To do this, sew your side seams, then fold your skirt in half on top of itself. Start a few inches from the raw edge, and trim in a circular line towards the center, ending about 3/4 to the middle.
For my ruffle, I used solid white flannel for volume and a sort of fluffy texture. Attach your ruffle to the bottom of your skirt, and then your skirt to the bodice, and your Rainbow Brite dress is finished!

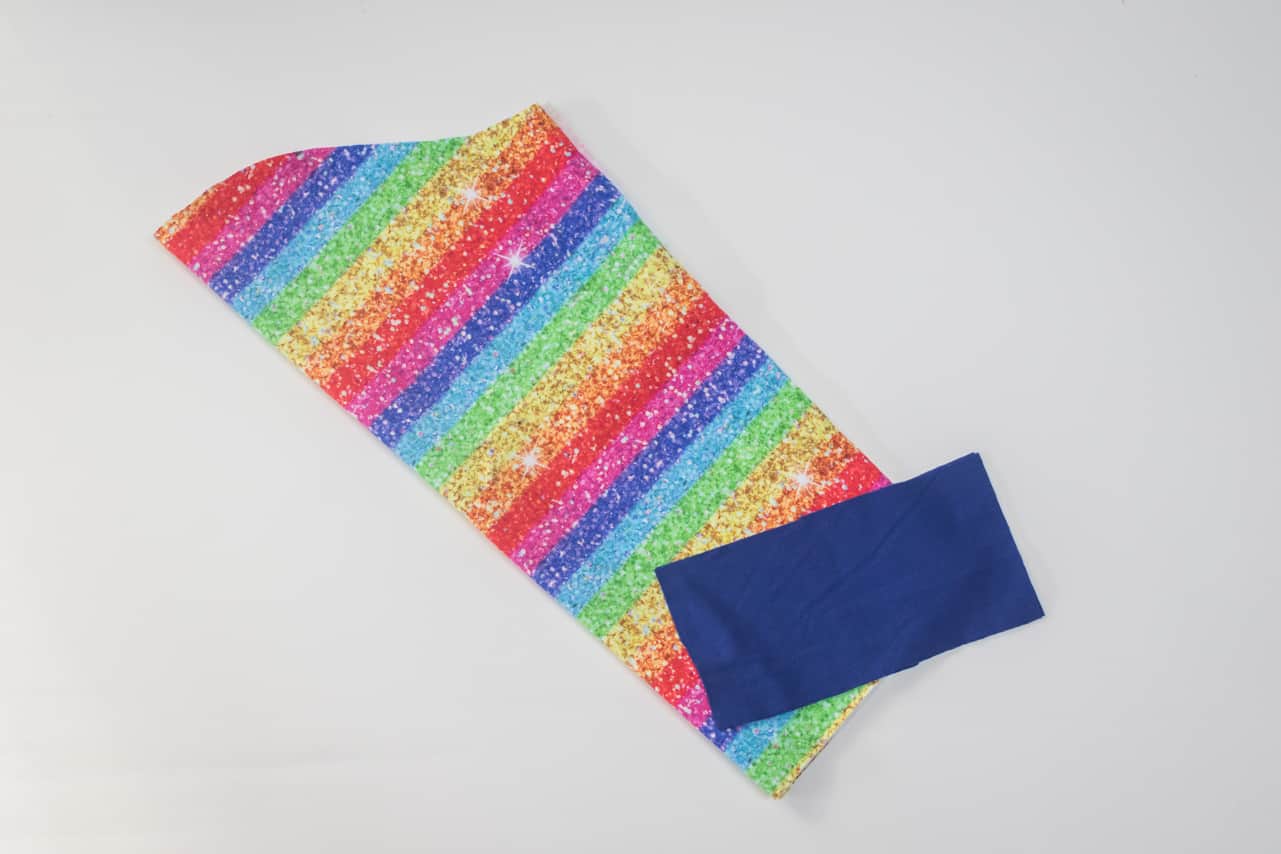
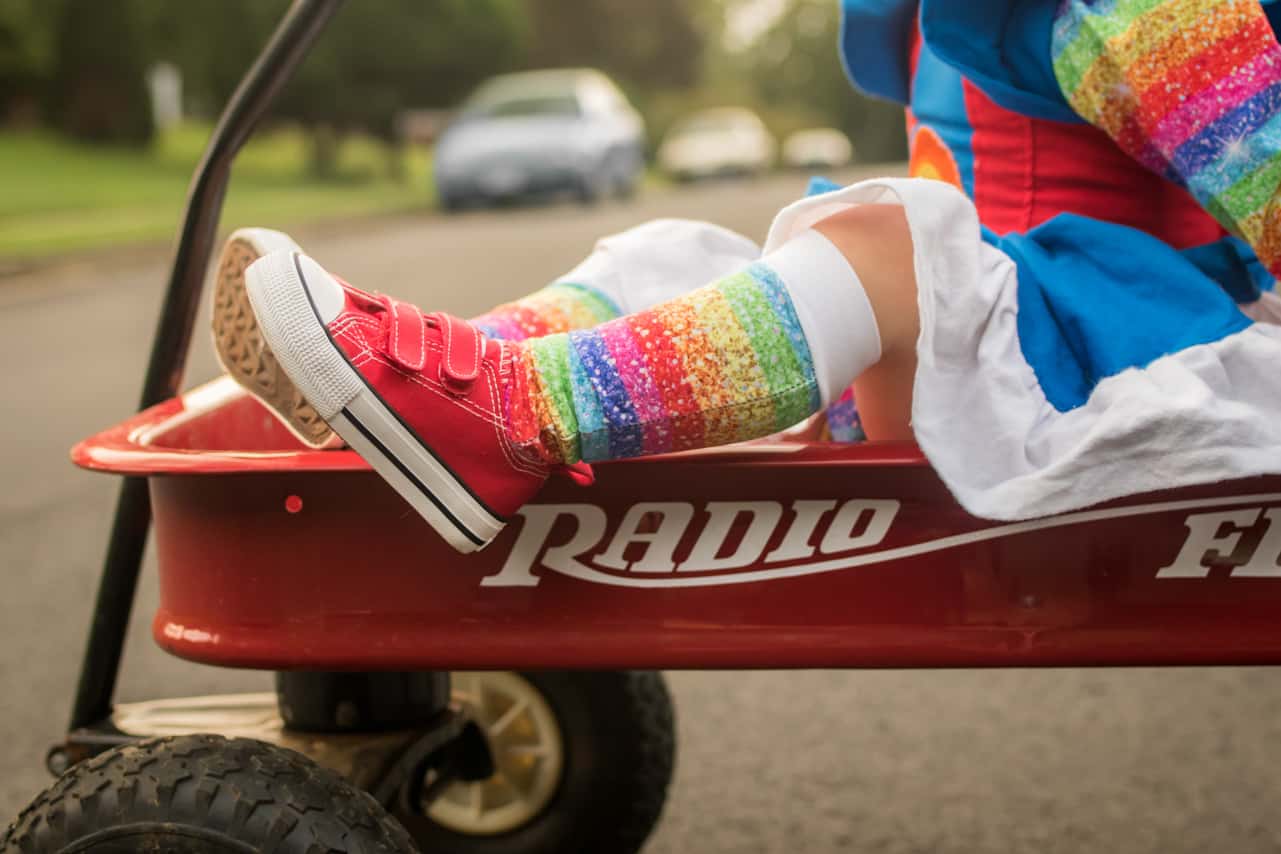
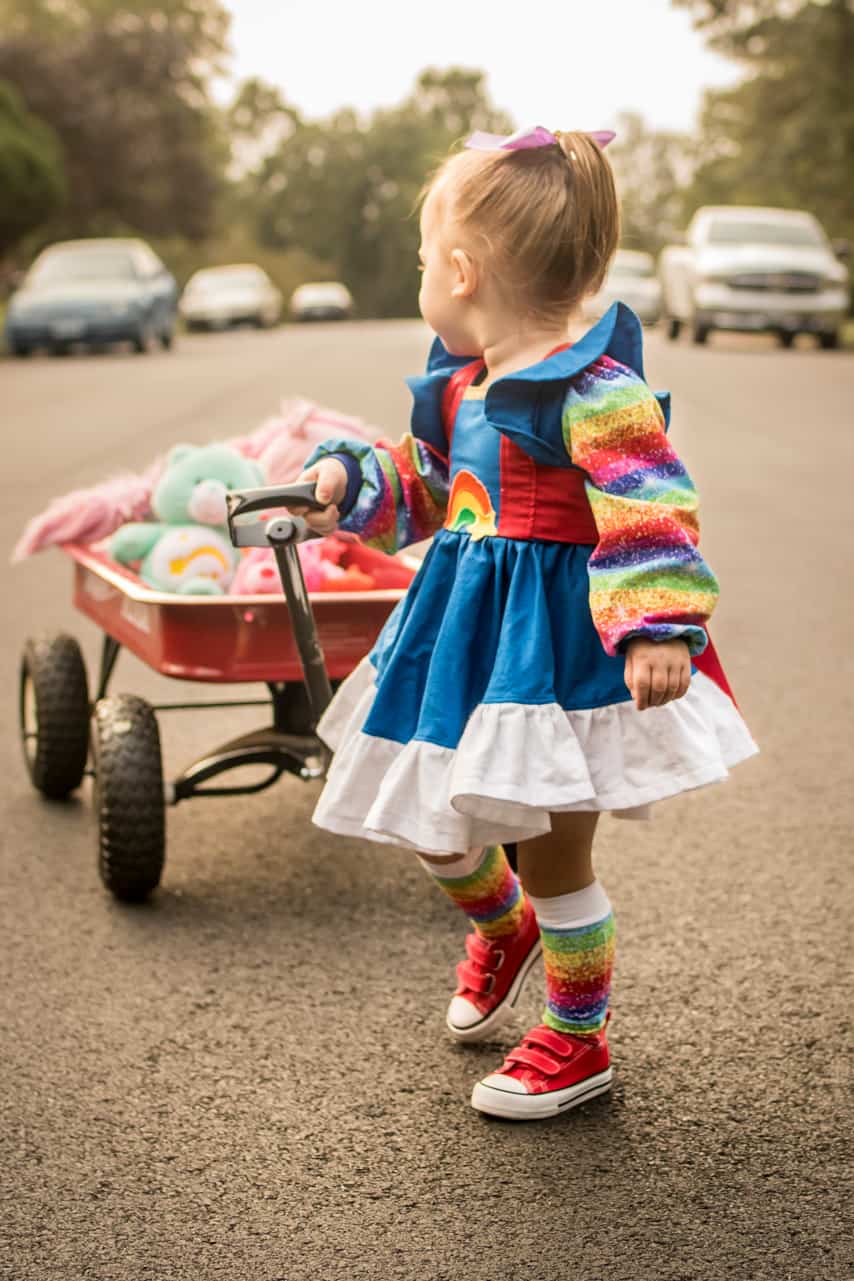
Let’s have a little chat about those rainbow boots. Little red sneakers were the perfect choice for this project, and I used the same rainbow knit fabric to make Sloane socks. I doubled the width of the band on top, and also cut a slightly wider sock, because the fabric I used did not have much stretch. It’s not a rainbow boot, but it came out looking kind of sporty and cute!
As a finishing touch, I made a sweet little diaper cover using Rosie. I used the same rainbow stripe fabric to complete this look.
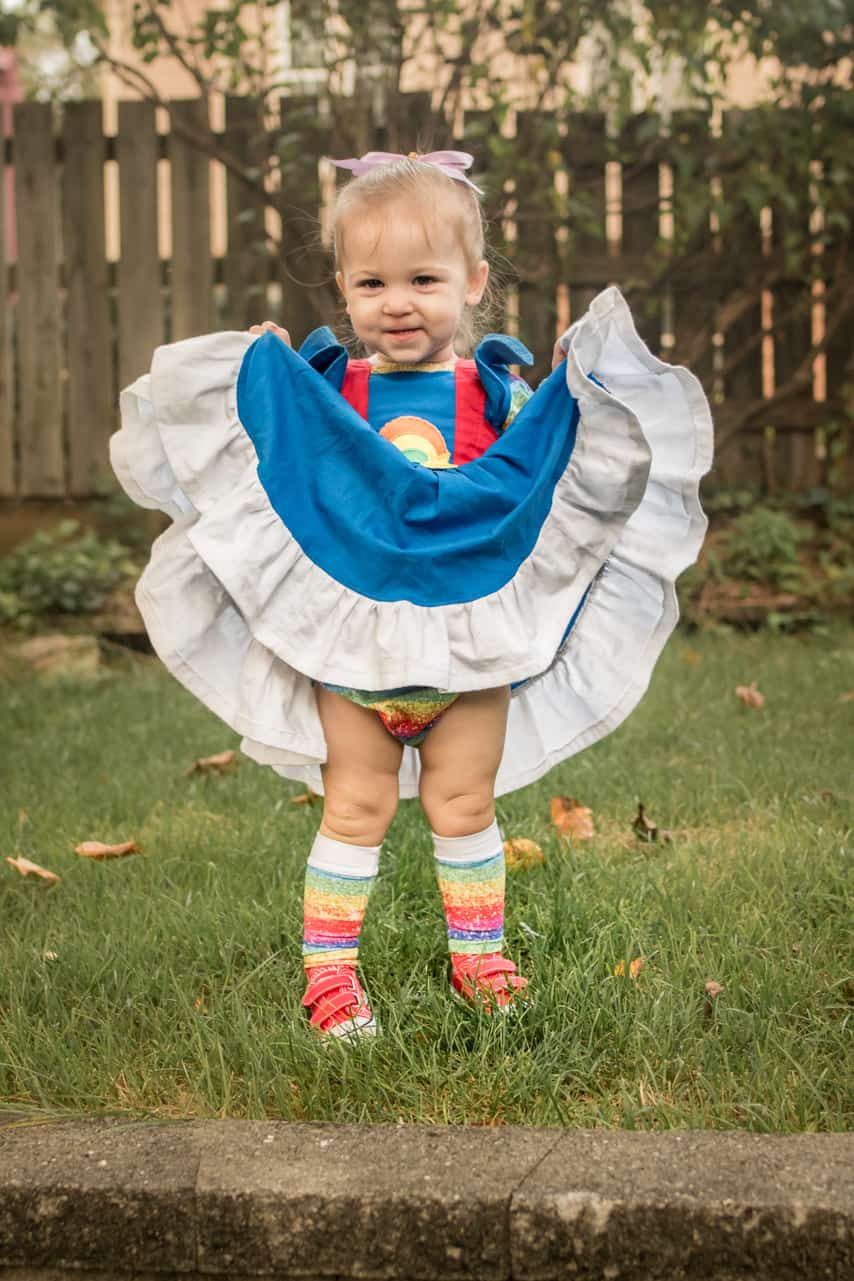
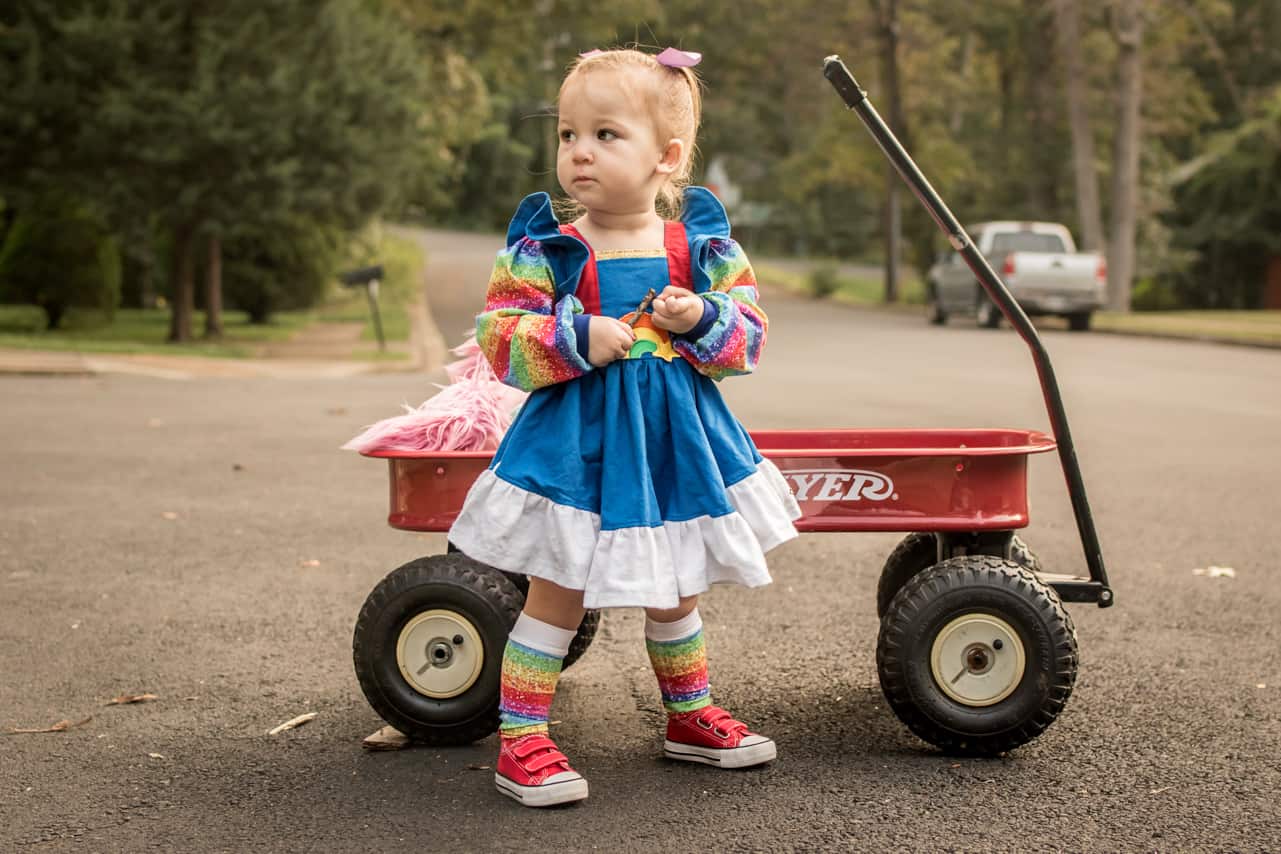
Now the only thing left is to enjoy your new Rainbow Brite costume!!
I hope everyone stays safe and enjoys this festive season. Happy Halloween sewing!
-Shelley