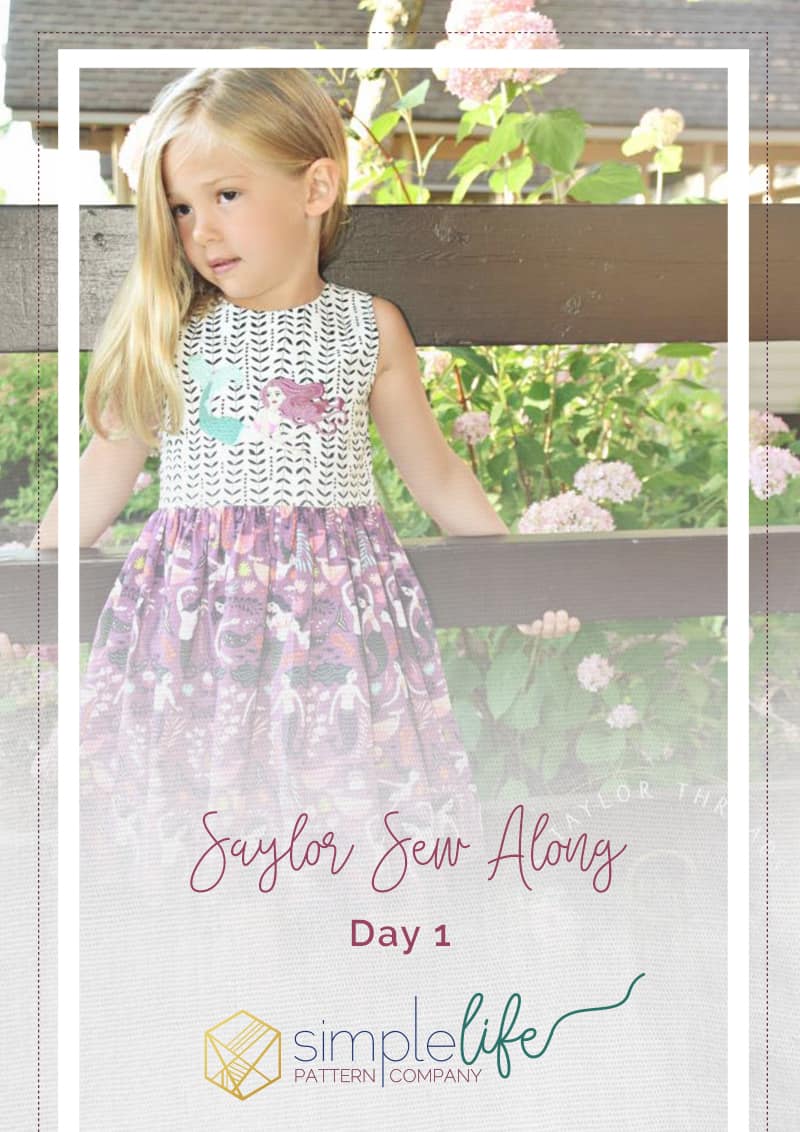
Saylor Sew-Along Day 1
Planning Day
~Measure and Choose Size
~Choose back style and skirt style
~Print, Assemble and Cut Pattern Pieces
~Choose Fabrics
I am Stevey Taylor of S Taylor Threads and I am super excited to share my love of the Saylor pattern with you all!!
Simply assembling and cutting pattern pieces may make today seem straightforward, but this is usually the part of the project that keeps me up at night. Today we make DECISIONS! My absolute favorite thing about Saylor is that the various back options really do make the dress look completely different. The basic open back, open back with small side bows, square back, square back with small side bows or that gorgeous big center bow make Saylor so versatile. They also make it hard to decide which one to use! We also have to decide whether the skirt will have a ruffle along the bottom or not. If you really want to spice things up, you can purchase the romper add-on here and sizes NB-3T can be made into a romper!
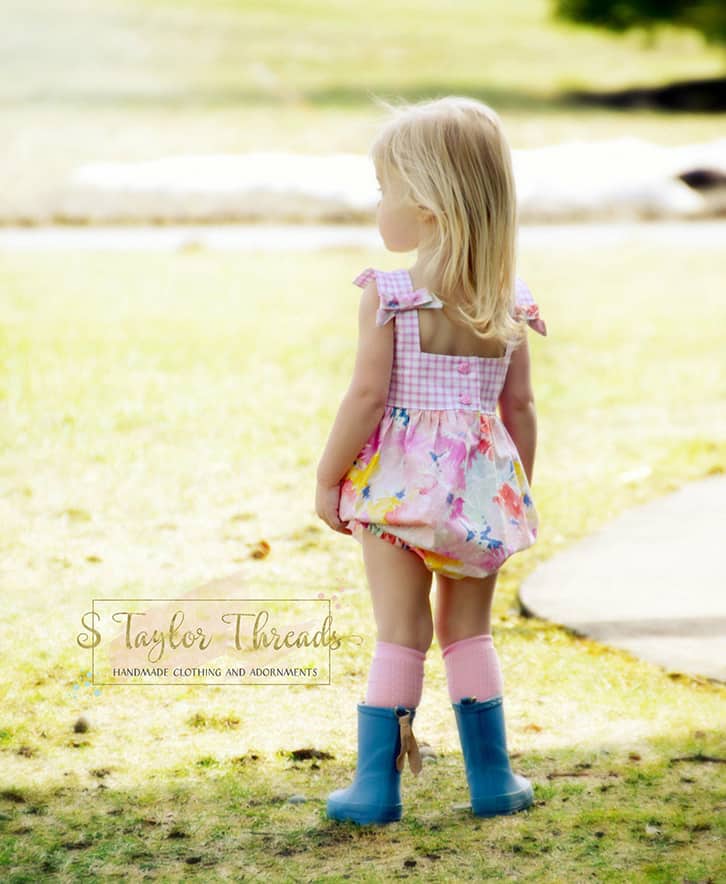
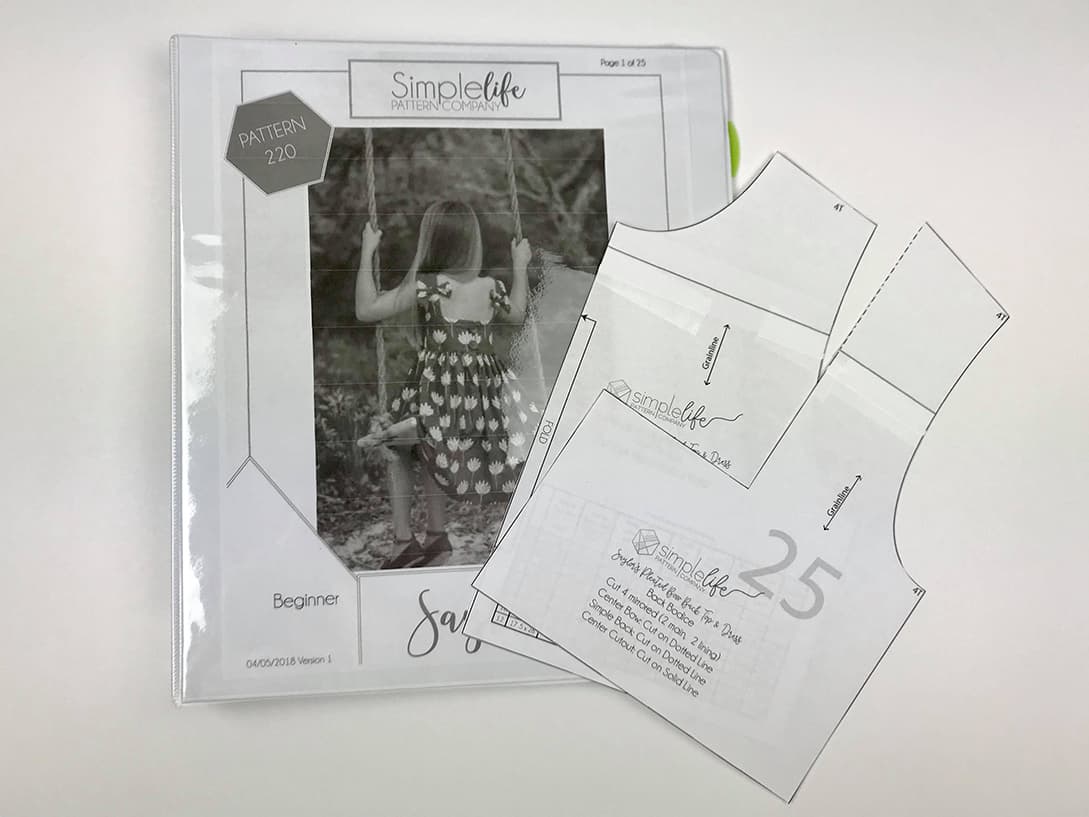
Once you’ve made your choices it’s good practice to measure your model for every project because these kids grow so fast! Once you’ve measured and chosen your size it’s time to print your pattern. I love the layers option for printing because it saves ink and also helps me when I’m trying to follow the lines for cutting. My model is 22” wide, but she is growing like a weed this summer so I am going to make a size 4.
We also have to choose our fabrics. Saylor works great with a variety of woven fabrics. You may want some lightweight interfacing to use under your closures to help stabilize them especially if you choose something light. I have fallen in love with KAM snaps because they are SOOOOOO easy. If you’re using buttons you’ll want to choose your button so you know what size they are when sewing your buttonholes!

We’re all set for today – tomorrow we cut! Don’t forget to share your Day 1 photos in Fan Group album for a chance at winning a daily prize.


