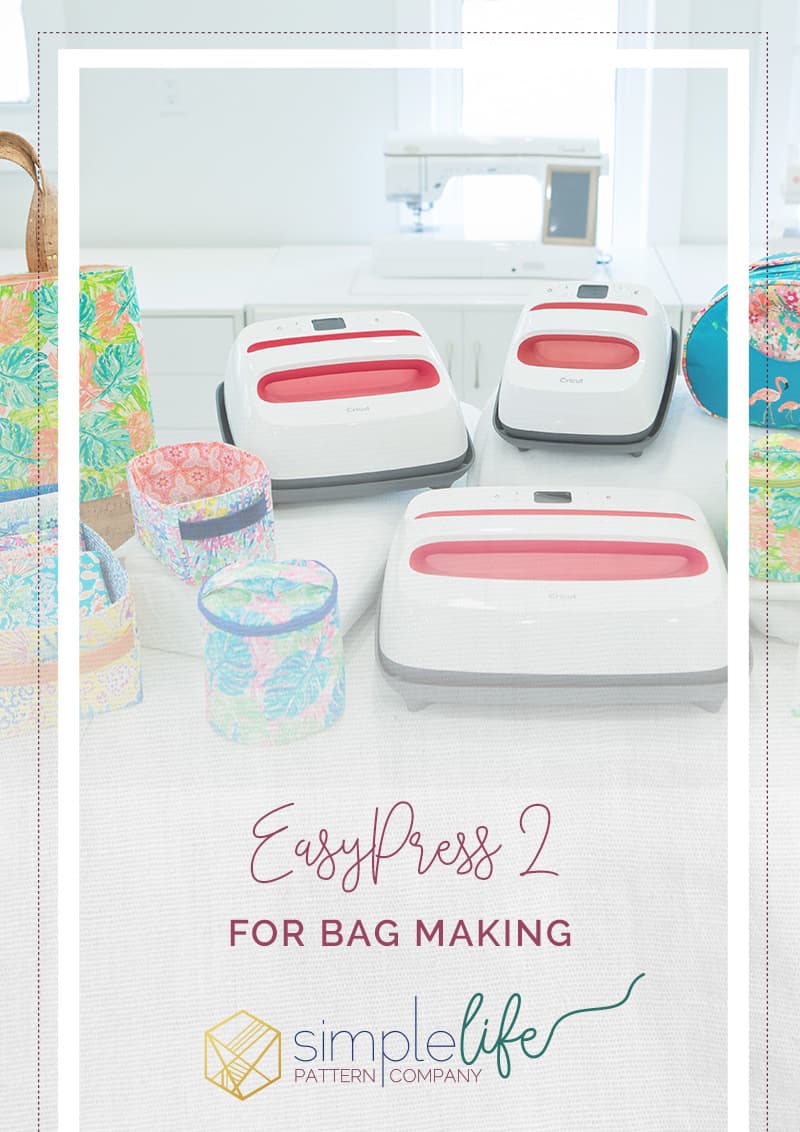
Sewing made easier with the Cricut EasyPress 2
So, who here likes to make bags? I like a good tote, especially with 4 kids that are always collecting trinkets everywhere we go. I love making bags but I often find myself drawn away from them because of fusing all the stabilizers. It is such a tedious, time consuming task that I just don’t particularly like to do. I am so glad Cricut came out with new sizes in their EasyPress 2 line. I have all 3 sizes and they are so great for different things. I did a “Shake it off” post showcasing the small 6″x7″ EP2 you can check out. Today I am going to go over how the EasyPress 2 12″x10″ can make fusing stabilizers a breeze. I made all of these using my EasyPress machines! I have been sewing up a storm with all my strike offs of MY first fabric collection with Art Gallery Fabrics. Say hello to West Palm Fabrics, due out in March 2019.
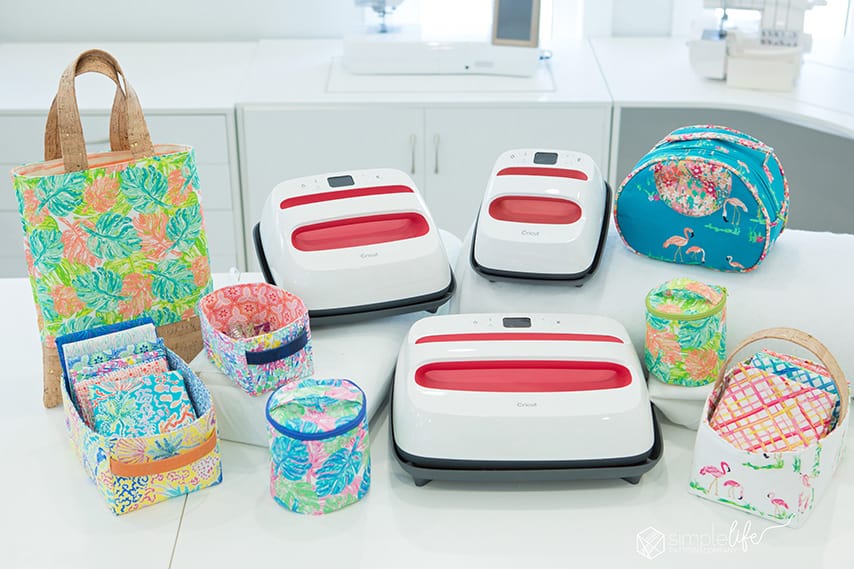
The large surface area means you can fuse your stabilizer in a fraction of the time as your regular household iron. I am more of a hobbiest when it comes to bag making and doing iron on vinyl. I have no need for a big bulky heat press so the rage of EasyPress sizes is PERFECT for me. They don’t require a lot of space, they heat up in really fast and it has even heat through out the sole plate (which is one thing they fixed from the EP1 version). They also included a USB port if they were to every update the software on the EP2, which means it will be up to date with current technology.
I highly recommend getting the pressing mat as well. Depending on what size you are getting and what you will be using it for, I would opt for the large pressing mat. I use it for everything lately. I can iron on my table, laminate countertops, anywhere! I use it for foundation paper piecing, quilt blocks and all my projects pretty much! Even if you don’t have an EP and want a portable pressing mat, this is what you need. You can press on it all you want and no heat will make it to your counters. Its pretty awesome, especially for the project we are doing today: fusing stabilizers. (I didn’t have a picture to go under this – so here is my favorite part of cutting fabric on my Maker – peeling it off – gah – so satisfying)….

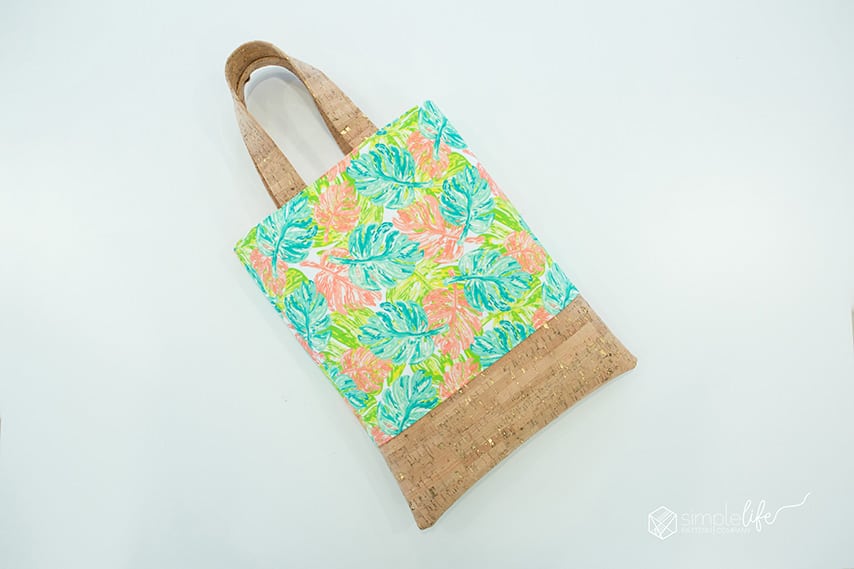
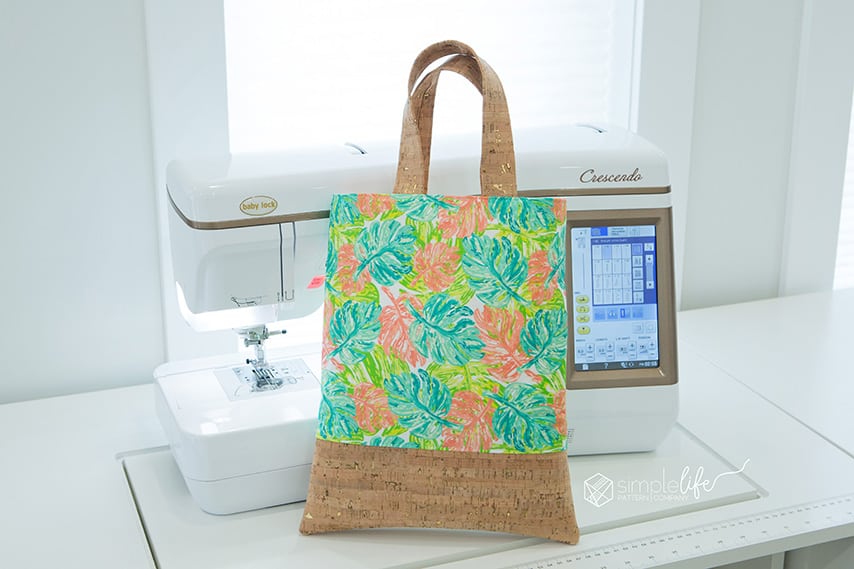
There are many free patterns in Design Space. I had a hard time choosing which project I wanted to do because there were some really good ones. I really wanted to do this “Art Caddie” but ended up choosing the “floral tote” because I was really wanting to use cork fabric in my project and this tote would highlight it perfectly. The one thing with a lot of patterns in DS, they don’t have interfacing! Drives me nuts. I don’t want a super slouchy, floppy bag. You have to add stabilizers to it for structure. It also didn’t include any seam allowance instructions so I went with 1/2″ and the lining pieces at 5/8″. It also says 30″ ribbon for the handles but I did mine out of cork and cut them at 15″. This bag also doesn’t have any gussets but that’s okay – it makes for a super fast and easy sew, great for beginners or anyone looking for smaller tote. It finishes at about 12.5″ x 10″.
I cut everything out on my Cricut Maker. To cut the cork, I used the “burlap” setting because cork wasn’t on the list and it worked great. I cut the project out twice. Once using my fabrics and the other for the stabilizers. This bag is SUPER easy and fast to sew up, great for beginners or kids. I know my daughters will be sewing this up soon using webbing for the straps. It’s a great size for them to bring a few books and small toys into the car when we travel.
here is a list of items I used in the tutorial:
- Cricut EasyPress 2 (large)
- Pressing mat
- Cricut Maker
- Fabric grip mat
- 12″ x 24″ ruler
- self healing cutting mat
- rotary cutter
- Fabric
- Cork Fabric
- Pellon Craft Fuse OR you can use fusible fleece
- Pellon Shapeflex 101
If you have never sewn with cork, oh my gosh – it is so amazing! It sews SO well and looks so nice. There are many different types/ designs out there but the natural cork with gold metallic is my favorite. It goes with everything.
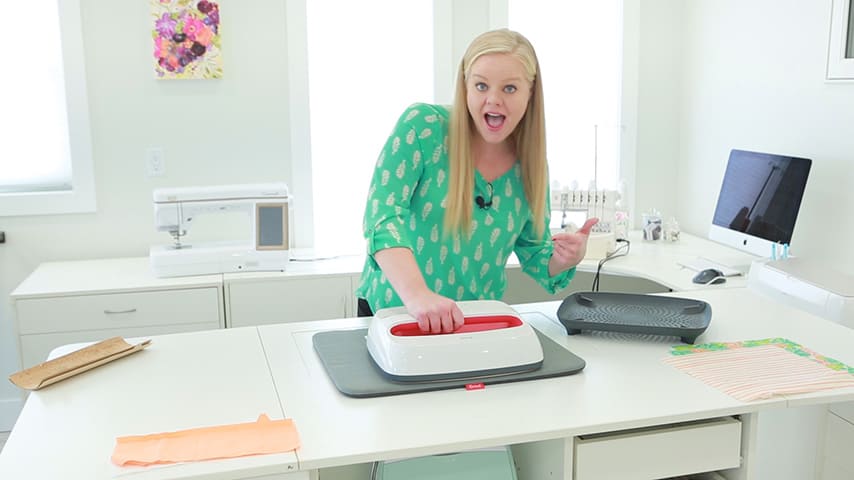
I created a video on the process of fusing the fabrics, cutting on the maker and a tutorial on how to sew the bag. Come check it out! Be sure to subscribe to our channel while you are there!
Thanks for following along. If you have any questions, feel free to comment or you can join our Fan group on facebook. We have a big group full of the most amazing sewers who can help answer any questions you may have. You can also follow our FB main page and we are obsessed with Instagram too.
Happy Sewing,
Katie Skoog
This is a sponsored conversation written by me on behalf of Cricut. The opinions and text are all mine.