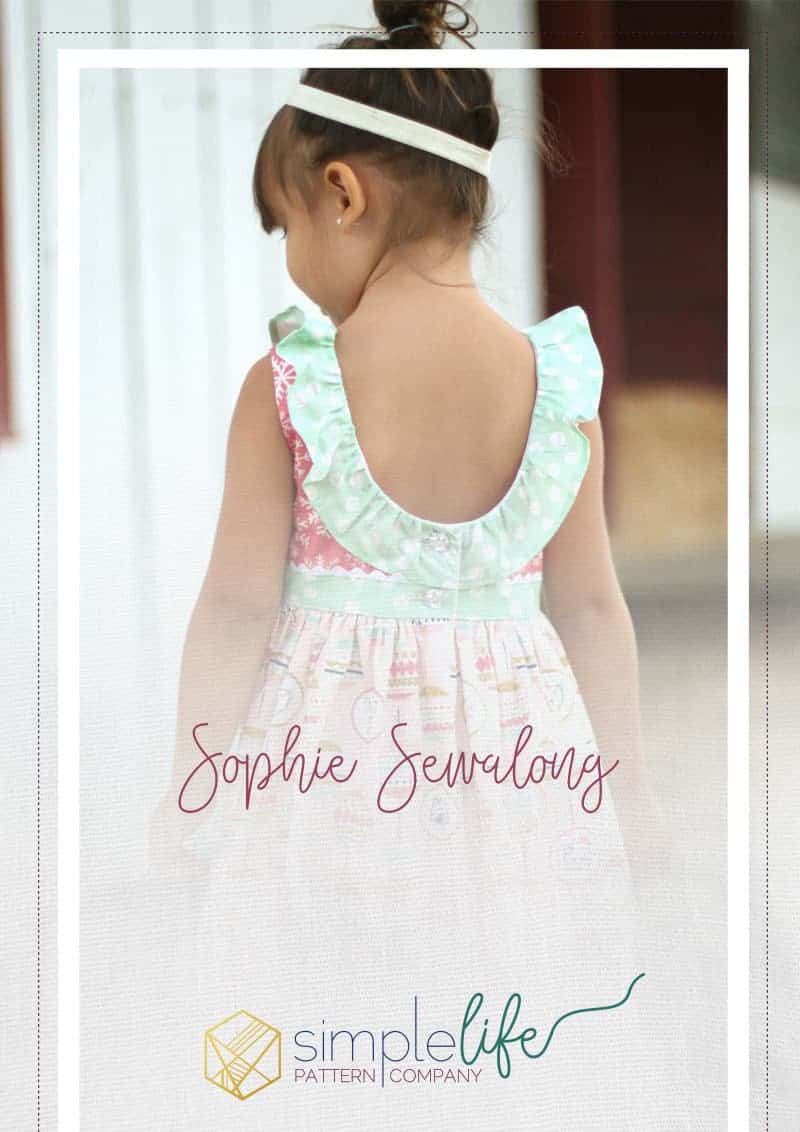
Sophie Sew Along Day 2
Welcome back everyone! We are now on Day 2 of the Sophie Sew-A-Long. Today is cutting day … are you as excited as I am?! First things first, if you are catching up on Day 1 or still need to grab a copy of the Sophie Pattern, head on back to the Day 1 post where we’ve linked everything up for you. If you’ve already picked out your fabric and options, let’s get started with cutting fabric!

One of my most favorite things about Simple Life Patterns is the cutting charts ON the pattern pieces. You see that chart there in the photo? All the info for cutting out all the rectangular pieces is right there for us to see right away! So, take a look at your pattern pieces, figure out the measurements for all the skirt, ruffle and sash pieces you need and cut away! (Steps 1-5 of cutting the pattern pieces in the pattern.)
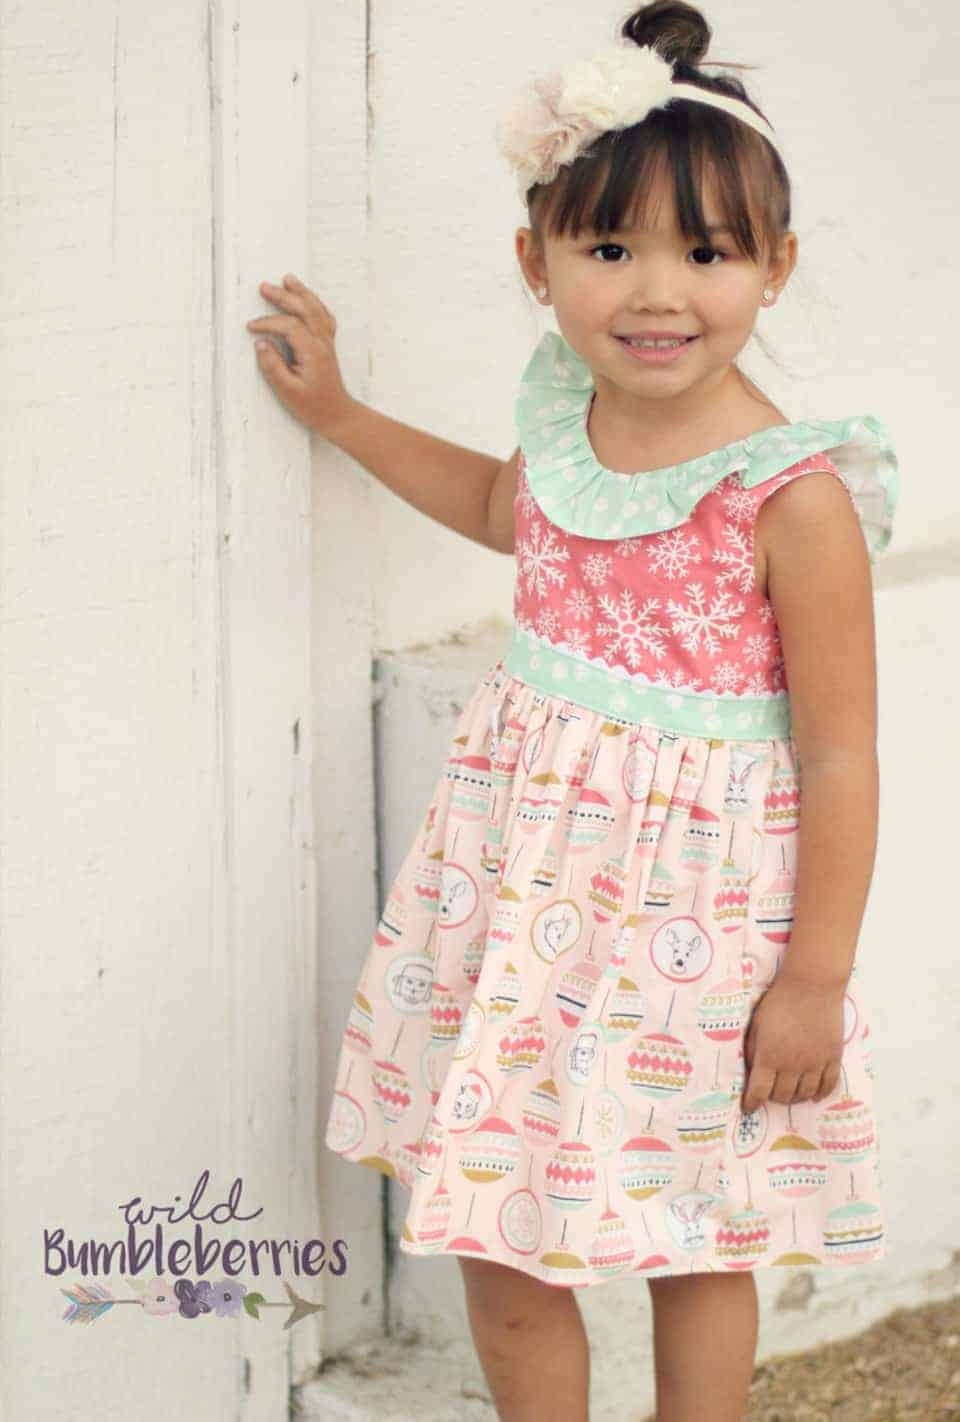
Once you’ve done that, you should have all the pieces shown below:
1.) 2 skirt pieces (with 2 skirt ruffle pieces if you are doing a ruffled skirt)
2.) 2 main bodice pieces and 2 bodice lining pieces
3.) Sash piece (optional)
4.) 2 sleeves or flutters (optional) … you don’t need a lining for the sleeve pieces, so just 2 cuts will do
5.) Neck ruffle (optional, but highly recommended!)
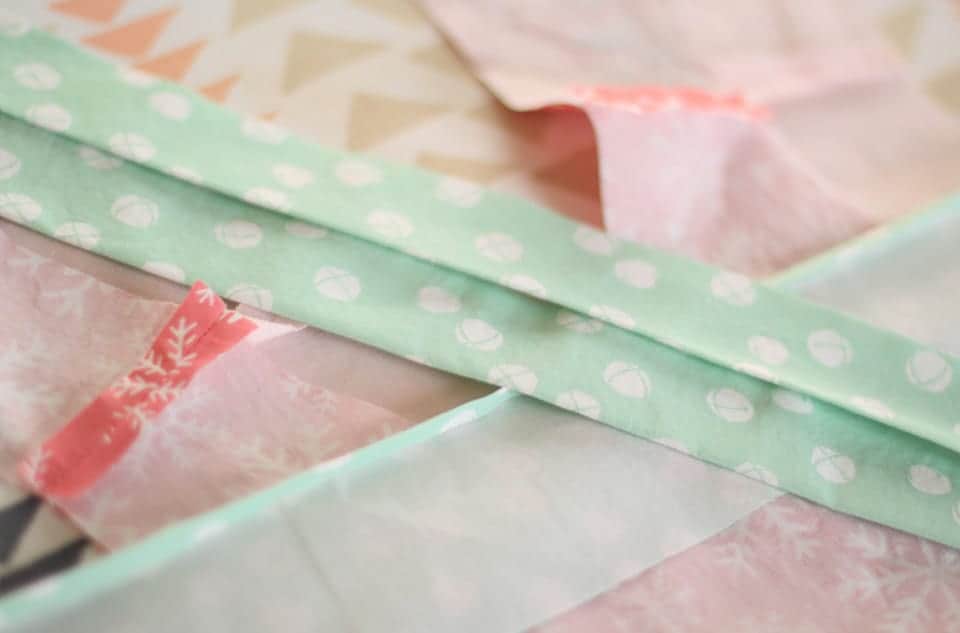
6.) Bias placket … don’t forget this piece. You’ll definitely need it for the skirt!

Now that you have all of your pieces cut out, let’s get sewing!!! We’re going to start by attaching your main bodice pieces at the shoulders. Then we’ll do the same for the bodice lining pieces. (Step 1 of sewing up the pieces in the pattern.) At this point, I’m going to go slightly out of order and skip to steps 5 and 6 of sewing up the pattern pieces … you’ll see why in a moment, so hang in there and I’ll make sure to get back on track! So next you’ll want to grab the neck ruffle pieces and stitch up the short sides to make one long rectangle as shown in step 5. From there, you’ll grab your bodice pieces, the sash and the neck ruffle and head on over to the ironing board. Time saving tip: press everything from the start so all of your pieces are ready to go and you save time later on! Now you will press your sash piece in half, and press the hem (or do a rolled hem) on your neck ruffle. Finally you’ll press the shoulder seams on both the main and lining bodice pieces.
That’s it for today! Super easy, right? Make sure you add your progress photos from today to the Day 2 album in the fan group. Tag them with #SLPcoSophie and #SophieSAL. Join us tomorrow on Day 3 when we finish up the bodice. Sash, trims, sleeves … oh my!
Dont forget to post into the ablum, Hawthorne Threads is giving away some “Oh What Fun” fabric to those that participate!
-Katrina of Wild Bumbleberries