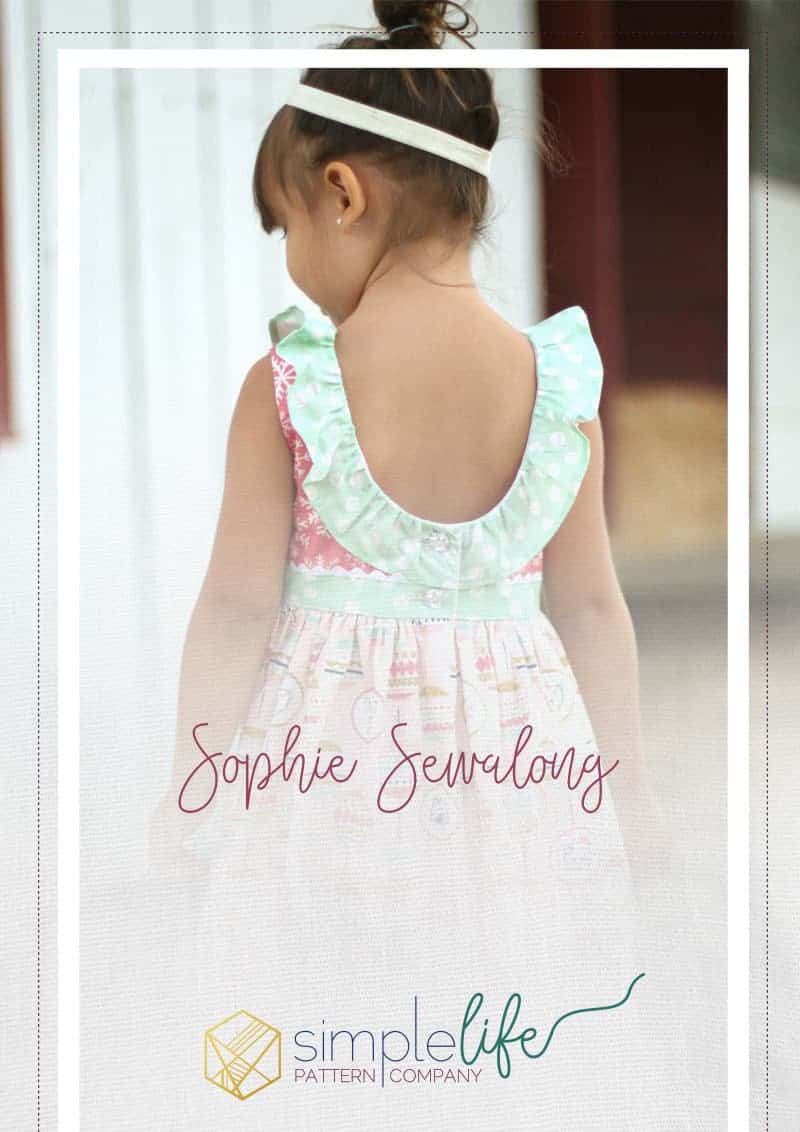
Sophie Sew Along Day 3
Good morning and hooray for Day 3! Can you believe we are just about halfway through the Sophie Sew-A-Long? Today is probably the most detailed part of the whole sew-a-long, so grab your pieces and get ready for to sew! If you missed Day 2, you can find it here.
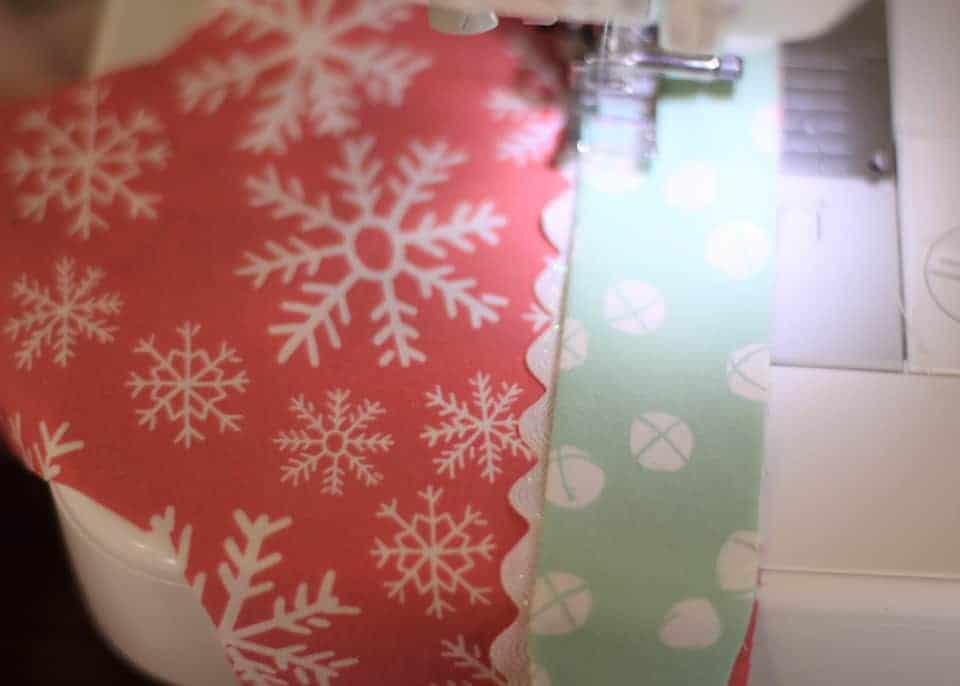
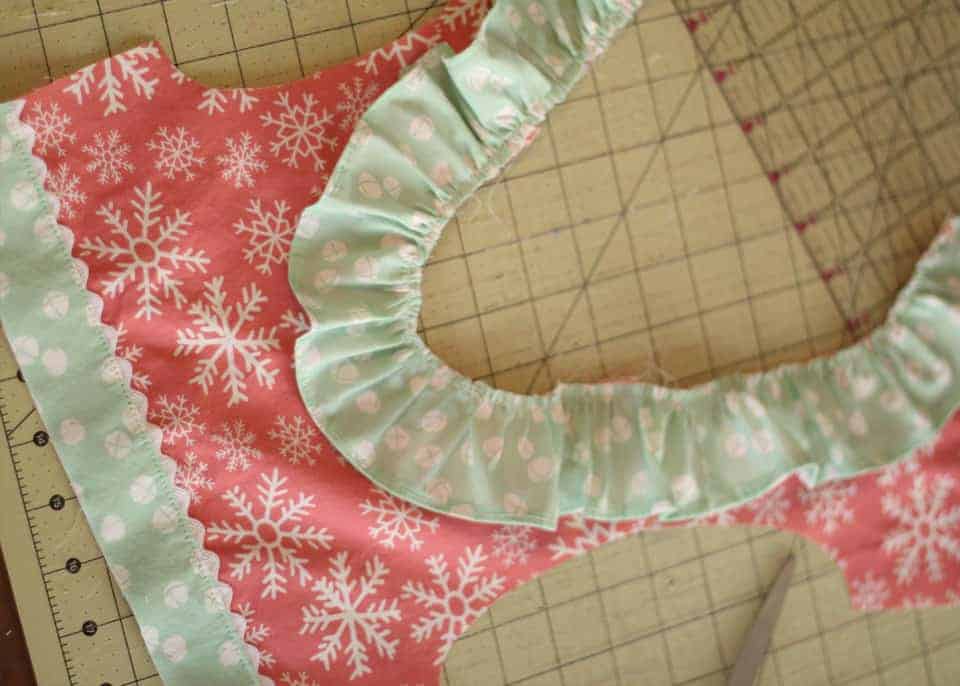
We’re going to start by adding details. Steps 2-4 of the pattern show you how to add your faux sash if you have chosen that option. Now is also a great time to sew on any trims you might want add. For this dress, I decided to add some sparkle ric-rac, which I added to both back and front bodice and sash pieces. The sparkly white ric-rac reminded me of glistening snow and was the perfect topper for Hawthorne Threads’ “Oh What Fun” fabric.
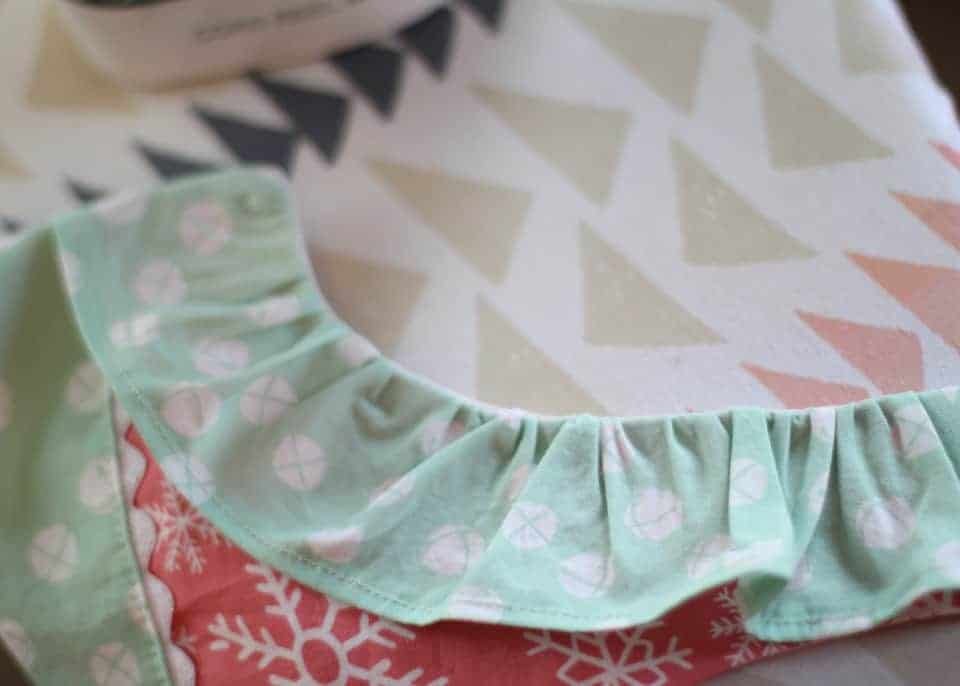
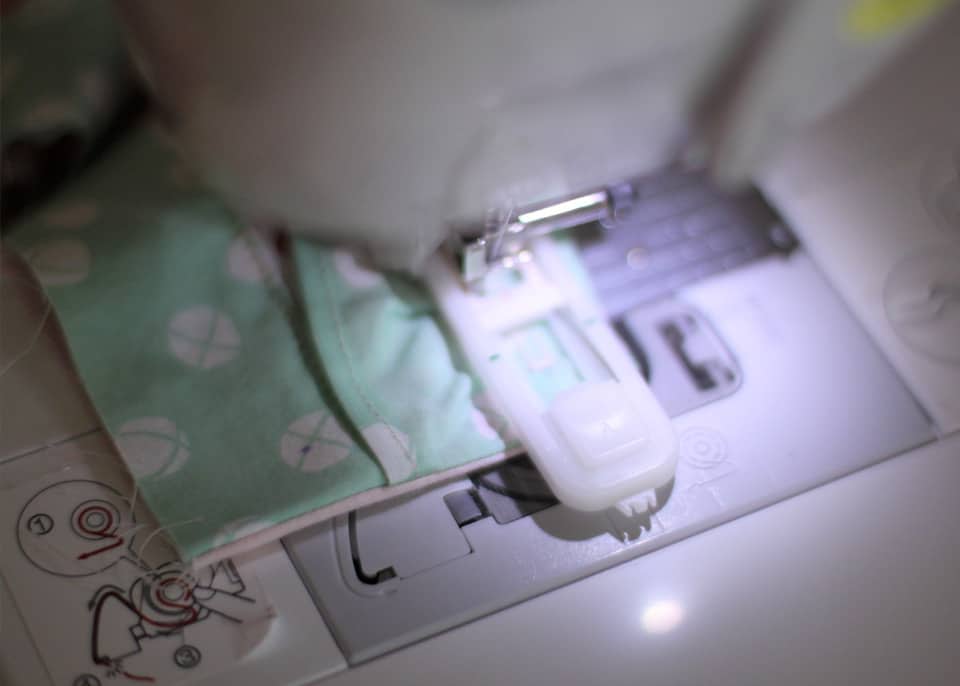
Now, who’s ready to add that pretty bodice ruffle? Are you still nervous about adding it? Don’t be, it’s super easy … plus, if you already ironed up the hem on Day 2, you’re almost done! Make sure to sew up the hem if you didn’t do a rolled hem; then you’ll want to put a gathering stitch in the top. It’s finally time to attach the ruffle! Time saving tip: Find the center of your long ruffle AND the main bodice piece at attach them with a pin, this makes it easier to get an even ruffle quickly. Make sure you put the wrong side of the ruffle against the right side of the bodice. This part is VERY IMPORTANT; otherwise your ruffle will be on the wrong way. Now, gather up both sides and baste the ruffle to the bodice.

(Flutter sleeve option: If you are doing a flutter sleeve, you’ll want to attach the flutters to the main bodice NOW.)
It’s time to attach the bodice lining to the main bodice. Go ahead and do that now. When you are done, be sure to clip around the curves. My favorite thing is to just use pinking shears for a fast and easy curve trimmer!
This is the point where some of us will vary in our next step. If you are doing sleeveless or flutters, you’ll want to sew around the arm openings now. If you are adding sleeves, make sure to follow steps 17 through 20 for sleeve instructions.
You’ll want to pull everything right side out after whichever sleeve option you chose to do and press your entire bodice making it look all perfect and pretty. Finally, you will want to add the button holes. Here is another decision you’ll have to make … one that I haven’t ever seen on any other pattern. You need to choose whether or not to do an exposed or hidden button! What?! It was really hard for me to decide on this one, but I went with exposed so that I could add a couple of jeweled buttons to the back for a little added sparkle.
That’s it for today! I can’t wait to see all the options you decided to sew up! Make sure to join us in the fan group to post your photos in the Day 3 album so we can all see what you chose to do with your final bodice! See you tomorrow.
-Katrina of Wild Bumbleberries