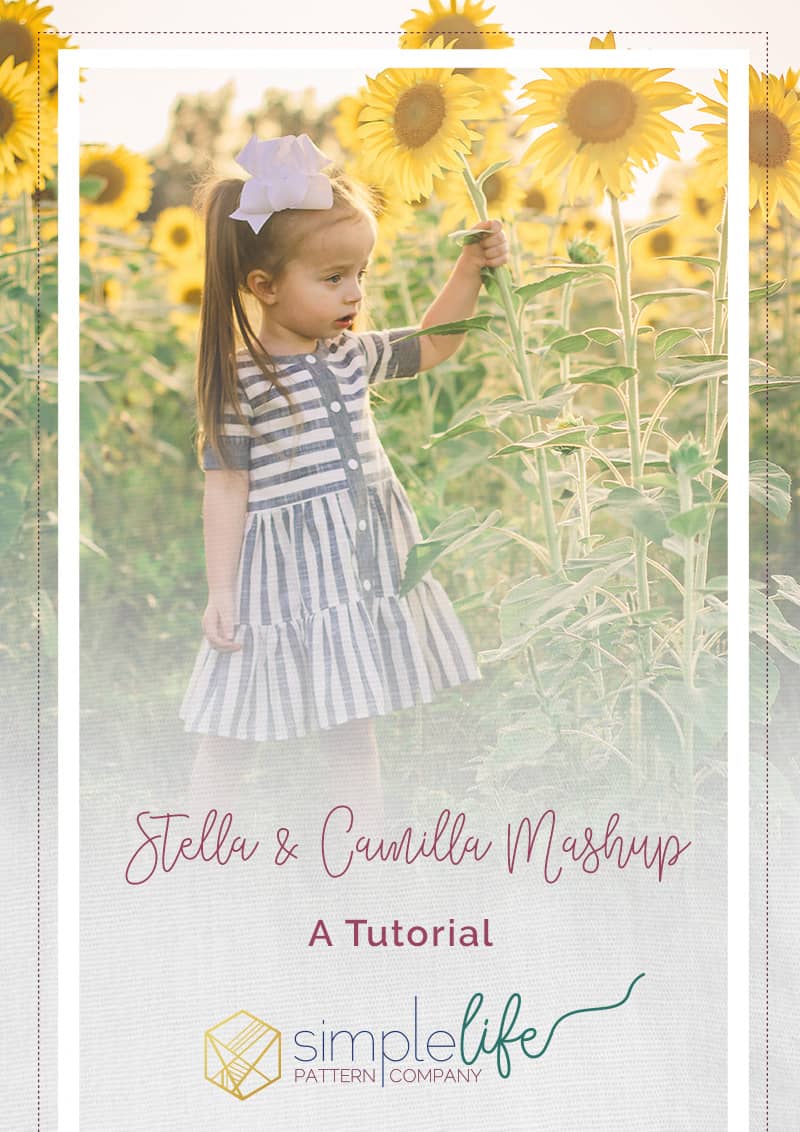
Stella and Camilla Mashup – A Tutorial
As summer draws to a close it is time to start thinking about fall sewing. SLPco released so many gorgeous patterns this summer and I’ve got a few ideas to show you how to transition them into fall. First up, is a Stella and Camilla mashup. Since both patterns use a button placket closure they mash together quickly and easily!

Stella Bodice

The first thing I did was create my Stella bodice. Since the bodice has more of a dropped waist length I wanted to get it on my daughter first before calculating skirt length. I recommend taking a look at the line drawings on page 5 of the Stella pattern to decide on options. I chose to make a bodice with 3/4 cuffed sleeves and faux facing.
Work through steps 1 through 18 of the Stella tutorial to make your bodice. When you get to step 19 stop! At this point I suggest slipping the bodice on your model and figuring out skirt length. Make sure the child’s arms are resting comfortably at their sides during this step for an accurate measurement of where the bottom of the bodice lies.
Camilla Skirt

For my child, I found that using the vintage length measurements of the Camilla skirt worked best with the length of the Stella bodice. I paired a size 9/12m Stella bodice with a 9/12m vintage length tiered Camilla skirt for a perfect knee length finished dress. You can find all of the skirt measurements for Camilla on page 7 of the pattern tutorial.
Once you have your skirt measurements, complete steps 19 through 26 of the Camilla tutorial to sew your skirt pieces together. After you have your tiered skirt pieces sewn together and hemmed, you can attach it to your Stella bodice. Match up the open raw edges of the Camilla skirt with the open raw edges of the Stella bodice. Gather the skirt to the same width of the bodice and sew/serge in place. Flip the skirt seam up toward the bodice and topstitch in place. You are now ready to finish your dress by adding the placket closure.
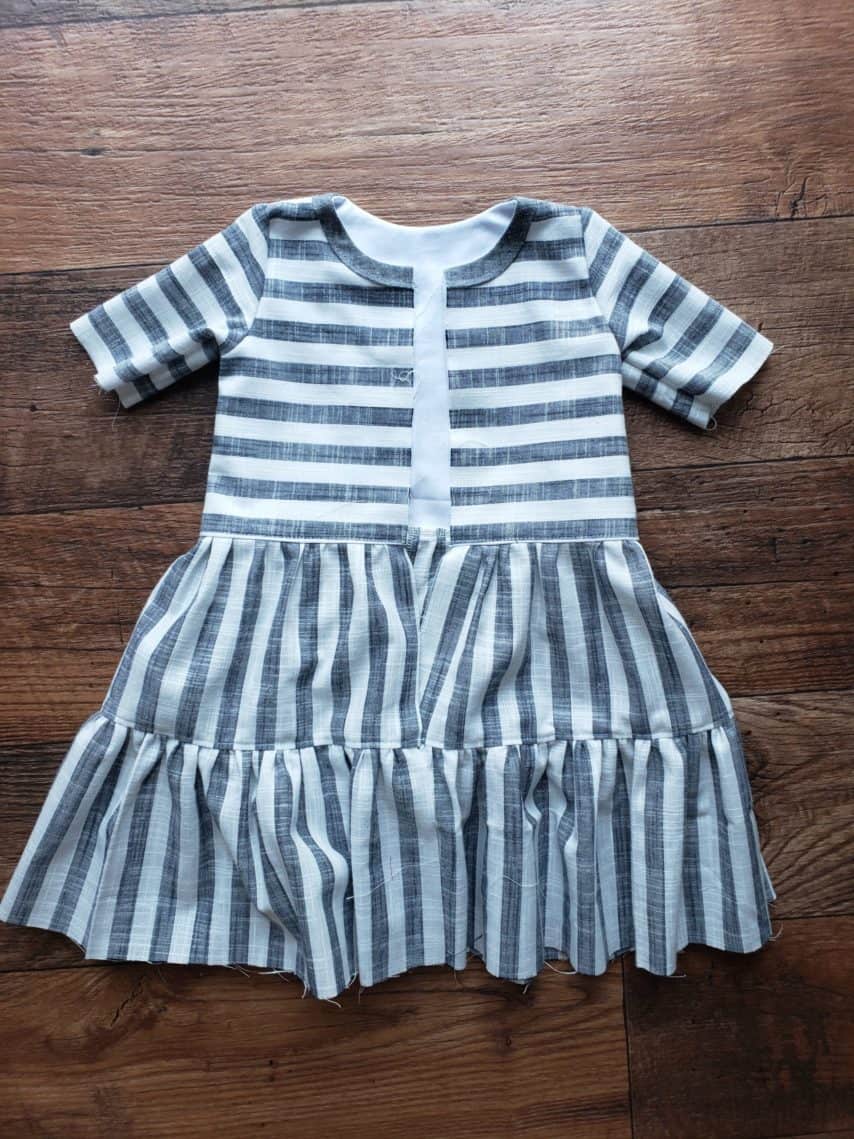
Button Placket Closure
To make sure your Stella bodice closes appropriately, you need to use the width of the Stella placket. However, since we’ve attached the tiered Camilla skirt instead, we need to figure out our new placket length.
With your bodice lying on your cutting mat or using an accurate fabric tape measure, measure the length of your dress from the neckline of the bodice to the hem of the skirt. For example, you’ll see that for my size 9/12m dress I have a length of almost 18 inches. I added 4 inches for extra wiggle room and cut 2 plackets measuring 3″ x 22″ for a size 9/12m. Make sure you look at the measurement chart on page 7 of the Stella pattern tutorial to get the width of your placket. 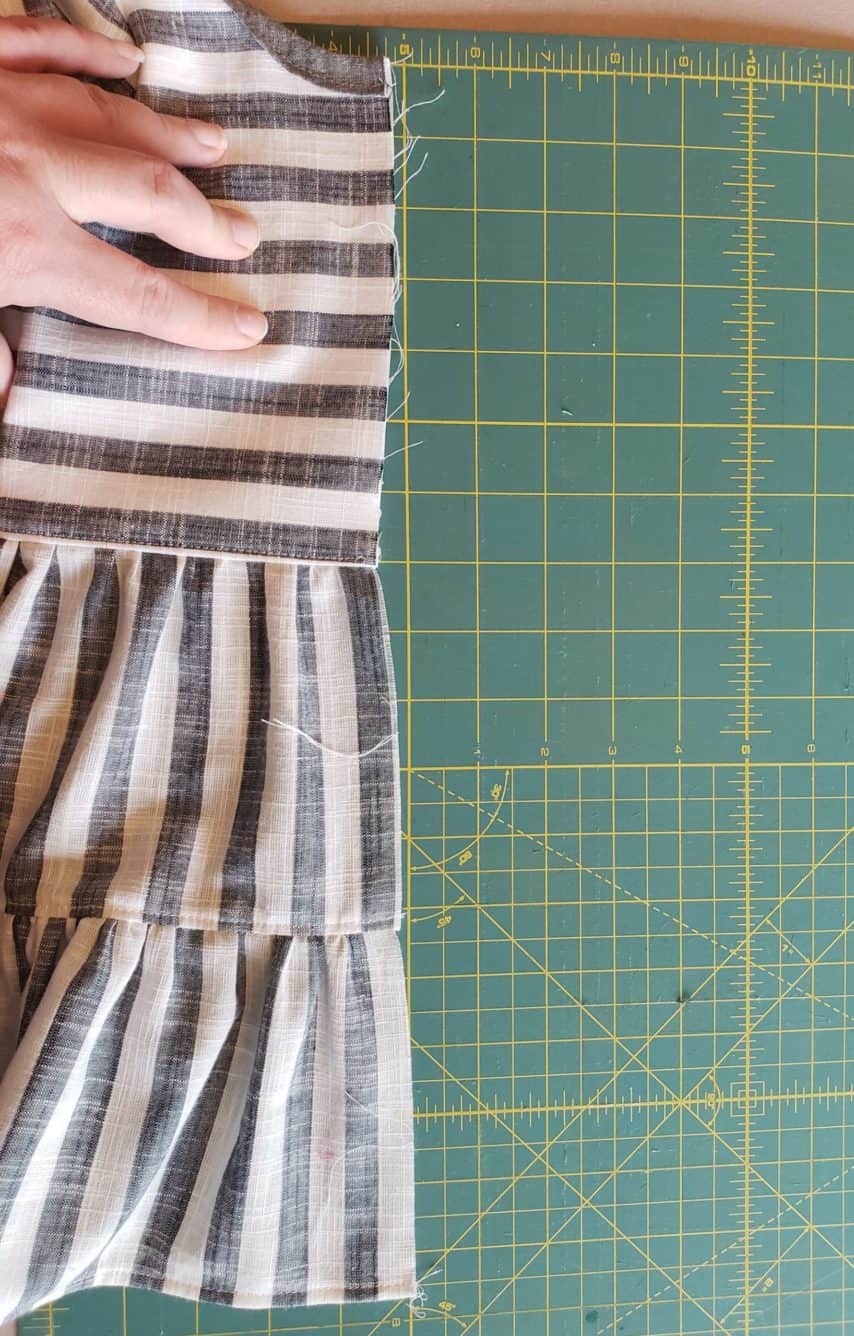
Follow steps 19 through 24 of the Stella tutorial to add your button placket to your dress. You will use the same method in step 21 of the instructions to get a finished edge on the bottom hem. Make sure that you take the placket all the way to the bottom hem of your dress. DO NOT stop sewing the placket at the bodice. Once you have the placket sewn to your dress you can add buttonholes/buttons or snaps. I chose to add white snaps to my placket. They are much easier to use when dressing a 3 year old.

I hope you love this pattern mashup as much as I do. If you have any questions, please feel free to reach out to me in the Facebook fan group. You can find me listed under the admins.
Happy Fall sewing,
Chauncey