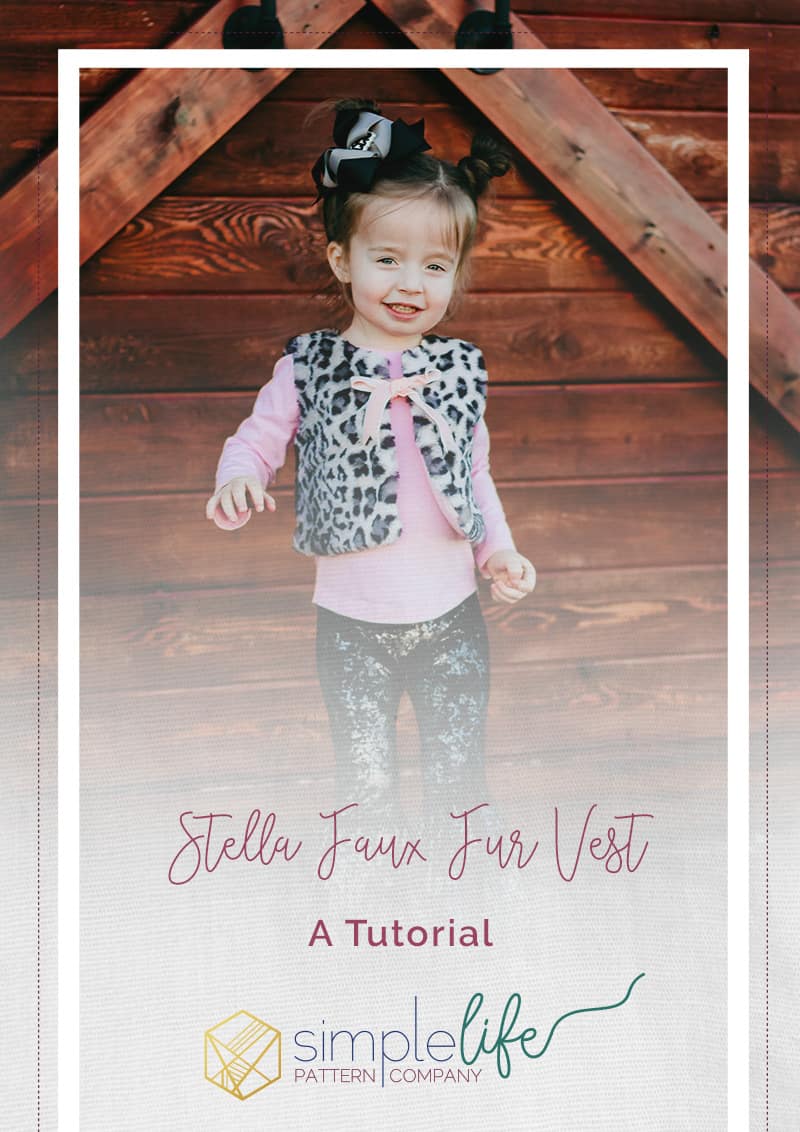
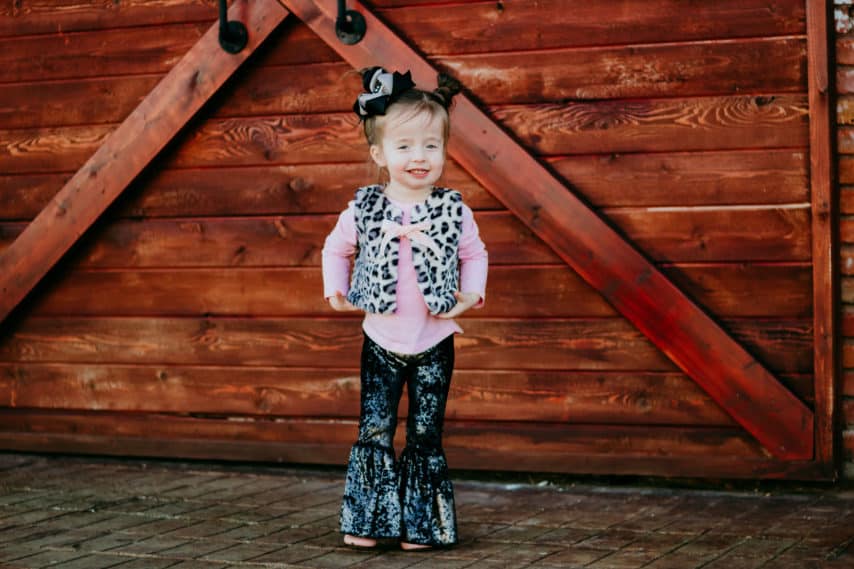
Stella Faux Fur Vest
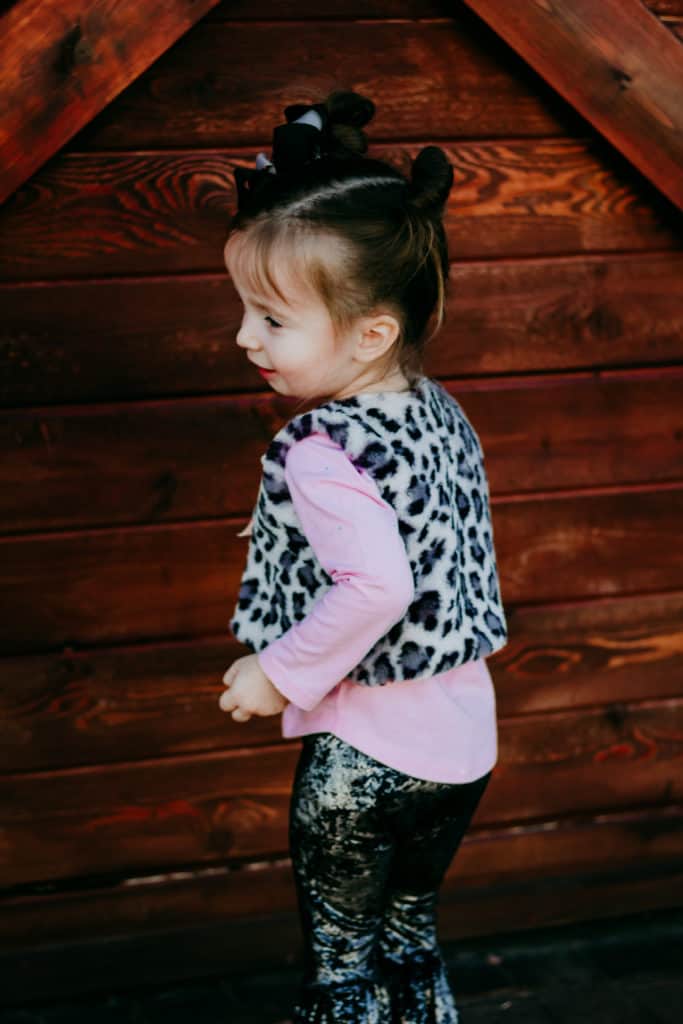
One of my absolute favorite things about Simple Life Pattern Company patterns is just how versatile they are. Whatever you can dream up, there’s probably a SLPco pattern to bring it to life. Winter has arrived here in Kansas and I wanted to make sure my sweet bear was staying nice and warm. I’ve been wanting a faux fur vest for Chacely but haven’t found one I just love.
I was shopping at JoAnn’s and finally found a gorgeous monochromatic leopard faux fur fabric. I decided to buy a yard of the faux fur and challenge myself to make Chacely the fur vest I’ve been dreaming of. The thought of working with fur scared me until I finally tried it. Hopefully, you’ll learn a few things from me today and take the plunge to create an adorable Faux Fur Stella vest. Stella is a perfect base for this project because of the drop waist and open front style. With just a few tweaks you’ll have this vest sewn up in no time. Sizing note: normally Chacely wears a size 9/12m in SLPco patterns. For the vest length and layering purposes I sized her up to 18/24m for a nice fit.
Cutting Into the Fur
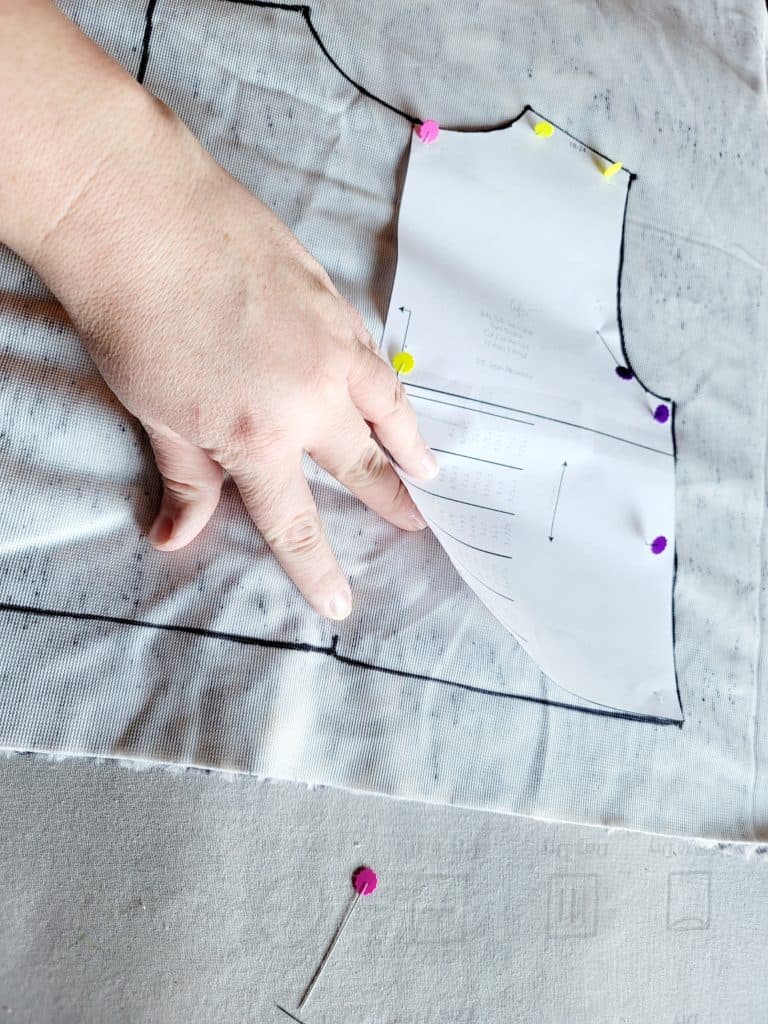
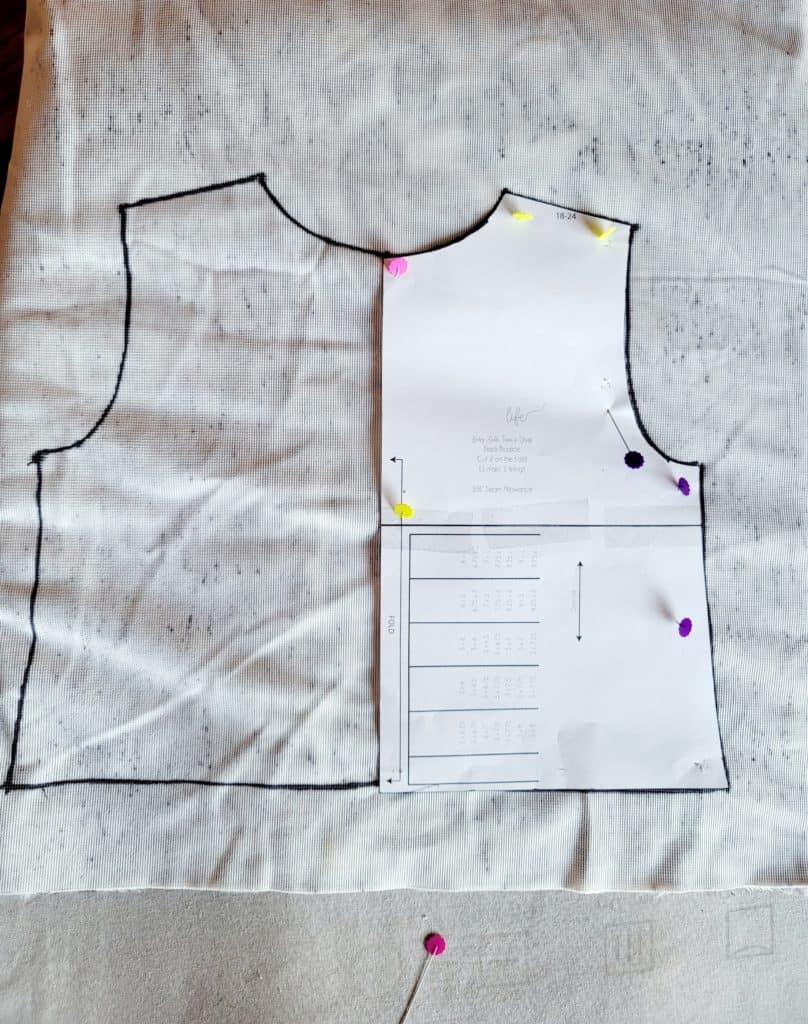
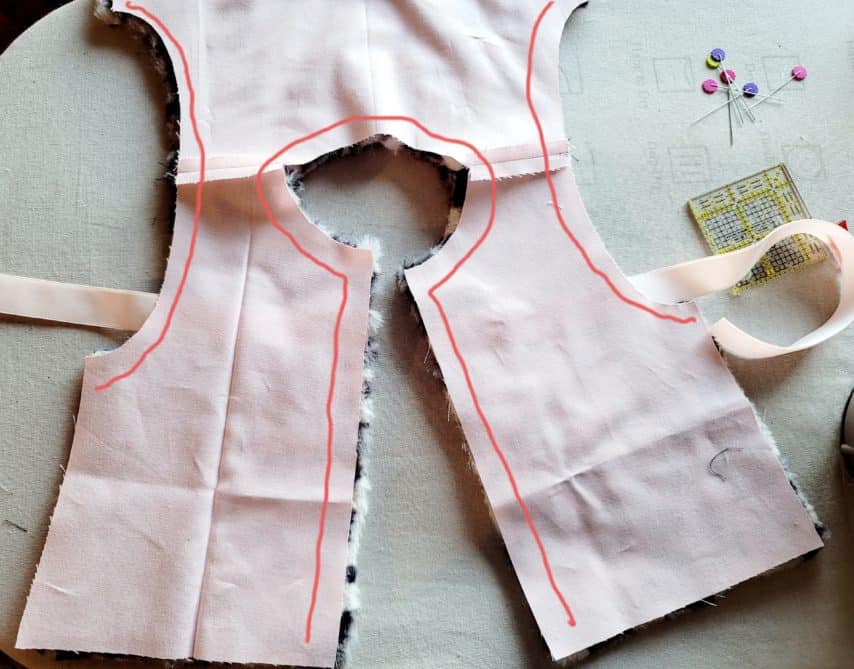
Normally when I cut into fabric I just lay my pattern piece on top and start cutting away. If you do this with fur, you are going to have fur EVERYWHERE! Start by flipping your fur fabric over so that the lining side is face up. Lay your pattern piece on top. Pin like crazy. The fur and lining can be slippery. I like to trace around the pattern with a Sharpie. Make sure you cut mirror images for your front pieces.
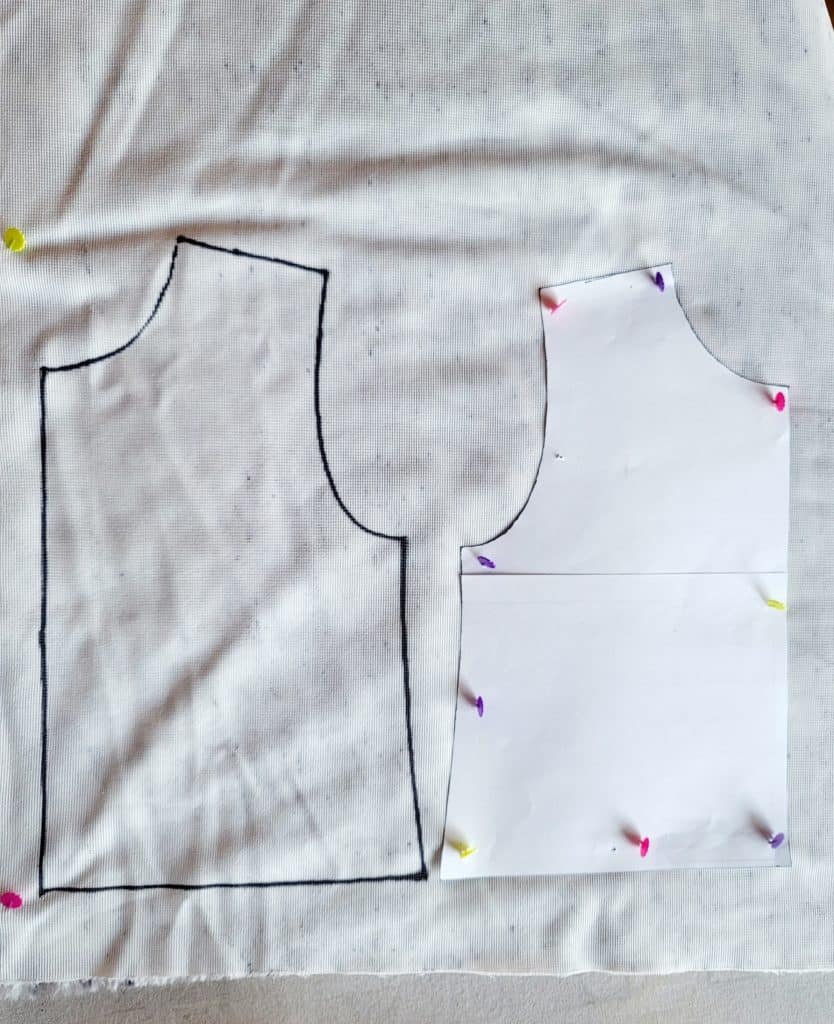
For the back piece I made a ticking mark at the top and bottom to show the fold line. Now, when I flip the pattern piece over to trace the other side of the back fabric piece I will know where to align my pattern piece.
You may want to move outdoors for this next bit, it can get a little messy! When you start cutting your pattern pieces, make sure you use something with a really sharp blade. I prefer to use my Tula Pink snips, Olfa razor blade, or Gingher applique shears.
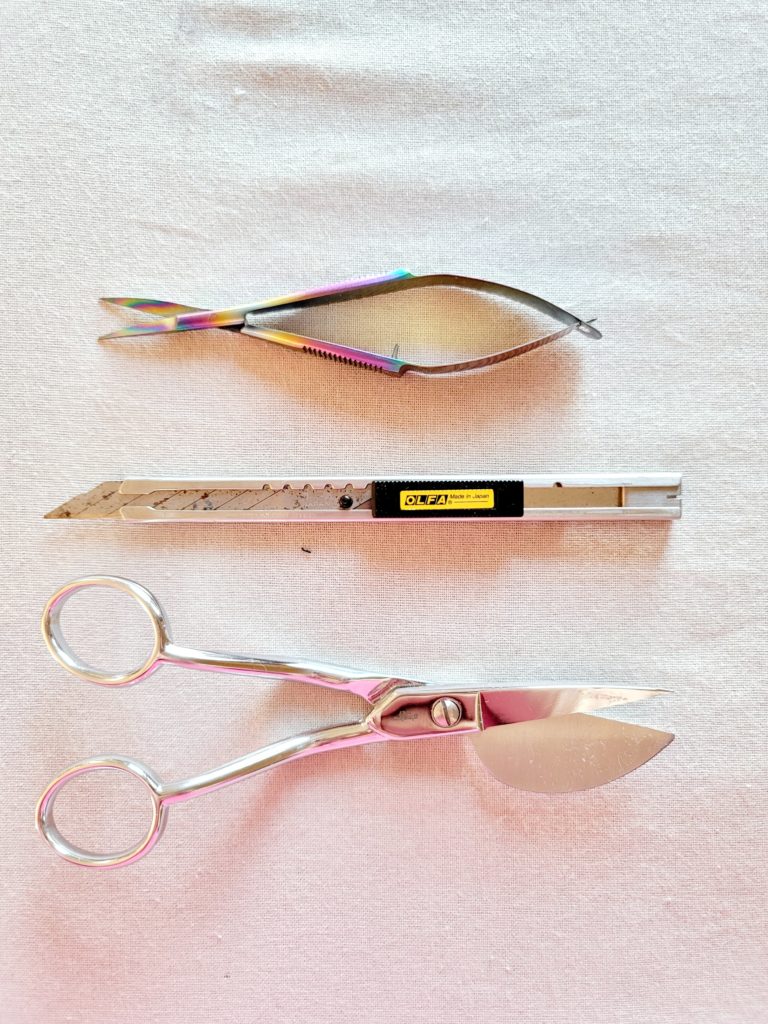
Make a small incision into the fabric. Keep your bottom blade edge on the fur side as close to the fabric as possible. Use your top blade to cut through the fabric. This will minimize the amount of fur you cut through and prevent any choppy fur pieces on your finished project.
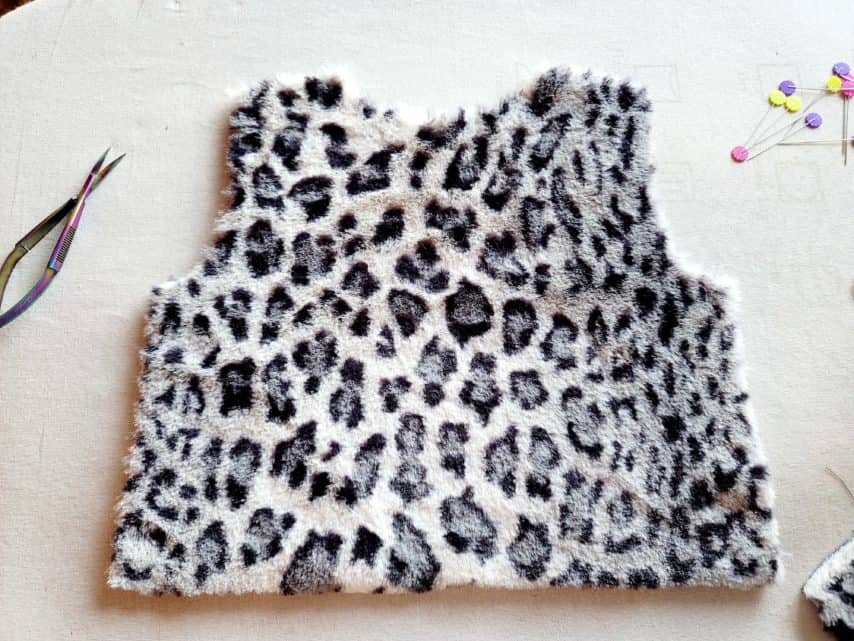
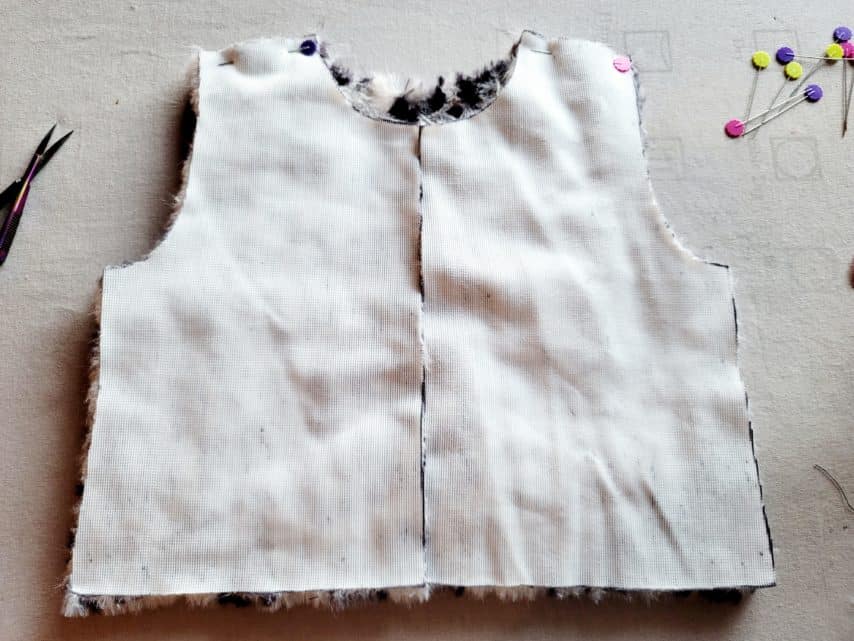
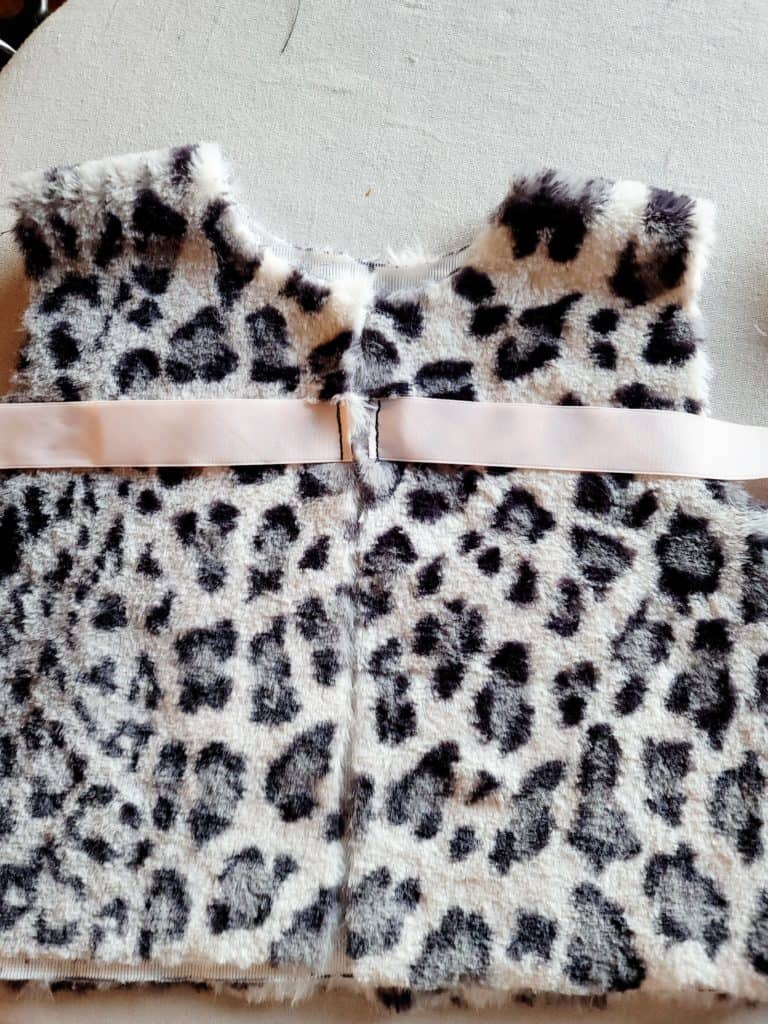
When you are finished cutting, shake off the excess fur OUTSIDE. Otherwise you will have a furry snowstorm inside your house. Your finished cut piece will look like this.
Sewing With Fur
Now we are ready to sew our vest together. Start by laying your back main fabric so that right sides are facing up. Lay the front pieces on top and pin at the shoulder. Push the fur down from the cut edge, making sure to keep the fur pushed down as you sew.
Repeat for your lining pieces. I just used a simple, solid cotton woven fabric for the lining. Fleece or flannel would also be a great and cozy option.
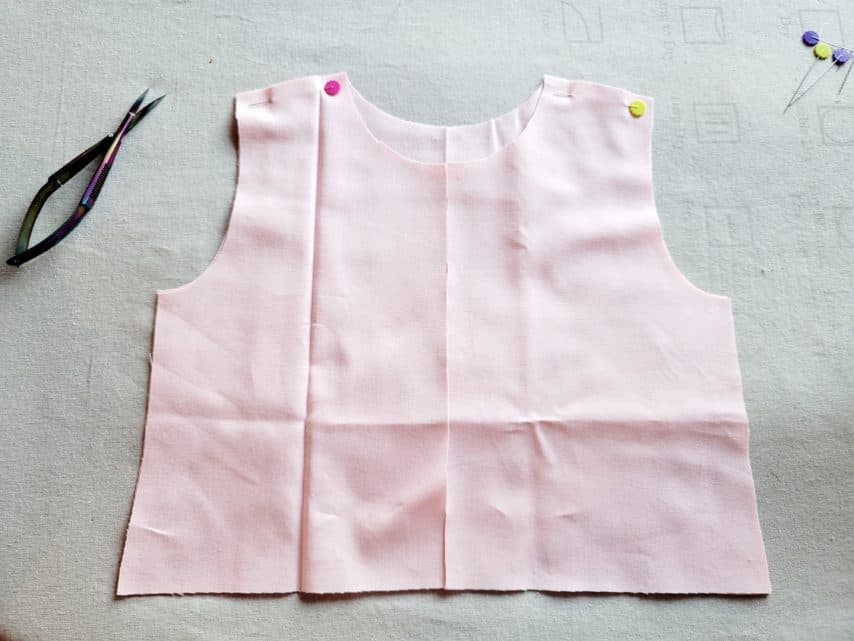
Next, iron the shoulder seams open on your lining fabric. You will also need to fold the bottom raw edge up 3/8″ and iron in place to create a memory fold. We will use this fold to enclose our vest in the last step.
Decorative Front Closures
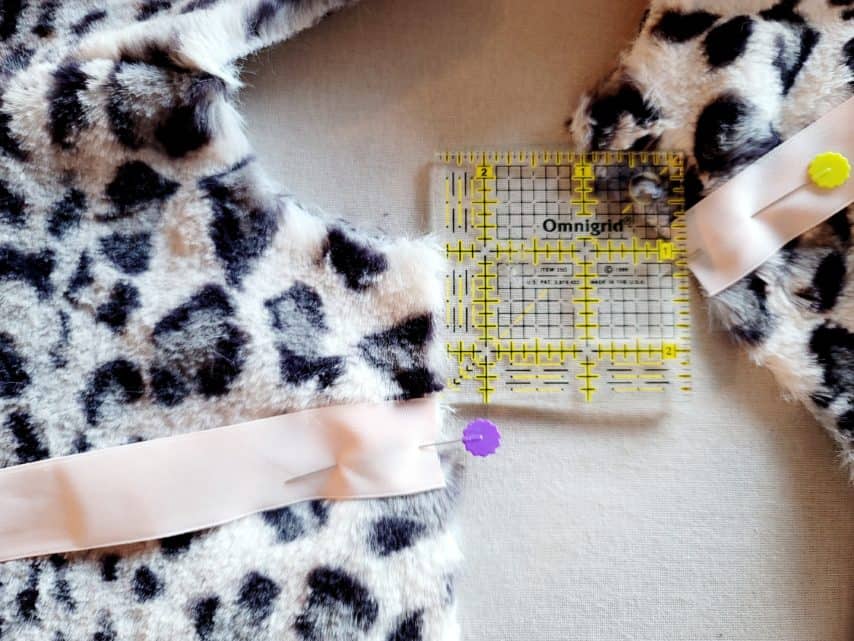
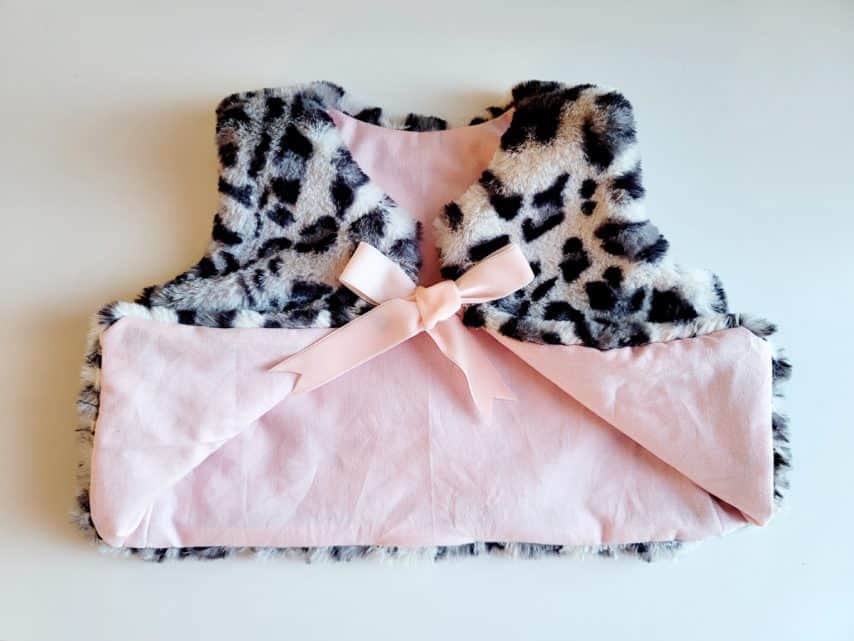
If you want to add a closure to the front of your vest do that now. I chose to use a light pink velvet ribbon that matched the lining. You could also use fun fabric ties, lace trim, snaps, hook and eye, or zipper closures.
I measured town 1.5″ and basted my ties in place. For an older child you will want to baste your ties further down. I suggest measuring from the top of the collarbone to where you want the ties to sit. If you add ties make sure that the right side of your ties is facing down toward the right side of your fur fabric. This ensures that your ties are facing right side out after you attach the lining.
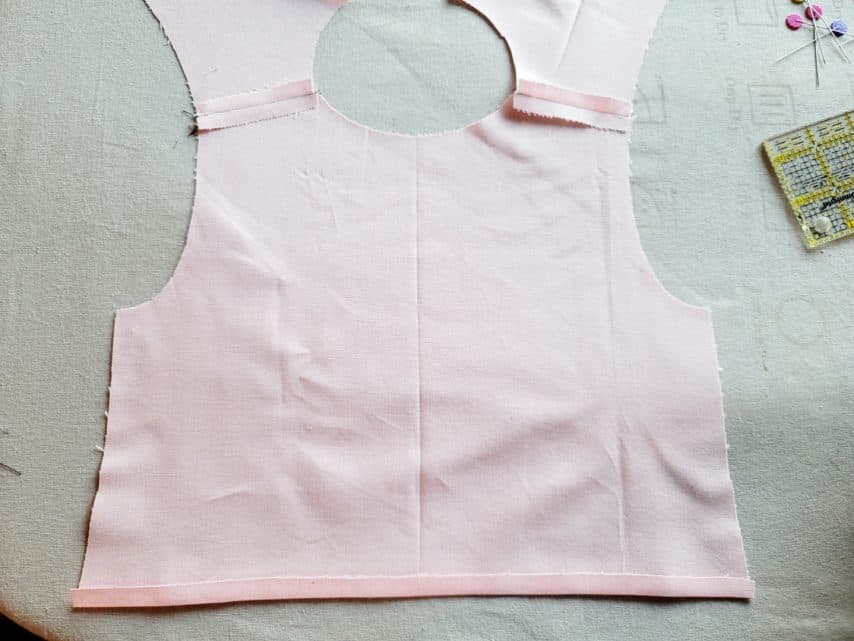
Now lay your fur pieces so that right sides are facing up. Lay your lining pieces on top and pin in place along the left front opening, around the neckline, and down the right front opening. Sew in place. Go slow and remember to push the fur out of the way of your seam allowance. Repeat for both arm curves as well. Make sure you move your ties out of the way when sewing the arm curves. Clip all curves with pinking shears and clip corners so that when you turn your vest right side out it will lay nice and flat.
To turn your vest right side out simply pull the front pieces through the shoulder toward the back piece. We are essentially following the instructions for a sleeveless Stella according to pattern instructions. If you get stuck or need more photos to reference, please look at the pattern tutorial step 10.
Enclosing The Vest
Now we need to enclose the side seams. Using step 11 of the pattern tutorial as a guide, separate the fur main and lining of the front bodice. Separate the fur main and lining of the back bodice pieces as well. Flip the back bodice pieces on top of the front, matching up the side seams and sew. Repeat with the other side.
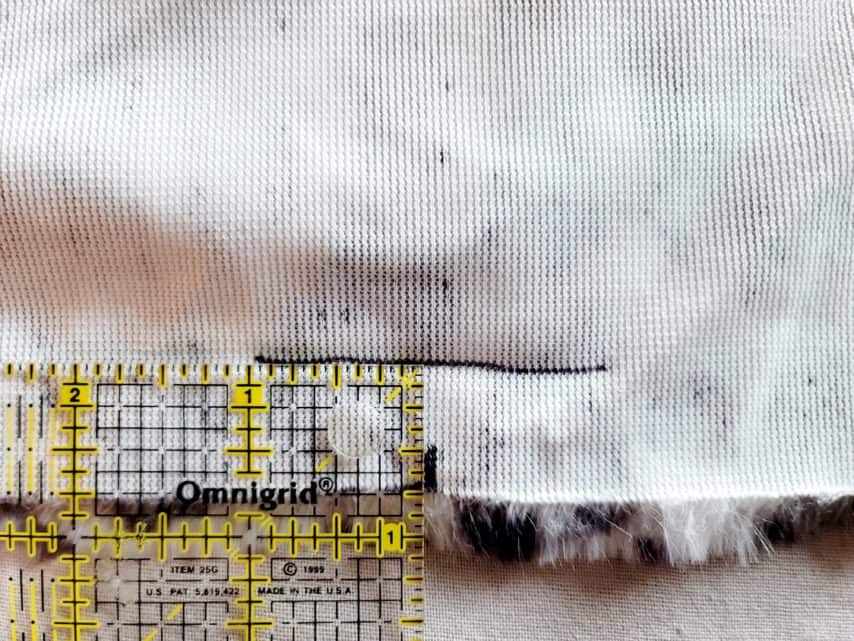
Are you still with me? Now we just need to enclose the bottom raw edges. Find the center of your back fur bodice. On the wrong (fur lining) side of the fur mark the center 3/4″ up from the bottom edge. I like to draw a line 2″ across. This will let me know where to stop and start sewing once I enclose the bottom edges and will allow me to turn the vest right side out.
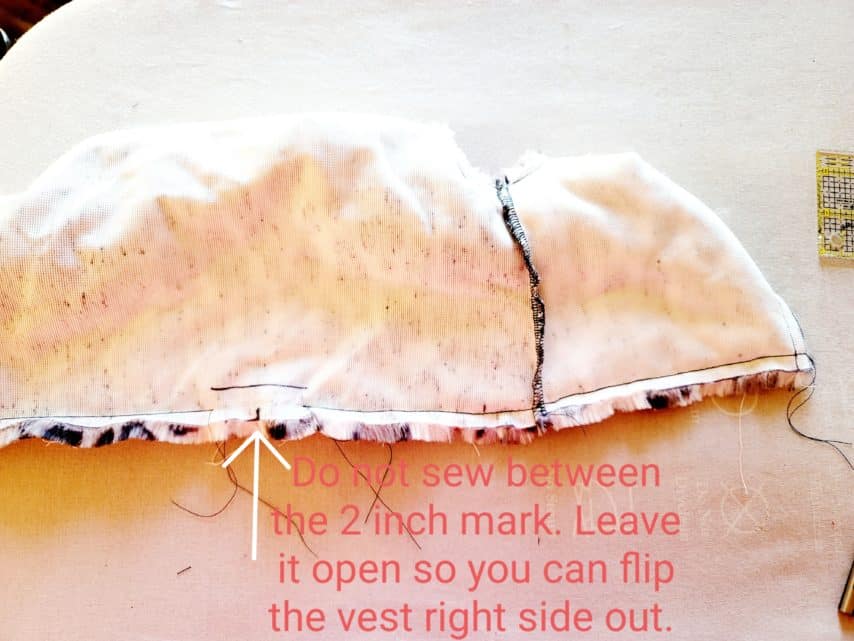
Fold the vest inside out so that the fur main and lining pieces are right sides together. Pin along the bottom from the front bodice edge to the markings we just made. Continue pinning around the bottom to the other front bodice edge. Sew along the bottom with a 3/8″ seam allowance from the front edge to the mark we made. STOP. Leave at least a 2″ gap so that you can turn your vest right side out. Continue sewing from the other side of the mark on the back bodice to the other front bodice piece. Use the opening to pull your vest through so that it is right side out.
Now use a ladder stitch or stitch witchery to close the opening. If you are unsure how to sew a ladder stitch I have attached a video in the fan group for your reference. You are now done!
You have a fully enclosed fur vest!


Happy sewing,
Chauncey