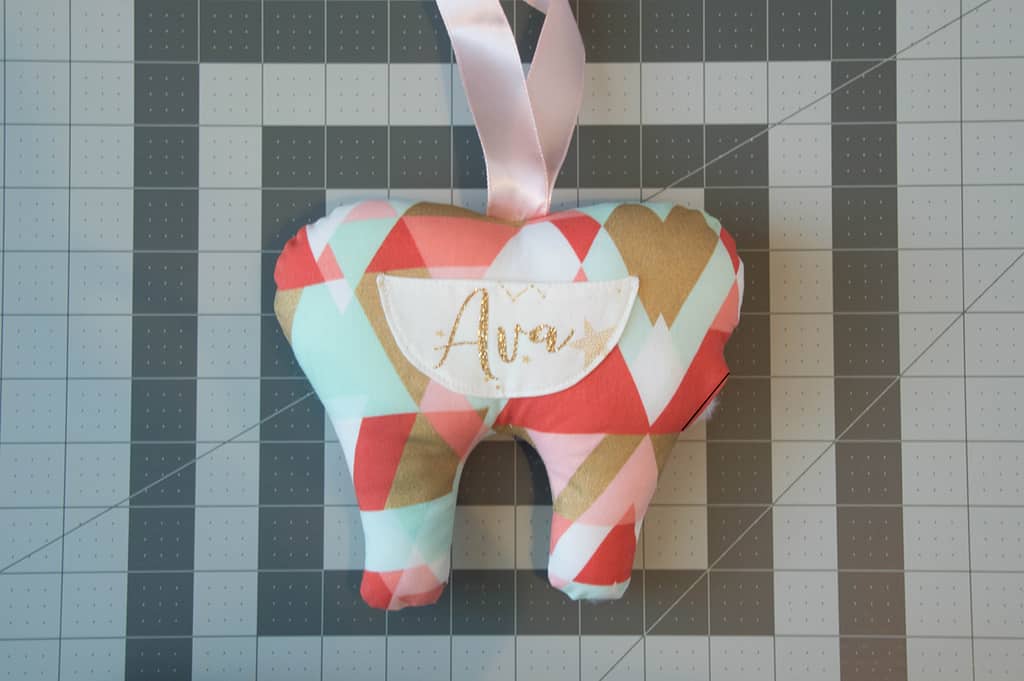
DIY Tooth Fairy Pillow- A Free Pattern
Hi there SLPco family!! This past week has been a busy one for our family. We celebrated a birthday, Santa came and my daughter lost her very first tooth. She has been anticipating this milestone for over a year now so this was a huge day for her and I wanted it to be as special as possible. It has been on my to-do list forever now to make tooth pillows for each kid so I took this opportunity to finally make them…and best of all there is a FREE pattern for you to make one as well!!

Download your FREE Tooth Fairy Pillow Pattern HERE
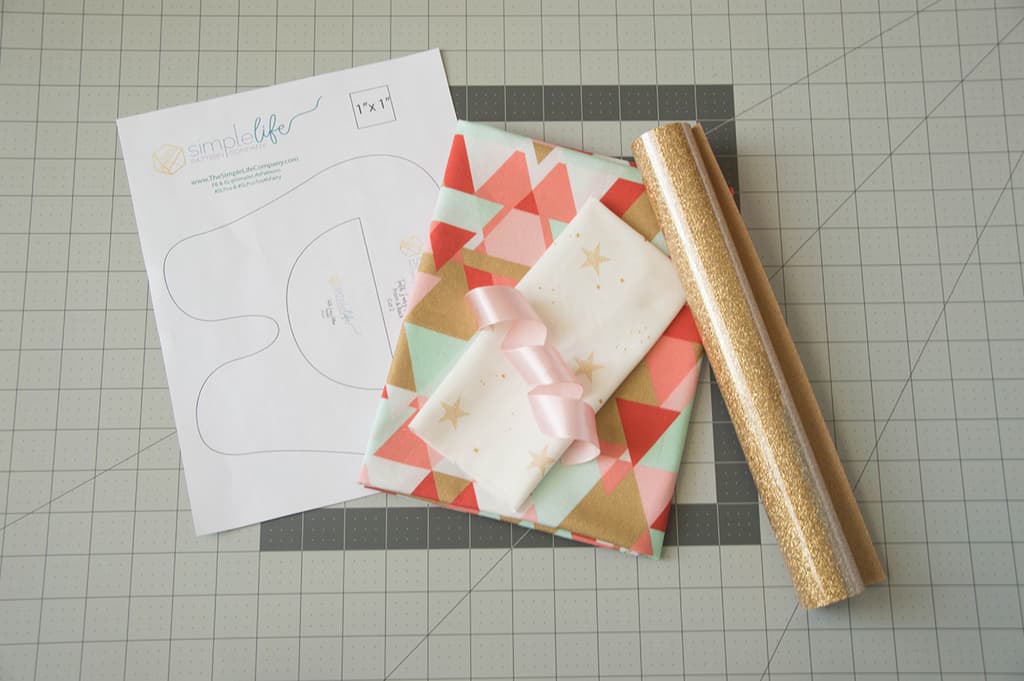
Supplies Needed
2 coordinating fabrics
Needle and Thread
**Seam Allowance for this pattern is 1/4″
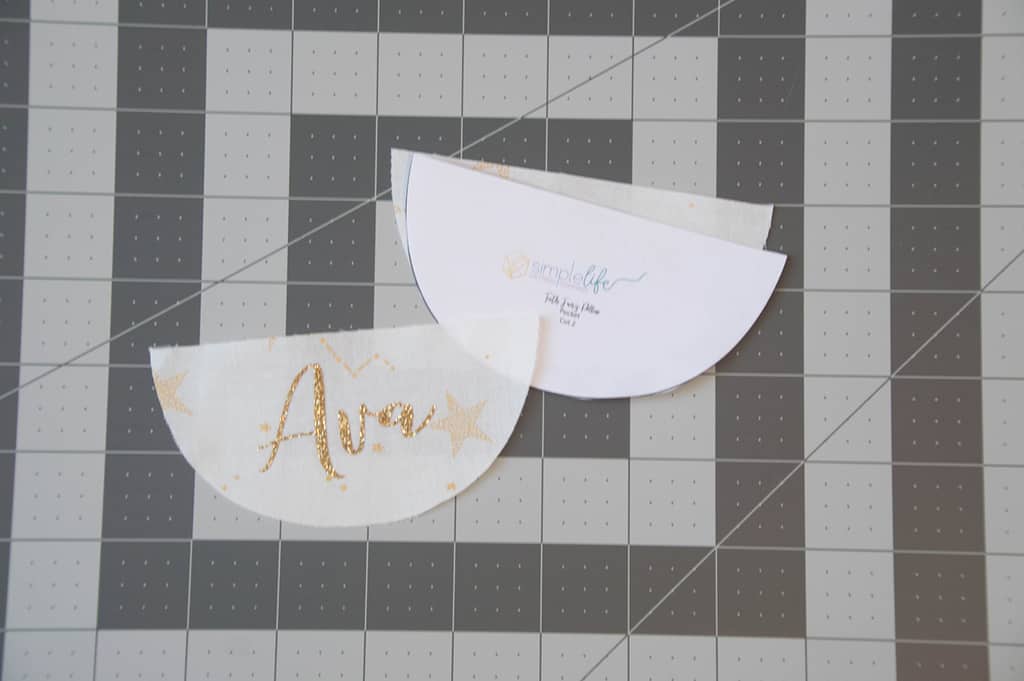
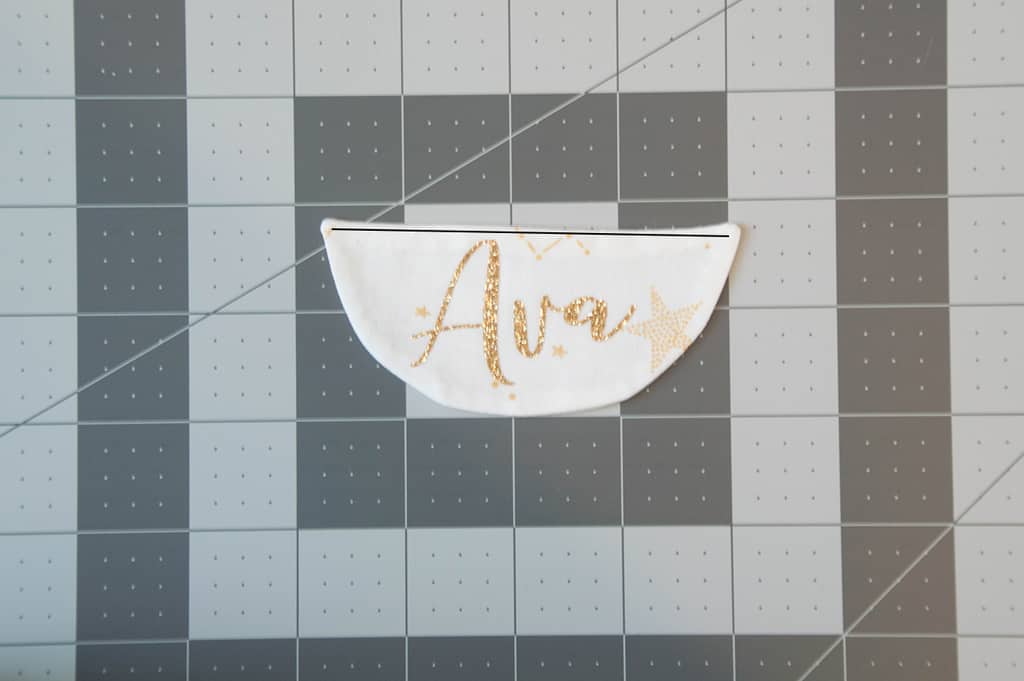
1. Cut out your pocket pattern piece. Choose your design and add the heat transfer vinyl as directed.
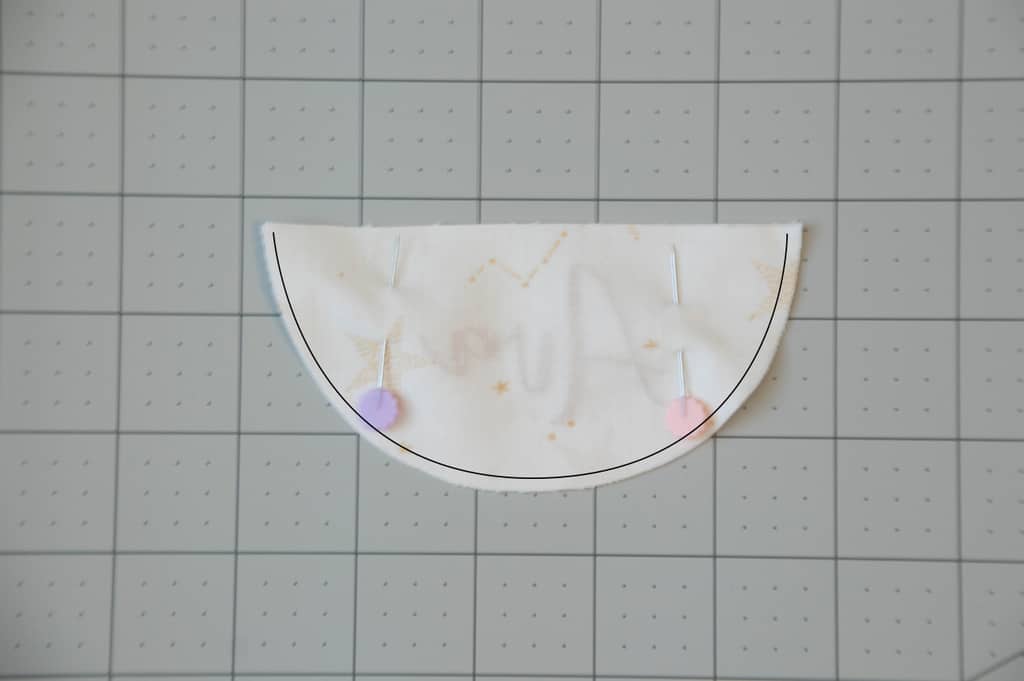
2. Lay one pocket piece on top of the other, right sides together and sew around the bottom curve. Clip your curve and turn right side out.
3. Press the top raw edges in 1/4″ and topstitch 1/8″ away from the edge.
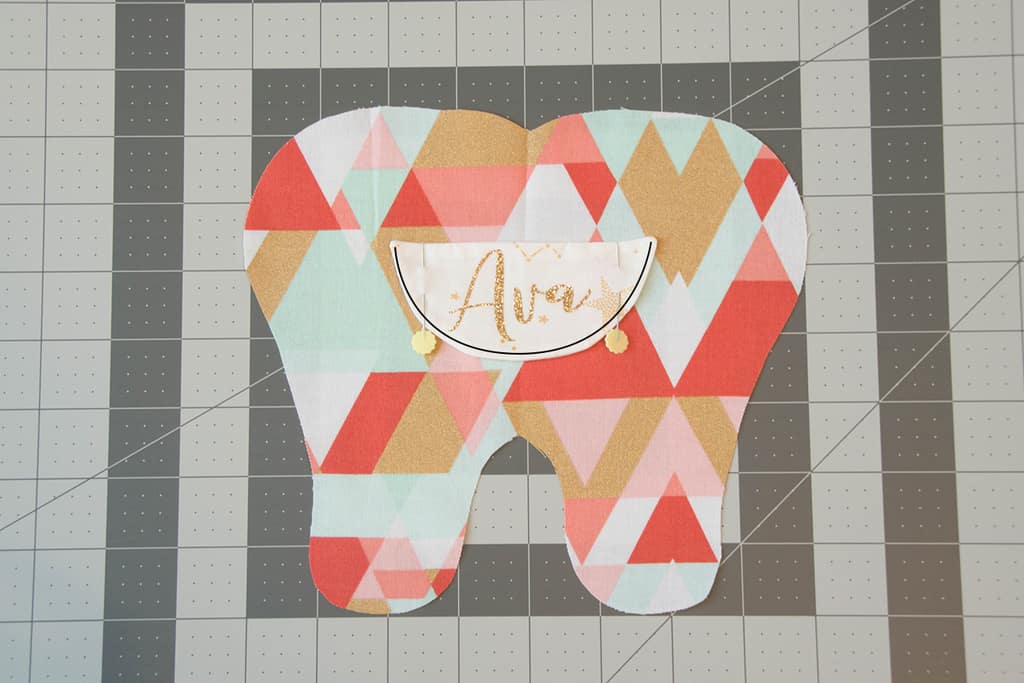
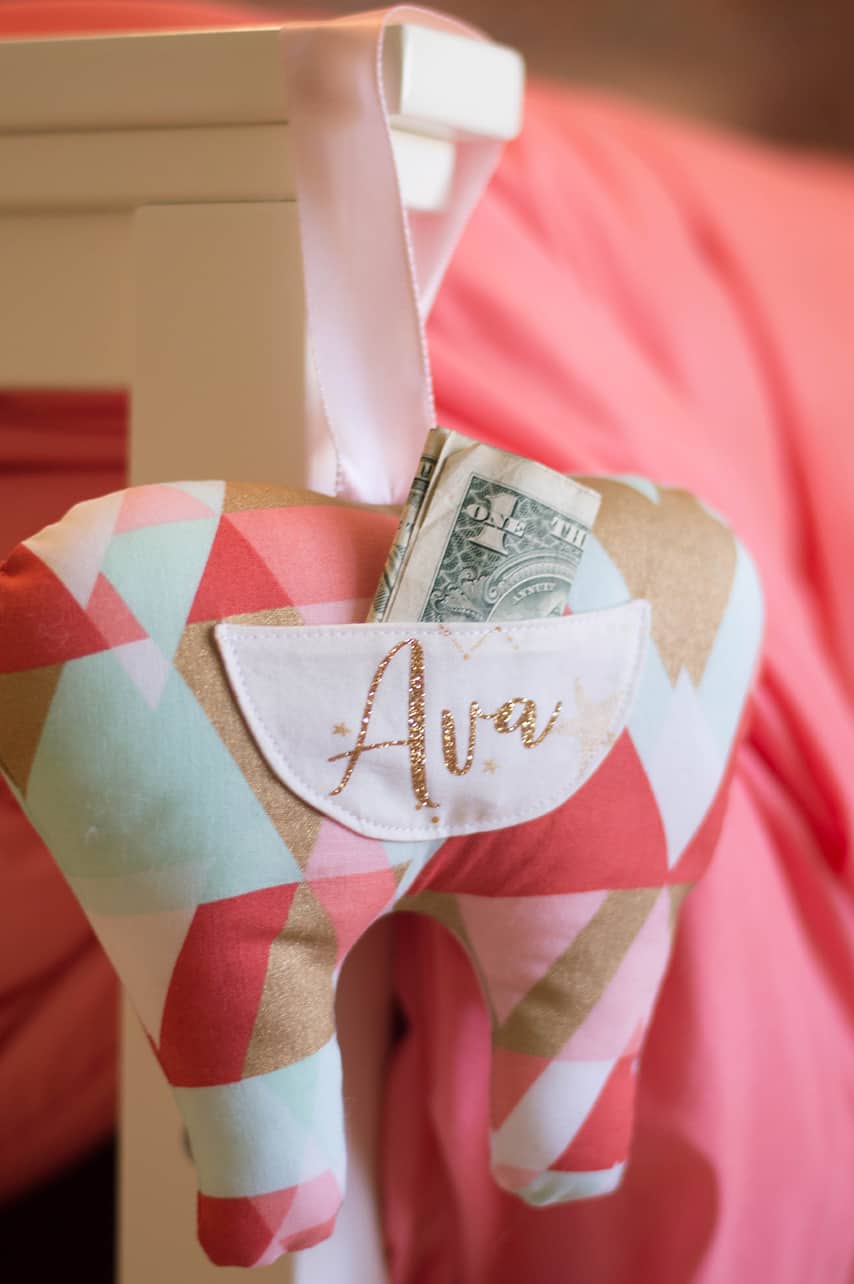
4. Center the pocket on your front tooth pattern piece. Topstitch around the bottom curved edge 1/8″ away from the edge.
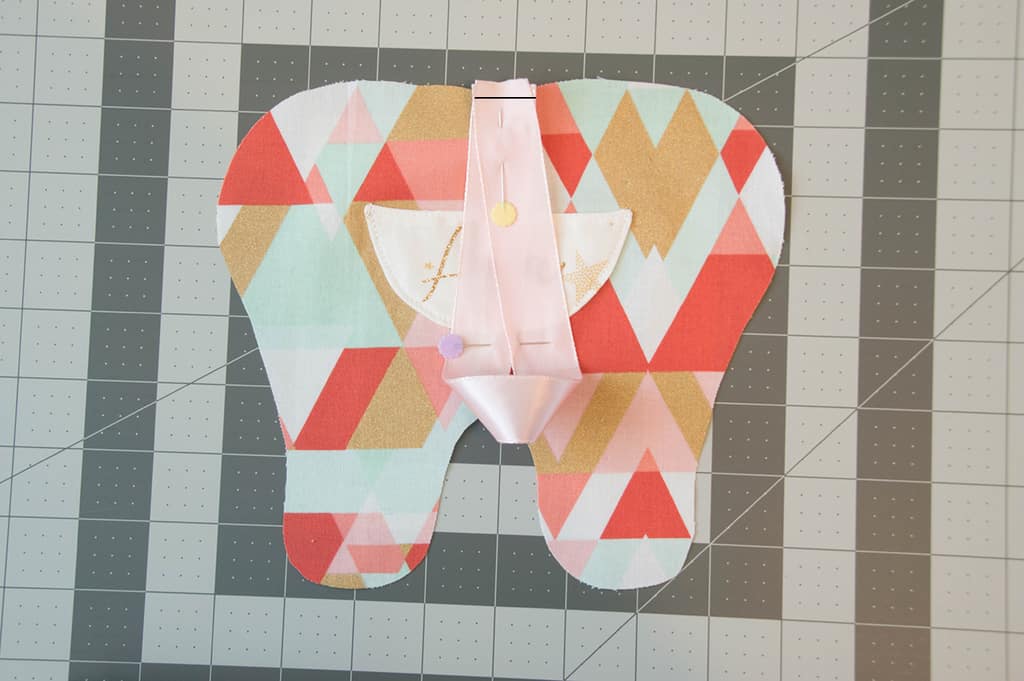
5. Cut a 12″ long piece of ribbon and fold it in half. Place the raw edge of the ribbon on the top center of the front tooth pattern piece and baste.
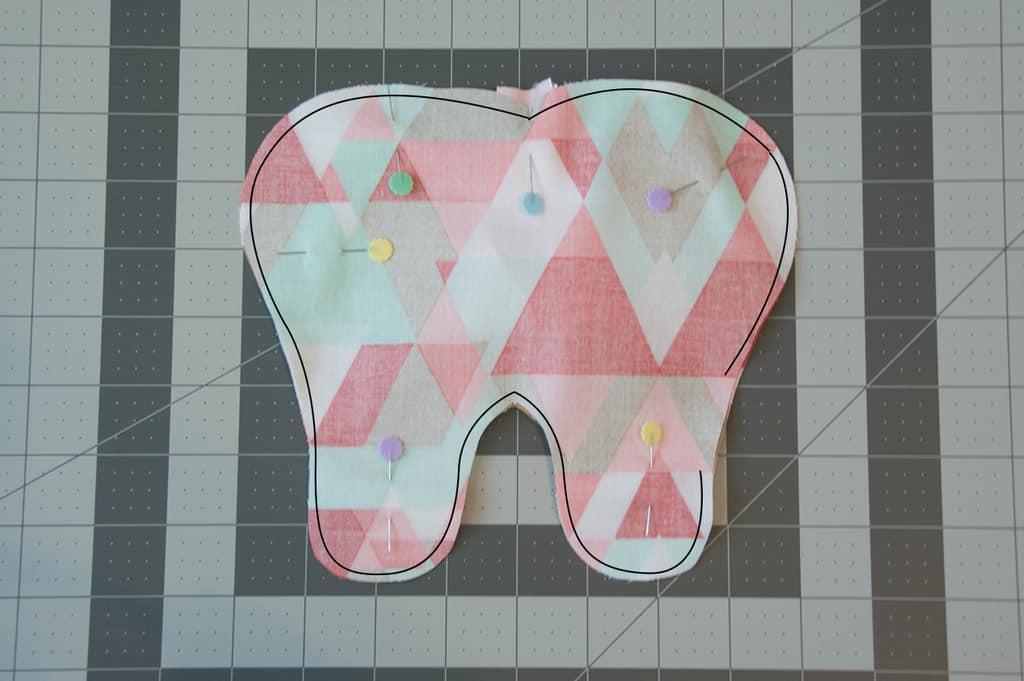
6. Lay the back tooth pattern piece on top of the front, right sides together and sew around the entire tooth, making sure to leave a 2″ opening on the side. Clip your curves and turn right side out. Press.

7. Using poly-fil, stuff the pillow until it is firm.
8. Use a whip stitch to close the 2″ opening on the side.
You are done!! I hope you and your little enjoy this fun and easy free pattern.
Happy Sewing!!
xoxox-Becca
**This post contains affiliate links.