Trixie Sew Along – Day 3
Welcome back for day three of the Trixie sew-along. I only saw a couple completed henley plackets so if you are still struggling, please reach out to me. Today we will work through steps 11 through 14 to add the optional pockets and attach the shoulder seams.
Preparing Your Fabric Pieces
Before we can add the pockets we need to serge the raw edges of the dress side seams. We also need to serge around the raw edges of the pocket pieces. The reason we need to do this now is because the tight curves where the pockets are attached will not be able to be serged once we attach our dress front to the back.
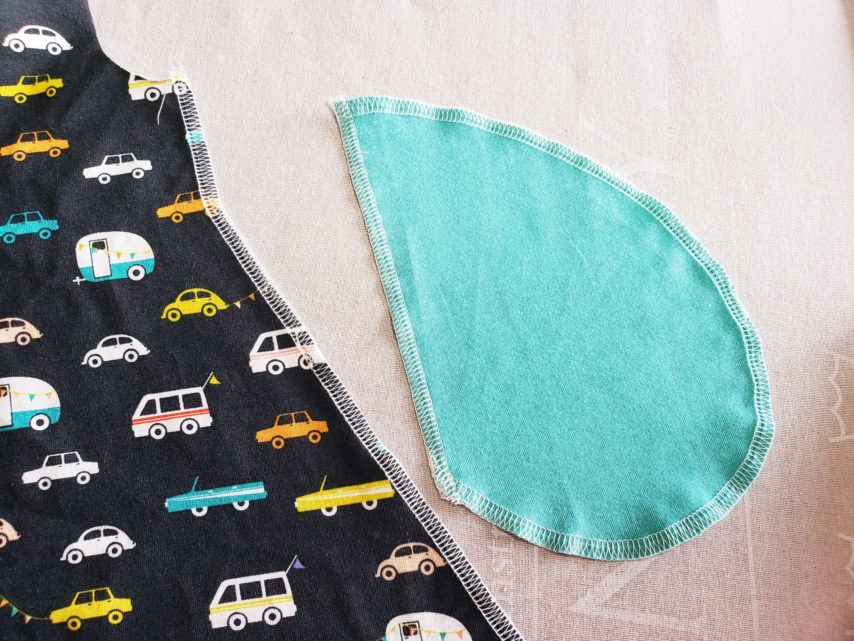
Marking Pocket Placement
With your dress laying so that right sides are facing up, mark the pocket placement using the markings along the side of the pattern pieces. Align the top of the pocket piece with the mark you made so that right sides are together. Pin the pocket piece to the dress.
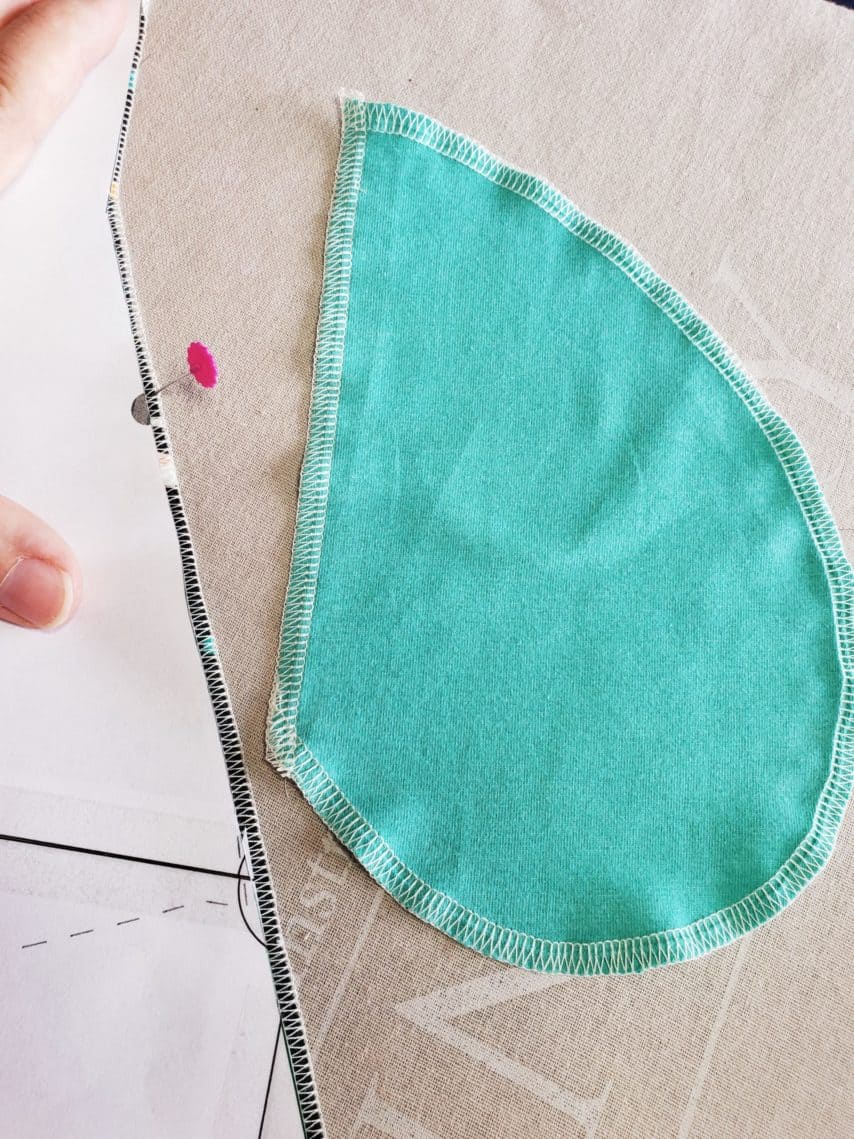
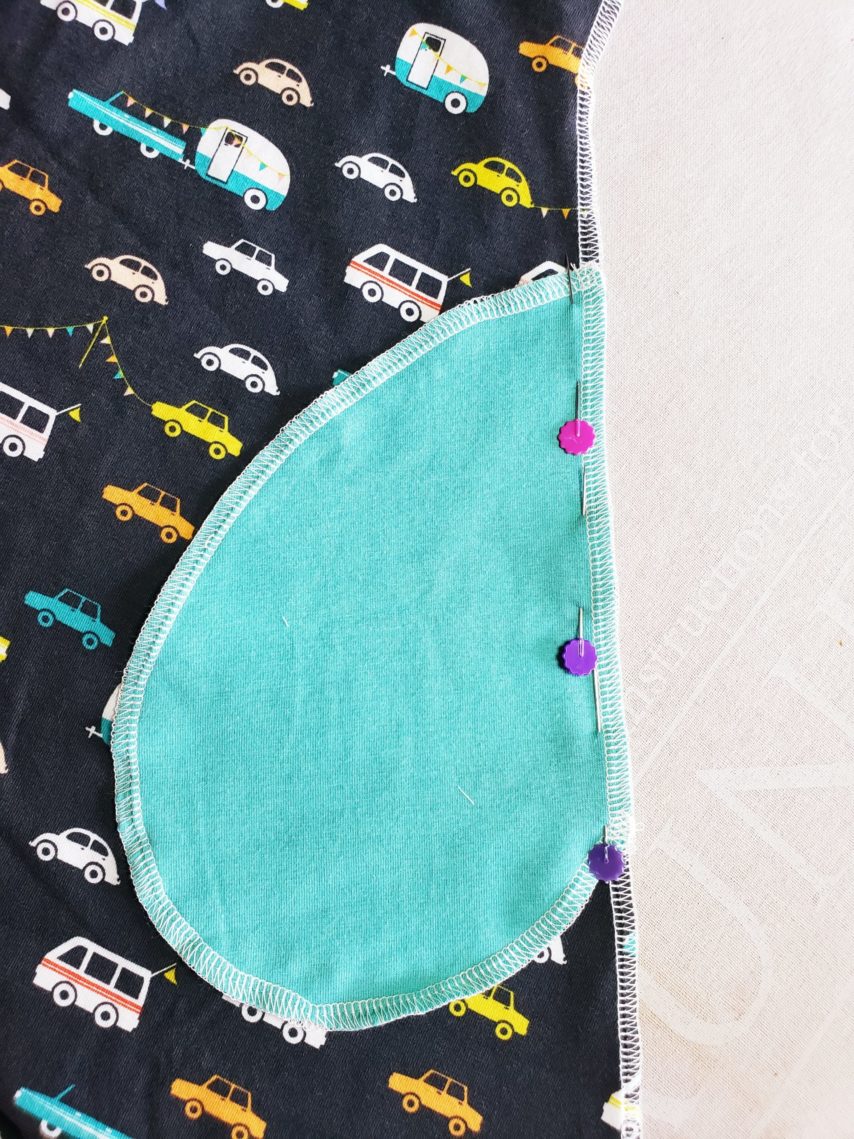
Attach The Pocket Pieces
Using your sewing machine, sew along the side seam of the pocket using a 3/8″ seam allowance. Repeat for all 3 remaining pocket pieces. You should have 2 pieces attached to your dress front and 2 pieces attached to your dress back.
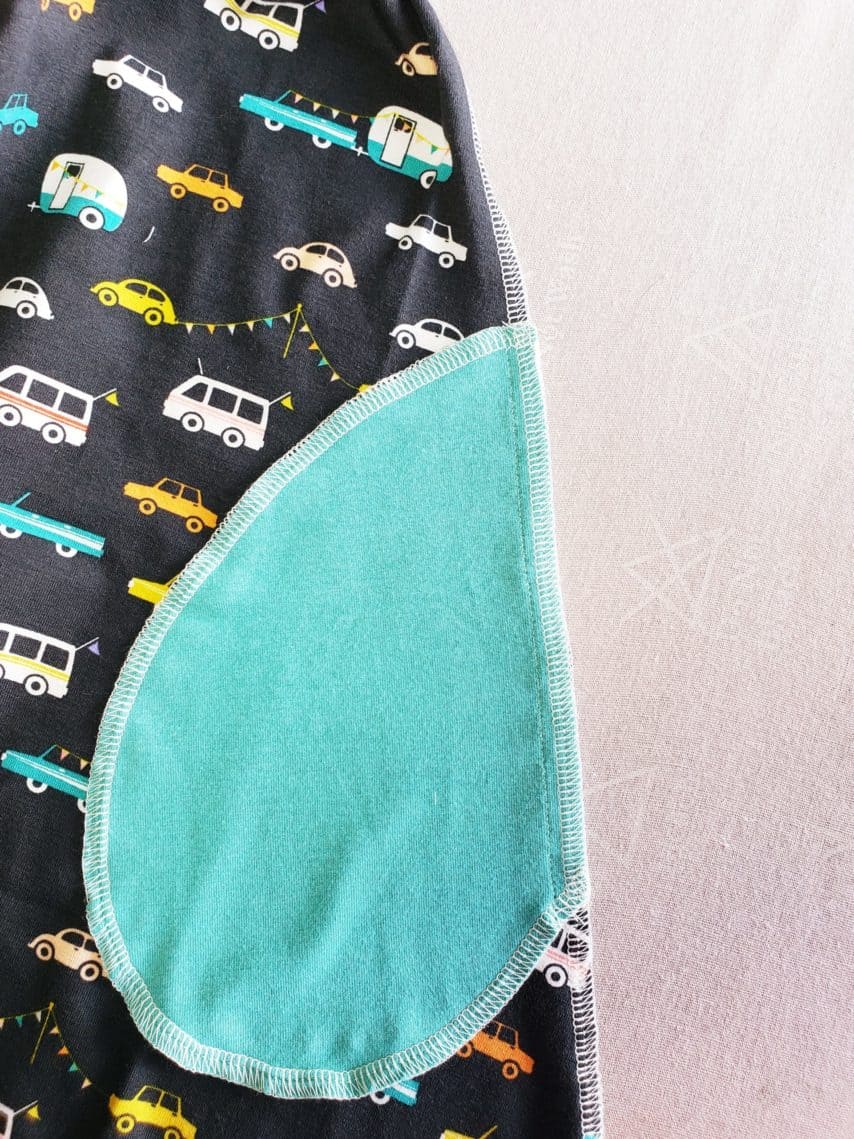
Note: I find it helpful to press the pockets away from the dress toward the side seam and topstitch the seam allowance 1/4″ away from the seam. This makes it much easier to attach your dress front and back pieces later on.
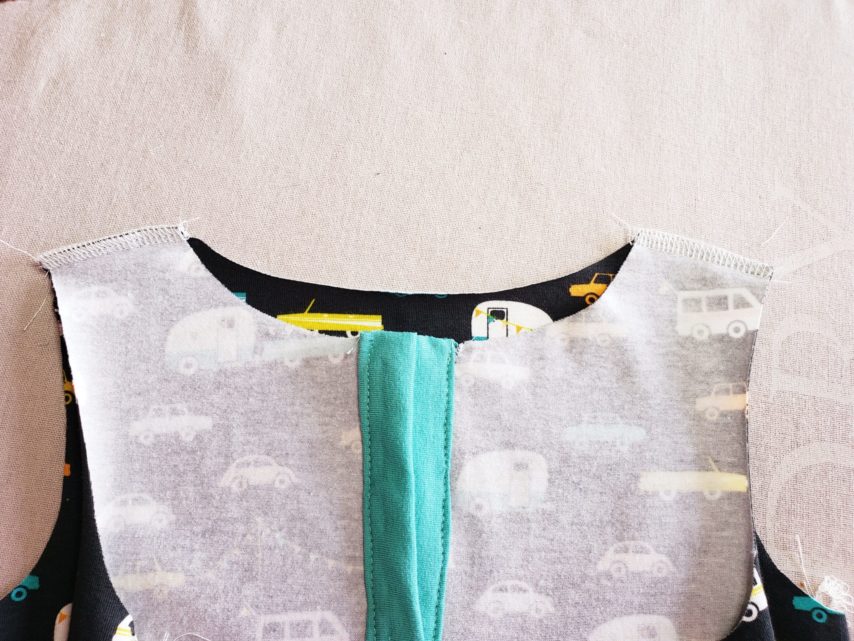
Finally, lay your front dress piece so that right sides are facing up. Place the back dress piece on top so that right sides are together. Match up the shoulder seams and sew/serge in place.
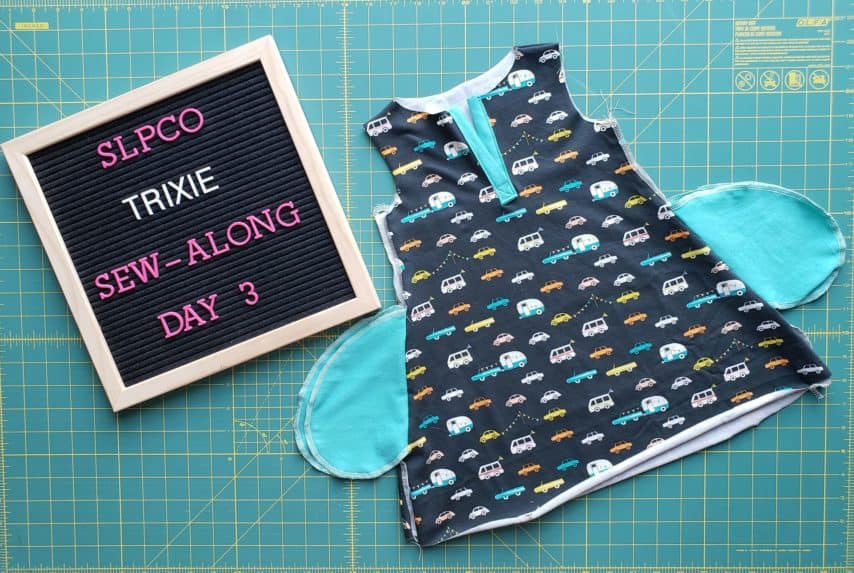
Day 3 Progress
That is all for day three! Don’t forget to upload a progress photo into the sew-along album. If you chose not to add the pockets you will simply attach your dress front and back pieces at the shoulder seams for today. I look forward to seeing you back here tomorrow when we’ll attach our sleeves or add sleeve binding.
Happy sewing,
Chauncey


