
Trixie Sew Along – Day 5
Welcome to the final day of the Trixie sew-along. You all have done such a wonderful job and I’m so excited to see your finished creations! To finish we are working through steps 24 through 31 of the Trixie pattern tutorial.
Collar
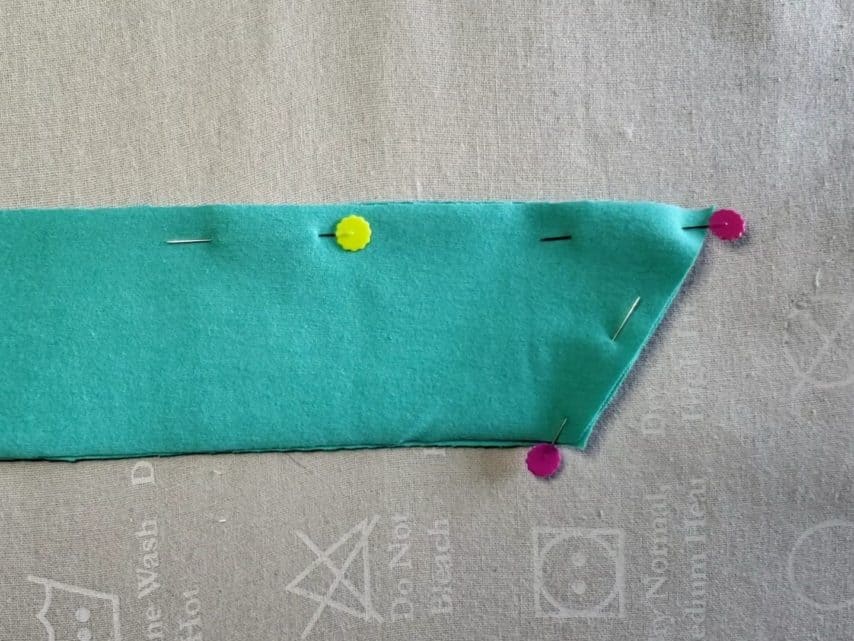
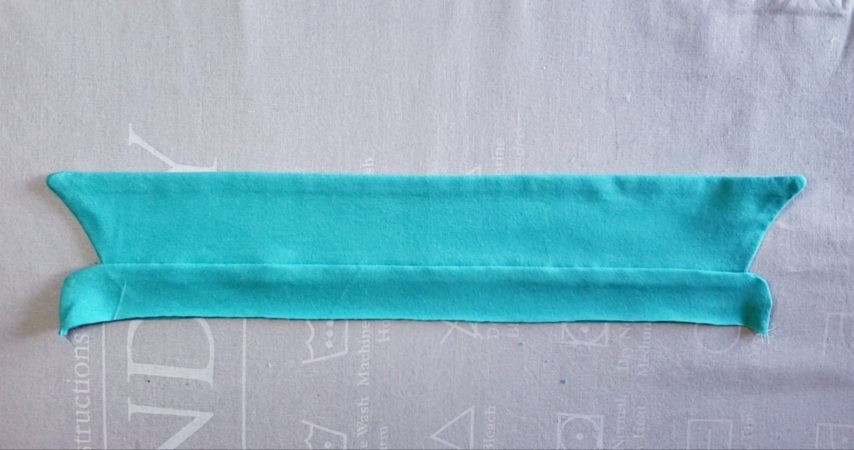
The first thing we need to do is sew our collar pieces together. Lay one collar piece so that right sides are facing up. Now lay the other collar piece on top so that right sides are together. Match up the raw edges and pin along the two short sides and long top long edge. Sew the pieces together.
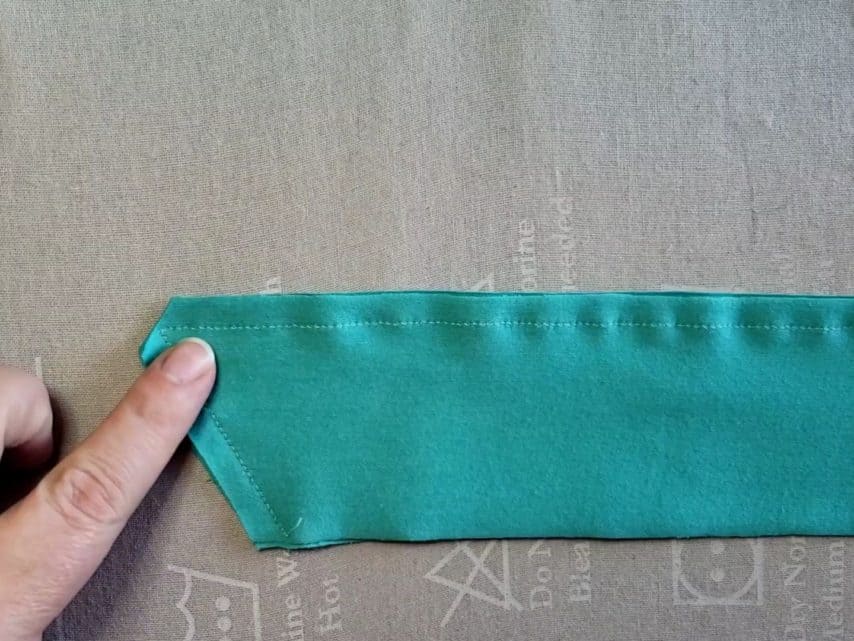
Clip the corners and turn right side out. Press your corners out using a turning tool (or bamboo skewer) and press well.

Collar Stand
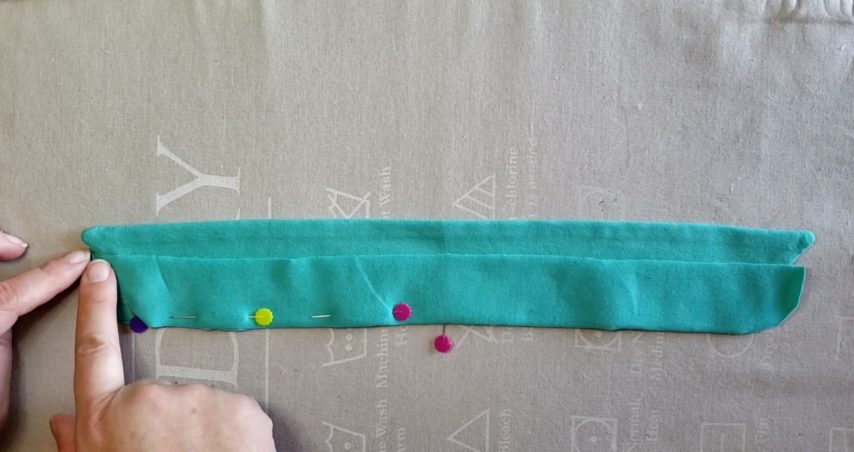
To attach the collar stand to your collar piece start by laying the main collar stand with right sides facing up. Lay the collar on top of the collar stand so that right sides are together. Match up the center of the collar stand and collar piece and pin in place.

Next, lay the collar stand lining on top of the collar piece so that right sides are touching. This will sandwich the collar between the two collar stand pieces. Pin along the curved and long raw edge of the collar stand making sure to match the raw edges of all 3 pieces.
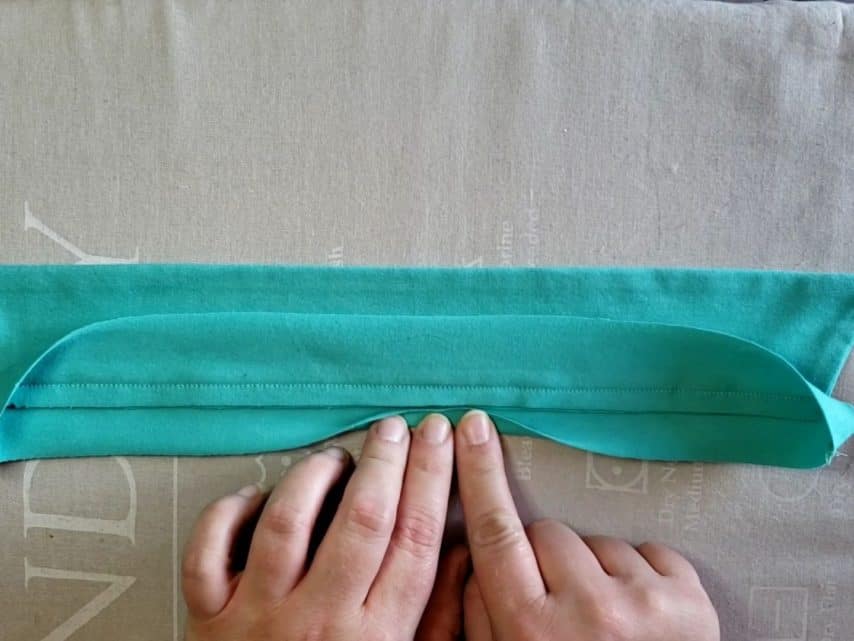
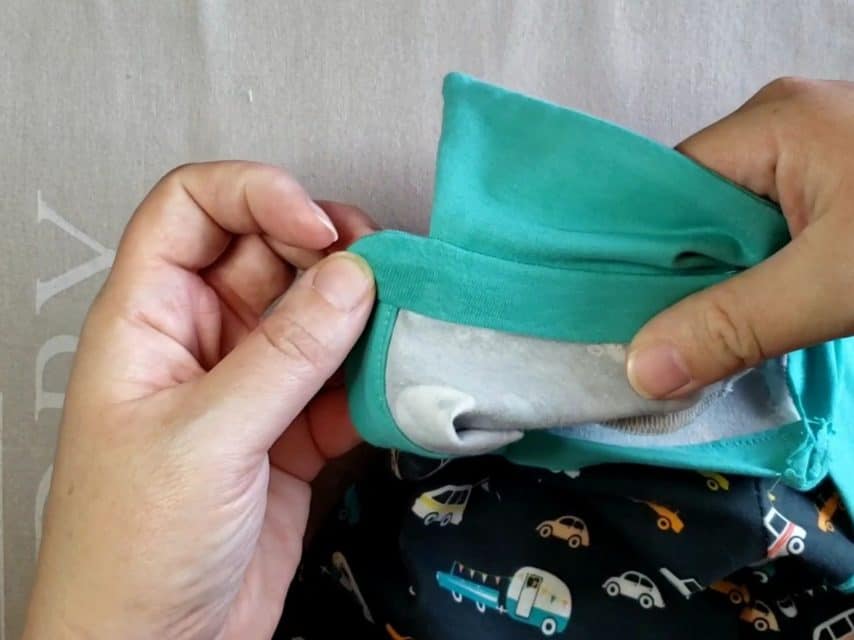
Sew along the curved edge and long edge of the collar stand. Clip your curves and turn right side out. With the collar stand flipped down, press the piece well.
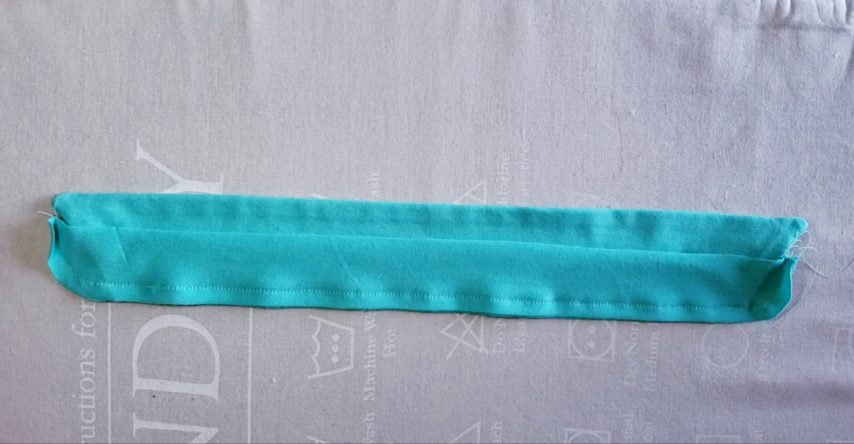
Flip the collar stand main up to expose the collar stand lining. Fold the collar stand lining up 3/8″ so that wrong sides are touching and press well to create a memory crease.
Attaching The Collar Stand To The Dress
Now we can attach our collar stand to our dress. Mark the center back of the dress with a pin.

Next, mark the center of the collar stand main with a pin and match it up with the pin mark on the back of the dress so that right sides are together. Pin the two layers together. Note: you will ONLY pin the collar stand main to your dress. Pin the sides of the collar stand main to the edge of the placket. Continue pinning the collar stand to the dress neckline. Sew/serge the two pieces together.
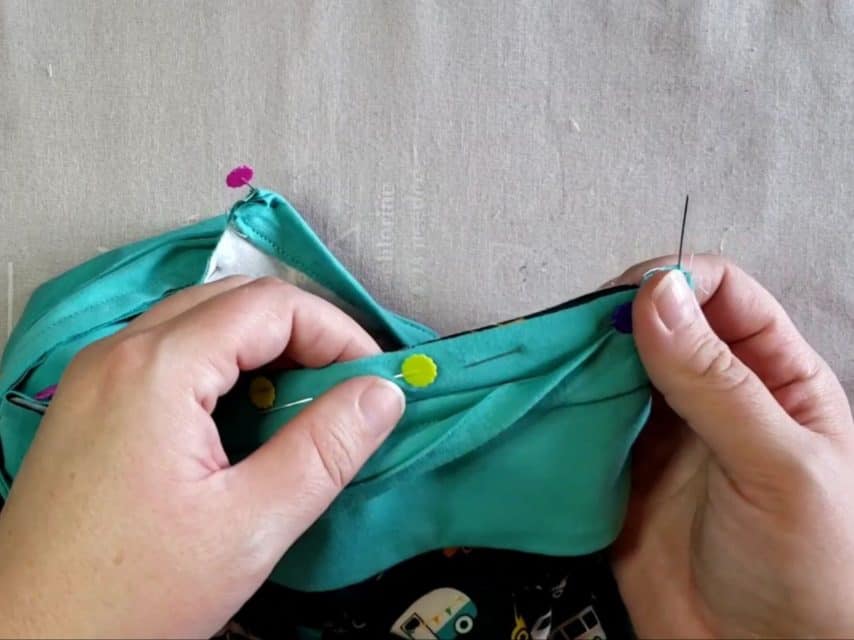
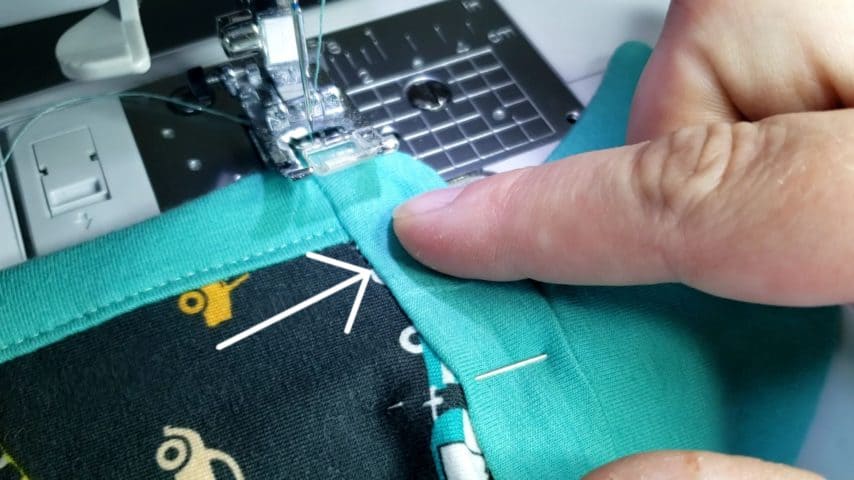
To finish the collar, flip the collar stand lining to the wrong side of the dress and pin in place. The folded edge should be slightly over the stitch line. Note: you can use HeatNBond Soft Stretch hem tape to hold the collar stand lining in place. Otherwise make sure to pin really well.
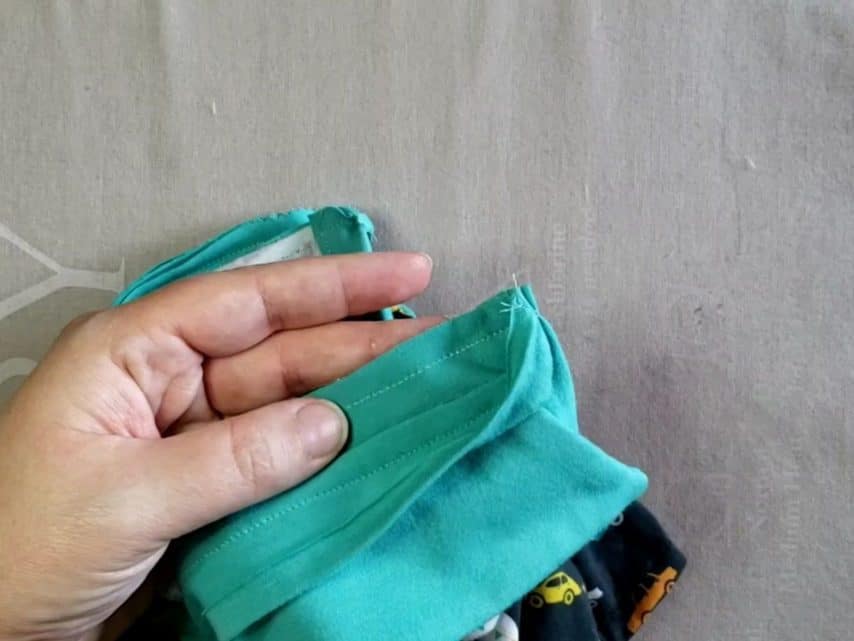
Working on the right side of your dress, stitch in the ditch between the collar stand main and dress along the neckline. Make sure your stitches catch the folded edge of your collar stand lining on the inside of your dress.
Hemming
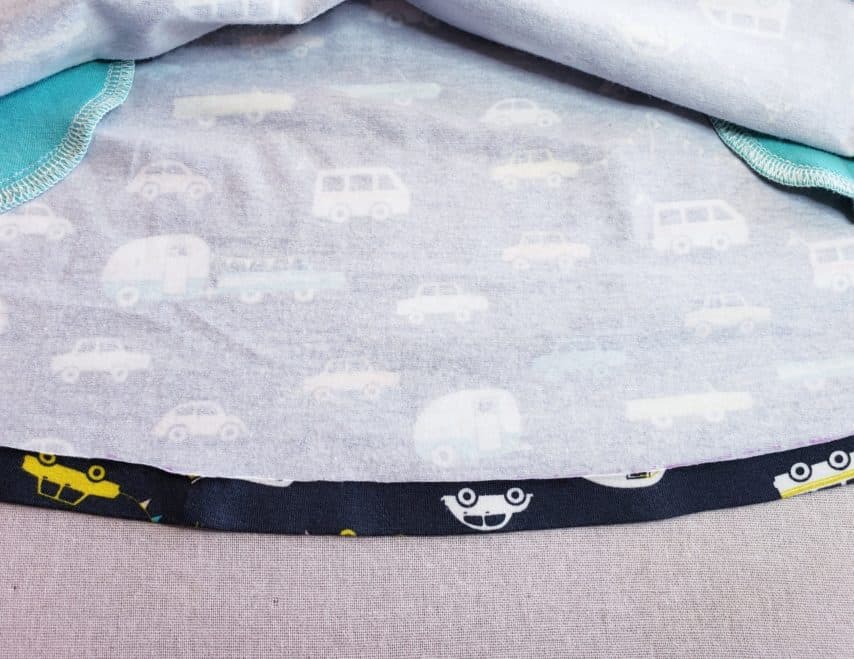
There are just a few steps left to finish your Trixie creation! Fold the hem of your dress or top up 1/2″ so that wrong sides are touching and press well. Topstitch in place 3/8″ away from the folded edge.
Adding Buttons or Snaps
Finally, it’s time to add the buttons or snaps. Measure down 1/2″ from the top of your placket and place a mark in the center of the placket. This will be the beginning of the first buttonhole or snap. Decide how many buttons/snaps you want to add and distribute them evenly along the placket. Make certain you sew the buttonholes vertically.
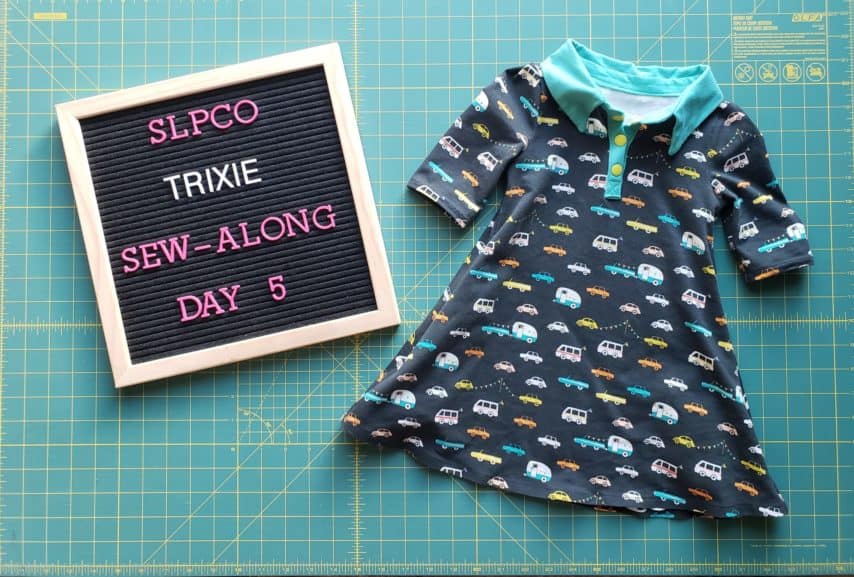
Day 5 Progress
That’s it! You are finally done with your Trixie creation. I have created a video showing how to make and add the collar to the dress. You can find the video in the fan group. Don’t forget to upload your finished creation into the sew-along album. You have until Sunday evening at 8 pm CST to get all of your progress photos uploaded before I draw for the 5 winners. Thank you so much for joining me. I’ll see you back here in September for the Autumn Sew Along!
Happy sewing,
Chauncey