Tutorial: Making Bias Tape, the Easy Way!
Have you ever wanted beautifully coordinating bias tape but didn’t want to take all that time cutting and sewing strips of fabric together? I used to avoid making my own bias tape until I discovered how easy it really can be to make. Today I’ll share a tutorial on how to make your own bias tape, the easy way.
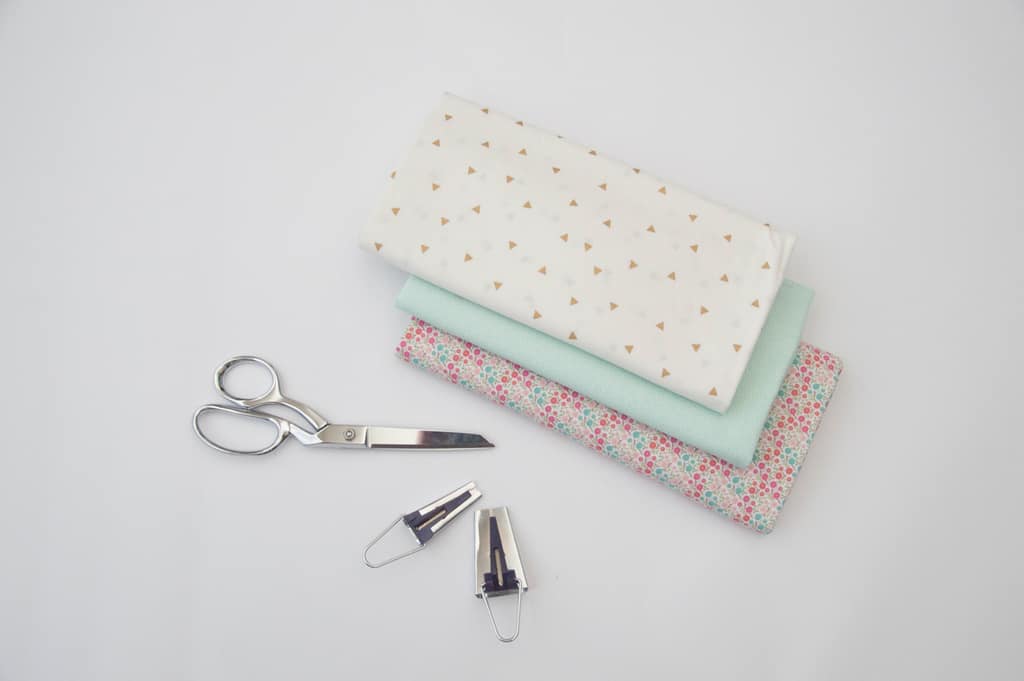
I use this method when I need a large amount of bias tape. Actually, this is the only way I make bias tape now. I have rolls in my stash because I enjoy making it so much! There are only two seams to sew and the end result is a continuous loop of really long bias tape.
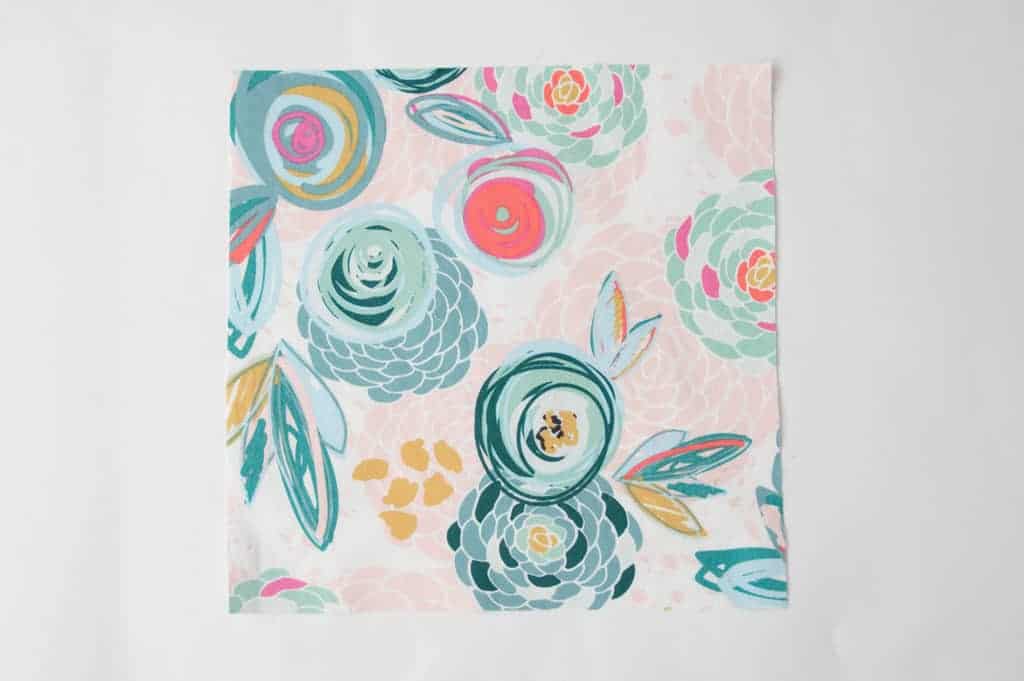 Cut a square piece of fabric. For this tutorial, I used a 10.5 x 10.5 square but you can use as large of a square as you’d like.
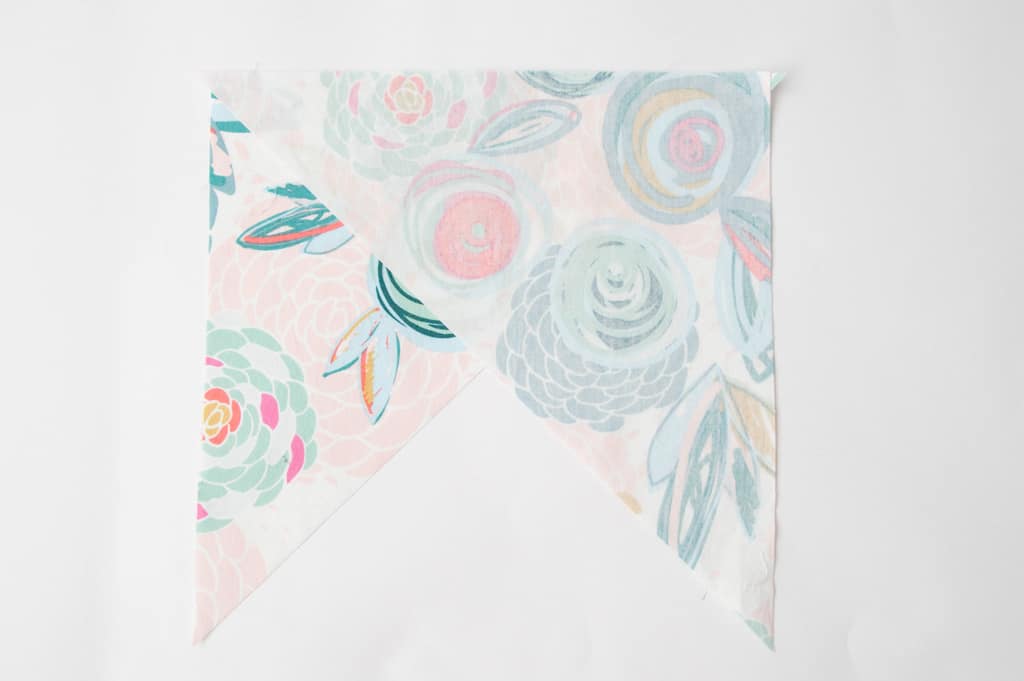
 Place the fabric on your cutting board like a diamond. Draw a line from the bottom corner to the top corner and cut along the line. You now have two triangles.
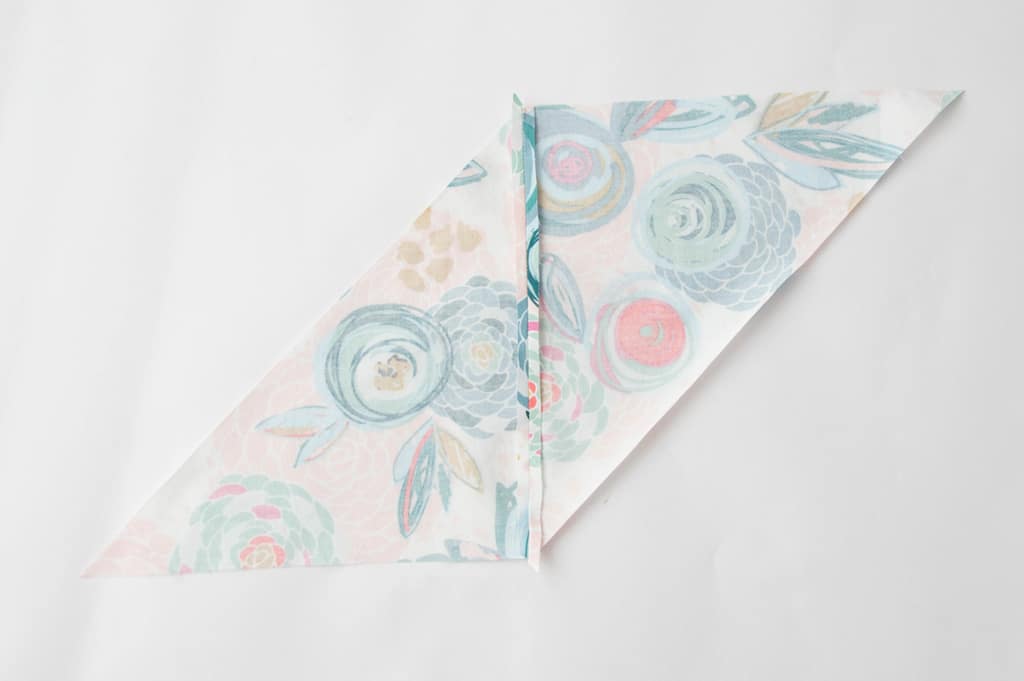
 With right sides together, match the top edge of each triangle together. You will have some hang over on each side, this is so that your seams match up evenly.
Sew, using a ¼” seam allowance.
 Press your seam open.
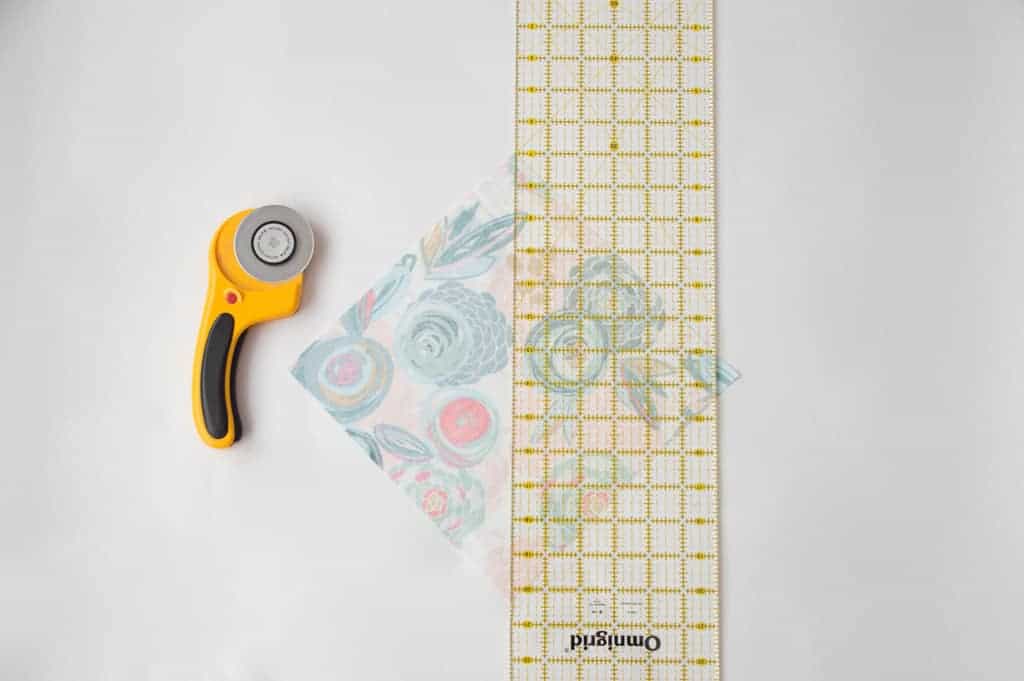
 Beginning at the longest edge, draw your lines. My bias tape will be 1/2″ wide, so I am drawing the lines 2” apart.
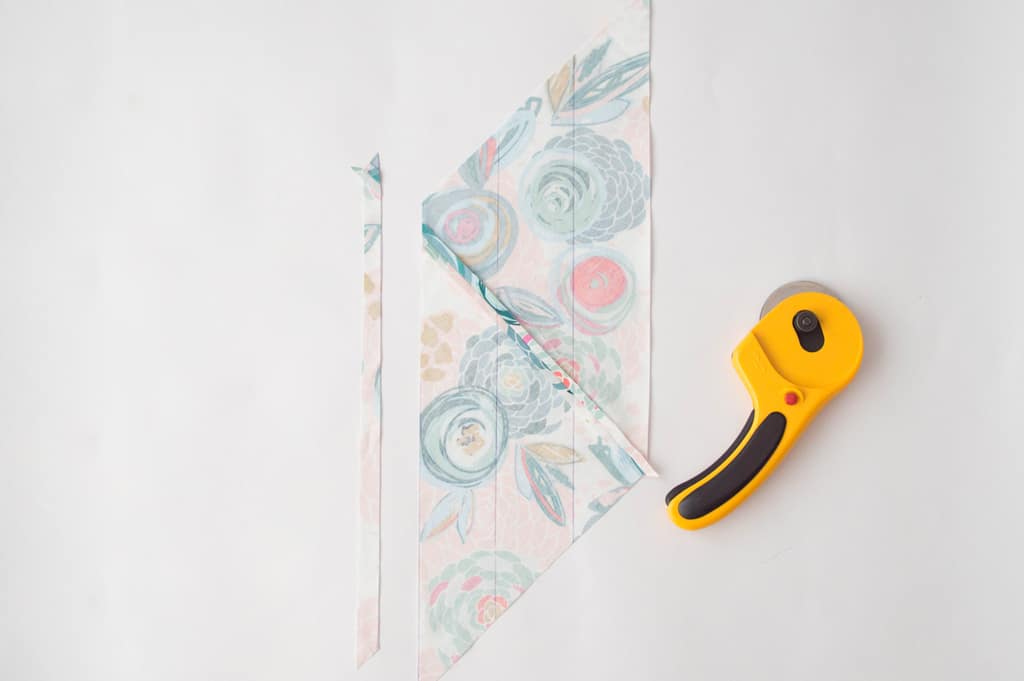 Trim off any excess fabric that does not equal the strip size you are making.
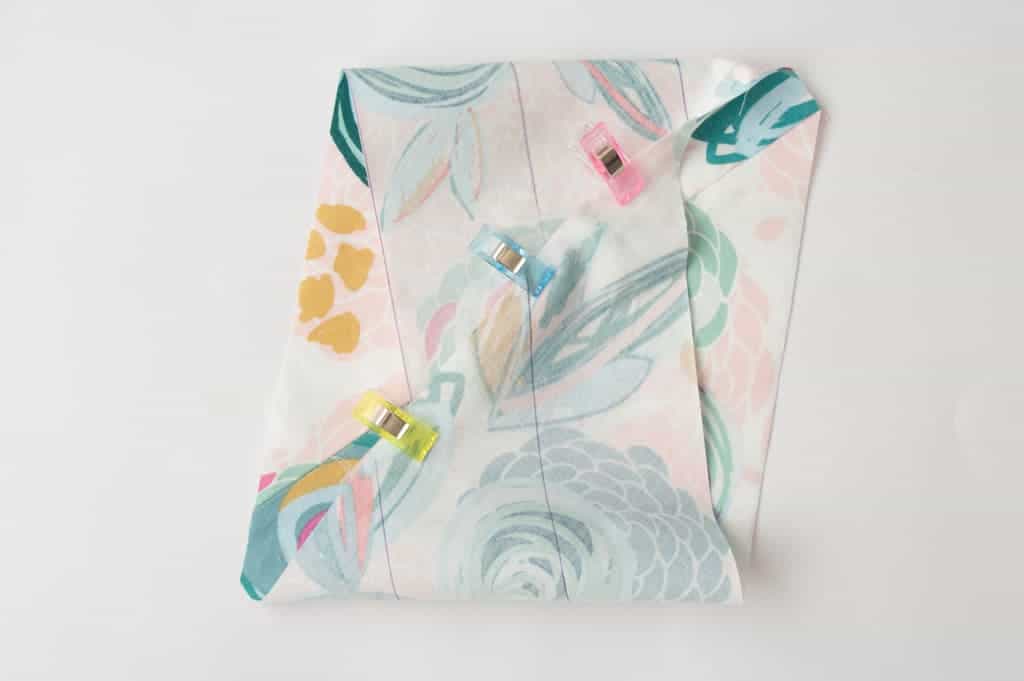 With right sides together, pin your edges together. Your lines need to be slightly off set in order for the lines to match up perfectly after sewing.
 Using a ¼” seam allowance sew your seam and press.
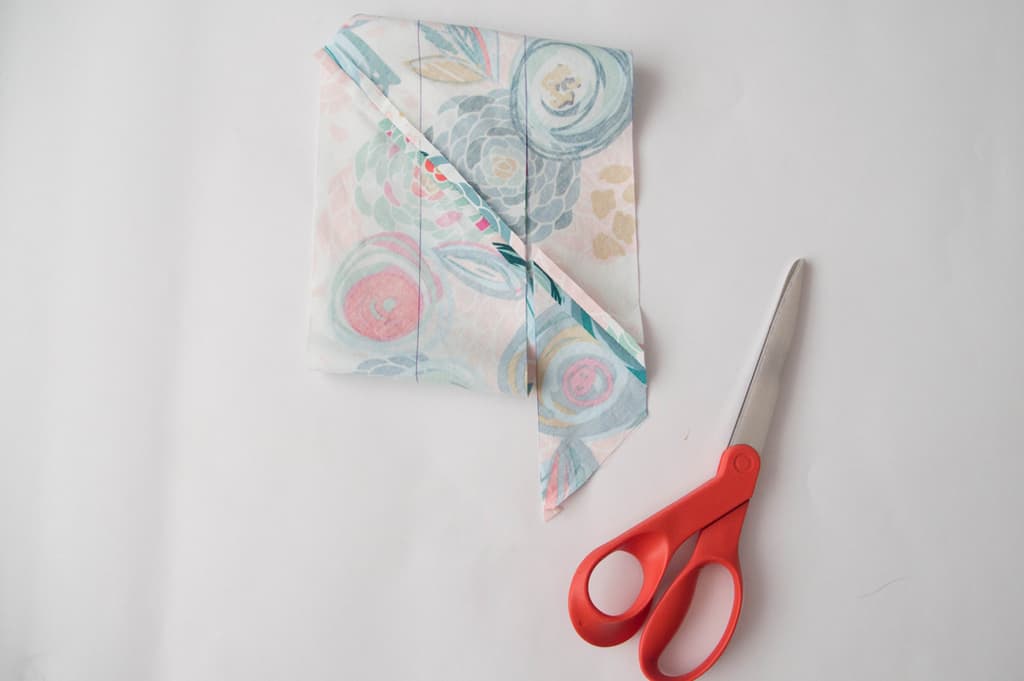 Beginning at one end, follow the lines you drew and begin cutting a continuous loop.
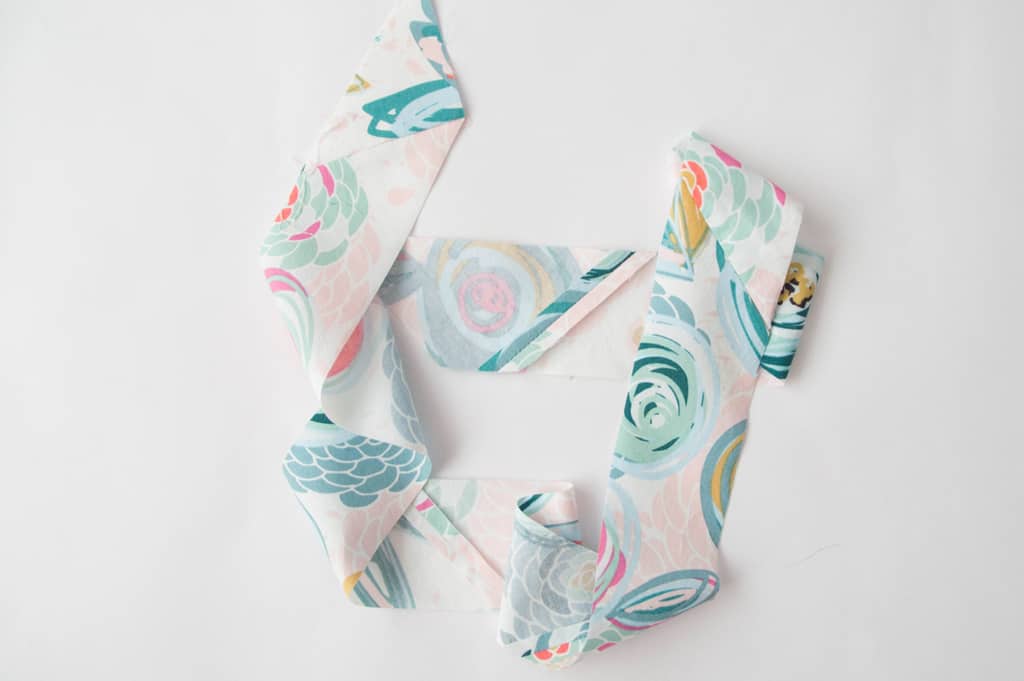 You will end up with one long strip of fabric. Now you are ready to begin making your bias tape.
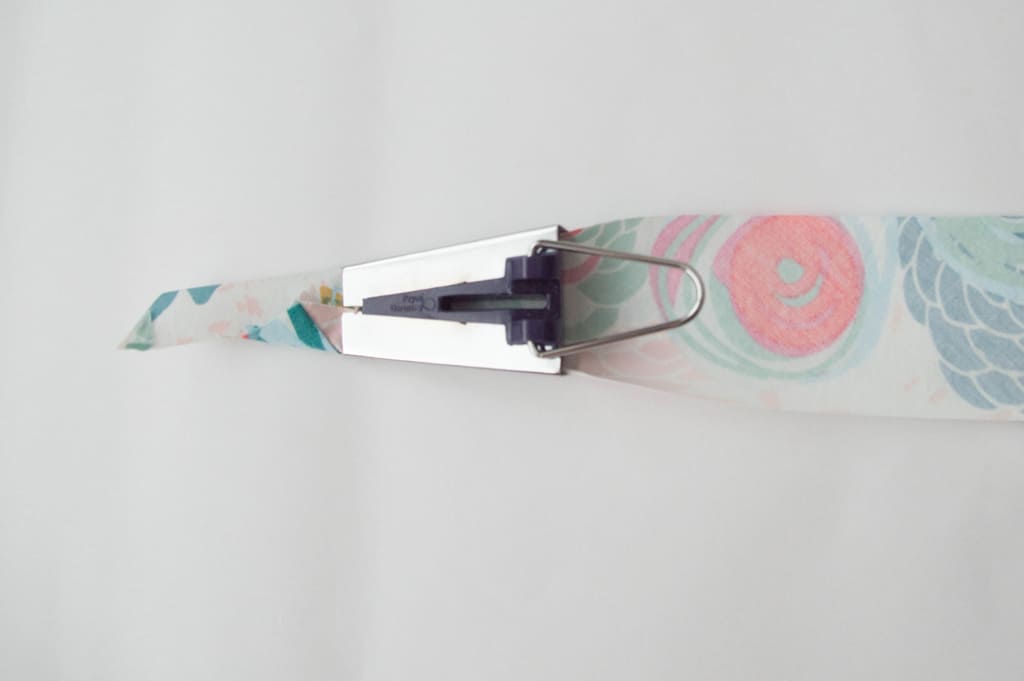 Using a 1” bias tape maker, take one end of your tape and feed it wrong side facing up into the wide end. Continue moving the bias tape maker down the strip of fabric, pressing as you go, until you reach the other end.
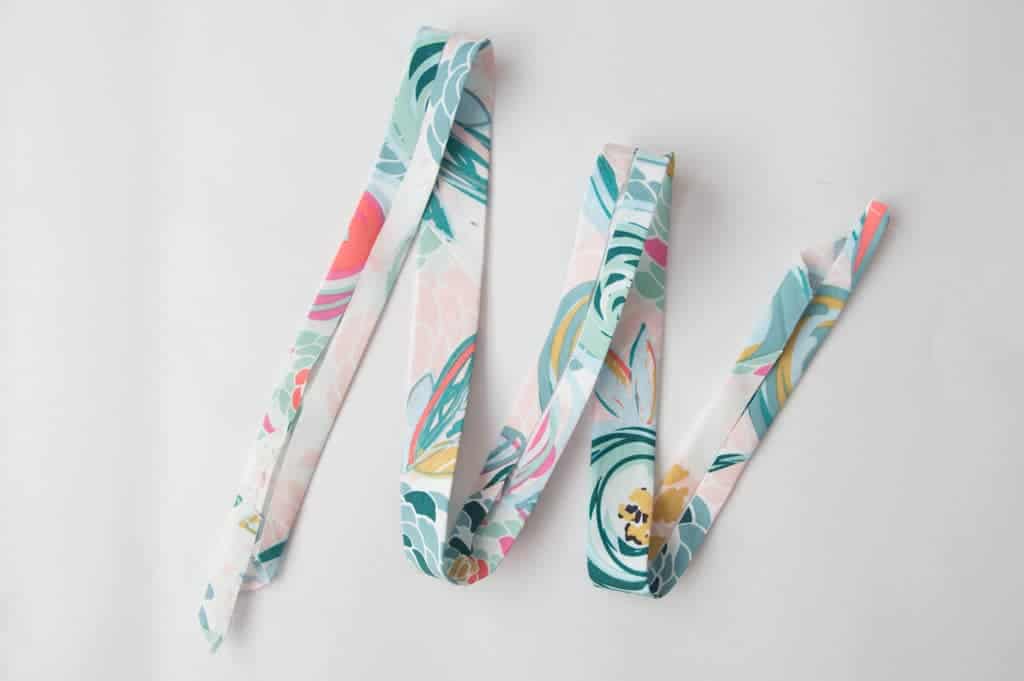 Once you have neatly folded the tape, fold in half again and press. You will be left with double folded bias tape.
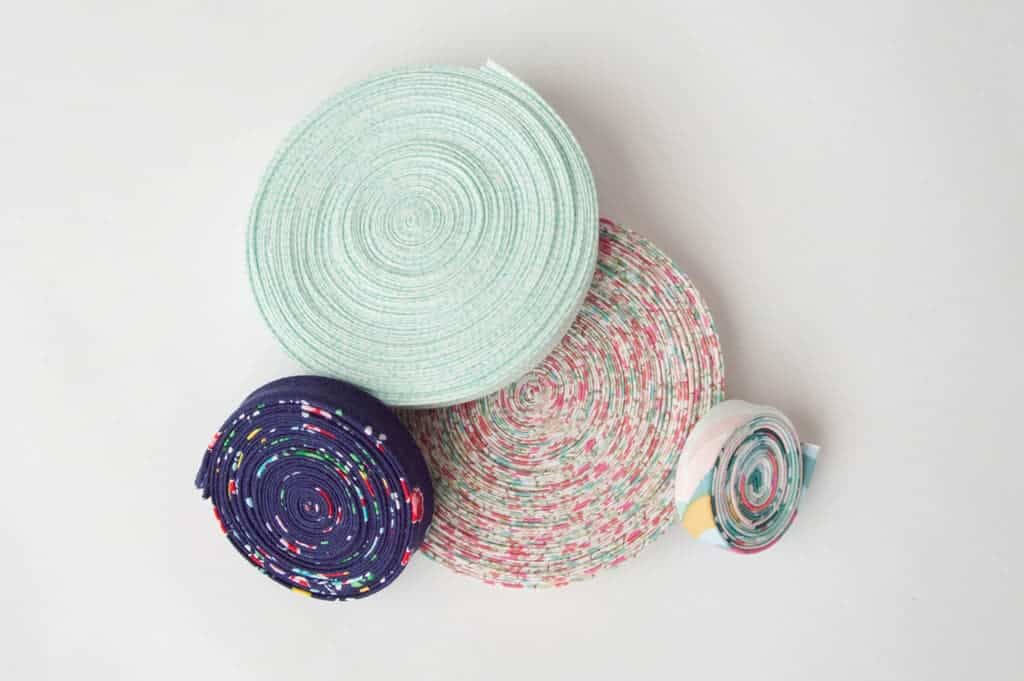
There you have it…quick, easy, and cute handmade bias tape!