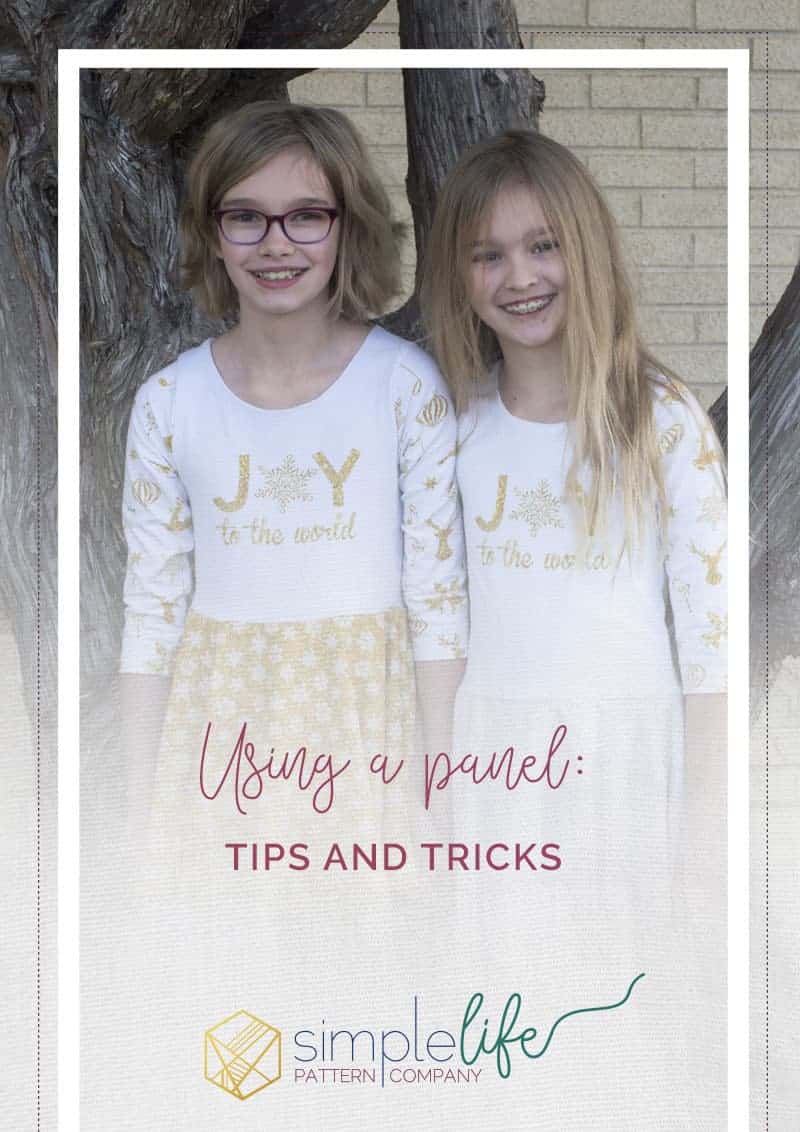
Using a Panel: Tips and Tricks
Every so often in our Simple Life Patterns Fan Group, we are asked about which patterns are knit panel friendly. While several of our knit patterns accommodate knit panels, the SLPco Isla seems to be a fan favorite for using panels!
Occasionally, sewists who haven’t sewn with a knit panel before have some questions about using them, or they are hesitant to cut into them in case they make a mistake. This is why I’m sharing a post on my tips and tricks for using knit panels successfully! Make sure you read yesterday’s post for your chance to win a prize bundle which includes one knit panel from Peek-a-Boo Pattern Shop!
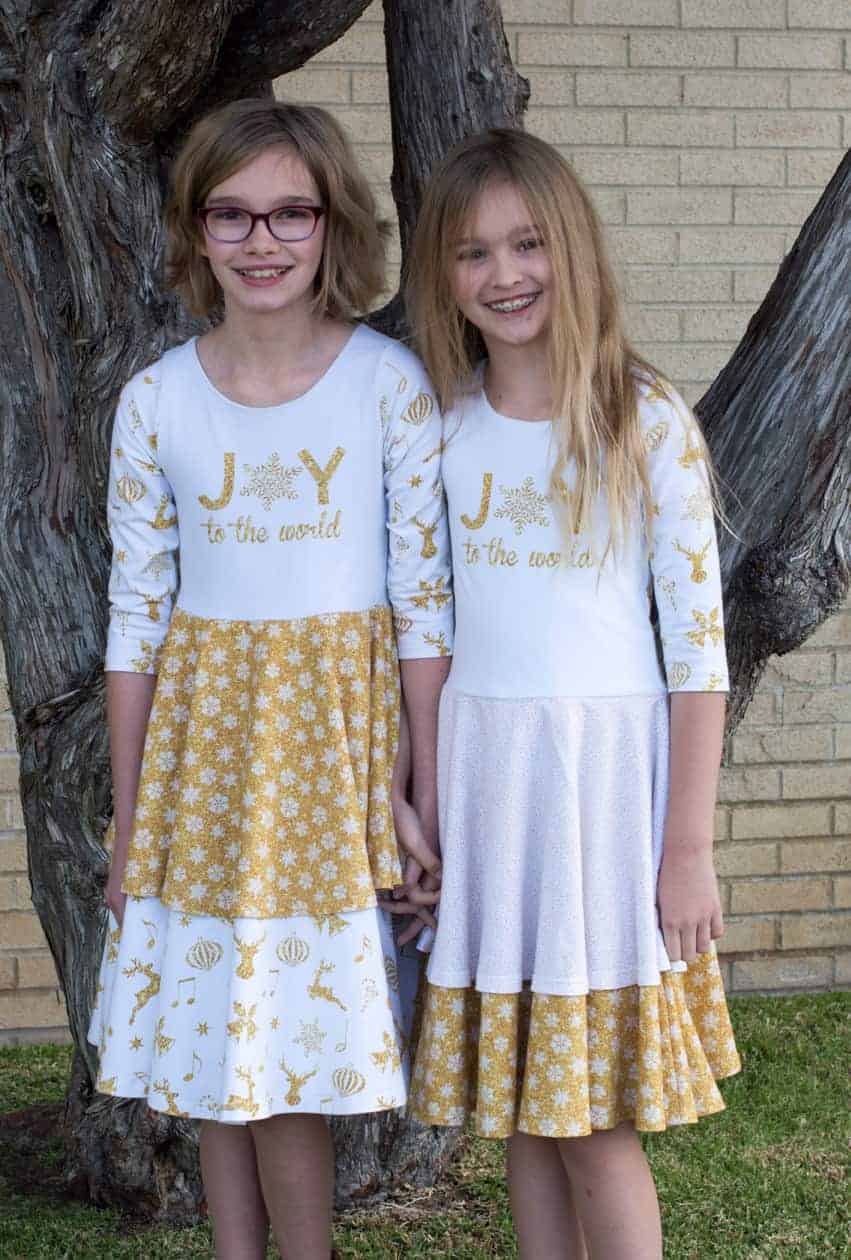
While the sample pictures are shown here using the Isla pattern, other SLPco patterns that are knit panel friendly are the Adelyn, Cheyenne, and Phoebe. (Please note that for drop waist styles like Phoebe or the dropwaist Isla, you need to double check your panel dimensions to make sure they are long enough. The panel I used in this post was DEFINITELY long enough but make sure you check the dimensions whenever you order. If you are ordering a panel to use for a baby, double check graphic size to make sure it will work on a smaller bodice).
Helpful Tools for Sewing with Panels
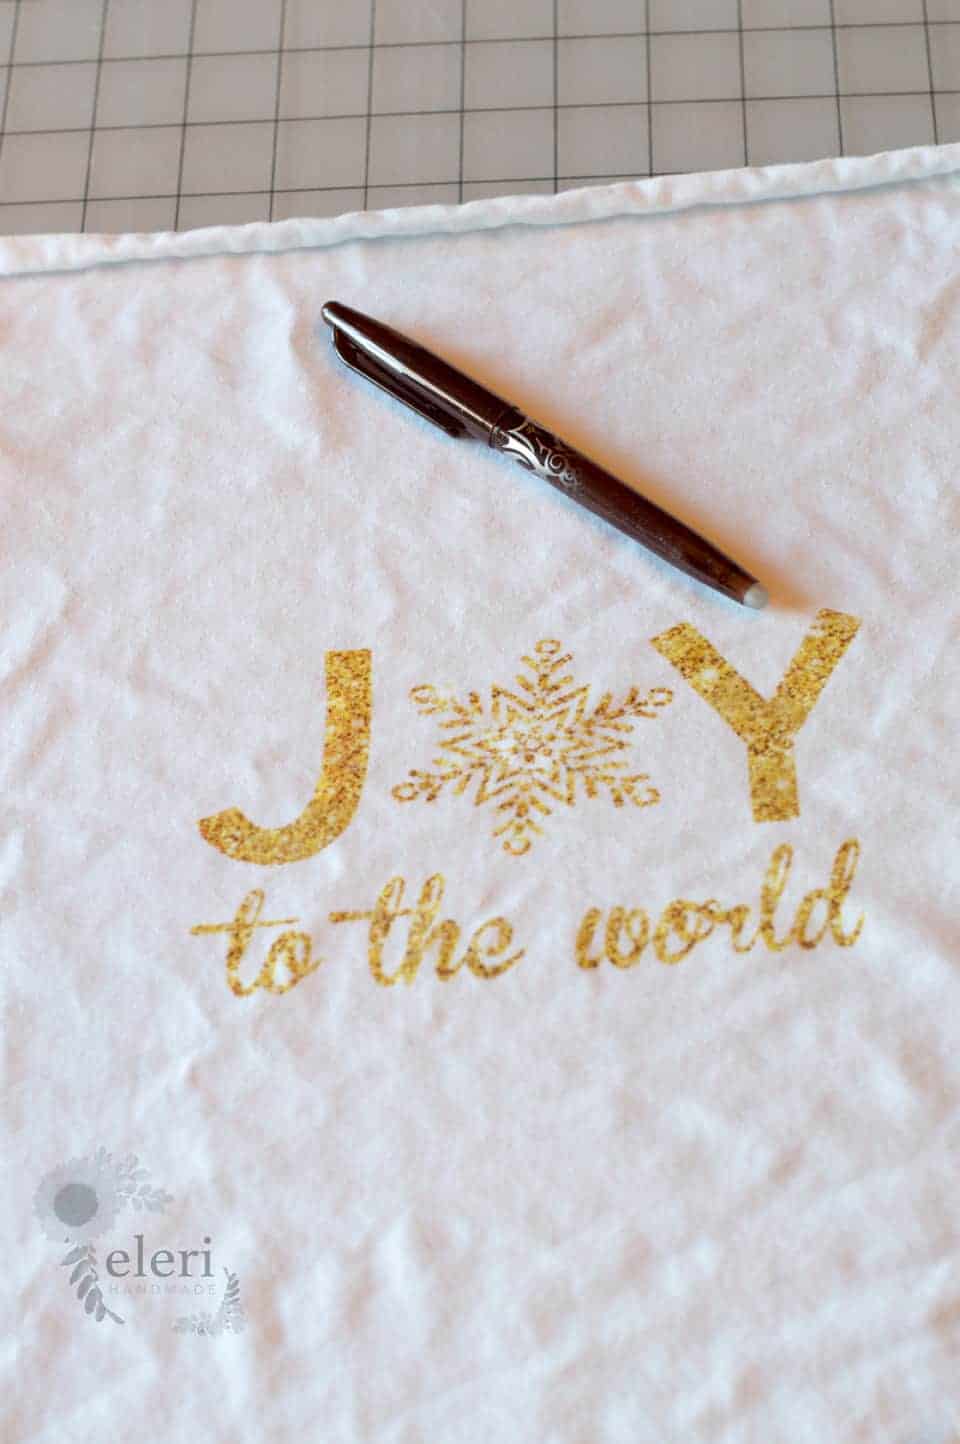
Frixion pen or other fabric marking device.
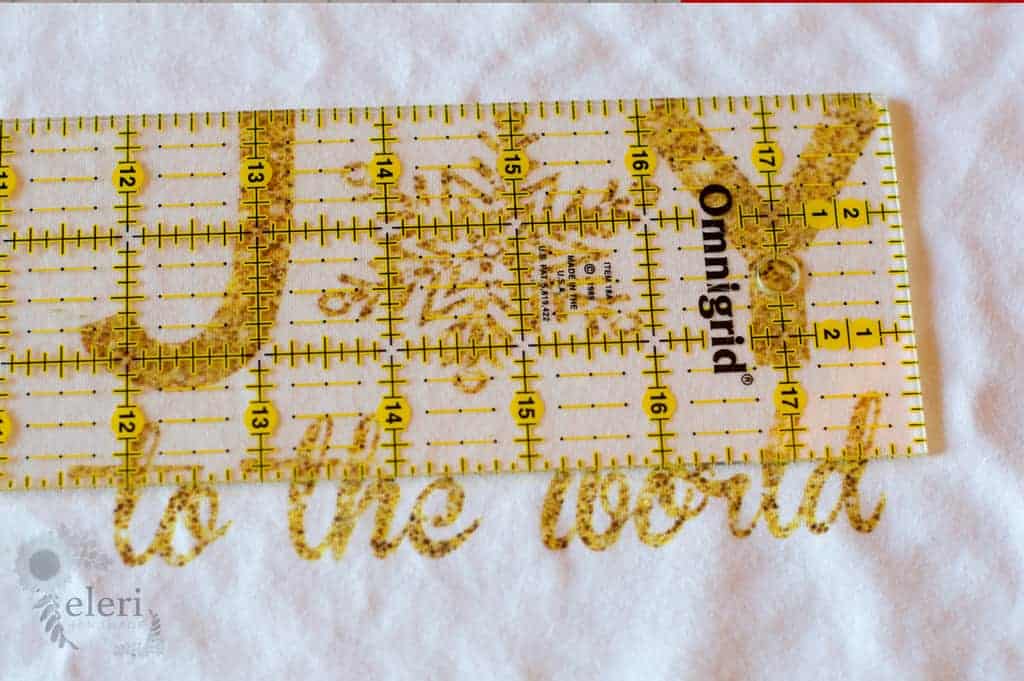
Clear Quilter’s Ruler : I have a few different sizes that would work, but the one I use for most of my sewing is 6″ x 24″
Pins or wonder clips
You will also want to have your iron and ironing board handy for prepping your panel for sewing.
Step 1: Take your front bodice piece and make sure that your intended size will work with your panel before you do the “fussy” work. The bodice in this tutorial is the Isla drop waist bodice in a size 8, lengthened to a size 10.

Step 2: Grab a Frixion pen for marking your panel. I usually use a dark one so I can see it best. It will iron off.
Step 3: Use your clear grid ruler to measure the graphic width on your panel to help you find the center point. The center of your panel MAY NOT be the actual center of the graphic. My panel graphic is almost 6.5″ wide so I marked a point at roughly 3.25″. I’ve found that it usually doesn’t have to be perfectly precise. I place a dot both at the top and bottom of my ruler to connect.
Step 4: Use your Frixion pen to mark the center of the panel grapic. You want the line to be tall enough for you to fold your panel on.

Step 5: Fold your panel as closely as you can down the center line. Before I press, I usually give it a little shake to make sure that it’s folded on the grain of the knit fabric. This helps make sure that text doesn’t become crooked on the selvage to selvage edges. After I press my lighter panels, I will backlight them in my window so I can see that the graphic is folded perfectly in half or close enough 😉

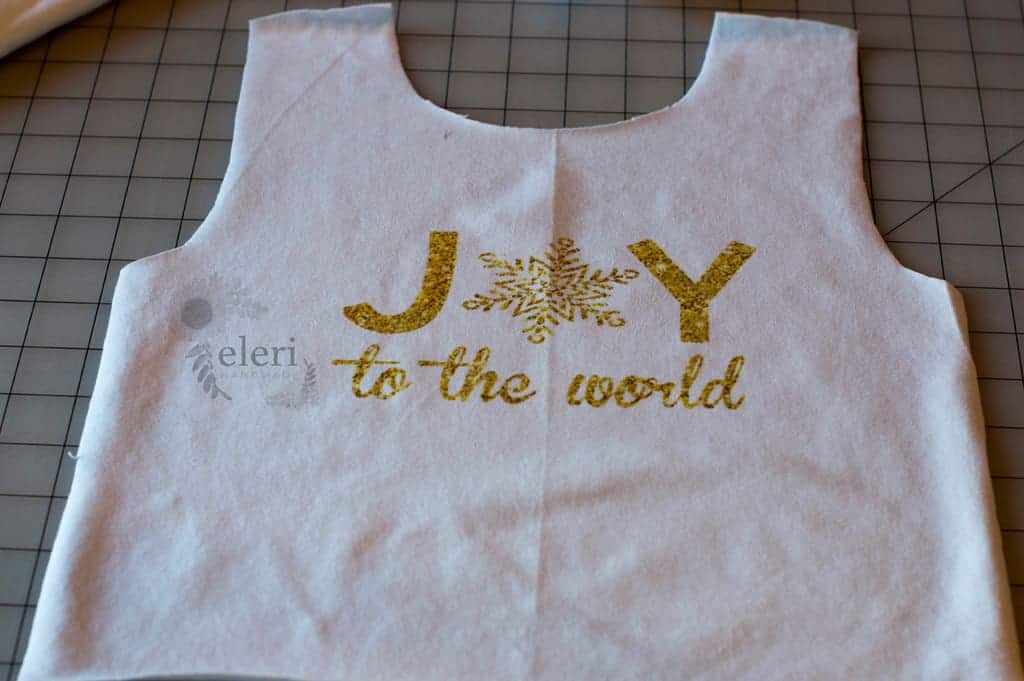
Step 6: (not pictured) Once I am satisfied that my panel is folded and the graphic is lined up evenly both vertically and horizontally, I pin my bodice piece on the fold to the panel. Take into account the seam allowance for neckbands and attaching skirts if applicable so none of your panel disappears in your sewing. For girls especially, I usually cheat the bodice piece so the panel graphic ends up more centered across the bust line and not on the tummy. When I am finished I stop to admire my work!
I hope you enjoyed this tutorial! The panel featured here is from Peek-a-Boo Pattern Shop! I enjoy sewing with and my kids enjoy wearing my creations made with these panels. If you haven’t tried sewing with a panel yet, make sure you visit the Peek-a-Boo Fabric Shop and grab one or several today!
If you want to win a panel, make sure you read yesterday’s post about ALL my holiday creations with this panel and enter the GIVEAWAY! TWO winners will win their own panel of choice in a prize bundle!