Willow Sew Along Day 3
You’ve made it this far and now it’s finally time to SEW!!! If you missed Days 1 and Day 2 check them out and you’ll be able to catch up quickly!
Today we’re going to sew our bodices which always feels so productive! We’ll start by sewing the shoulder seams. I like to start sewing knits just a bit in from the edge so my needle doesn’t push the knit under my throat plate. If you are really concerned with this happening you can slide some tissue paper under your fabric until you get the hang of it. But really, just start in a bit, do a couple hand turns even, and you’ll be just fine.
Sew the shoulder seams of your main front and back and then your lining front and back. It is good to press your seams open if you didn’t serge them. If you have serged just push one seam to the back and one seam to the front to avoid bulk.
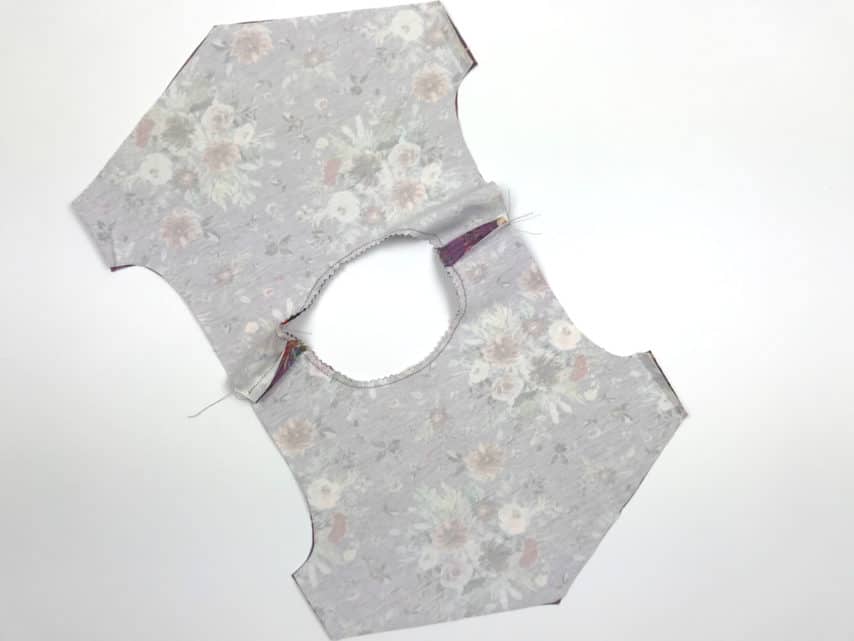
Line them up and sew your neckline. If you sewed the neckline on your sewing machine – clip your curves or use pinking shears. If you serged then you can skip this step. Pull one side through the neck hole and press for a neat finish.
Now we will prepare our sleeves. I chose the gorgeous bell sleeve. I like to create a memory crease on the hem of my sleeves so when I go to hem them it is easier to get a neat finish. It is much harder to evenly iron your hem up when the sleeve is already attached! If you are doing a bell sleeve, make that memory crease before you attach the ruffle.
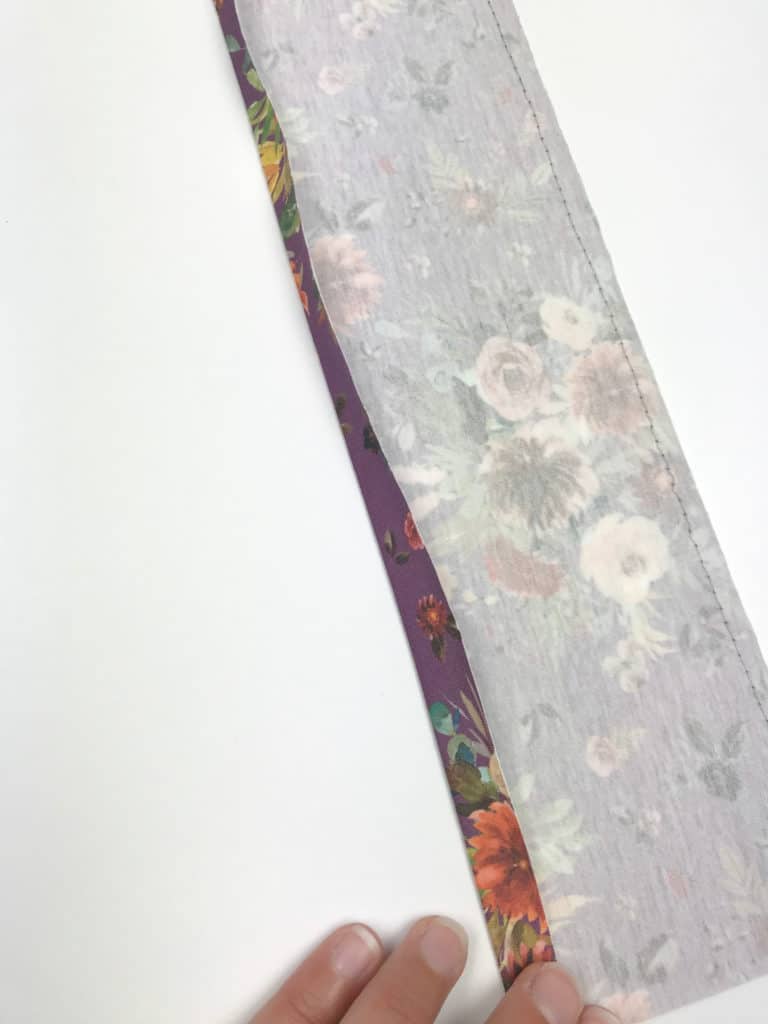
Attach your ruffle, if doing the bell sleeves, and be sure to press the ruffle seam AND if you like, you may use a chain stitch or long straight stitch to topstitch the ruffle.
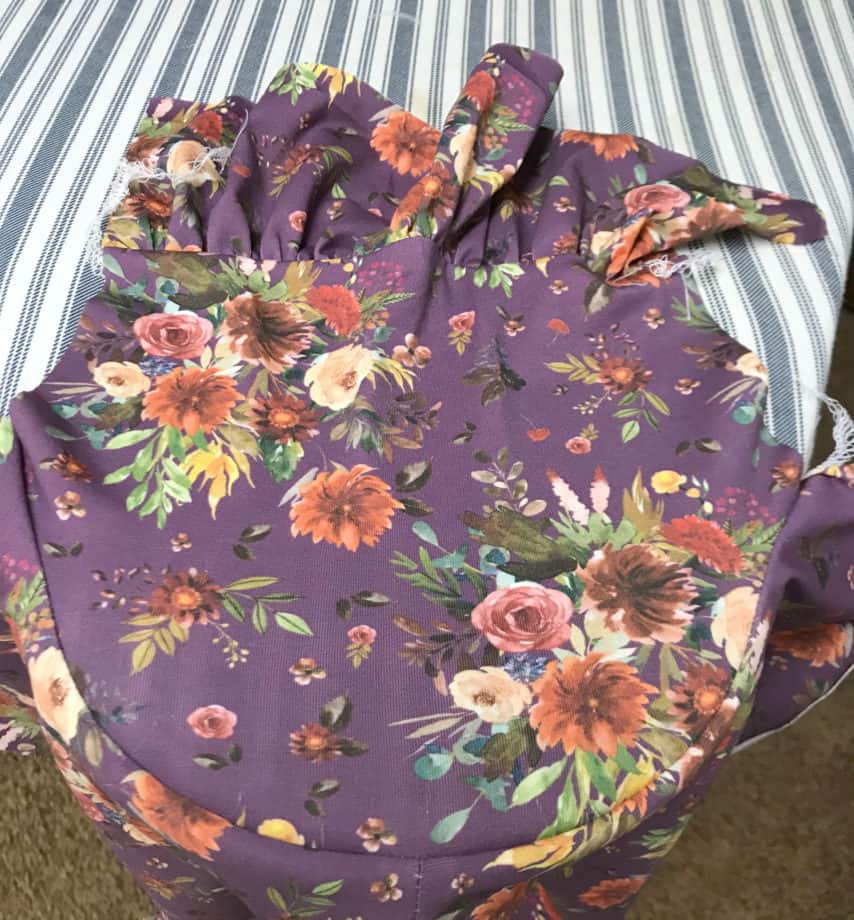
Once your sleeve is attached this is the best time to press your shoulder seams before the sleeve is closed. This will be a vast difference in the finished look of your bodice and skipping this step will result in a wavy seam and lumpy finish. You may use the end of your ironing board, a tailors ham or a tailors block to ease around the curve of the shoulder.
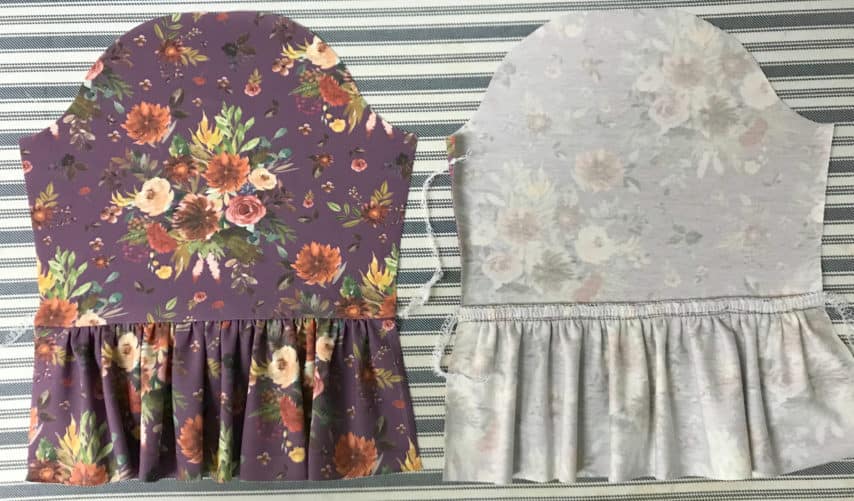
Now it is time to sew up those side seams and take a breather! I like to wait to hem my sleeves until I am ready to hem my skirt as well – I have a cover/serger combo so I only want to switch functions once.

Take a pic of your gorgeous bodices and share them in the fan group for a chance to win a free pattern!
See you tomorrow to construct our skirts!