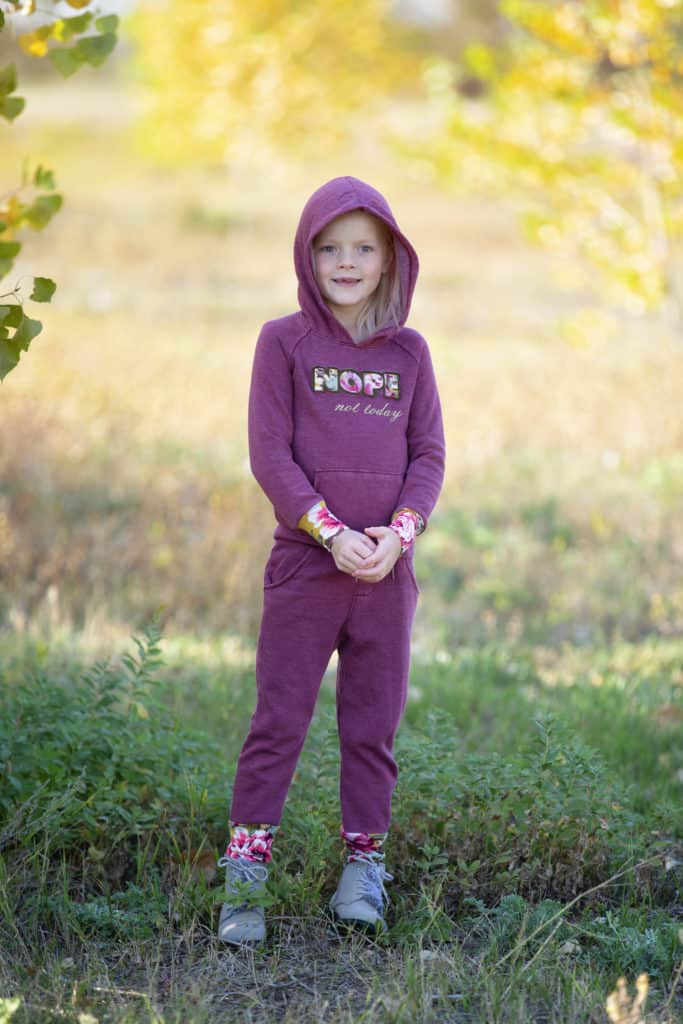
Personalized hoodie using your Cricut Maker
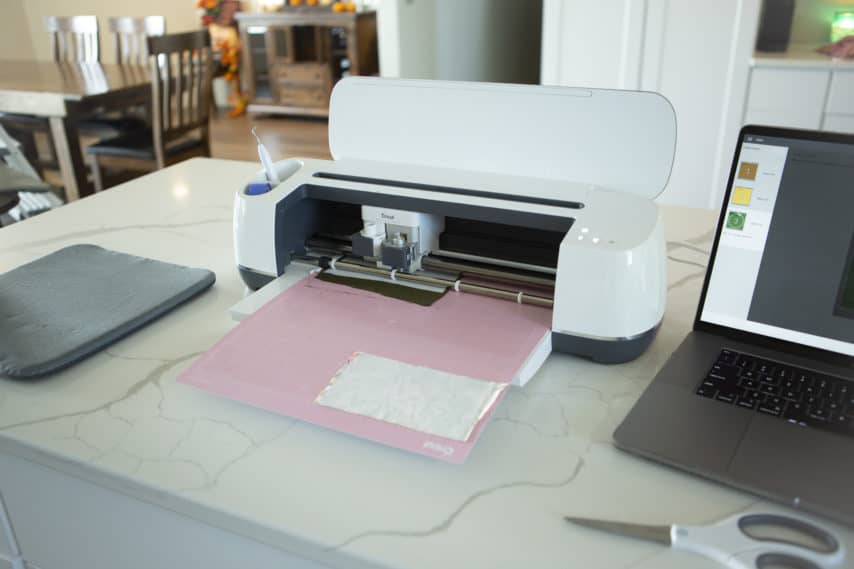
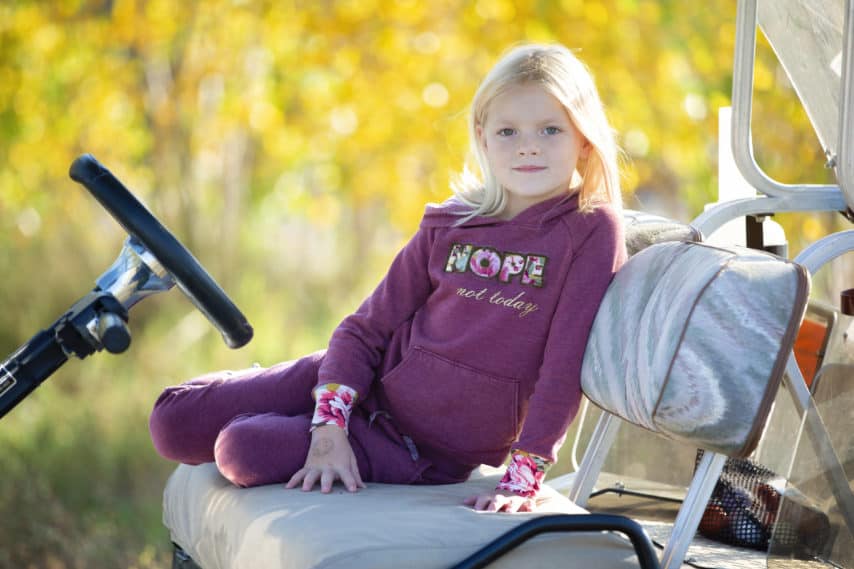
I am excited to share this super cute sweatsuit I made using my Cricut Maker. Personalizing hoodies is a fun and easy project anyone can do to level up their sweaters. I will also share a hack with you to lengthen sweatpants and joggers. This is a great way to get more life out of your handmade or store bought clothing. If you have tall kids like me, this will be a game changer! The hardest part is choosing what you want to add to your hoodie! You can choose an animal face, school or sports themed or you can choose a fun saying like I did. I loved this project so much that I plan on making myself a hoodie just like it. Want to create this same hoodie? Check out the project HERE.
My favorite feature of the Cricut Maker is the rotary blade attachment. I use it all the time to get perfectly cut fabrics. This is great for embellishments like this project along with quilting and other fabric projects.
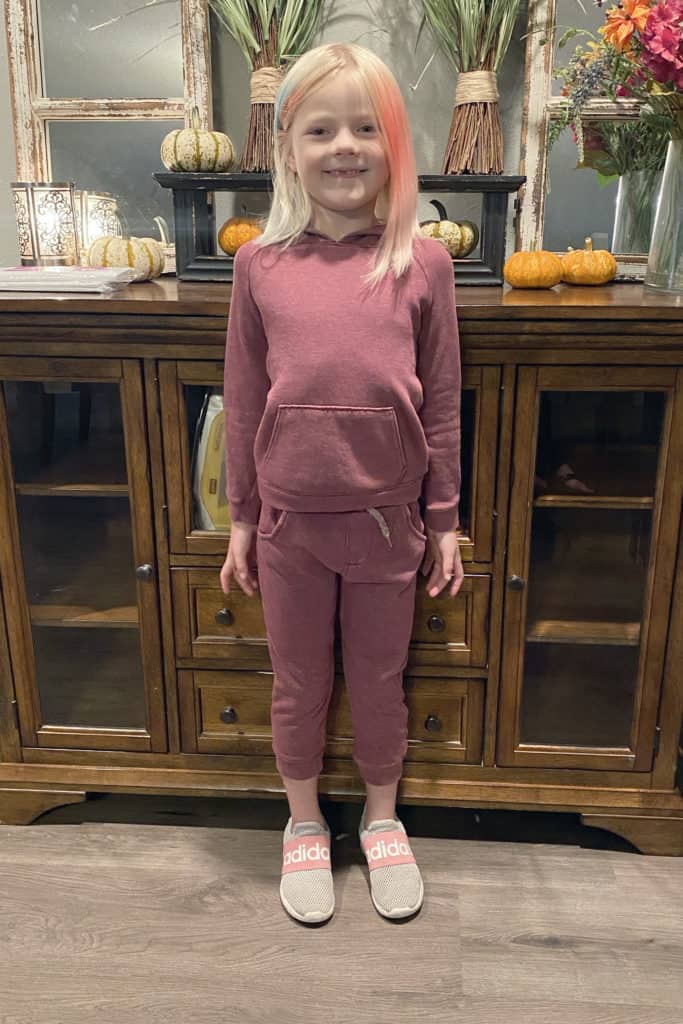
Normally I would sew up my own hoodie but when I saw this set for $13, I thought it be a fun change of pace and make for a super quick project.
You can use the Jayden Hoodie pattern or the Cypress hoodie pattern and create an even more customized hoodie!
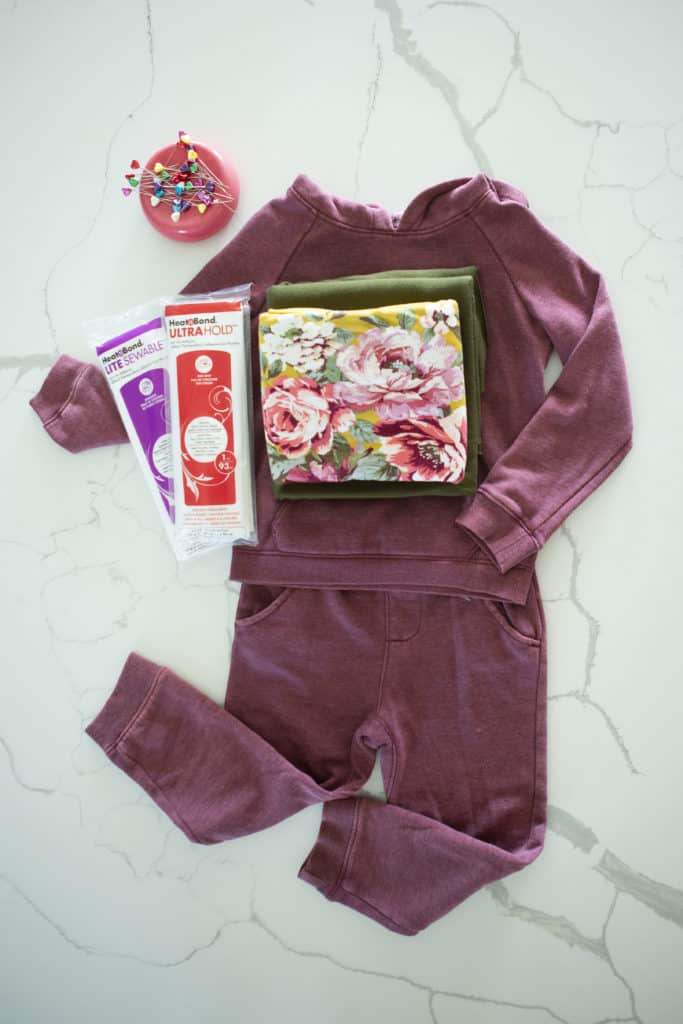
For this project you will need:
- Cricut Maker
- Fabric Cutting Mat
- Iron on Vinyl (I used gold glitter)
- Cricut EasyPress
- Fabric (A solid color for the offset and a fun print for the letters)
- Heat n Bond (lite sewable if you plan on sewing it on, for a no sew project, ultra hold)
- Hoodie
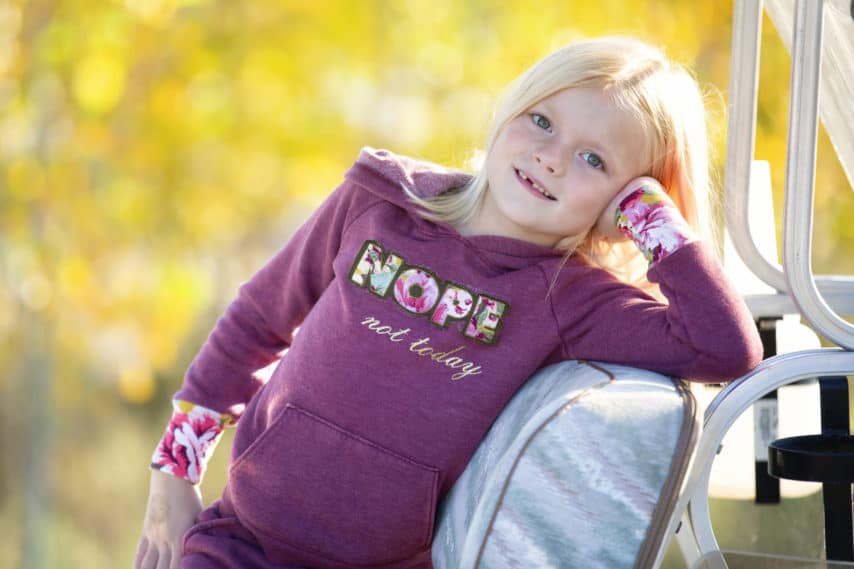
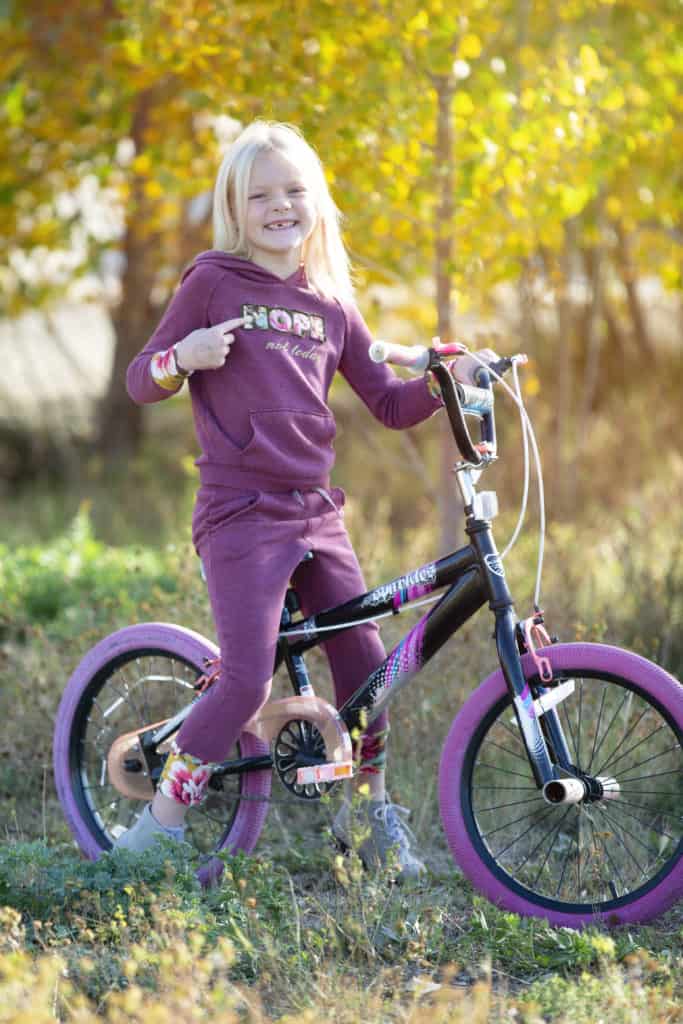
I got this sweatsuit at Walmart for $13 in the toddler boys section. I normally don’t shop in the toddler section for my kids anymore because they are so tall but my daughter doesn’t like all her pants being too big in the waist so I decided to start modifying her store bought clothes. Here you can see how short the 5t pants are on her. I figured I could cut off the original cuffs and add new ones to match the embellishment I added to the hoodie. I could have added a bit longer ones but she was at school so I couldn’t measure when I made this. I did the same to the hoodie sleeve cuffs as well just to make it all match.
This project is really easy and pretty fast. Once you make one, you will want to embellish all your hoodies!
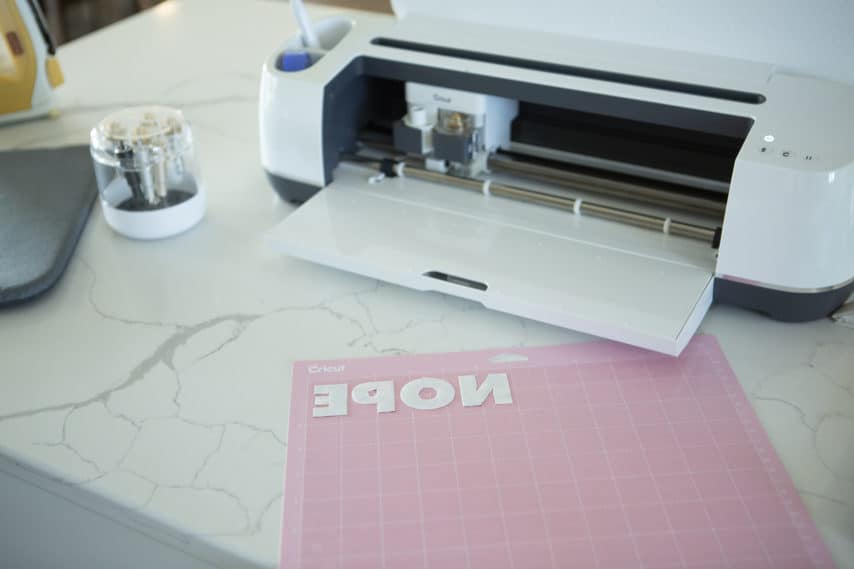
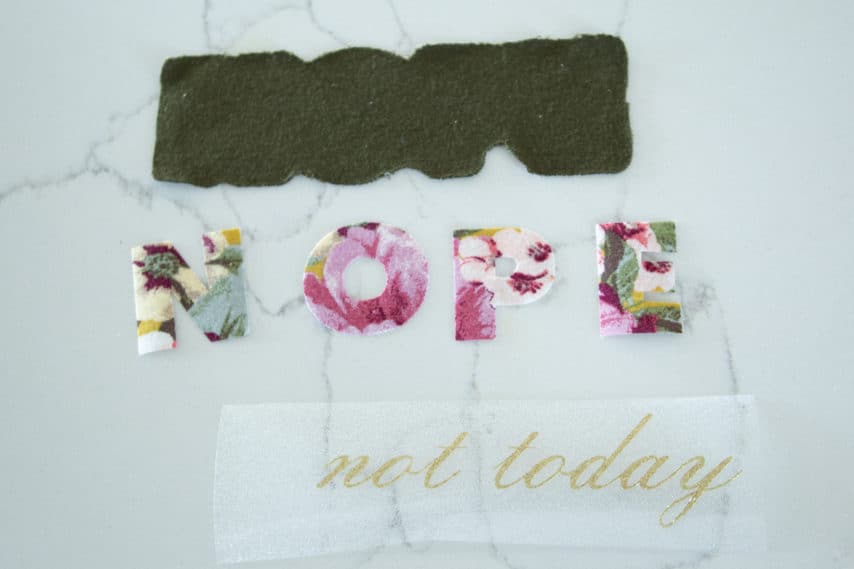
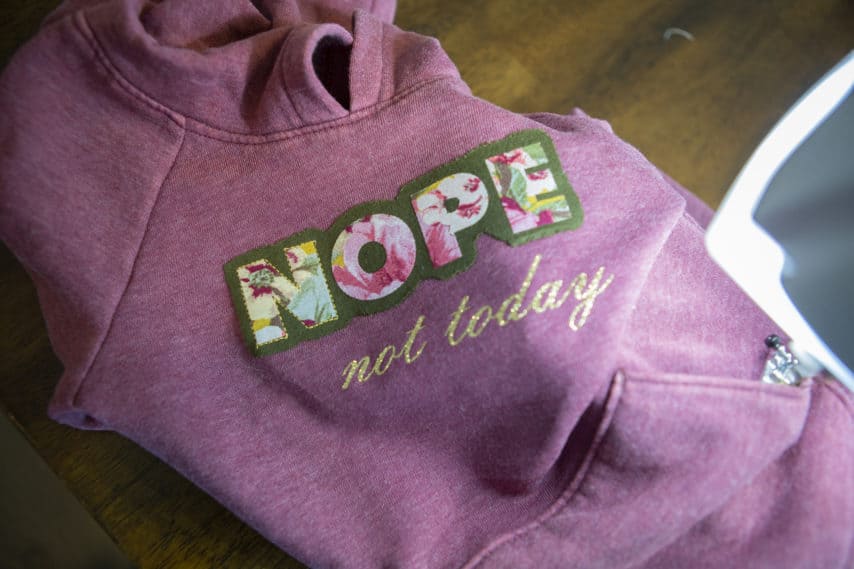
First you need to create your project in Design Space, or use this one that I made. To get the solid fabric behind the letters, you will use the “Offset” feature and determine how much you want. When you have it set up, be sure you mirror the images so they cut out right.
I used heat n bond to secure everything. I cut out 2 pieces of fabric a little bigger than I needed. I then pressed a piece of heat n bond to the fabric. I used the rotary cutter on my Maker to cut this versus the fine point blade. I feel like the rotary cutter gives you a better and more precise cut than the fine point blade. Place the fabric with the bonded side up.
I then cut out my glitter vinyl. I love that little added sparkle in this project. Don’t forget to mirror the cut.
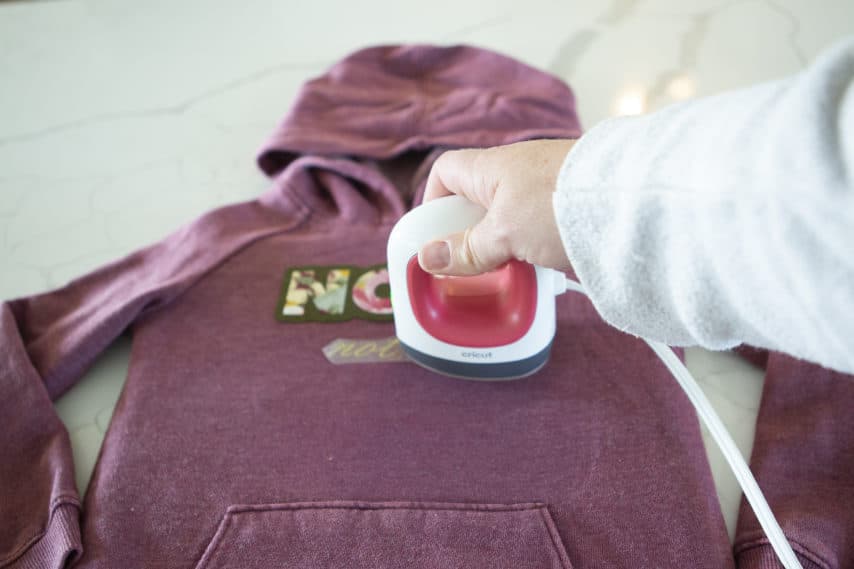
You will need to get everything layered and positioned before pressing it into place. You don’t want anything to slip out of place!
The heat and bond only requires a few seconds of pressing so you will need to press the fabric in place first, then you can do the glitter vinyl as that takes more time. You don’t want to over press the heat n bond.
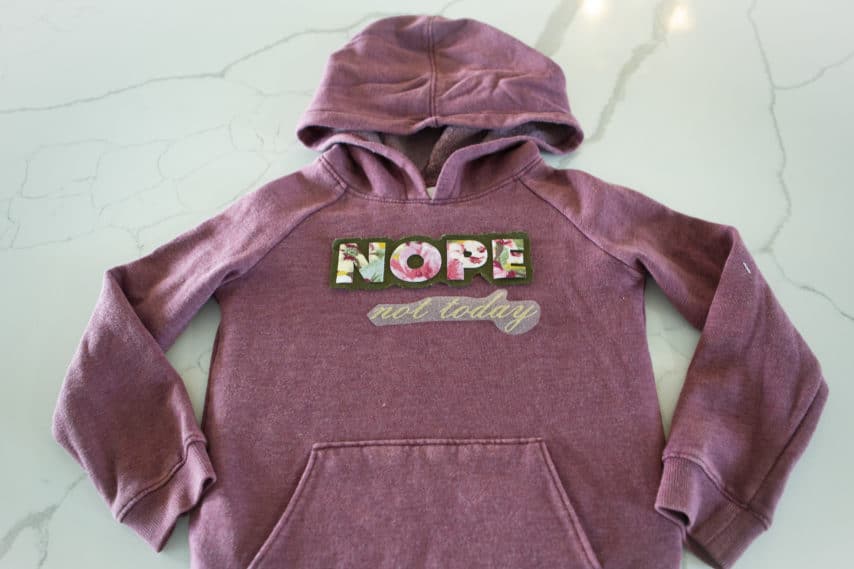
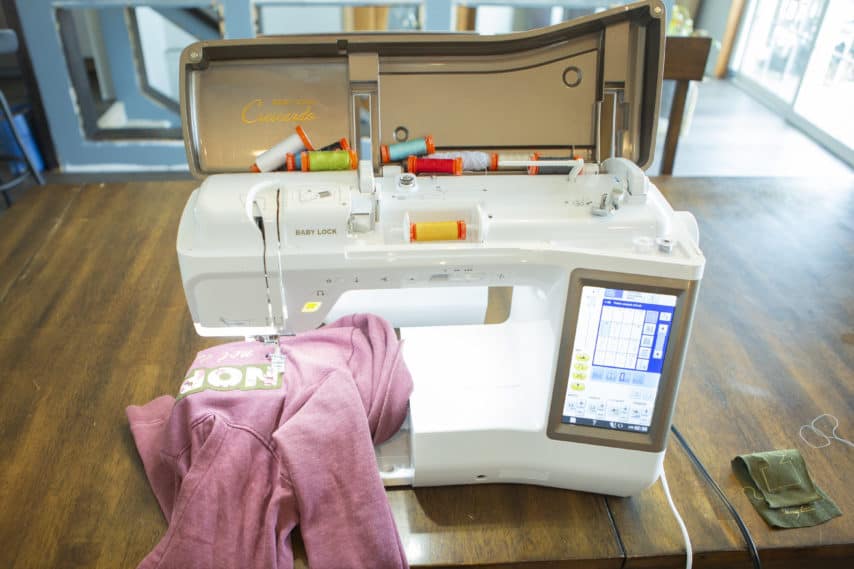
Once you have everything pressed in place, you can add decorative stitching. I used a triple stretch stitch to give me the thicker stitch lines. I used the ultra heat n bond for the letters and then sewable for the solid. You don’t want to sew over the ultra because it could gum up your needle and be a little rough on your sewing machine. I liked the idea of using the yellow thread and sew right on the outside of the letters to add that texture and pop.
Once you are done, you can cut the old cuffs off and add new ones. Now you have a really cute outfit that is personalized to your liking!
I can’t wait to see all your embellished hoodies!
Happy Sewing,