

Scrap Buster: DIY Fabric Easter Eggs
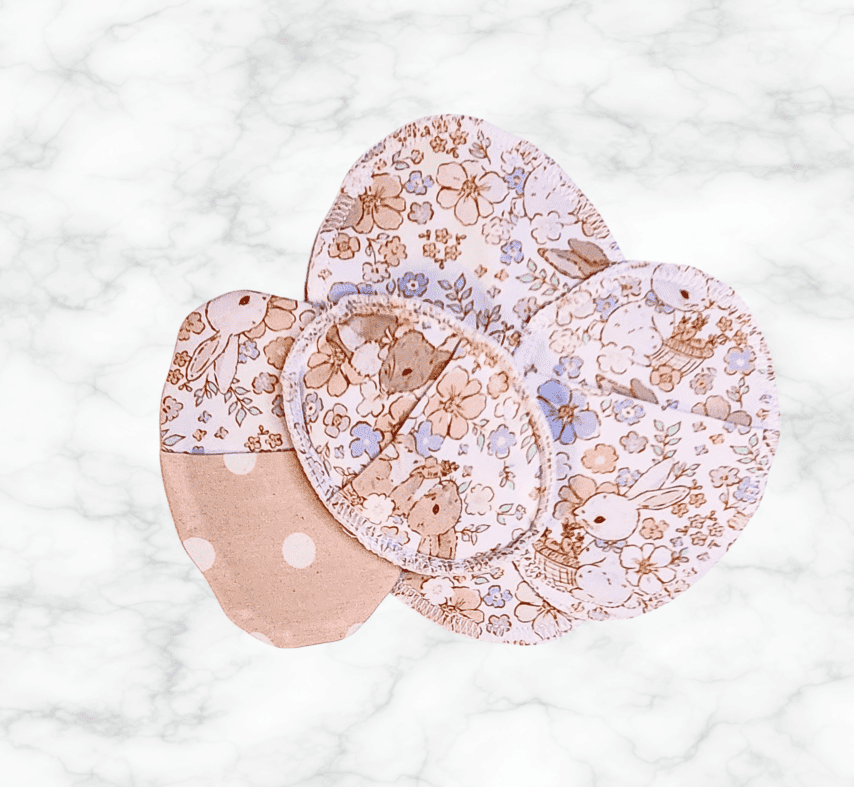
Hey y’all its Megan! Today I want to share something I have been wanting to make for a long time, DIY reuseable fabric Easter eggs! Not only are these a super cute scrap buster but it also helps us reduce our plastic use which is something my family is constantly striving for! In this tutorial, I’ll teach you how you can create your own reusable fillable fabric eggs to replace plastic ones, or to add to them.
Why Choose Reusable Fabric Eggs?
Before diving into the DIY process, let’s discuss why reusable fabric eggs are a fantastic alternative to plastic ones:
- Environmentally Friendly: Fabric eggs reduce plastic waste and contribute to a healthier planet by promoting reuse.
- Customizable: You can create fabric eggs in various sizes, colors, and patterns, adding a personal touch to your Easter.
- Safe and Durable: Unlike plastic eggs, fabric eggs are can withstand multiple uses without breaking.
- Easier to store: Since these lay flat they are so much easier to store between uses!
Materials Needed
To get started, gather the following materials:
- Fabric of your choice, woven or knit both work great!
- Sewing machine or serger
- Scissors
- Fabric marking pen or chalk
- Fillers such as small candies, chocolates, or toys
- The free pattern you can find that HERE!
Let’s begin!
Now, let’s walk through the process of creating reusable fillable fabric eggs:
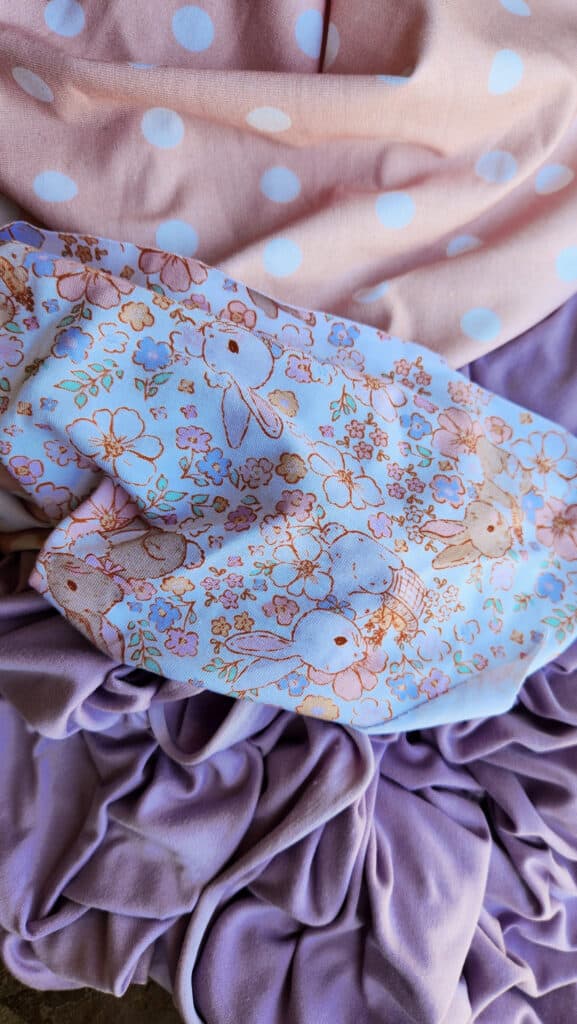
Choose Your Fabric:
I opted for knit fabric in this tutorial but you can also use woven fabric!
Print or project your Egg Templates:
I have included three sizes, 3 x 4, 3.5 x 5, and 4.5 x 7.
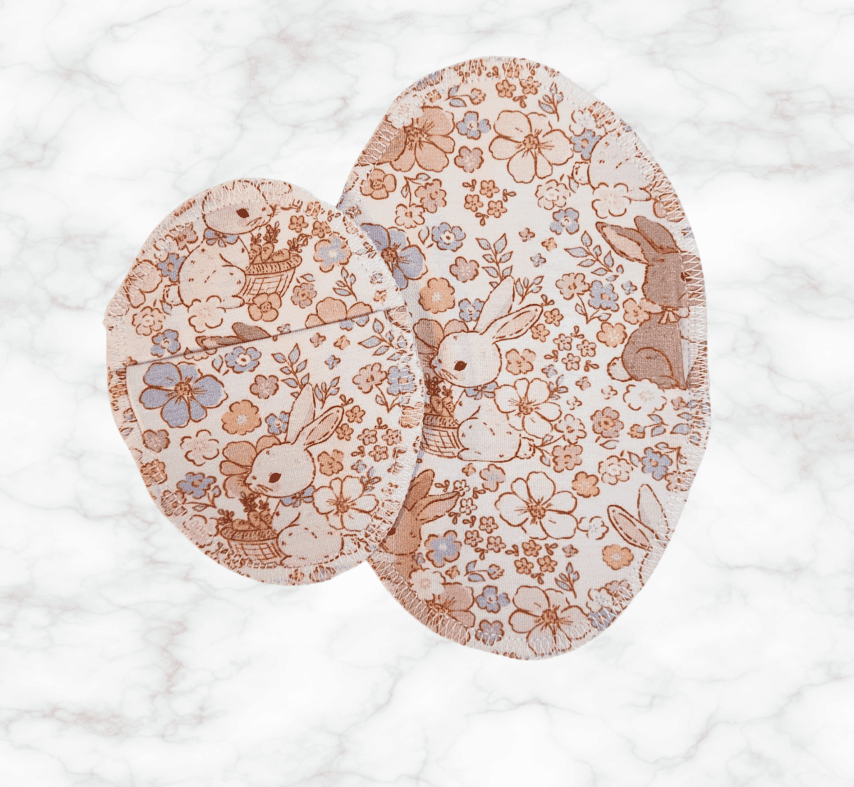
Cut Fabric:
You will need one front and two back pieces cut on the fold.
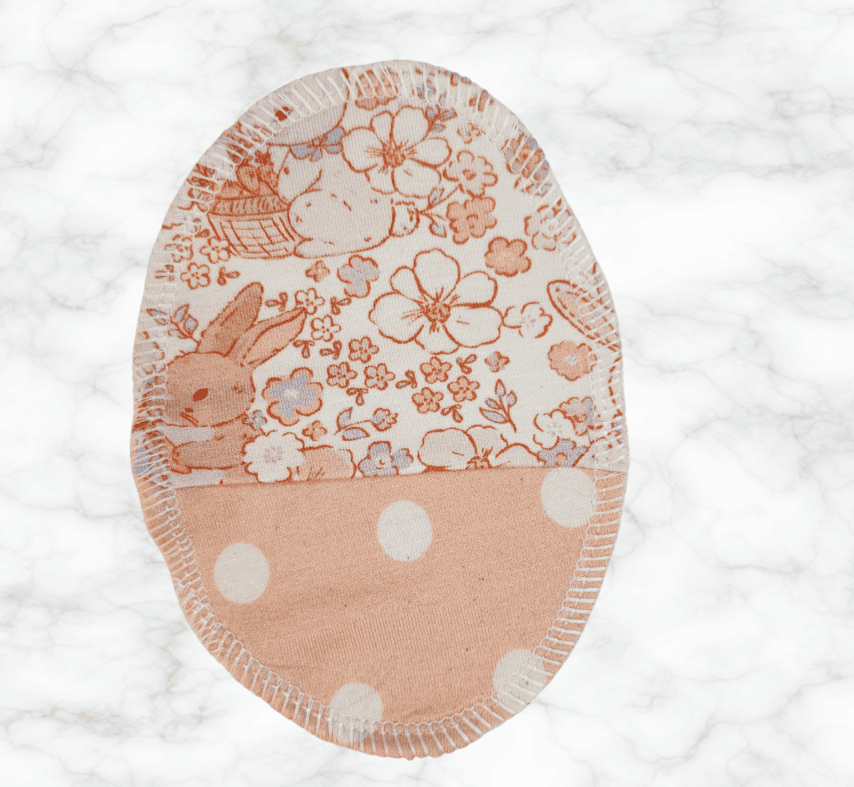
Option 1- Exposed seems, this is my preferred method for knits.
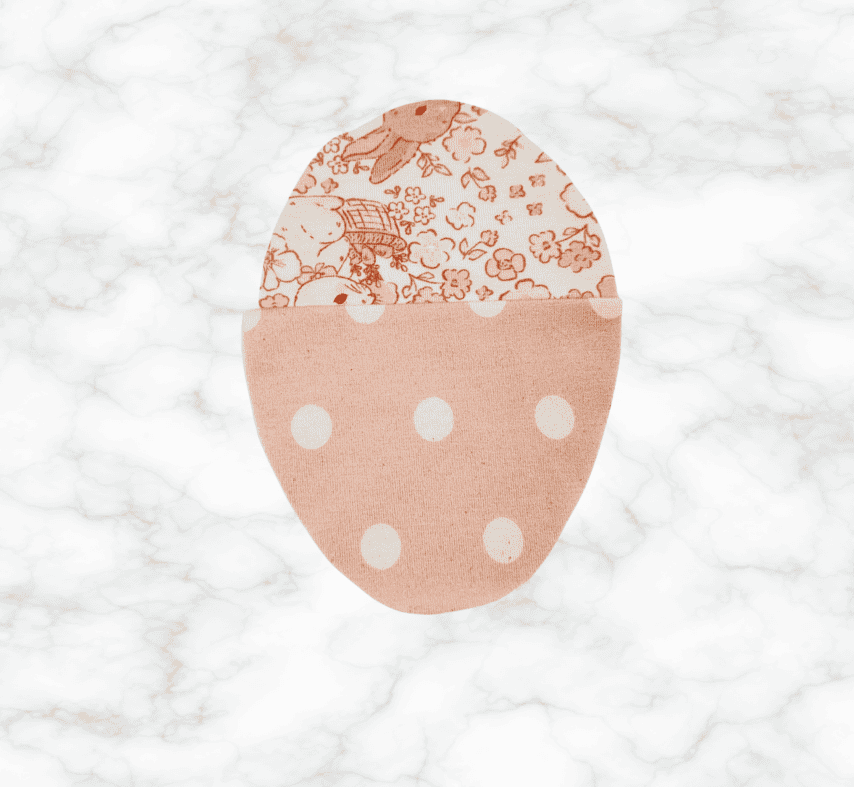
Begin by placing your front piece right side down.

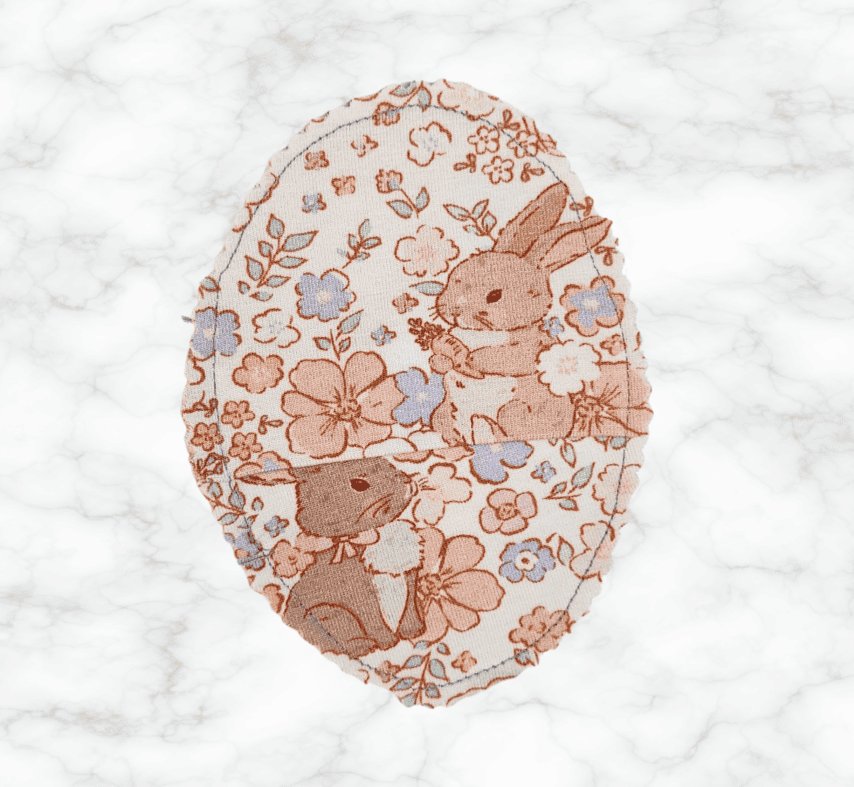
Next lay on back piece folded in half, on top of your front piece, right side up.
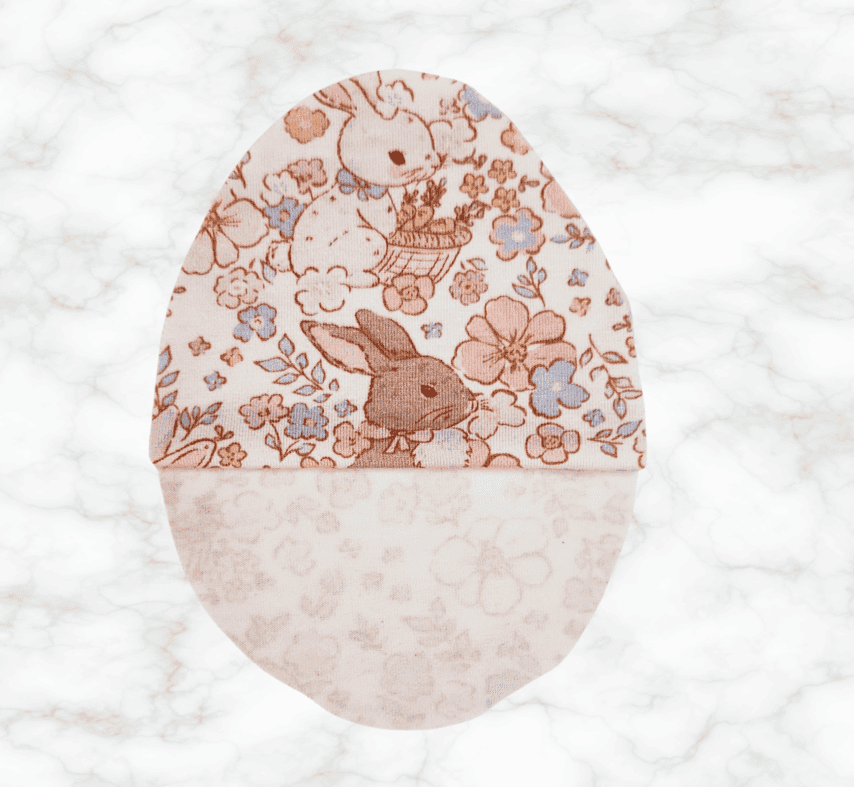
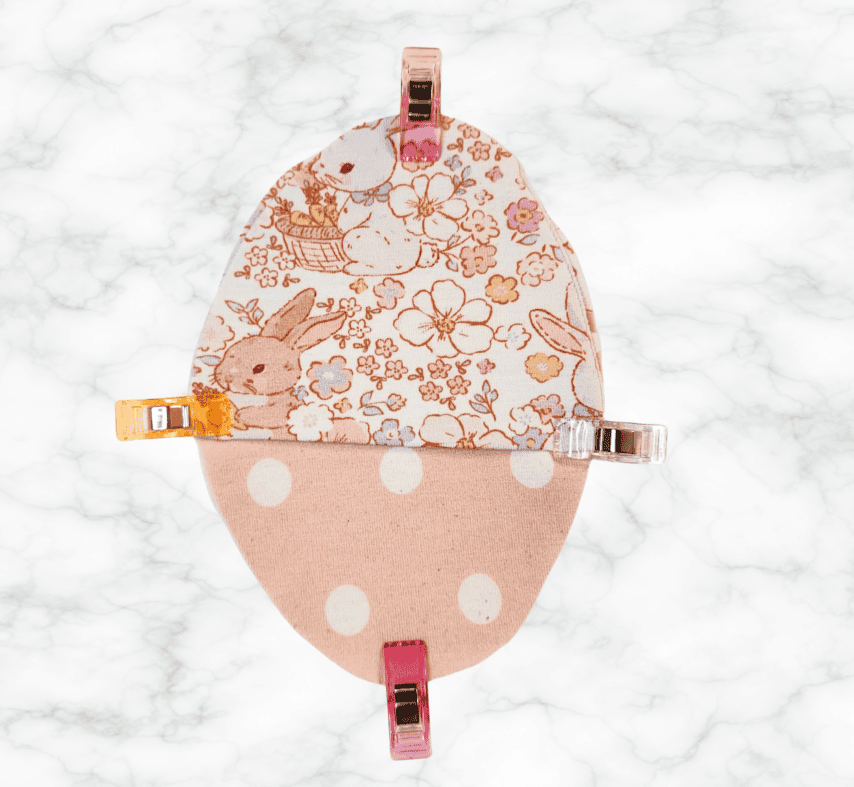
Then lay the second back piece folded in half on top of both other pieces. Overlapping the back pieces slightly. Right side up. Pin or Clip in place
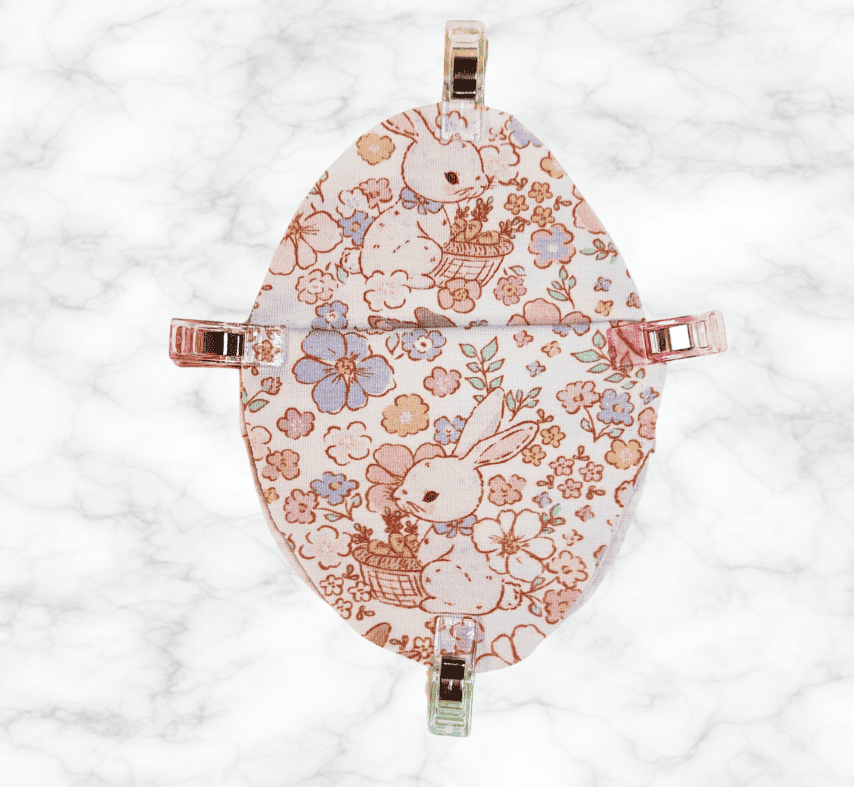
Next serge or sew around the edges using a ¼” seam allowance.
If you have sewn around the edges you may want to use pinking shears around the edges to give it a rounder look.
Option 2- enclosed seams, this is my preferred method for wovens.
Begin by placing your front piece right side up.

Next lay on back piece folded in half, on top of your front piece, right side down.
Then lay the second back piece folded in half on top of both other pieces. Overlapping the back pieces slightly. Right side down.
Next serge or sew around the edges using a ¼” seam allowance.
If you have sewn around the edges you may want to use pinking shears around the edges to give it a rounder look.
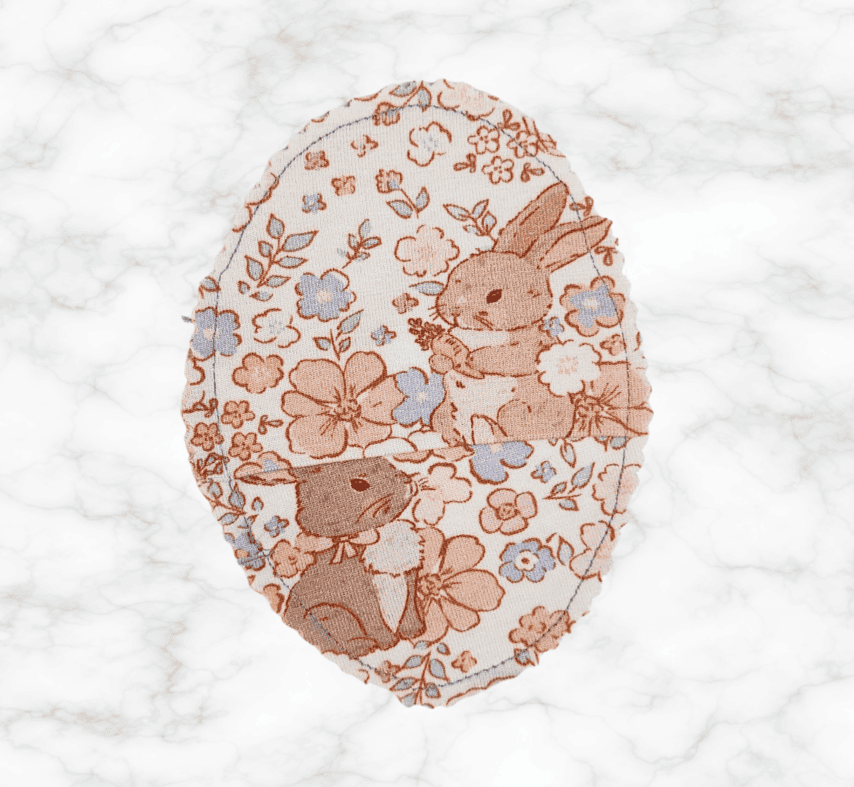
Flip the egg right side out.

Fill the Eggs:
Turn the fabric eggs inside out through the opening. Fill them with small treats like candies or toys.
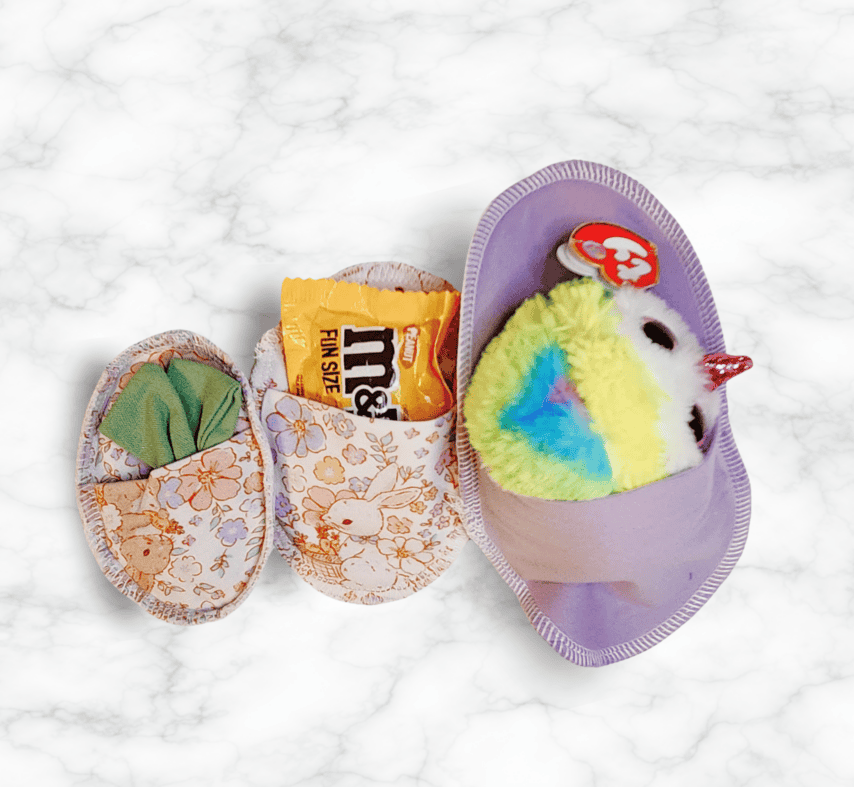
Enjoy Your Reusable Eggs:
Once your fabric eggs are complete, they are ready to use for Easter egg hunts or as charming decorations around your home. After the festivities, simply empty and wash them for future use.
Giveaway Time
Today’s blog post is proudly sponsored by Maddie and Kenz Textile! Are you loving the Easter and dots fabric featured? You can easily find it on their website! Not only have they provided us with this super cute fabric, but they have also generously donated a $25 gift card for one of our lucky readers! To enter for your chance to win, CLICK HERE! Happy crafting and happy Easter! 🐣🌷


Joanna
Such a cute idea! Definitely so much better than plastic.
Lily Macfarlane
Such a great idea! I’ll be adding this to the pile of things on my todo list!
Kylie
This is such a good scrap buster idea! I think I’ll make the biggest size first
Kristen B
such a cute idea! I just made a bunch to use this year!
Kelly
You had me at “easy to store”. Thank you!
Sunshine
Brilliant idea ! Thank you
Liesel
These are cute! I think I’d try the largest size first!
Julianna
This would also be really great as sleeves for hardboiled eggs instead of dying them!