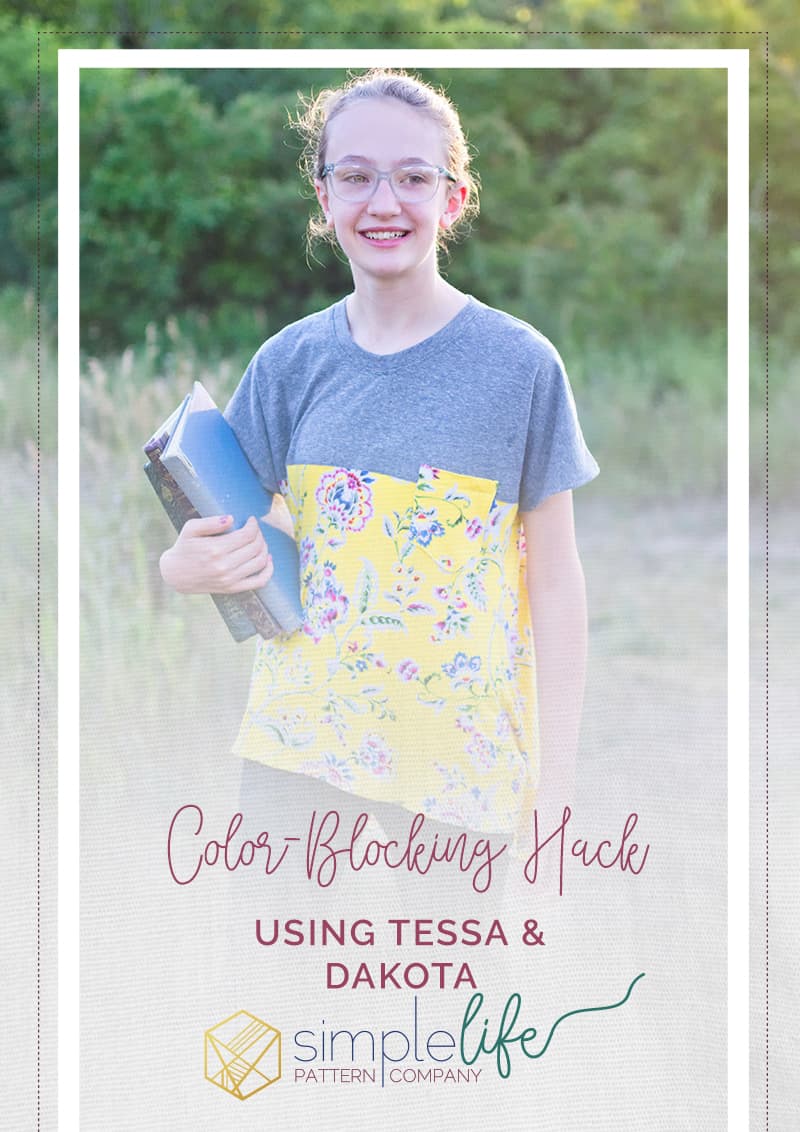
Color-Blocking Hack
Hello all my sewing friends!
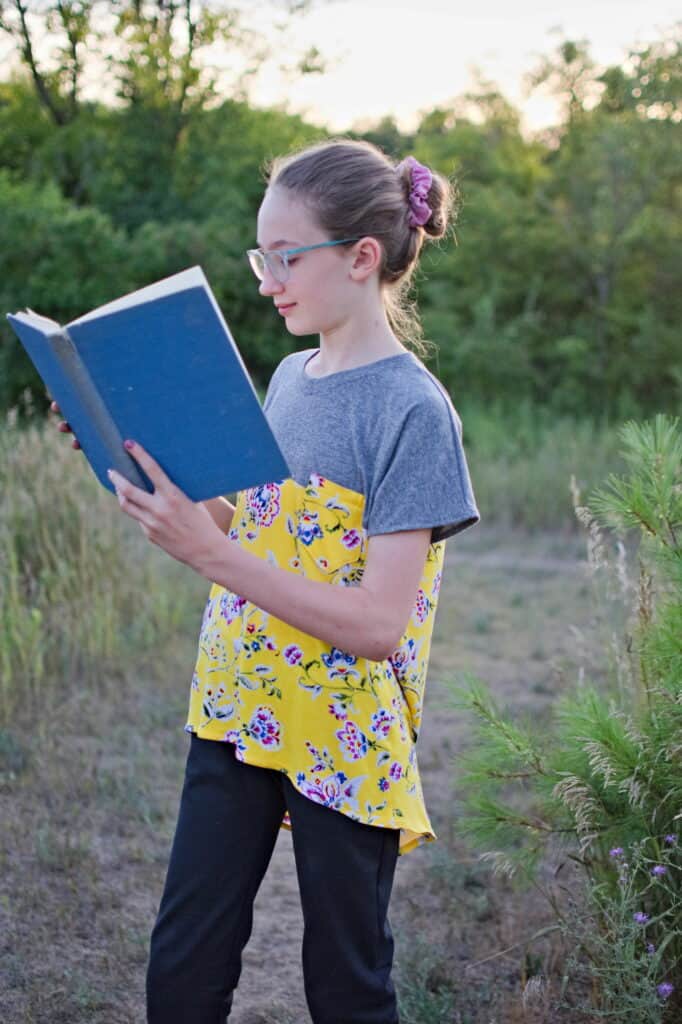
I’m on the blog today to share some back to school inspiration. I absolutely adore all of the gorgeous back to school dresses, but my tween does not! I’m guessing that I’m not the only one who has a daughter who has decided that wearing dresses to school is really not cool anymore. So, here’s my take on a trendy, but classy back to school look.

I’ll walk you through how to make this top using Tessa and Dakota.
If you’ve never done color blocking before, I’m here to tell you that it’s the easiest hack that you will ever do. Don’t be afraid of it!
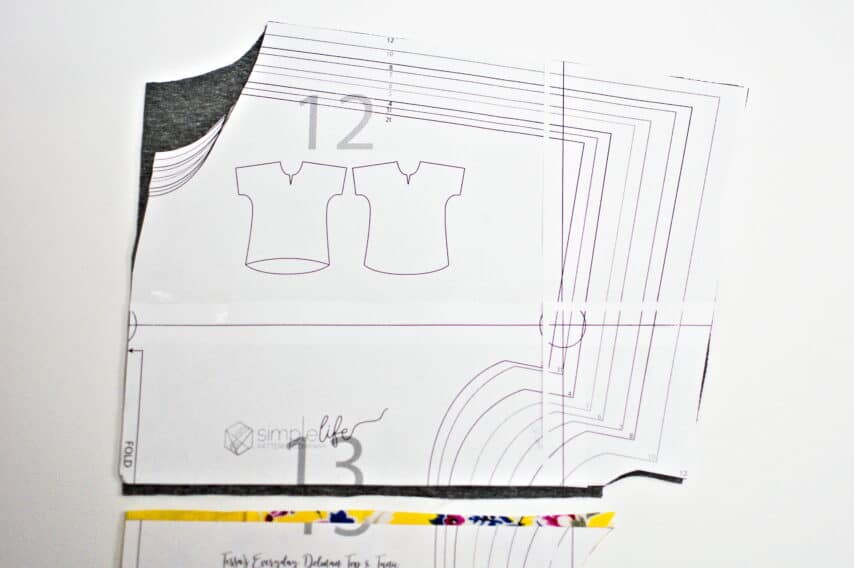
Start by drawing a line where you want your color blocking and cut your pattern on that line.

Next, simply cut your fabric out using your new pattern pieces. Just remember to add your seam allowance to both sides of your color blocking line.
For this top, I used the Dakota neckline.
Now, just sew your two pieces right sides together.

Press the seam toward the top of the garment, and topstitch.
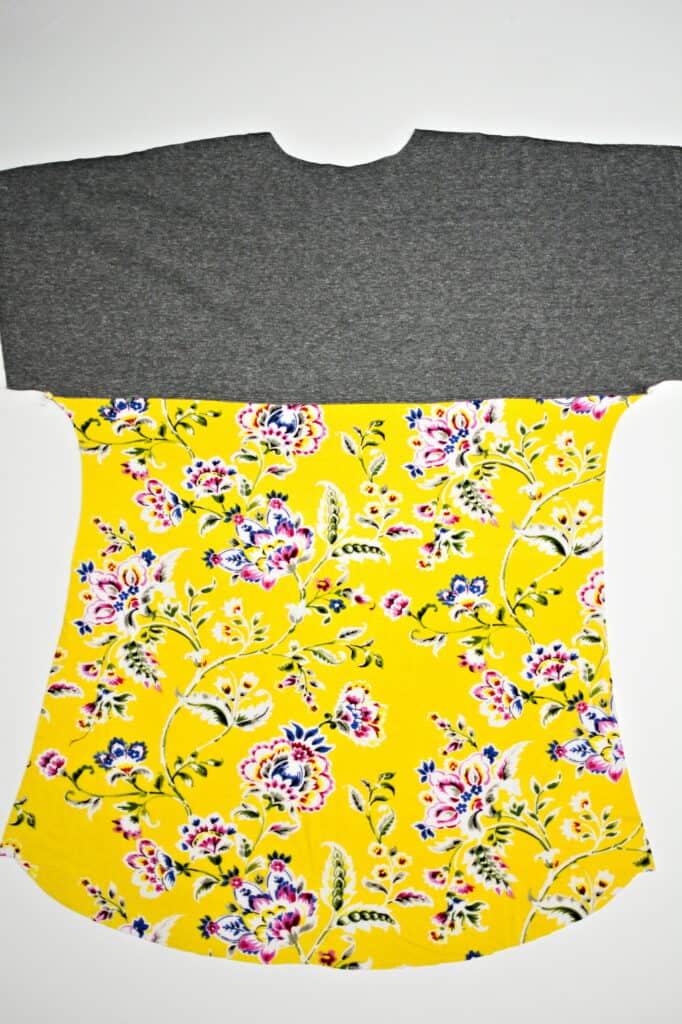
Easy as that!
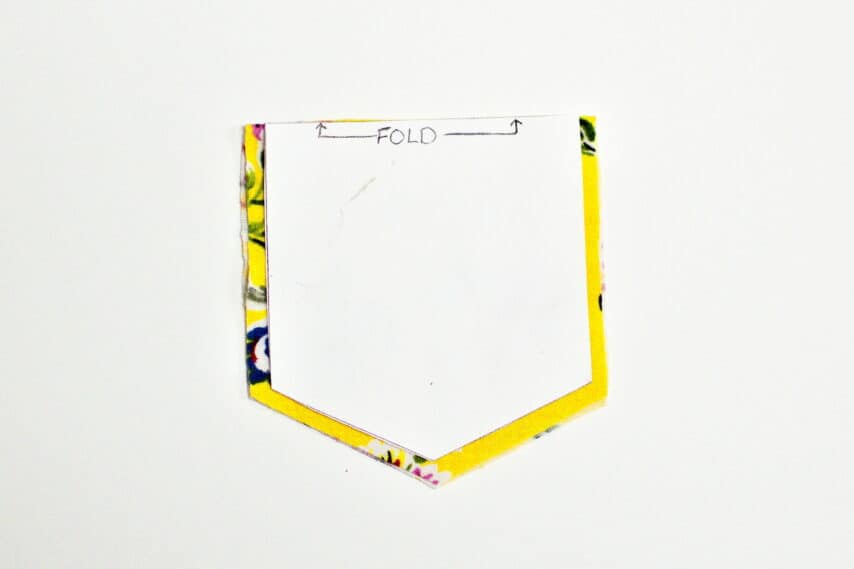
If you’d like to add a pocket, draw your pocket the size that you desire on a piece of paper. Cut it out on the fold and add a seam allowance to the non-folded edges.
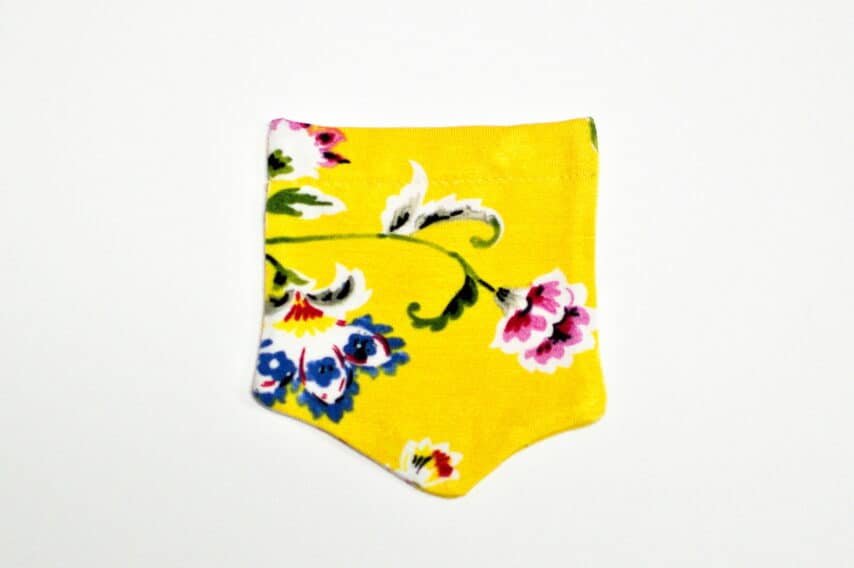
Fold your pocket right sides together and sew the raw edges, leaving a 1 inch gap for turning. Turn and topstitch. Stitch a line 1 inch from the top of the pocket.
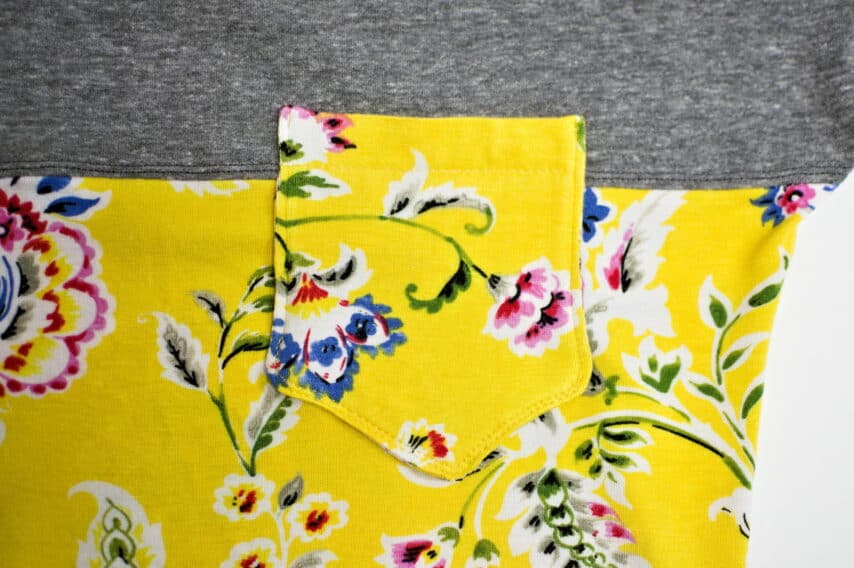
Sew your pocket to your shirt. (If you have very stretchy or slippery fabric, it can help to use hem tape to secure the pocket to the shirt before stitching.)
Now all you have to do is finish your shirt according to the Tessa instructions, omitting the facing. Use the Dakota instructions for the band.
And that’s all there is to it! A quick, easy, and trendy top. I paired this one with Emilya’s skinny pants and it’s an instant favorite!

Happy back to school sewing!
– Tamar.