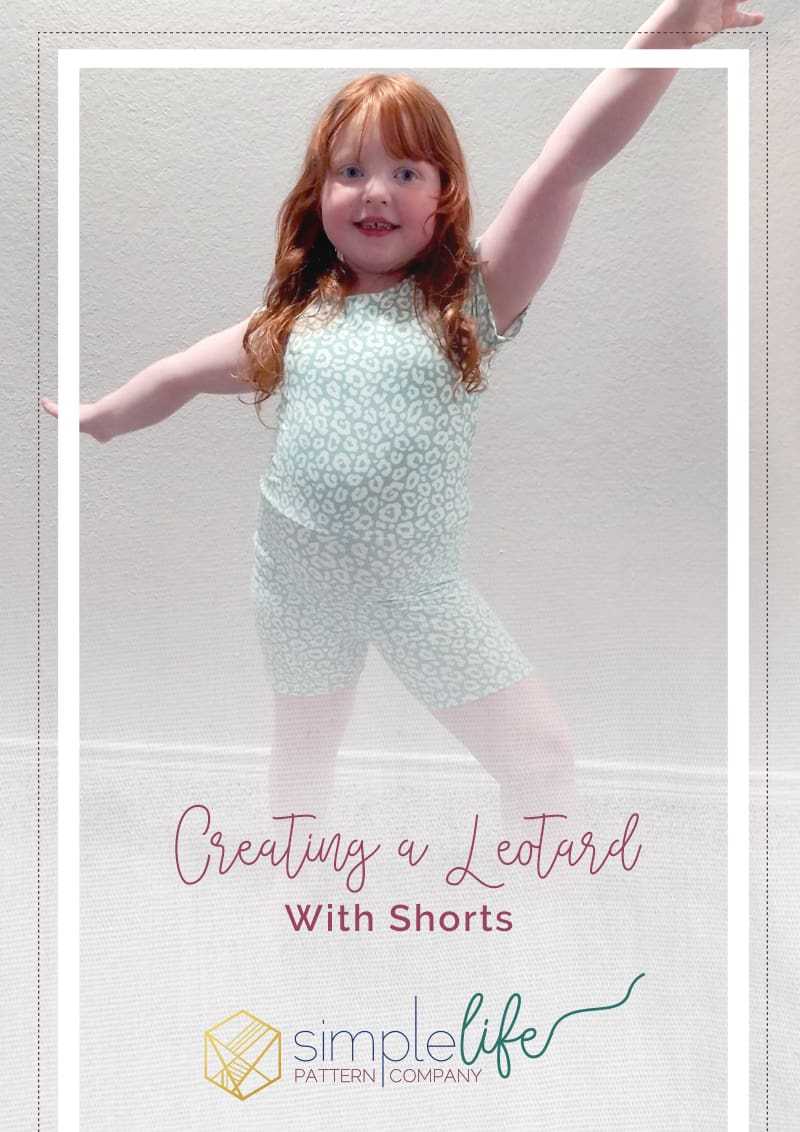
Creating a Leotard with Shorts: A Juniper and Tiffany Sewing Pattern Hack!
Today I’d like to show you how to make a fun, versatile leotard with shorts by combining the Juniper and Tiffany patterns. Follow these easy steps to merge the two patterns and create your own leos!
I’ll admit the original reason behind this hack was that I’m not the biggest fan of gathers. I struggle to get them even, and they always end up on the unfinished pile. So I set out to remove the gathers. I had a lightbulb moment when playing with the patterns: “This would make a great swimsuit”. I love swimsuits that cover more since my daughter has fair skin, and this would be way easier than a rashguard. It could also be a leo for gymnastics, dance, yoga, wrestling…a superhero costume… Need I say more? Let’s make one!
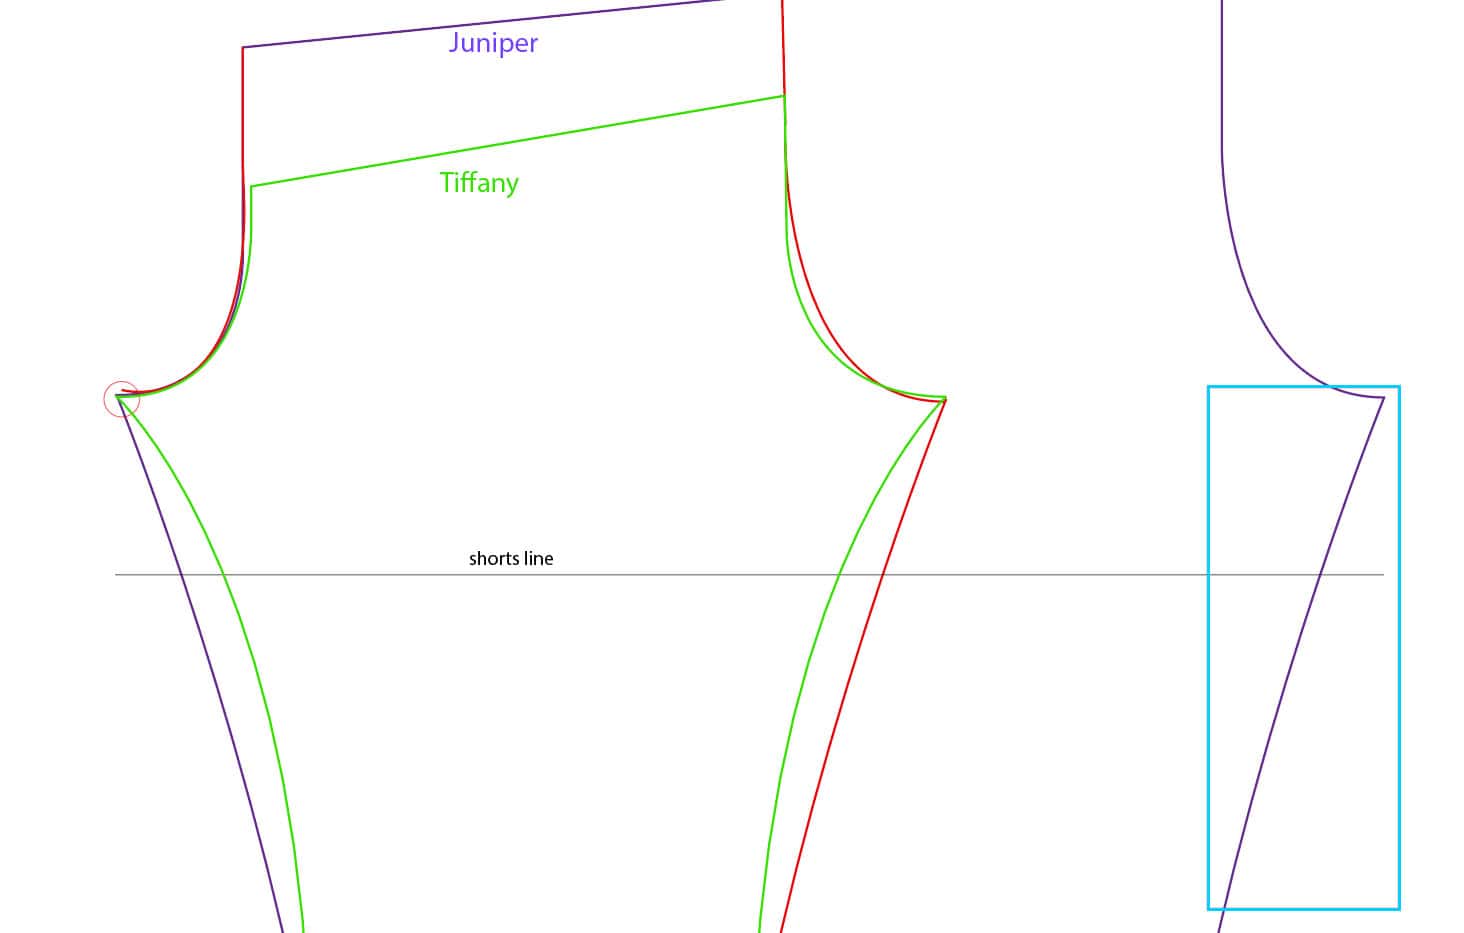
To keep this explanation clear and easy I made some simple line drawings. The purple lines represent the Juniper pattern, the green lines are Tiffany, and the red lines are the new pattern. The red lines are the lines you will need to draw.
What you’ll need:
- The Juniper Kids pattern
- The Tiffany Kids leggings pattern
- Scissors and tape (or glue) to assemble your patterns
- Pen and pencil to draw your new lines
- Pins or clips
- Sewing machine and thread…etc
Side note: You will need to follow the fabric guidelines for the Juniper pattern, so make sure your fabric is stretchy enough.
1. Print Both Patterns:
Print the Juniper and Tiffany patterns to your desired size. We will be drawing our new lines on the Juniper pattern piece.
2. Align and Match:
Take the Tiffany pants piece and place it over the Juniper pants piece. Align them at the front crotch point. You may need to tape or weigh them down so nothing shifts. Use the Juniper line to create the front crotch seam.
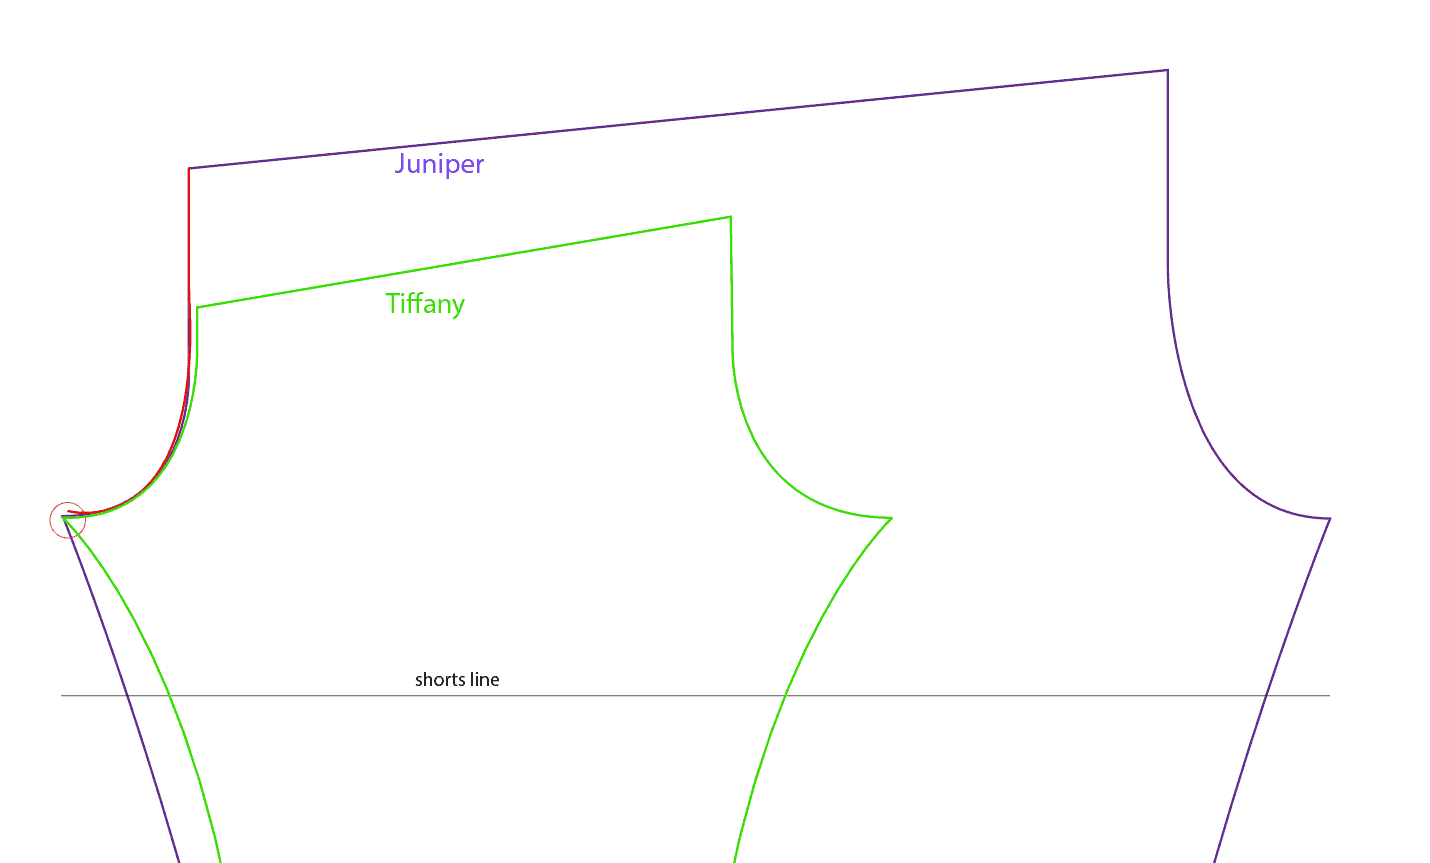
3. Extend the Length:
Draw a line from the back waist of Tiffany to the waistline on Juniper. We are using the height of the Juniper pattern.
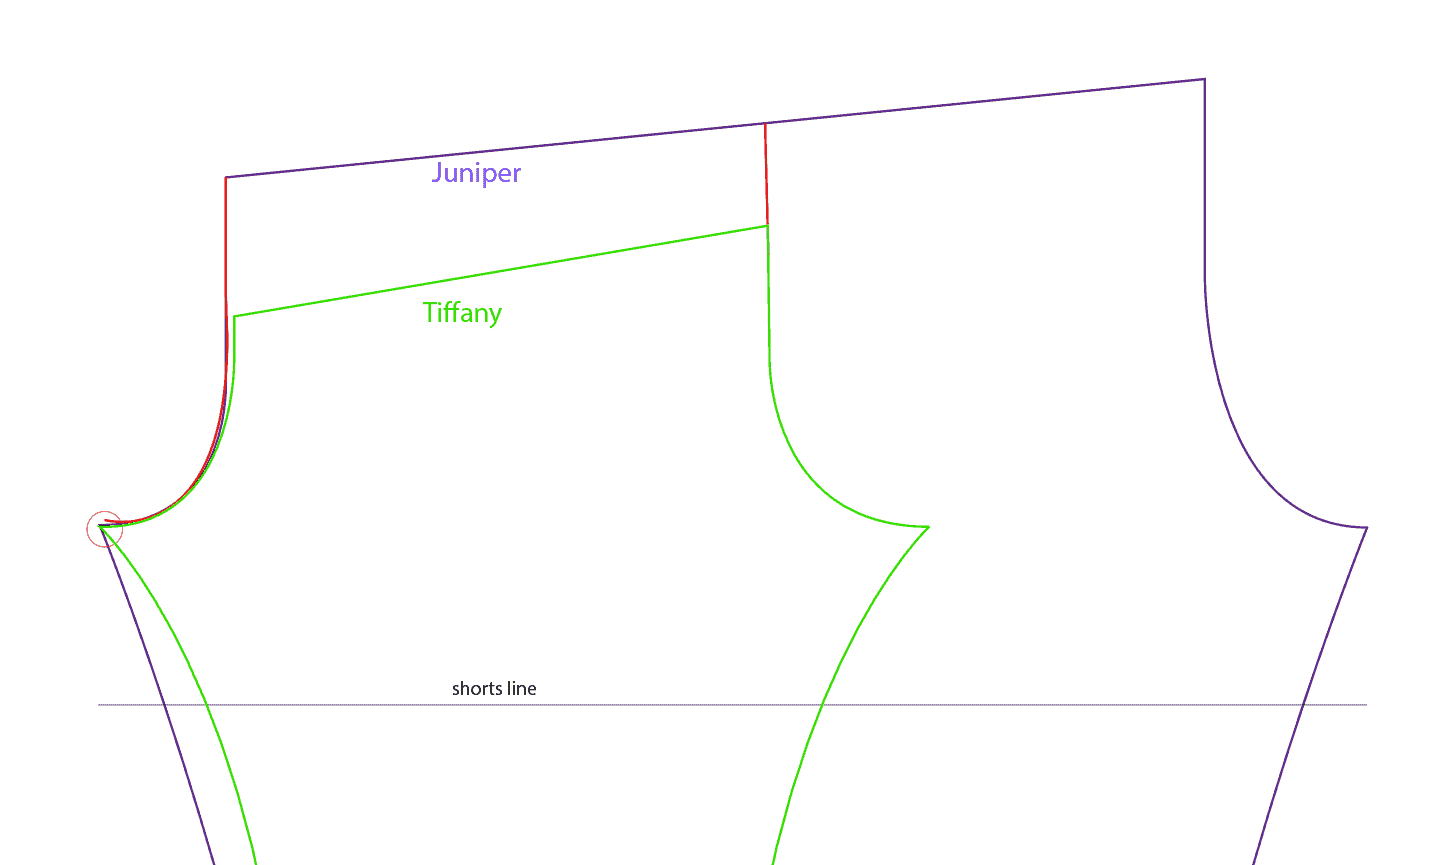
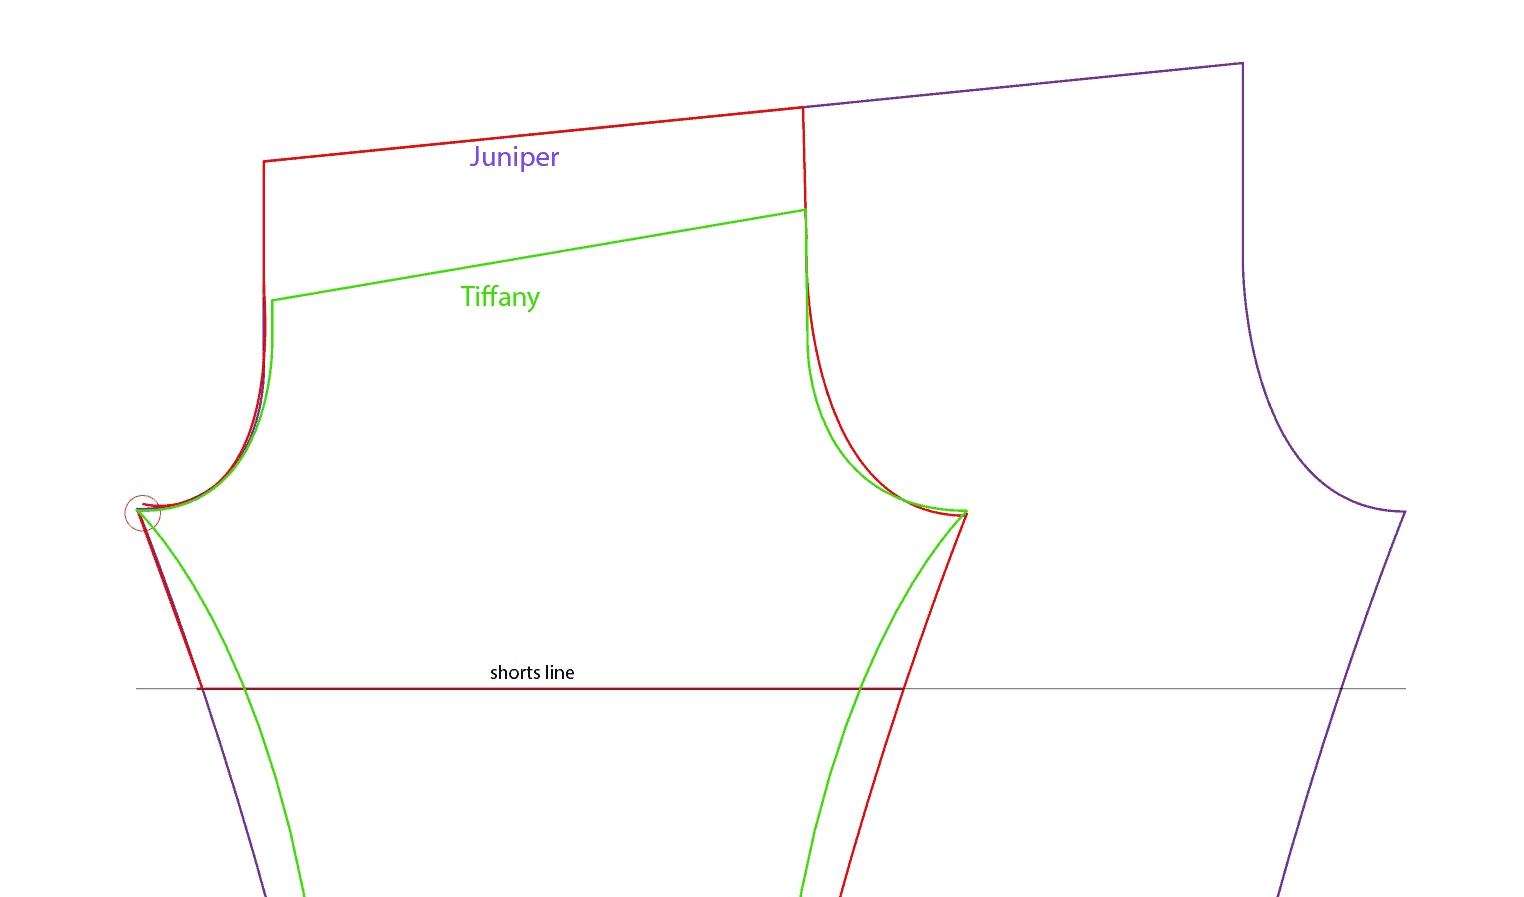
4. Adjust the Back Crotch Curve:
Create a new back crotch curve that mirrors the Juniper pattern. You can cut and duplicate this piece if necessary.
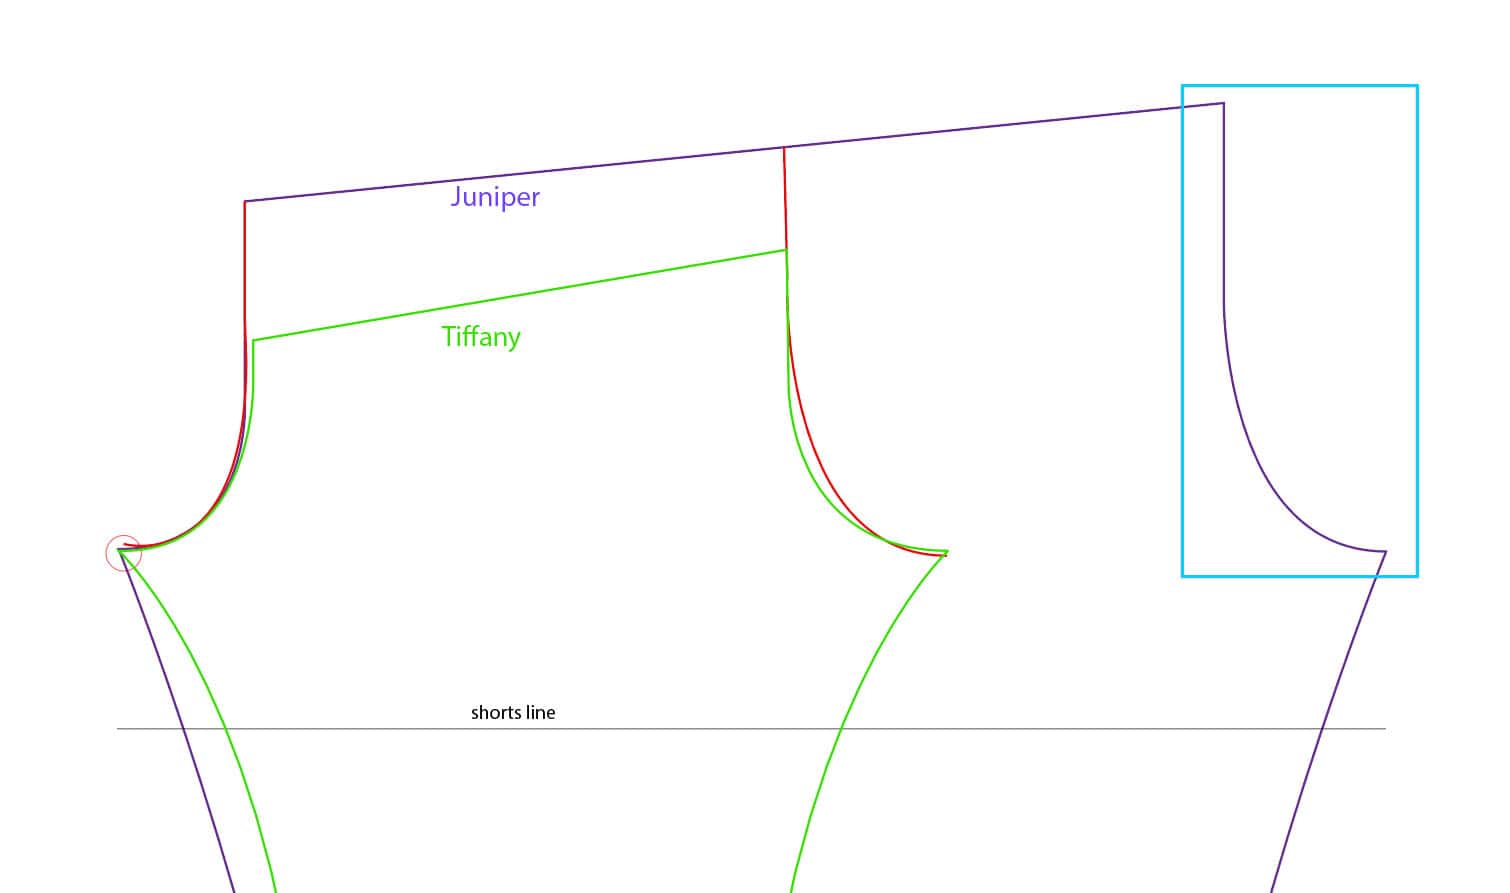
5. Leg Line Adjustment:
Mirror the leg line the same way you mirrored the crotch line. Or If you want skin-tight shorts use the Tiffany leg lines.
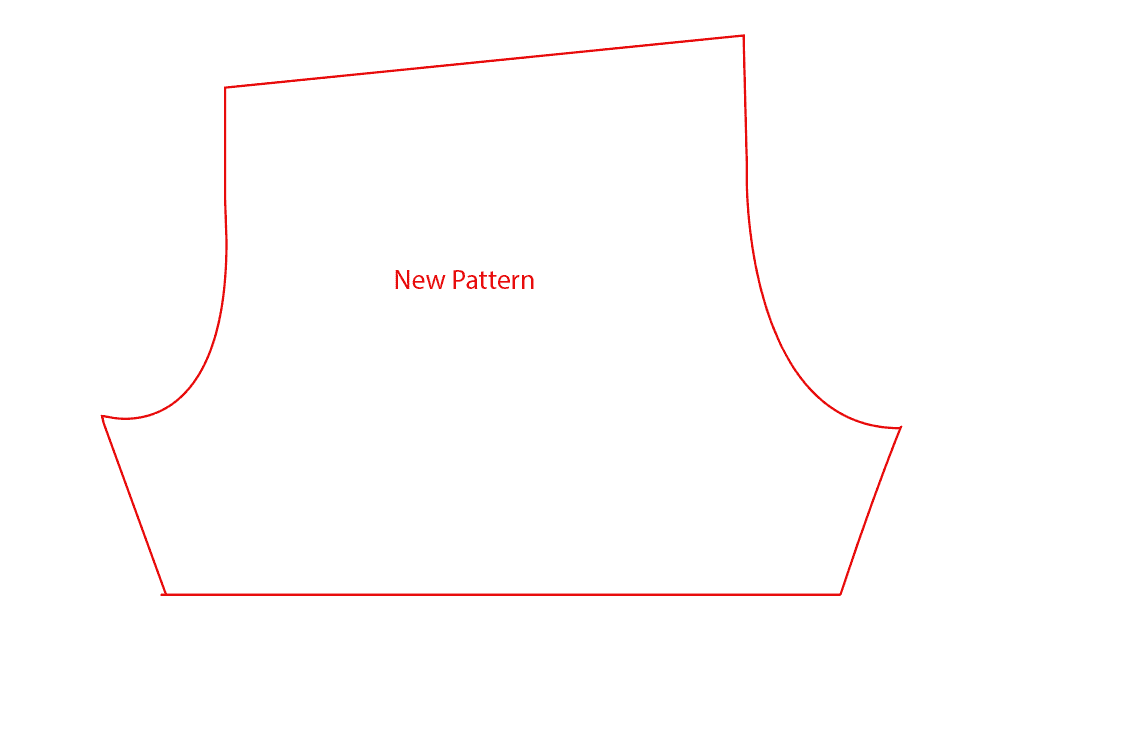
6. Finalize the Pattern Piece:
Trace the Juniper shorts line and front leg line to complete your new pattern piece. Cut the new pattern out following the red lines.
7. Assemble Your Leo:
Your new shorts piece should now match the width of your Juniper bodice. Proceed with the Juniper instructions. When you reach the pants section, mark the quarter points on the shorts waist and bodice waist. Sew the shorts onto the bodice right sides together. There’s no need to stretch them to fit—they should match up or be very close.
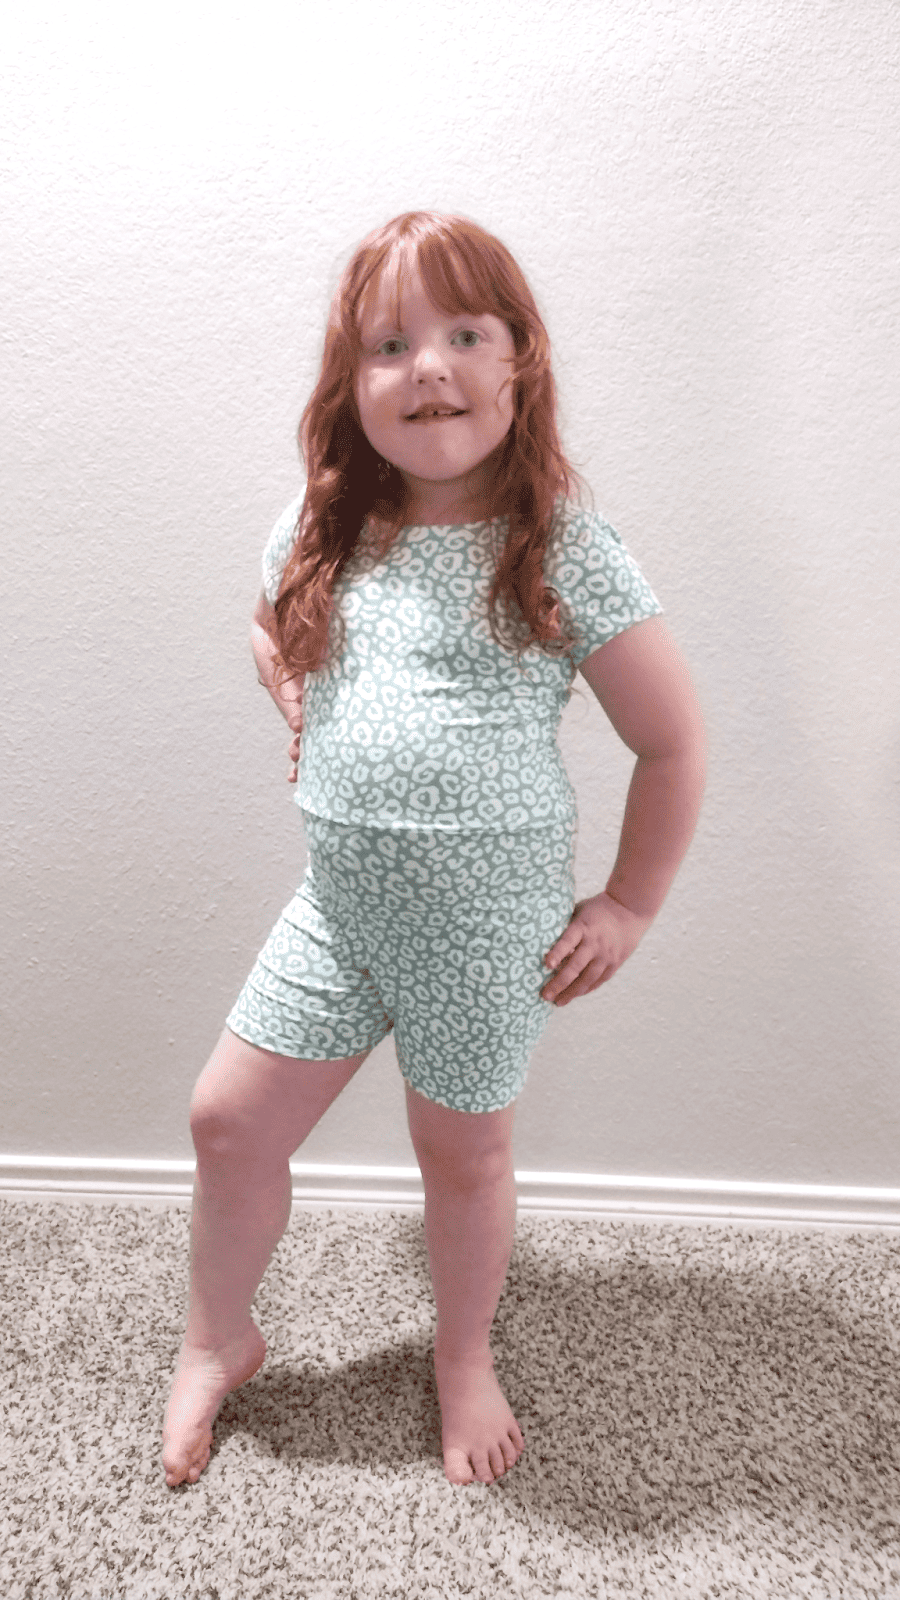
Congratulations! You’ve transformed the Juniper and Tiffany patterns into a leo! Customize with different leg lengths, Juniper sleeve options, and different back cutouts (Check out the Isla pattern for fun cutouts). The possibilities are endless!
Happy Sewing!
💜Danica